You rely on your golf cart to make your rounds smooth and effortless, but what happens when your 36-volt golf cart charger starts acting up? Suddenly, those leisurely drives can become a source of frustration.
Understanding how to troubleshoot your charger can save you time, money, and headaches. Imagine the freedom of knowing exactly what to do when your charger isn’t working as it should. We’ll guide you through simple steps to diagnose and fix common issues, empowering you to keep your golf cart running smoothly.
Whether you’re a seasoned golfer or just enjoy the ride, you’ll find valuable tips to ensure your cart is always ready to roll. Stick around, because the solution to your charger problem might be simpler than you think!
Common Charger Problems
Facing issues with a 36 volt golf cart charger can be frustrating. Common problems include faulty cables, dead batteries, or a malfunctioning charger. Troubleshooting these issues involves checking connections, testing the charger output, and ensuring the battery is not depleted.
Regular maintenance can prevent most of these problems.
Experiencing issues with your 36-volt golf cart charger can be frustrating, especially when you’re eager to hit the greens. Understanding common problems with chargers can save you time and stress. By knowing what to look for, you can often troubleshoot these issues yourself and avoid unnecessary trips to the repair shop.
Charger Not Powering On
Nothing is more annoying than plugging in your charger and seeing no sign of life. First, check if your charger is securely connected to the power outlet. A loose plug might seem trivial, but it’s a common culprit. Verify that the outlet itself is working by plugging in another device. If the outlet is dead, you might need to reset your circuit breaker. Also, examine the charger’s power cord for any visible damage. A frayed or broken wire can disrupt the entire charging process.
Intermittent Charging Issues
Does your charger start and stop unpredictably? This can be a sign of a faulty connection or an issue with the battery itself. Inspect the charging port for dirt or debris that could be obstructing the connection. Clean the contacts gently with a soft cloth. If the issue persists, consider testing the charger on another golf cart. This can help you determine if the problem lies with the charger or your cart’s battery.
Charger Overheating
An overheating charger can be a serious issue. It might indicate that the charger is working harder than it should. Check if the cooling fan is running properly; it should activate when the charger gets too warm. Ensure the charger is placed in a well-ventilated area. Overheating can also be caused by a malfunctioning internal component. If the charger continues to overheat, it may be wise to consult a professional to prevent further damage. Have you encountered any of these charger issues before? What was your experience in resolving them? Sharing your insights can help others facing similar problems.
Basic Inspection Tips

Troubleshooting a 36-volt golf cart charger can seem daunting. Start with a basic inspection to identify common issues. These simple checks might save you time and money. Let’s explore some essential inspection tips.
Checking Power Supply
Ensure the charger is connected to a working outlet. Plug a different device into the same outlet to test it. This confirms the outlet provides power. Look for any blown fuses or tripped breakers. Reset them if needed. A stable power supply is crucial for the charger’s function.
Inspecting Charger Connections
Examine the charger connections for dust or corrosion. Clean them with a soft cloth if needed. Secure connections are vital for efficient charging. Loose connections might cause charging issues. Ensure the charger is firmly plugged into the cart. A tight fit ensures proper power transfer.
Examining Battery Cables
Inspect battery cables for wear or damage. Frayed cables can disrupt charging. Replace damaged cables immediately. Check for corrosion at the cable ends. Clean corrosion with a mixture of baking soda and water. Secure the cables tightly to the battery terminals.
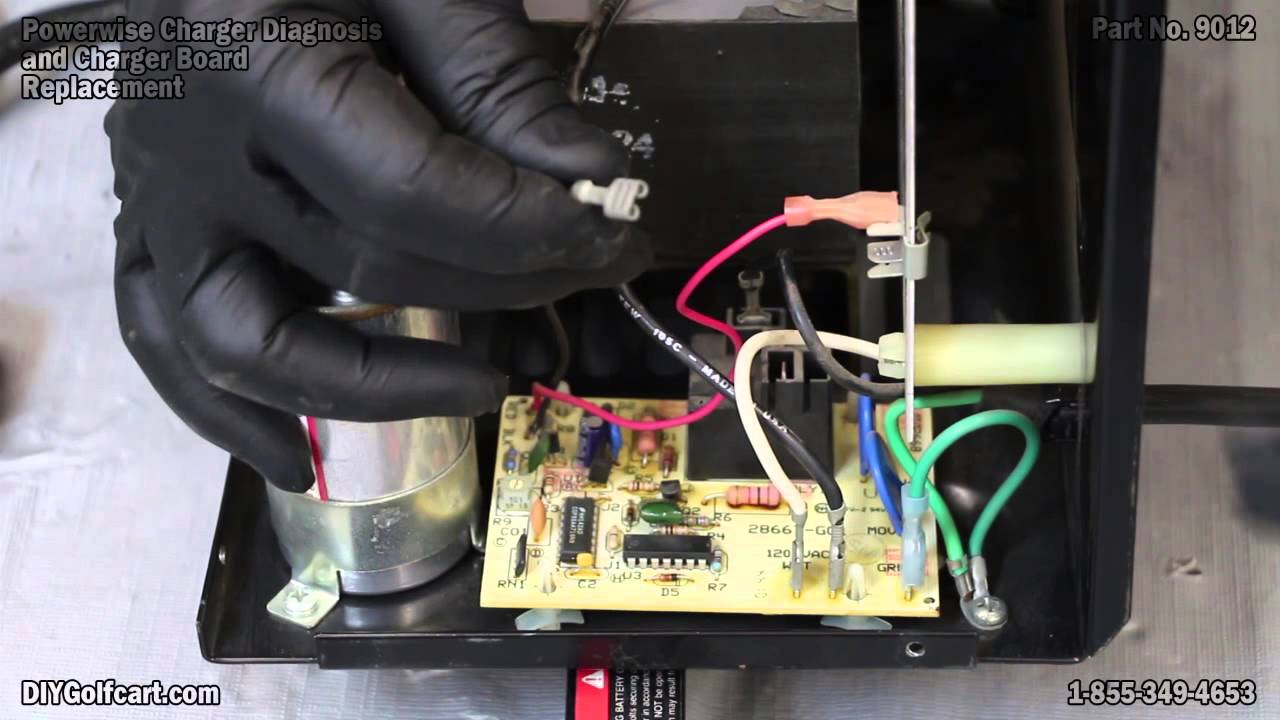
Diagnosing Electrical Issues
Facing electrical issues with your 36 Volt golf cart charger can be frustrating, especially when you’re eager to get back on the course. But don’t worry, diagnosing these problems is easier than you might think. With a few simple tests, you can pinpoint the problem and take steps to resolve it. Let’s dive into the process of diagnosing electrical issues in your golf cart charger.
Testing Voltage Output
Start by checking the voltage output of your charger. Use a multimeter to measure the voltage at the charger terminals. Ensure the charger is plugged in and turned on during testing. You should see a reading close to 36 volts. If the reading is significantly lower, it might indicate a faulty charger.
Have you ever tested something and found unexpected results? It’s a good reminder that tools can sometimes give false readings. Double-check your multimeter settings and connections to be sure. If still in doubt, try using another multimeter to confirm.
Inspecting Fuse And Breaker
Next, inspect the fuse and breaker of your charger. These components protect your system from electrical overloads. If your charger isn’t working, a blown fuse or tripped breaker might be the culprit. Check the fuse for any visible damage or discoloration.
Replace the fuse if needed and reset the breaker by flipping it off and then back on. You might find that a simple reset resolves the issue, saving you time and money. Have you ever overlooked a tiny detail that caused a bigger problem? Sometimes, it’s the simplest things that make a difference.
Assessing Battery Health
Your battery plays a crucial role in the charging process. A faulty battery can hinder charging, even if the charger is in good condition. Use a hydrometer to check the electrolyte levels in each cell. Ensure they are within the recommended range.
If your battery is old or damaged, consider replacing it. Have you ever held onto something past its prime, hoping it would still work? It’s often better to replace worn-out components to maintain efficiency. A healthy battery ensures a smooth charging process.
By understanding these steps, you can effectively diagnose electrical issues with your 36 Volt golf cart charger. What insights did you gain from your testing? You might find that addressing small issues early prevents bigger problems down the line. Remember, being proactive saves you time and frustration.
Simple Repair Solutions

Discover easy steps to troubleshoot your 36-volt golf cart charger. Identify common issues and their simple fixes. Ensure your golf cart stays powered and ready for the course.
When your 36-volt golf cart charger acts up, don’t panic. Simple repair solutions can often fix the issue. These repairs need little skill and save you money. Let’s explore some easy steps to get your charger working again.
Resetting The Charger
Resetting can solve many charger problems. Unplug the charger from the outlet. Wait for 30 seconds. Plug it back in. Check if the charger light turns on. If it doesn’t, try a different power outlet. Sometimes, outlets have faults.
Replacing A Blown Fuse
A blown fuse stops the charger. First, turn off the power. Locate the fuse box in the charger. Use a screwdriver to open it. Check for a broken wire in the fuse. Replace it with a new one of the same type. Ensure it’s secure before closing the box.
Cleaning Corroded Terminals
Corroded terminals affect charging. Disconnect the charger. Use a wire brush to clean the terminals. Remove any rust or dirt. Wipe them with a clean cloth. Ensure the terminals are dry before reconnecting. Clean terminals boost charger efficiency.
When To Seek Professional Help
Troubleshooting a 36-volt golf cart charger can be challenging. Sometimes, it’s best to consult a professional. Identifying when to seek help can save time and prevent further damage. Knowing the signs of complex issues is crucial. Let’s explore when you should reach out to a technician.
Identifying Complex Electrical Problems
Electrical problems can be tricky. If you notice unusual noises, it could indicate a deeper issue. Sparks or burning smells are also red flags. These signs often mean there’s a complex problem. Professionals have the tools and expertise to handle these safely.
Considering Charger Replacement
Sometimes a charger stops working. It might need replacement. If your charger fails to charge, check the cables first. Ensure the connections are secure. If the issue persists, a replacement might be necessary. A professional can assess whether repair or replacement is best.
Finding A Qualified Technician
Choosing the right technician is important. Look for someone with experience in golf cart chargers. They should have good reviews and references. Certification can be a plus. A qualified technician ensures safe and effective repairs. Trustworthy professionals provide peace of mind.
Preventative Maintenance Tips
Maintaining your 36 volt golf cart charger is crucial. Proper care ensures longevity and performance. Preventative maintenance can save you from unexpected breakdowns. By following simple tips, you can keep your charger in top shape.
Regular Charger Inspections
Inspect your charger regularly. Check for any visible damage. Look for frayed wires or loose connections. A quick visual check can reveal many issues. Pay attention to the charger’s functionality. Is it charging slower than usual? Listen for unusual noises during operation. Early detection can prevent bigger problems.
Proper Storage Practices
Store your charger in a cool, dry place. Avoid extreme temperatures. Keep it away from direct sunlight. Moisture can damage internal components. Use a clean, dust-free area for storage. This prevents debris from entering the charger. Proper storage extends the charger’s lifespan.
Routine Battery Care
Maintain your golf cart batteries. Clean terminals regularly. Remove any corrosion with a brush. Ensure connections are tight and secure. Check battery water levels frequently. Fill with distilled water if low. Balanced batteries support efficient charging. Regular care boosts overall performance.
Conclusion
Fixing a 36-volt golf cart charger can seem hard. But with patience, you can solve common problems. Start with simple checks. Inspect cables and connections. Look for visible damage. Clean dirty terminals to improve contact. Check the power source for issues.
Some problems need expert help. Don’t hesitate to call a professional if needed. A well-maintained charger saves time and money. Keeps your golf cart running smoothly. Regular checks can prevent bigger issues. Remember, safety comes first. Always unplug before inspecting.
With care, your charger will last longer. Enjoy your golf cart rides with confidence.
")


