Have you ever eagerly waited for your bread machine to finish baking, only to lift the lid and face disappointment? Maybe your bread didn’t rise, the crust turned out too hard, or the dough just wouldn’t cooperate.
Don’t worry—you’re not alone. Bread machines can be a lifesaver, but when things go wrong, they can leave you scratching your head. The good news? Most issues are easy to fix once you know what’s causing them. In this troubleshooting guide, we’ll help you identify and solve common bread machine problems step by step.
Whether you’re a beginner or a seasoned baker, you’ll find solutions that can save your next loaf and restore your bread-making confidence. Ready to turn those kitchen mishaps into delicious successes? Let’s dive in!
Common Bread Machine Problems
Bread machines make baking easier but sometimes they can cause frustration. Understanding common issues helps you fix them quickly and bake perfect bread.
1. The Dough Doesn’t RiseThis issue often happens if the yeast is not active. Check the expiration date of your yeast. Old yeast won’t rise properly. Water temperature is also important. Use lukewarm water, not too hot or cold. High salt levels can kill yeast, so measure carefully.
2. Loaf is Dense or HeavyA dense loaf may mean the dough was not kneaded enough. Ensure the kneading blade is attached properly. Too much flour can also make the bread heavy. Use accurate measurements for all ingredients.
3. The Bread Collapses During BakingThis can happen if there’s too much liquid in the dough. Use the exact amount of liquid in the recipe. High humidity can also affect the dough consistency. Reduce liquids slightly during humid weather.
4. The Bread is UndercookedUndercooked bread might mean the baking cycle wasn’t completed. Double-check the settings on your machine. Avoid opening the lid during baking. Heat escapes and interrupts the process.
5. The Crust is Too ThickA thick crust may result from using the wrong crust setting. Adjust the crust color setting to your preference. Too much sugar can also cause a hard crust. Follow the recipe measurements carefully.
6. The Kneading Blade Sticks in the LoafIt’s common for the kneading blade to stick in the bread. Use a plastic or wooden tool to remove it safely. Grease the blade lightly before starting your next loaf.

Credit: www.cravethegood.com
Bread Not Rising
Bread not rising is a common issue for bread machine users. It can be frustrating to discover a dense loaf instead of a fluffy one. Several factors can affect the rising process. Understanding these can help troubleshoot and fix the problem.
Check Yeast Freshness
Yeast is essential for bread to rise. Expired or inactive yeast leads to poor results. Always check the expiration date on the yeast packet. If the yeast is old, replace it with a fresh one. You can test yeast by dissolving it in warm water with sugar. Bubbles indicate the yeast is active and ready to use.
Ensure Proper Liquid Temperature
Liquid temperature plays a big role in activating yeast. Cold liquids may not activate the yeast properly. Hot liquids can kill yeast, stopping the rising process. Use water or milk at 100-110°F for best results. Use a thermometer to check the temperature before adding liquid.
Avoid Salt Contact With Yeast
Salt can harm yeast if it touches directly. It slows down yeast activity or kills it. When adding ingredients, keep salt away from the yeast. Place salt on one side of the bread machine pan and yeast on the other. This separation ensures the yeast remains active and your bread rises properly.
Dense Or Heavy Loaf
Baking a dense or heavy loaf in your bread machine can be frustrating. You expect a soft, airy loaf, but instead, you’re left with something that feels like a brick. Don’t worry—this is a common issue, and with a few adjustments, you can fix it and get the perfect loaf every time.
Measure Ingredients Accurately
Accuracy matters when baking, especially with a bread machine. A small mistake in measuring can throw off the entire recipe. Use measuring cups for dry ingredients and a liquid measuring cup for wet ones.
Level off dry ingredients like flour with a flat edge instead of packing them down. If you’re adding yeast, make sure it’s fresh and measured precisely. Even a little too much or too little yeast can affect how your bread rises.
Adjust Flour-to-liquid Ratio
If your loaf is too dense, the flour-to-liquid ratio might be off. Check your dough during the kneading cycle. It should form a smooth, slightly tacky ball—not too dry or sticky.
If it looks dry and crumbly, add a teaspoon of liquid at a time until the texture improves. On the flip side, if it’s too sticky and wet, sprinkle in a teaspoon of flour. Small adjustments like these can make a big difference.
Verify Kneading Cycle Function
Your bread machine’s kneading cycle plays a critical role in developing the dough’s structure. If the kneading paddle isn’t working properly, the dough won’t mix and rise as it should. Double-check that the paddle is securely attached before starting.
Listen to the machine during the kneading process. If you hear unusual noises or the dough isn’t moving, stop the cycle and troubleshoot. It could be as simple as reattaching the paddle or redistributing the ingredients evenly in the pan.
Have you ever had a dense loaf that tasted great but just didn’t look right? With these tips, you can fix it and enjoy bread that’s both delicious and perfectly textured. The key is paying attention to the little details—your bread machine will do the rest!
Machine Not Starting
So, you’re all set to bake a fresh loaf, but your bread machine refuses to start. It’s frustrating, especially when you’ve already measured out your ingredients and the aroma of freshly baked bread is all you can think about. Don’t worry—before you assume the worst, let’s troubleshoot the issue step by step. Most of the time, it’s something simple that’s easy to fix.
Inspect Power Connection
First, check the power connection. Is the machine plugged into a working outlet? It might sound obvious, but loose plugs or faulty outlets are common culprits.
If you’re using an extension cord, try plugging the machine directly into the wall. Sometimes extension cords can fail or limit the power supply. Also, double-check that the power cord isn’t damaged—frayed wires can prevent the machine from turning on.
Ensure Lid Is Properly Closed
Some bread machines have a safety feature that prevents them from starting if the lid isn’t fully closed. Open the lid and close it firmly. You should hear a satisfying click when it’s securely shut.
Take a moment to inspect the lid’s hinges as well. If something is stuck or misaligned, the machine might not recognize the lid as closed. A quick wipe to remove debris or crumbs can also help.
Check For Program Selection Errors
Before you panic, check if you’ve selected a program. Bread machines won’t start until you pick a specific setting. Did you press the “Start” button after selecting the program? Forgetting this step is surprisingly common when you’re multitasking.
Additionally, some machines allow you to set a delay timer. If the timer is on, the machine might not start immediately, even though everything else is ready to go. Double-check the display to ensure there’s no timer running when you want the machine to start baking right away.
By systematically going through these steps, you’ll often find the issue and resolve it quickly. So, the next time your bread machine doesn’t start, don’t stress—just troubleshoot like a pro.
Uneven Baking Or Crust Issues
Bread machines are a fantastic kitchen tool, but they aren’t without quirks. Uneven baking or crust issues can leave you frustrated, staring at a loaf that’s burnt on one side or pale on the other. If your bread machine isn’t producing that perfectly golden, evenly baked loaf, don’t worry—small tweaks can make a big difference.
Check Heating Element
The heating element is the heart of your bread machine. If it’s malfunctioning or unevenly distributing heat, your bread won’t bake properly. Take a moment to inspect it—look for signs of wear, damage, or uneven discoloration.
If you suspect it’s faulty, consider consulting your bread machine manual for cleaning tips or a replacement guide. A poorly functioning heating element can be the silent culprit behind uneven crusts.
Adjust Crust Setting
Your bread machine likely has a crust setting, and this can significantly affect the final outcome. If your crust is too dark or too light, try experimenting with this feature. Select “light” for a softer crust or “dark” for a crunchier finish.
Sometimes, default settings don’t match your preferences. If your bread machine has programmable options, test different combinations to find what works best for your recipes. A small adjustment can transform your results.
Distribute Ingredients Evenly
Uneven ingredient distribution can lead to inconsistent baking. Imagine adding salt or yeast all in one spot—it can create unbalanced flavors or textures. Be sure to spread your ingredients evenly across the pan before starting the machine.
For liquids, pour them gently to coat the bottom evenly. For dry ingredients, sprinkle them around the pan instead of dumping them in one heap. This ensures a balanced rise and bake, giving you a uniform crust every time.
Have you ever overlooked one of these steps? It’s easy to miss small details, but correcting them can elevate your bread-making game. Try these tips and let your bread machine surprise you with bakery-quality results!
Loaf Sticking To Pan
Few things are as frustrating as baking a loaf of bread in your bread machine, only to find it stubbornly stuck to the pan. You carefully measured your ingredients, set the timer, and waited patiently. But when the moment of truth arrives, the loaf refuses to budge. Why does this happen, and what can you do to fix it? Let’s troubleshoot step by step.
Grease Pan Properly
Before adding your ingredients, always grease the bread pan. Use a small amount of butter, margarine, or cooking spray. Make sure to coat the bottom and sides evenly.
If you’re using butter, let it soften to room temperature for easier application. Avoid over-greasing as it could affect your bread’s crust. Missing this step is one of the most common reasons why loaves stick.
Inspect Non-stick Coating
Many bread machine pans come with a non-stick coating, but these coatings can wear down over time. Check your pan for scratches or peeling areas. Even a small scratch can cause sticking.
If the coating is damaged, you might need to replace the pan. Alternatively, use parchment paper as a liner in the meantime. It’s a simple fix that can save you from prying your loaf out with a knife.
Allow Loaf To Cool Before Removal
Patience is key. Letting your loaf cool for about 10-15 minutes after baking can make a huge difference. The cooling process allows the bread to contract slightly, which helps it release from the pan.
Use a soft spatula to gently loosen the sides if needed. Avoid sharp tools that could damage the pan’s surface. If you’re too eager to remove the loaf while it’s hot, you’re setting yourself up for trouble.
Have you struggled with this issue before? Trying these simple steps might just save your next loaf. A little preparation and care go a long way in ensuring your bread machine adventures end with perfectly baked—and easily removable—bread.
Weird Noises Or Vibrations
Is your bread machine making strange noises or vibrating excessively? If so, don’t panic. These issues are common and can often be fixed with a little troubleshooting. Let’s pinpoint the causes and get your machine back to its quiet, efficient self.
Check For Loose Parts
Start by checking all removable parts like the pan, kneading blade, and lid. Sometimes, parts can shift or loosen during operation. Make sure everything is securely attached and seated properly.
If you notice rattling, tighten any screws or fasteners on the exterior of the machine. A loose lid or pan can cause vibrations, leading to those annoying sounds. Does it seem like the noise is coming from inside? If so, inspect the kneading blade and spindle connection for wear or debris.
Ensure Machine Is On Level Surface
Your bread machine needs a stable, flat surface to work efficiently. Vibrations often occur if the machine is placed on uneven countertops or wobbly tables. Use a level or your eyes to check if the surface is even.
Try placing the machine on a sturdy mat or towel to absorb vibrations. This simple fix often makes a big difference. If the noise persists, double-check the machine’s placement—it should never be near the edge or tilted.
Inspect Kneading Blade
Take a closer look at the kneading blade. It may be worn out or improperly attached, causing rattling noises. Remove the blade and clean the spindle area thoroughly to ensure there’s no residue blocking smooth movement.
If the blade looks bent or damaged, consider replacing it. A poorly functioning blade not only creates noise but can also impact how well your dough is kneaded. Is the blade spinning unevenly? A replacement might be the fastest fix.
By addressing these areas, you can often resolve the weird noises and vibrations quickly. Do you have any other concerns about your bread machine? Let us know in the comments below—we’d love to help!
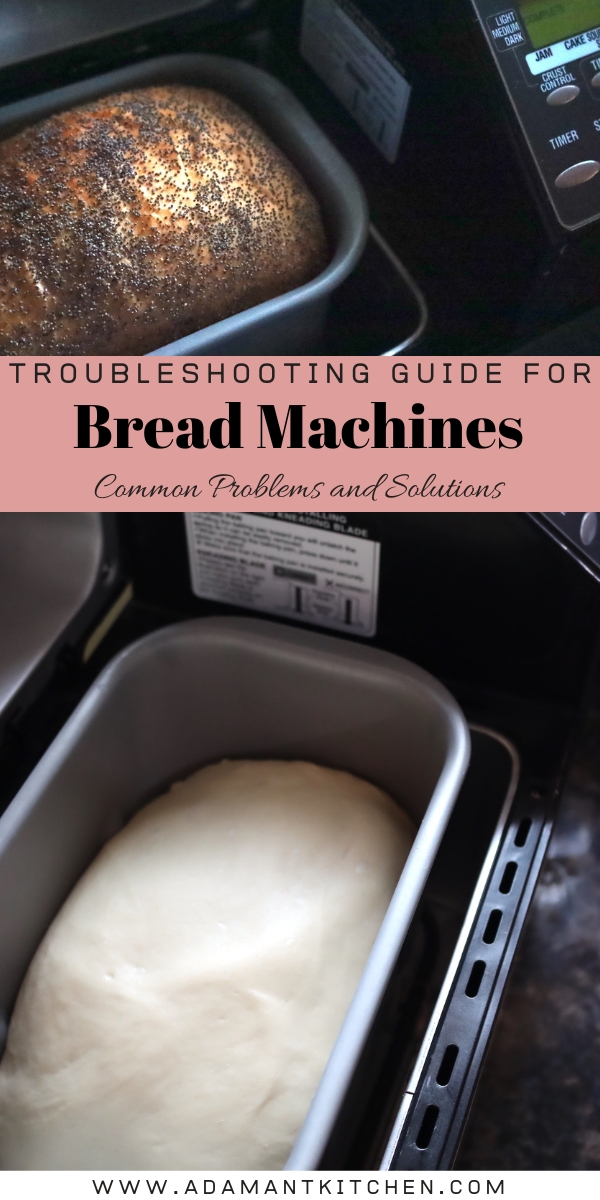
Credit: adamantkitchen.com
Error Codes On Display
Seeing error codes flash on your bread machine can be frustrating. You’re ready for warm, fresh bread, but instead, you’re stuck deciphering cryptic numbers or letters on the screen. Don’t panic—these codes are your machine’s way of communicating what’s wrong and how you can fix it.
Here’s how to tackle those pesky error codes:
Refer To User Manual
Your bread machine’s user manual is your best friend when error codes pop up. Manufacturers provide detailed explanations for each code, often with step-by-step instructions. Look for the troubleshooting section—it’s usually towards the back.
For example, if your display shows “E01,” it might mean overheating. The manual will tell you whether to let the machine cool down or if there’s another fix. Keep your manual handy, or download a digital copy from the manufacturer’s website.
Reset Machine
Sometimes, error codes appear due to a minor glitch. Resetting the machine can solve this quickly. Unplug your bread maker, wait for a minute, then plug it back in. This simple step can clear temporary errors and get your machine back on track.
If resetting doesn’t work, check if the error code persists. If it does, you may need to explore other solutions. But a reset is always worth trying first—it’s fast and easy.
Contact Manufacturer Support
If the error code won’t go away and the manual doesn’t help, it’s time to reach out to the manufacturer. Most brands have customer service teams ready to assist. Write down the error code and describe the problem to them clearly.
Some manufacturers even offer video calls or online troubleshooting guides. Don’t hesitate to ask for replacement parts or warranty support if needed. You paid for the machine, so make the most of their expertise.
Have you ever encountered an error code you couldn’t solve? Share your experience or tips in the comments below!
Regular Maintenance Tips
Regular maintenance is essential for keeping your bread machine working smoothly. Neglecting care can lead to mechanical issues and poor bread quality. With consistent attention, your machine will last longer and perform better. Follow these simple tips to ensure your bread maker stays in top condition.
Clean After Each Use
Always clean your bread machine immediately after baking. Remove crumbs, dough residue, and flour from all surfaces. Wipe the interior and exterior with a damp cloth. Make sure to clean the kneading paddle and bread pan thoroughly. This prevents buildup and keeps your machine hygienic.
Inspect Moving Parts Regularly
Check all moving parts, like the kneading paddle and belt, often. Ensure they are free from cracks or wear. A damaged part can affect performance or cause breakdowns. Lubricate the necessary components as instructed in your manual. Proper inspection keeps your machine running efficiently.
Store Machine In A Dry Place
Keep your bread maker in a cool, dry location when not in use. Avoid damp areas, as moisture can damage electronic parts or cause rust. Cover the machine with a cloth or its original cover. This protects it from dust and extends its lifespan.
When To Seek Professional Help
Strange noises or persistent issues may signal the need for expert assistance with your bread machine. If troubleshooting steps fail, a professional can diagnose and fix mechanical or electrical problems effectively.
Sometimes, bread machines face issues that require expert attention. While minor problems can often be fixed at home, certain situations call for professional assistance. Understanding when to reach out to a technician can save time and prevent further damage.Broken Or Malfunctioning Internal Parts
If your bread machine makes loud, unusual noises, its internal parts may be damaged. Broken belts, gears, or motors often need specialized tools for repair. Attempting to fix these without experience could make the problem worse. A professional technician can replace these components safely.Unresponsive Control Panel
A control panel that doesn’t respond could indicate an electrical issue. Faulty wiring or damaged circuits might be the cause. Diagnosing electrical problems requires technical expertise. Let an expert handle these to avoid safety risks.Burning Smell Or Overheating
A burning smell during operation often signals overheating or electrical faults. These issues can pose fire hazards if ignored. Professionals can inspect and repair the machine to ensure safe use.Repeated Error Messages
Persistent error codes can point to serious mechanical or programming faults. Resetting the machine might not resolve these problems. Technicians have the skills to troubleshoot and fix such errors effectively.Warranty Coverage Repairs
If your bread machine is under warranty, avoid attempting repairs yourself. Unauthorized repairs may void your warranty. Contact the manufacturer or an authorized technician for assistance.Damaged Power Cord Or Plug
A frayed power cord or damaged plug can be dangerous. These issues require immediate attention to prevent electrical shocks. Always consult a professional to replace or repair electrical components. `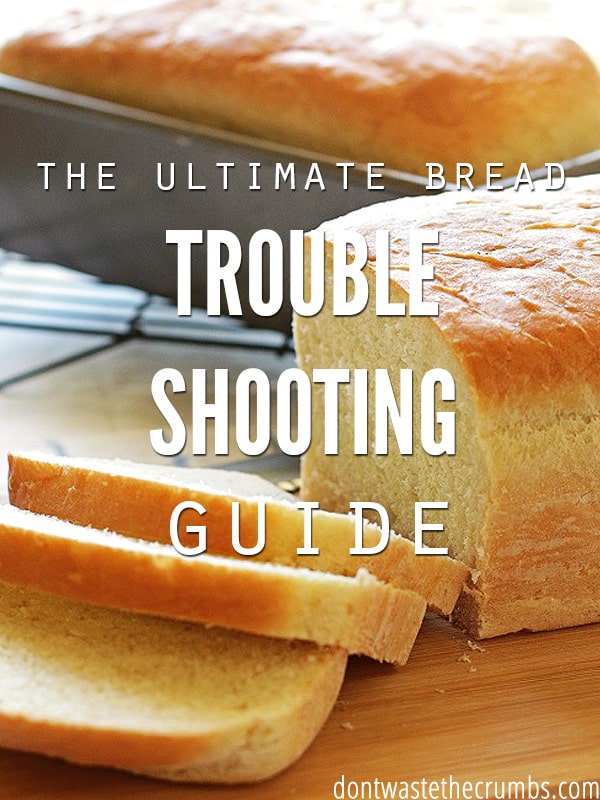
Credit: dontwastethecrumbs.com
Conclusion
Solving bread machine issues doesn’t have to feel overwhelming. Start by identifying the problem. Check ingredients, settings, and machine parts carefully. Simple adjustments often fix common issues. Regular cleaning and maintenance keep your machine running smoothly. Always follow the manufacturer’s guidelines for the best results.
Baking at home can be enjoyable with a little troubleshooting effort. Keep experimenting and learning as you go. A perfectly baked loaf is worth the time spent. Use this guide as a quick reference whenever challenges arise. Happy baking!
")


