Is your camper’s power converter acting up and leaving you in the dark—literally? When your RV’s lights flicker, batteries drain quickly, or appliances struggle to run, it’s often a sign that your power converter needs attention.
But don’t worry—you don’t have to be an expert to figure out what’s wrong. In this guide, you’ll learn simple and effective troubleshooting tips to diagnose and fix common camper power converter problems. By the time you finish reading, you’ll feel confident handling these issues yourself, saving both time and money on your next adventure.
Let’s get your camper powered up and ready to roll!
Symptoms Of A Bad Converter
Quick visual and sound checks help identify camper power converter problems fast. These checks require no special tools. They allow you to spot obvious signs of trouble early. Regularly performing these checks can prevent bigger issues. Pay close attention to what you see, hear, and feel around the converter.
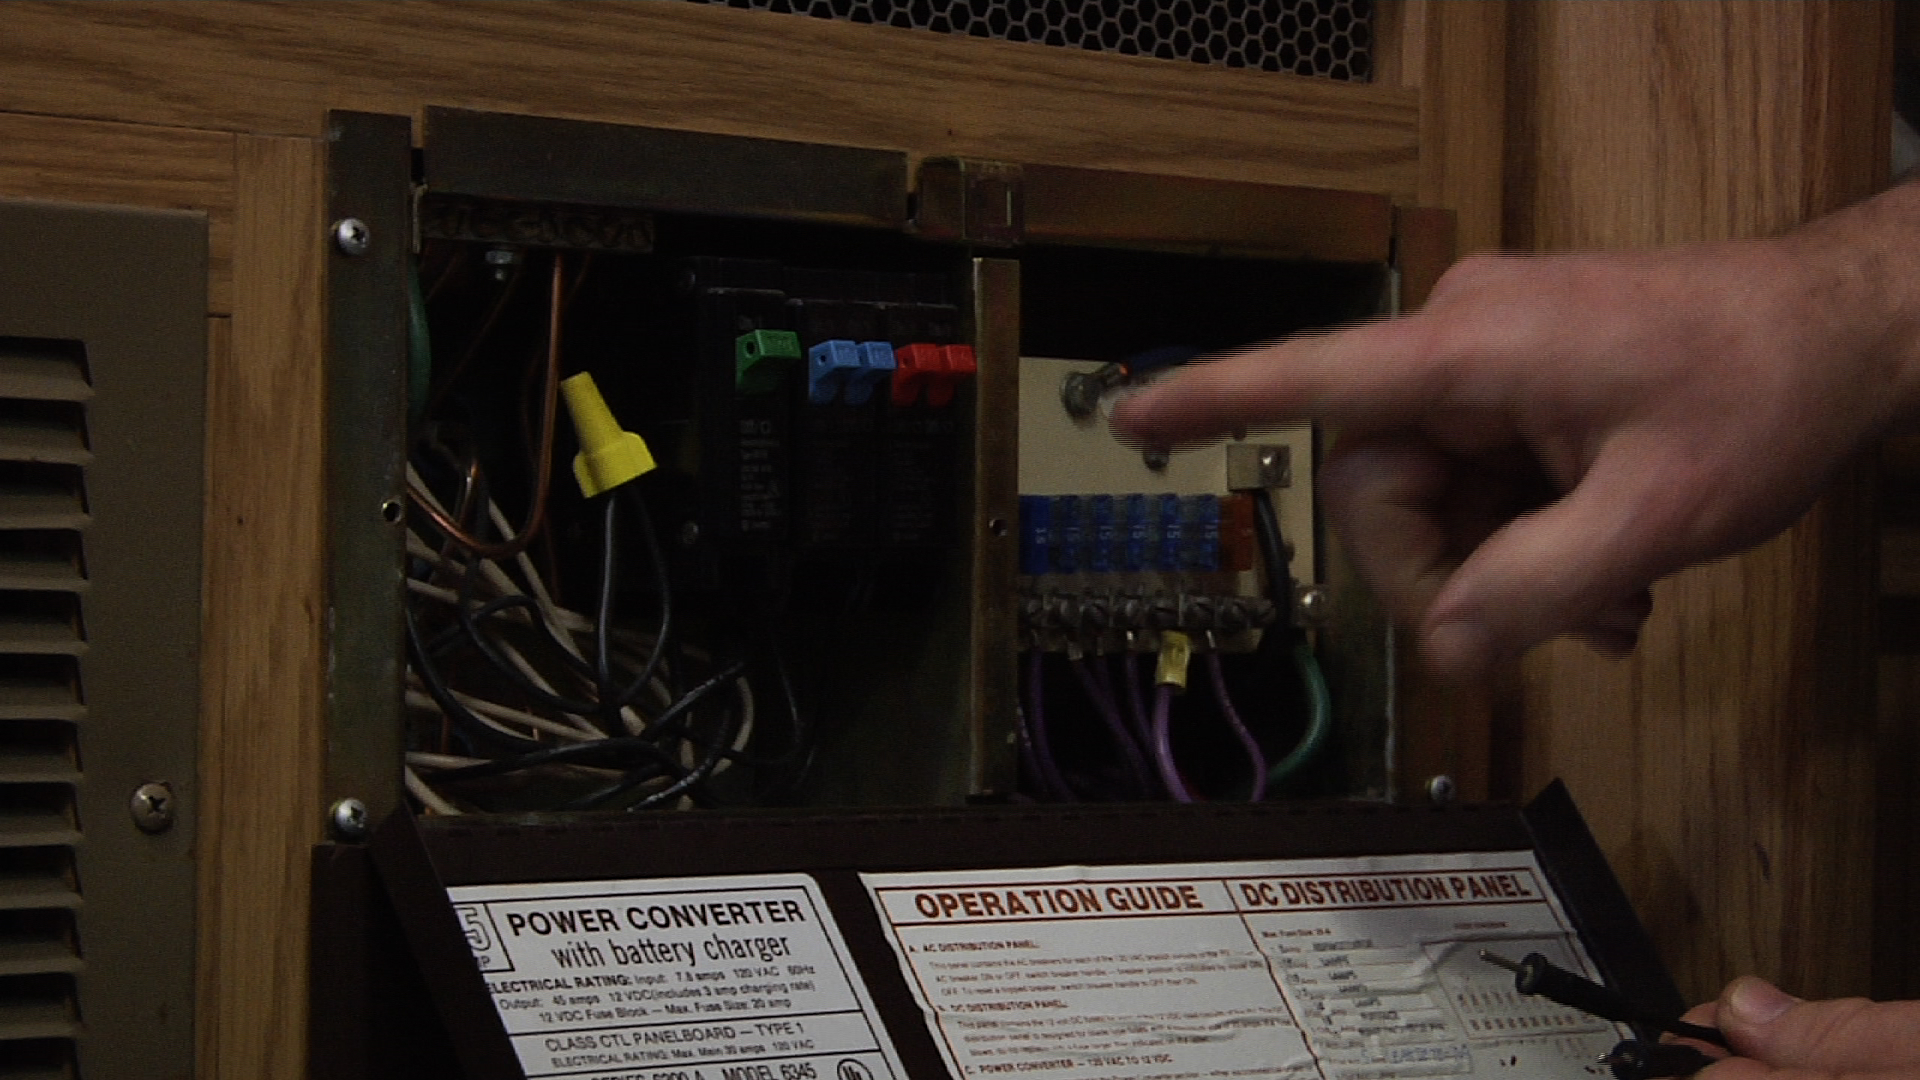
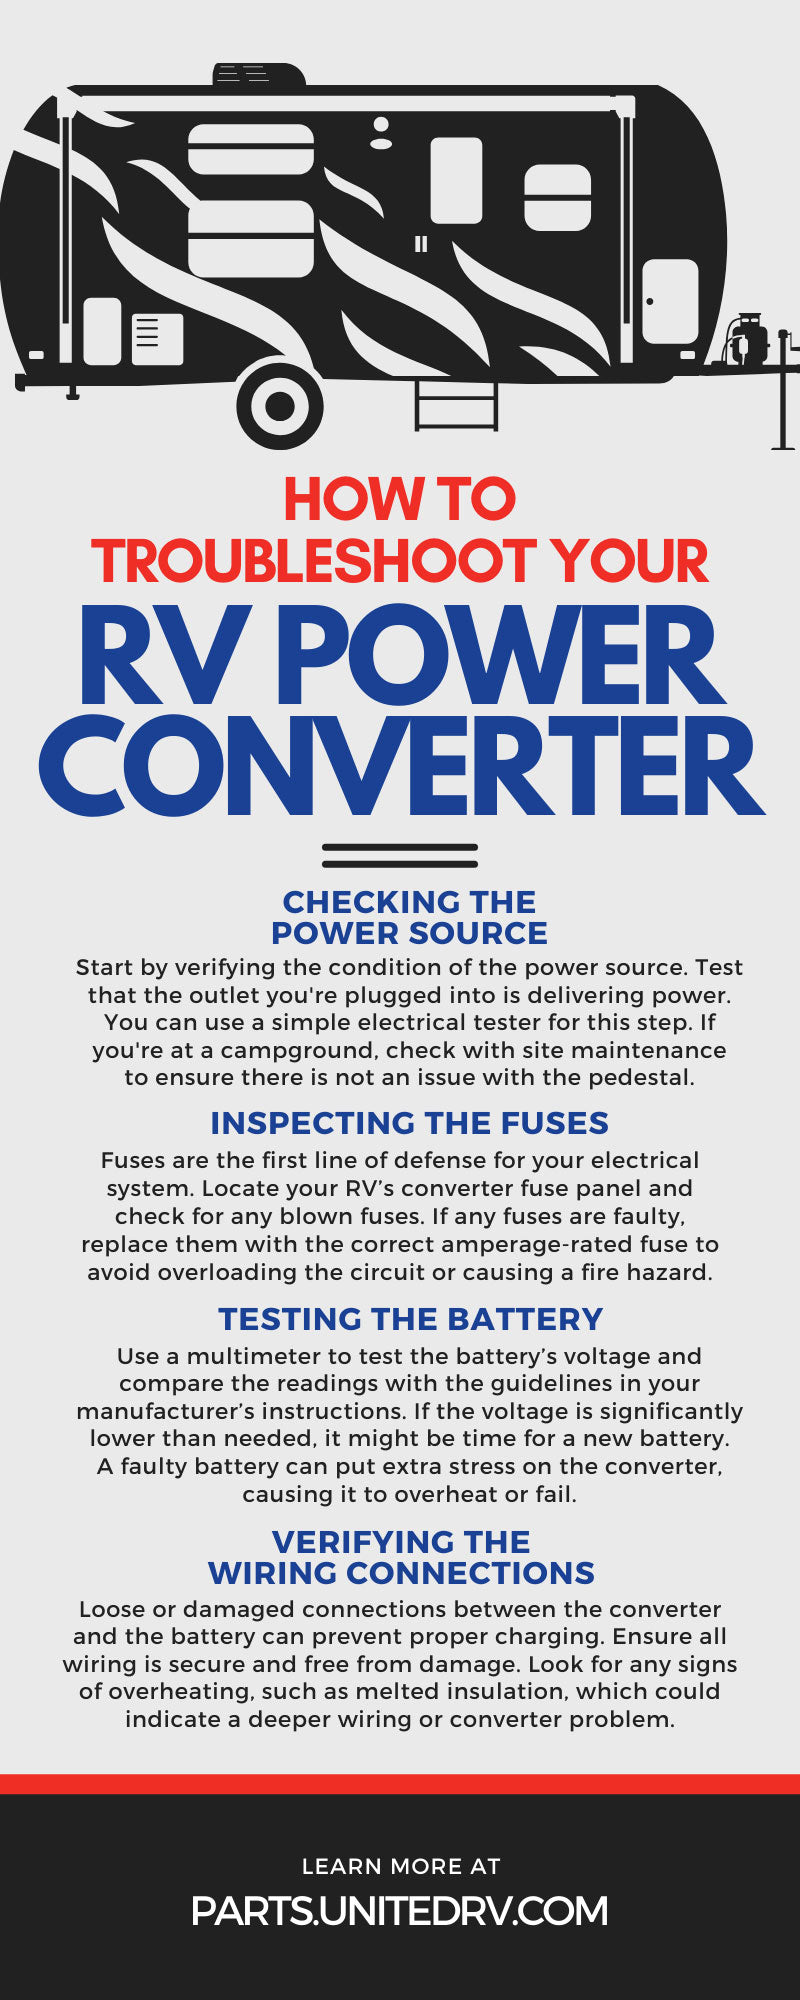
Inspect Fuses And Breakers
Check all fuses and breakers connected to the power converter. Look for blown fuses or tripped breakers. A blown fuse often shows a broken wire inside the glass. Reset any tripped breakers by switching them off and on. Replace damaged fuses with the exact type and rating. Fuses protect your converter from electrical damage.
Listen For Fan Operation
Most power converters have cooling fans to prevent overheating. Turn on the power and listen carefully near the converter. The fan should start running quietly. No fan noise could mean a failed fan or motor. A non-working fan can cause the converter to overheat quickly. Ensure the fan blades can spin freely and are not blocked.
Check For Unusual Noises
Listen for buzzing, humming, or clicking sounds from the converter. Normal operation produces a steady low hum. Loud buzzing or clicking may signal electrical faults. These noises can indicate loose parts or failing components. Strange sounds require immediate attention to avoid damage. Record when and how often noises happen for technician help.
Feel For Excessive Heat
Carefully touch the converter’s surface without burning yourself. It should be warm but not hot to the touch. Excess heat means the converter is working too hard or failing. Overheating can damage internal parts and shorten converter life. Check for blocked vents or dust buildup that may cause heat. Ensure proper ventilation around the unit.
Quick Visual And Sound Checks
Testing a camper power converter with a multimeter helps find electrical problems fast. It shows if the converter and battery work well. This testing guides you to fix issues safely. A multimeter is a small tool that measures voltage and current. Use it to check your camper’s power system step by step.
Measuring Battery Voltage
Set the multimeter to DC voltage mode. Connect the red lead to the battery’s positive terminal. Attach the black lead to the negative terminal. A healthy battery reads about 12.6 volts at rest. Lower voltage means the battery may be weak or discharged. Check the reading before and after running the converter. This step confirms if the battery holds a charge.
Checking Charging Voltage
Turn on the camper’s power converter. Measure voltage at the battery terminals again. The reading should rise above 13 volts while charging. This voltage shows the converter supplies power to charge the battery. If the voltage stays low, the converter may be faulty or the fuse blown. This test checks if the converter properly charges the battery.
Testing Ac Input Power
Switch the multimeter to AC voltage mode. Test the power source that feeds the converter. Place the leads on the shore power plug or generator output. The reading should match your local electricity, usually 120 volts. No or low voltage means the converter lacks power input. This step finds problems in the camper’s AC supply.
Testing With A Multimeter
Resetting the camper power converter can solve many common power issues. This process helps clear minor faults and restore normal function. It is a simple step often overlooked in troubleshooting. Resetting the converter can improve battery charging and stabilize the power supply inside your camper.
Before calling a technician, try resetting your converter. It is quick and requires no special tools. Follow the steps carefully to avoid damage and ensure safety. This guide covers power cycling and inverter reset methods to get your system back on track.
Power Cycling Steps
Start by turning off all electrical devices inside the camper. Next, unplug the camper from shore power. Wait for about five minutes to let the converter discharge completely. This pause helps clear any temporary faults in the system.
After waiting, reconnect the shore power. Turn on the main power switch or circuit breaker controlling the converter. Finally, check if the lights and appliances work normally. Power cycling often resets internal components and solves many issues.
Resetting Inverter Functions
Locate the inverter control panel, usually near the converter or inside a cabinet. Find the reset button or switch on the inverter unit. Press and hold the reset button for about 10 seconds. Release the button and wait for the inverter to reboot.
Some inverters may require turning off the unit before pressing reset. Check your inverter manual for specific instructions. After resetting, monitor the inverter for normal operation. This reset can fix communication errors and restore proper power flow.
Credit: www.rvrepairclub.com
Resetting The Converter
Proper battery care is vital for a camper’s power system. Good maintenance boosts battery life. It keeps your power converter working well. Simple steps help avoid common battery problems. Follow these key tips to keep your battery in top shape.
Inspecting Terminals And Connections
Check battery terminals often. Look for loose or damaged cables. Tighten any loose connections carefully. Loose terminals cause poor power flow. Inspect wires for cracks or wear. Replace damaged cables immediately. Secure connections improve battery charging and performance.
Adding Distilled Water
Some batteries need distilled water added. Check your battery type before adding water. Open battery caps carefully to avoid spills. Fill only to the recommended level. Use distilled water, not tap water. Water keeps battery cells active and healthy. Avoid overfilling to prevent damage.
Cleaning Corrosion
Corrosion appears as white or green deposits. It blocks electrical flow and drains the battery. Use a mix of baking soda and water to clean terminals. Apply with a small brush gently. Rinse with clean water and dry well. Wear gloves to protect your skin. Regular cleaning prevents corrosion build-up and power issues.
Battery Maintenance Tips
Power problems are common in campers and can disrupt your trip. Identifying issues early helps prevent bigger damage. This section covers common power problems and simple fixes. Understanding these can keep your camper’s electrical system working well and safe.
Tripped Gfci Outlets
GFCI outlets protect you from electrical shocks. They often trip during power surges or moisture exposure. When tripped, outlets stop working to prevent harm. Locate the reset button on the outlet and press it firmly. If it trips again quickly, check for water or damaged devices. Avoid using faulty appliances until repaired.
Blown Fuses Replacement
Fuses protect your camper’s power system from overloads. A blown fuse cuts power to some circuits. Open the fuse panel and look for dark or broken fuses. Replace them with the same type and rating. Keep spare fuses in your camper for quick swaps. Never use a fuse with a higher rating than recommended.
Loose Or Corroded Wiring
Loose or corroded wires cause poor connections and power loss. Check wiring at the converter and battery terminals. Tighten any loose connections carefully. Look for green or white corrosion and clean it with a wire brush. Use dielectric grease to prevent future corrosion. Regular inspections prevent unexpected power failures.
Credit: unitedrvparts.com

Credit: asbbs.org
Frequently Asked Questions
How To Tell If An Rv Power Converter Is Bad?
Signs of a bad RV power converter include dim or flickering lights, battery not charging, unusual noises, overheating, and a burning smell. Use a multimeter to check voltage; low or no output confirms failure. Inspect fuses and connections for issues before replacing the unit.
How Do I Reset An Rv Converter?
To reset an RV converter, first turn off the power and unplug from shore power. Wait a few minutes, then reconnect and turn the power back on. Check fuses and circuit breakers before restarting. This simple reset often restores proper converter function.
How To Check If A Converter Is Working?
Unplug shore power, measure battery voltage with a voltmeter. Plug shore power back in; voltage should rise if the converter works. Check for buzzing, overheating, or blown fuses. Ensure shore power is live and battery terminals are clean.
How Do I Tell If My Inverter Is Bad?
Signs of a bad inverter include unusual noises, overheating, power fluctuations, frequent error codes, and rapid battery discharge. Check for dim lights or device malfunctions. Use a multimeter to test voltage output. Inspect fuses and connections for damage or corrosion.
Seek professional help if issues persist.
How Do I Know If My Camper Power Converter Is Failing?
Signs include dim or flickering lights and appliances not working well. The battery may drain quickly or not hold a charge. Unusual noises or a burning smell from the converter also indicate problems.
Conclusion
Troubleshooting your camper power converter helps keep your RV running smoothly. Watch for dim lights or strange noises as warning signs. Always check fuses and measure battery voltage for quick fixes. Regular checks prevent bigger problems on the road. Stay calm and follow simple steps to solve issues fast.
Understanding your converter saves time and money. Keep your camper powered and enjoy every trip worry-free.
")


