Is your Chamberlain garage door opener flashing 10 times and refusing to close? If so, you’re not alone—and this blinking light is trying to tell you something important.
Understanding what those 10 flashes mean can save you time, frustration, and even costly repairs. In this guide, you’ll discover simple troubleshooting steps that anyone can follow to get your garage door working smoothly again. Keep reading, because fixing this common issue might be easier than you think—and your garage door will thank you!

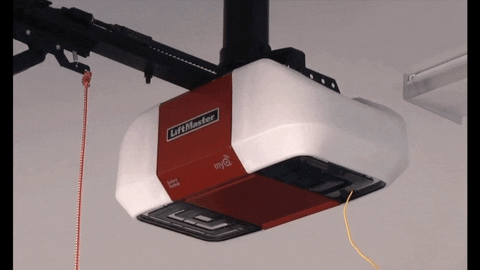
Credit: www.youtube.com
Symptoms Of 10 Flashes
When your Chamberlain garage door opener flashes 10 times, it signals a specific issue. Recognizing these symptoms helps you act quickly. The flashing is a warning that the system detected a problem. This section explains what the 10 flashes mean and the common door behaviors you might notice.
What The Flashes Mean
Ten flashes indicate a safety sensor problem. The sensors at the bottom of your garage door track are not working properly. They may be blocked, dirty, or misaligned. This prevents the door from closing safely. The opener blinks to alert you that it cannot operate until the issue is fixed. Sometimes, wiring issues cause the flashes. The opener detects no signal from the sensors and stops working.
Common Door Behavior Issues
Your garage door may not close fully or reverses after starting to close. It might stop moving and the lights on the opener blink ten times. The door may open and close repeatedly or fail to respond to remote controls. The safety sensors are designed to protect people and objects. If the sensors are not working, the opener will not close the door to prevent accidents. These behaviors show the opener is following safety rules and needs troubleshooting.
Checking Safety Sensors
Checking the safety sensors is a key step in troubleshooting the Chamberlain garage door opener with 10 flashes. These sensors prevent the door from closing if something blocks the path. Faulty or misaligned sensors often cause the flashing error. Follow simple checks to ensure the sensors work properly.
Removing Obstructions
Look closely at the area near the sensors on each side of the garage door track. Remove any objects like toys, boxes, or cobwebs that block the sensors. Even small debris can stop the sensors from communicating. Clear the path fully to restore the signal.
Cleaning Sensor Lenses
Dirty lenses can cause sensor errors. Use a soft, dry cloth to gently wipe the lenses on both sensors. Avoid harsh chemicals or water that might damage the sensors. Clean lenses improve sensor visibility and help the door function smoothly.
Inspecting Sensor Lights
Check the LED lights on both sensors. The sending sensor usually shows a yellow or amber light that should be steady. The receiving sensor often has a green light, which also should be solid. Flickering, off, or red lights mean poor communication between sensors. Adjust sensor alignment if needed to fix the lights.
Aligning Sensors
Aligning sensors is essential for your Chamberlain garage door opener to work properly. The sensors detect objects in the door’s path. Misaligned sensors cause the door not to close and trigger the 10 flashes error. Fixing their alignment ensures smooth and safe operation. Follow simple steps to adjust and secure the sensors correctly.
Adjusting Sensor Position
Start by checking the sensor lenses on both sides of the garage door track. They should face each other directly. Loosen the wingnut or mounting bracket slightly. Move the sensor slowly until the LED light changes from blinking or off to solid. The solid light means the sensors are aligned and communicating well. Tighten the wingnut carefully to hold the sensor in place. Test the door to confirm the problem is fixed.
Securing Sensor Mounts
After alignment, secure the sensors firmly. Make sure the mounting brackets are tight and stable. Loose mounts can shift sensors out of alignment over time. Use a screwdriver or wrench to tighten all screws and bolts. Check that the sensors do not wobble or move easily. A solid mount keeps the sensors steady and prevents future errors. Regularly inspect mounts for damage or wear.
Inspecting Wiring
Inspecting the wiring is a key step in fixing the 10 flashes error on your Chamberlain garage door opener. Faulty wiring can cause communication issues between the opener and sensors. Careful inspection helps find breaks, loose ends, or damage that stop the door from working properly.
Checking wiring takes patience and a close look at every wire connected to the opener. This ensures signals flow smoothly and the door operates safely. Follow simple steps to examine the wiring condition and connections.
Looking For Damage
Start by examining all visible wires for cuts or tears. Damaged insulation exposes wires and can cause short circuits. Look for pinched or crushed wires along the track or near the opener motor. Insects or rodents sometimes chew on wires, so check for bite marks.
Notice any discoloration or burning smell near wires. These signs indicate overheating or electrical problems. Replace any damaged wire sections before testing the opener again. Use electrical tape only as a temporary fix, not a permanent repair.
Checking Connections
Loose or corroded connections cause error codes like 10 flashes. Check where wires attach to the motor unit and sensors. Wires must fit snugly in terminals without wobbling. Clean terminals if corrosion or rust appears.
Disconnect power before tightening or cleaning connections. Use a screwdriver to secure loose screws holding wires. Make sure no bare wire strands touch each other or metal parts. Reconnect power and test the opener after securing all connections.
Resetting The Opener
Resetting the Chamberlain garage door opener can clear many common errors, including the 10 flashes issue. This process helps restore the system’s normal operation by refreshing its internal settings. Resetting is simple and can be done at home without special tools.
Performing a reset often resolves communication glitches between the opener and remotes. It also clears minor faults caused by power surges or temporary malfunctions. Follow the steps below to properly reset your garage door opener and regain control.
Power Cycling The Unit
Start by unplugging the garage door opener from the power outlet. Leave it disconnected for about 60 seconds. This pause allows the internal memory to clear any error codes.
Plug the unit back in and wait for the lights to stabilize. The opener should stop flashing and return to normal operation. Power cycling refreshes the system and often fixes flashing light errors.
Reprogramming Remotes
After power cycling, the opener might lose connection with remotes. Reprogram each remote to restore control. Locate the “Learn” button on the opener’s motor unit. Press and release it; an LED will light up.
Within 30 seconds, press the button on your remote. The opener light will blink to confirm successful programming. Repeat for all remotes used with your garage door opener. This step ensures all remotes communicate correctly with the reset opener.
When To Replace Sensors
Knowing when to replace your Chamberlain garage door sensors is important for safe and smooth operation. Sensors detect obstacles and prevent the door from closing on objects or people. Faulty sensors cause the opener to flash 10 times and stop working properly. Early replacement avoids bigger issues and keeps your garage door reliable.
Sensors show signs of wear or damage over time. Dirt or misalignment may cause temporary errors, but persistent problems mean replacement is needed. Watch for sensor lights that do not stay solid or sensors that fail to communicate. Ignoring these signs can lead to unsafe garage door operation.
Signs Of Faulty Sensors
Sensor lights flicker, turn off, or show red instead of green or amber.
The garage door does not close or reverses suddenly without obstruction.
Physical damage like cracks, corrosion, or loose wires on the sensors appears.
Frequent 10-flash error codes continue after cleaning and realignment.
Sensors fail to align despite adjustments and resetting the opener.
Professional Repair Options
Certified technicians can test sensor function accurately.
They replace sensors with compatible parts to ensure correct operation.
Experts inspect wiring inside walls to fix hidden breaks or shorts.
Technicians also check the entire opener system for any related faults.
Professional service extends the life of your garage door opener and improves safety.
Additional Troubleshooting Tips
Additional troubleshooting tips can help you fix the 10 flashes error on your Chamberlain garage door opener. These tips focus on the door’s mechanics and wiring. Checking these parts often solves common issues.
Testing Door Mechanics
Start by inspecting the garage door itself. Look for any signs of damage or blockage along the tracks. Dirt, debris, or bent tracks can stop the door from moving smoothly. Check the rollers to see if they roll freely. Lubricate them with a silicone-based spray if needed.
Test the door by manually lifting it halfway and letting go. It should stay in place. If it falls or moves up, the springs might be weak or broken. Weak springs cause the opener to work harder and can trigger error codes.
Checking Wall Wiring
Examine the wiring connected to the wall control panel. Look for loose, cut, or frayed wires. Damaged wiring can interrupt signals and cause the opener to flash 10 times. Make sure all wire connections are tight and secure.
Use a voltage tester to confirm power reaches the control panel. If power is missing, check the circuit breaker or fuse box. Replace any damaged wires or call a professional if you are unsure about handling electrical parts.
Credit: gdmedics.com
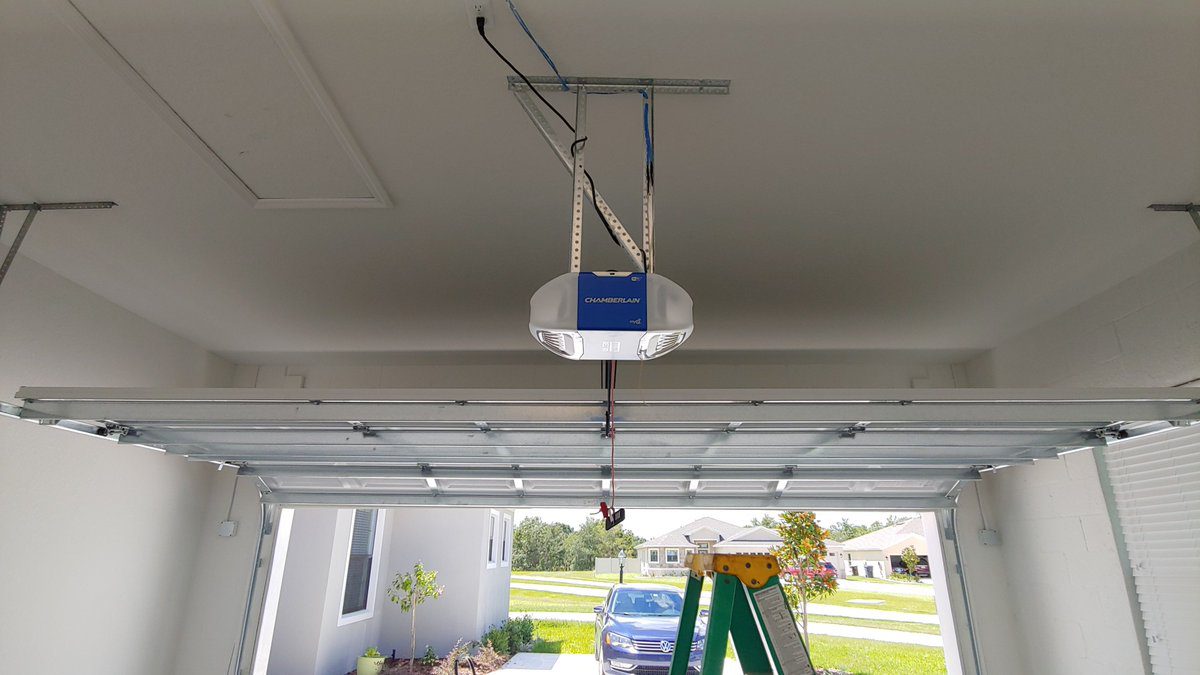
Credit: gdmedics.com
Frequently Asked Questions
What Does It Mean When My Chamberlain Garage Door Opener Blinks 10 Times?
A Chamberlain garage door opener blinking 10 times signals a safety sensor issue. Check for obstructions, clean and realign sensors. Ensure sensor lights are solid. Inspect wiring for damage. Reset the opener by unplugging it for a minute. Replace faulty sensors if problems persist.
Why Does My Garage Door Opener Flash 10 Lights But Not Open?
Your garage door opener flashes 10 lights because safety sensors misalign or detect obstructions. Clean, realign, and check sensor wiring to fix it.
How Do I Clear The Error Code On My Chamberlain Garage Door Opener?
Clear the error code by unplugging the Chamberlain opener for 60 seconds, then plug it back in. Realign and clean safety sensors. Reprogram remotes if needed. Check for obstructions or damaged wiring. Repeat reset if the error persists.
Why Is My Liftmaster Motor Blinking 10 Times?
Your LiftMaster motor blinking 10 times signals a safety sensor issue. Check for obstructions, clean lenses, realign sensors, and inspect wiring. Unplug and reset the opener if needed. Replace faulty sensors or seek professional help if the problem persists.
What Does 10 Flashes On Chamberlain Opener Mean?
Ten flashes usually signal a safety sensor issue or wiring fault. Check sensors for alignment and obstructions first. This helps ensure the door operates safely.
Conclusion
Troubleshooting 10 flashes on your Chamberlain opener helps fix sensor issues fast. Clear any blockages and clean sensor lenses carefully. Make sure both sensors show steady lights and face each other correctly. Check wires for damage or loose connections near the motor.
Reset the unit by unplugging and plugging it back in. Persistent problems may need sensor replacement or expert repair. Following these steps improves your garage door’s safety and function. Keep your opener working smoothly with simple checks and fixes.
")


