Is your electric oven suddenly not heating up or acting strangely? You’re not alone, and the good news is many common oven problems have simple fixes you can try yourself.
Whether your oven won’t turn on, doesn’t reach the right temperature, or shuts off unexpectedly, understanding what’s going wrong is the first step to getting it back to perfect cooking condition. In this guide, you’ll discover easy troubleshooting tips that help you identify the issue quickly—and save time and money on unnecessary repairs.
Keep reading to take control of your electric oven’s performance and enjoy hassle-free baking and roasting once again.
Oven Not Heating
When an electric oven does not heat, cooking tasks come to a halt. This issue can arise from simple faults or deeper electrical problems. Identifying the cause early helps in fixing the oven efficiently. Below are key steps to troubleshoot an oven that refuses to heat up.
Check Power Supply
First, ensure the oven is plugged in securely. Verify the circuit breaker has not tripped. Use a multimeter to confirm power reaches the oven outlet. No power means the oven cannot heat, so restore electricity supply if needed.
Test Heating Elements
Heating elements produce the heat inside the oven. Inspect them for visible damage like breaks or burns. Test each element with an ohmmeter for continuity. A faulty element shows no continuity and must be replaced.
Inspect Thermal Fuse
The thermal fuse prevents overheating by cutting power if temperatures rise too high. A blown fuse stops the oven from heating. Look for signs of damage or burn marks on the fuse. Use a multimeter to check for continuity; no continuity means a bad fuse.
Examine Control Board
The control board directs power to the heating components. Faults here may cause the oven to stay cold. Check for burn marks, loose wires, or damaged parts on the board. Testing may require a professional, but a visual inspection can reveal obvious issues.
Temperature Issues
Temperature problems in electric ovens cause cooking troubles. Food may burn or stay undercooked. Checking oven temperature helps fix these issues quickly. Some problems come from the thermostat or sensors. Other times, the temperature indicator light may be faulty. Understanding these parts helps solve the problem.
Calibrate Thermostat
Oven thermostats can lose accuracy over time. This causes wrong temperature settings. Use an oven thermometer to check real heat. Compare it with the oven’s display. Adjust the thermostat according to the manual. Calibration improves cooking results and saves energy.
Replace Faulty Sensors
Temperature sensors detect heat inside the oven. A broken sensor sends wrong signals to the control board. This leads to wrong temperature control. Test the sensor with a multimeter for resistance. Replace the sensor if it shows no continuity. New sensors restore proper oven heating.
Verify Temperature Indicator Light
The temperature indicator light shows if the oven is heating. A broken light may confuse users about oven status. Check if the light turns on when the oven heats. Replace the bulb or LED if it stays off. Proper indicators help monitor oven heating easily.
Oven Won’t Turn On
When your electric oven won’t turn on, it can stop all your cooking plans. This problem can have simple causes. Checking these causes step-by-step can help you find the issue fast.
Start with easy checks before calling a repair person. Safety first: always unplug the oven before doing any tests.
Check Electrical Connections
Loose or damaged wires can stop your oven from working. Look behind the oven for power cables. Make sure they plug in tightly. Check the wires for cuts or burns. If you see damage, do not use the oven.
Also, check your home’s circuit breaker. If the breaker is off or tripped, reset it. This can restore power to the oven.
Test Outlet Power
Sometimes the outlet itself causes the problem. Use a small device, like a lamp, to test the outlet. If the lamp does not light, the outlet has no power.
Try plugging the oven into a different outlet. If it works, the first outlet needs repair. Call an electrician to fix it safely.
Assess Door Lock Mechanism
Many ovens will not turn on if the door lock is faulty. Check if the door closes fully and locks properly. A broken lock can stop the oven from starting.
Look for any broken parts or misaligned latches. If the door does not lock, the oven’s safety system may prevent it from turning on. Repair or replace the door lock to fix this.
Oven Door Problems
Oven door problems can cause many cooking issues. A door that won’t close right wastes heat and can ruin your food. Common door problems include a stuck door, a door that is out of alignment, and a damaged door seal. Fixing these issues helps your oven work better and saves energy.
Fix Stuck Door
A stuck oven door can stop you from opening or closing it properly. Dirt or debris might block the hinges. Start by cleaning around the door and hinges with a soft cloth. Use warm soapy water to remove grease. If the door still sticks, check if the hinges are bent or damaged. Replace broken parts to free the door.
Realign Oven Door
A misaligned oven door does not close tightly. This causes heat to escape and uneven cooking. To realign, first loosen the screws on the door hinges slightly. Gently adjust the door until it fits well in the frame. Tighten the screws again. Test the door several times to make sure it opens and closes smoothly.
Repair Door Seal
The oven door seal keeps heat inside. A worn or torn seal lets heat escape. Examine the seal for cracks or gaps. If damaged, remove the old seal carefully. Buy a replacement seal made for your oven model. Press the new seal firmly into place. A good seal improves oven performance and saves energy.
Oven Light Issues
The oven light helps you see inside without opening the door. It can stop working for different reasons. Fixing the light can be simple and save time during cooking.
Replace Bulbs
First, try changing the oven bulb. Bulbs burn out after some use. Make sure the oven is off and cool. Use a cloth to remove the old bulb. Replace it with the right type and wattage bulb. Screw it in gently. Turn the oven on to check if the light works.
Inspect Wiring
If the bulb is fine but no light shows, check the wiring. Wires can get loose or damaged. Unplug the oven before inspecting. Look for frayed or disconnected wires near the light socket. Tighten any loose connections carefully. If wires look damaged, call a professional. Faulty wiring can cause safety issues.

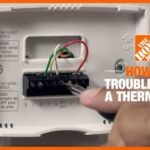
Credit: www.youtube.com
Thermal Fuse Troubleshooting
Troubleshooting the thermal fuse in an electric oven is crucial for safe and effective repairs. The thermal fuse acts as a safety device to prevent overheating. If it blows, the oven may stop working or shut off suddenly. Understanding how to identify, test, and prevent issues with this fuse can save time and avoid costly repairs.
Identify Blown Fuse Symptoms
A blown thermal fuse causes the oven to stop heating completely. The oven may not turn on or could shut off during use. The display might go blank, and the door may lock after a self-clean cycle. Look for signs like no heat, sudden power loss, or visible damage to the fuse. These symptoms often point to a blown fuse preventing the oven from working.
Test Fuse With Multimeter
Testing the thermal fuse requires a multimeter to check continuity. First, unplug the oven for safety. Remove the fuse from its holder. Set the multimeter to the continuity or ohm setting. Place the probes on each end of the fuse. A good fuse shows continuity with a reading close to zero. If the multimeter shows no continuity, the fuse is blown and needs replacement.
Locate Fuse Position
The thermal fuse is usually near the oven’s heating element or control board. To find it, remove the back panel or bottom access panel. The fuse often looks like a small ceramic or metal component with two wires attached. Check the oven’s manual for exact location. Knowing where the fuse sits helps in quick inspection and replacement.
Prevent Overheating Causes
Overheating often causes the thermal fuse to blow. Keep the oven clean to avoid blocked vents or fans. Avoid running long self-clean cycles frequently. Check that the door seal is tight to keep heat inside. Inspect heating elements regularly for damage. Proper ventilation and routine maintenance reduce overheating risks and prolong the fuse’s life.
Control Board Checks
The control board acts as the brain of an electric oven. It manages heating cycles, temperature settings, and user commands. Problems with the control board can cause the oven to stop heating or respond incorrectly. Checking the control board helps identify faults and decide on repair steps.
Control board issues often show as error codes, no heat, or unresponsive controls. Performing detailed checks on the control board can save time and money. Follow these steps to inspect and test the control board safely and effectively.
Inspect Control Board Terminals
Begin by unplugging the oven to avoid electrical shock. Remove the back panel to access the control board. Look closely at the terminals where wires connect. Check for burnt marks, corrosion, or loose connections. Tighten any loose terminals carefully. Replace any damaged wires. Clean terminals with a soft brush if dirty. Poor connections can cause heating failure or erratic oven behavior.
Test Relays
Relays on the control board control power to heating elements. Use a multimeter set to continuity mode to test relays. Remove the control board from the oven. Locate the relay contacts and test for continuity when the relay is activated. No continuity means the relay is faulty. Faulty relays prevent the oven from heating properly. Replace any relays that fail the test to restore oven function.
Replace Faulty Control Board
If inspections and relay tests show damage, the control board likely needs replacement. Purchase a control board that matches the oven model. Disconnect all wires from the old board. Remove mounting screws and take out the board carefully. Install the new control board by reversing the steps. Reconnect wires securely and replace the back panel. Plug the oven in and test for normal operation. A new control board solves many oven control problems.
Basic Troubleshooting Steps
Basic troubleshooting steps help identify common electric oven problems quickly. These steps save time and money by targeting simple fixes. Follow them carefully to avoid damage or injury. Start by understanding safety rules, then open the oven, and test parts with a multimeter. This approach narrows down the issue for faster repair.
Safety Precautions
Always unplug the oven before starting any check. Electricity can cause shocks or burns. Use insulated tools and wear rubber gloves. Avoid touching wires or metal parts directly. Work in a dry area to prevent slipping or electric hazards. Ensure good lighting to see small parts clearly.
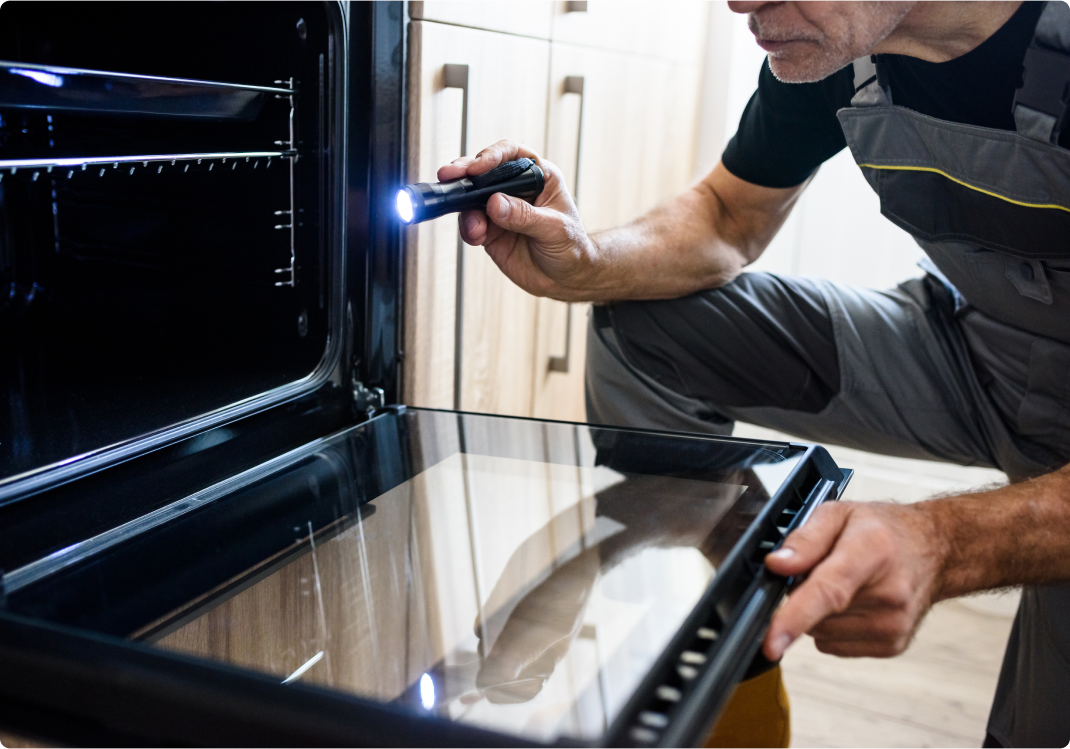
Remove Back Panel
Locate screws holding the oven’s back panel. Use a screwdriver to remove them carefully. Keep screws in a safe place for reassembly. Gently pull the panel away to expose internal parts. Check for visible signs like burnt wires or loose connections. Do not force the panel off to avoid breaking clips.
Use Multimeter For Testing
Set the multimeter to measure resistance (ohms). Test heating elements by placing probes on each end. A good element shows a reading between 10 and 50 ohms. Test the thermal fuse and thermostat for continuity. Zero or infinite readings mean part failure. Replace faulty parts to restore oven function.
Advanced Troubleshooting
Advanced troubleshooting helps fix complex electric oven problems. Basic checks might not find all issues. This section guides through detailed steps to repair your oven safely.
Handling electrical parts needs care. Make sure the oven is unplugged before starting any work. Follow instructions closely to avoid damage or injury.
Disassemble Control Board
Remove the oven’s back panel to access the control board. Use a screwdriver to take out screws holding the panel. Carefully disconnect all wires connected to the board. Note or label wire positions for easy reassembly. Gently lift the control board out of its housing.
Relay Troubleshooting And Replacement
Locate the relays on the control board; these control power to heating elements. Test relays with a multimeter for continuity and proper function. A faulty relay can stop the oven from heating. Replace any defective relays with exact model parts. Ensure new relays fit securely on the board.
Reassemble Oven
After repairs, reconnect all wires to their original places. Place the control board back into its housing carefully. Screw the back panel tightly to secure all parts. Plug in the oven and test its functions before full use. Proper reassembly ensures safe and effective oven operation.
Credit: www.ahs.com
Tips For Oven Maintenance
Maintaining your electric oven helps it work well longer and prevents common problems. Small care steps keep the oven safe and efficient. Regular maintenance saves money on repairs and avoids cooking delays.
Keep Vents Clean
Oven vents remove heat and moisture during cooking. Dust and grease block these vents over time. Blocked vents cause poor oven performance and uneven cooking. Clean vents gently with a soft brush or cloth. Do this at least once a month for best results.
Ensure Cooling Fan Function
The cooling fan stops the oven from overheating. A faulty fan makes the oven too hot and can damage parts. Listen for the fan when the oven runs. If silent or noisy, check or replace it. Keep the fan area free from dust and debris.
Regular Inspection Routine
Inspect your oven regularly to spot problems early. Check heating elements for cracks or burns. Look at door seals for tears or gaps that leak heat. Test oven lights and controls to ensure they work well. Catching issues early avoids bigger repairs.
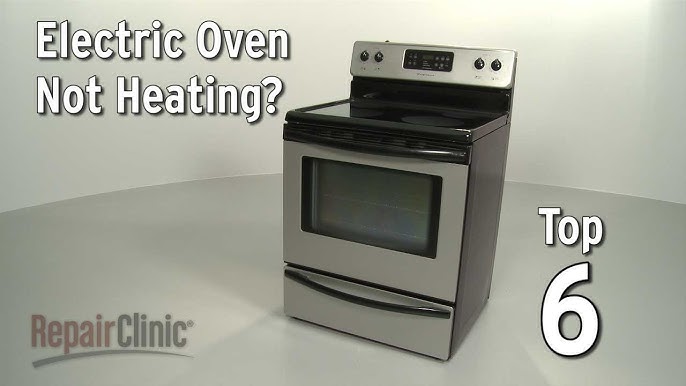
Credit: www.youtube.com
Frequently Asked Questions
What Is A Common Problem Of The Electric Oven?
A common electric oven problem is incorrect temperature due to a faulty thermostat or heating element. This causes uneven cooking or no heat.
Why Did My Electric Oven Suddenly Stop Working?
Your electric oven may stop working due to a broken heating element, faulty igniter, blown fuse, control board issue, or power supply problem. Check these parts and power connections to identify the cause.
How Do I Know If My Thermal Fuse Is Bad In My Oven?
A bad thermal fuse causes the oven to not heat, shut off suddenly, or lock the door. Check for a broken or charred fuse. Test with a multimeter for no continuity. These signs indicate the fuse needs replacement to restore oven function.
How To Diagnose An Oven Issue?
Diagnose an oven issue by checking power supply, inspecting heating elements, testing the thermal fuse with a multimeter, and examining control board functionality. Look for visible damage or unusual noises. Perform basic voltage checks and ensure proper airflow to prevent overheating.
Seek professional help if problems persist.
Why Is My Electric Oven Not Heating Properly?
The heating element might be faulty or damaged. Check for visible breaks or use a multimeter to test it. Also, ensure the oven is receiving power.
Conclusion
Electric oven problems can feel frustrating but often have simple fixes. Start by checking power and heating elements carefully. Test components like the thermal fuse or control board to find issues. Regular maintenance helps avoid future troubles and keeps your oven working well.
Remember, safety first—unplug the oven before repairs. When problems persist, seek professional help to prevent damage. With these steps, you can handle common electric oven issues confidently and keep your cooking on track.
")