Your GE Sensor Dry Dryer is supposed to make laundry easier and more efficient, but what happens when it doesn’t quite perform as expected? Maybe your clothes aren’t drying properly, or the dryer seems to shut off at random times.
These issues can be frustrating, especially when you’re counting on your dryer to save time and keep your wardrobe in tip-top shape. Don’t worry, you’re not alone. Many people have faced similar challenges, and there are solutions to get your dryer back on track.
This guide is here to help you troubleshoot your GE Sensor Dry Dryer. By the end of this article, you’ll have the tools and tips to fix common problems and get the best performance out of your dryer. So, let’s dive in and solve those pesky issues together!
Credit: fredsappliance.com
Common Issues
GE Sensor Dry Dryers are popular for their efficiency and advanced technology. Despite their reliability, users sometimes face common issues. Understanding these can save time and effort.
Below are some frequent problems users encounter with GE Sensor Dry Dryers. Each issue has potential solutions to restore smooth operation.
1. Dryer Not Heating
A dryer that doesn’t heat is frustrating. This often happens due to a faulty heating element. Check if the element is broken or disconnected. A broken thermostat can also cause heating issues. Inspect and replace if necessary.
2. Dryer Takes Too Long To Dry
Drying takes longer when airflow is restricted. Lint buildup often blocks vents. Regular cleaning ensures proper airflow. Another reason could be sensor malfunction. Sensors detect moisture levels. If faulty, they may misread and prolong drying.
3. Dryer Shuts Off Mid-cycle
Unexpected shutdowns may indicate an overheating issue. Overheating occurs if the dryer is overloaded. Ensure loads are balanced and appropriate for the dryer’s capacity. Also, check the thermal fuse. A blown fuse will stop the dryer.
4. Drum Not Spinning
If the drum doesn’t spin, check the drive belt. A broken or loose belt can prevent rotation. Inspect the belt for damage and replace if needed. Another cause could be motor issues. Listen for unusual noises and inspect the motor.
5. Error Codes On Display
Error codes provide clues to problems. Consult the manual for code explanations. Common codes indicate sensor errors or blockages. Reset the dryer or clean sensors to resolve.
Addressing these common issues ensures your dryer operates efficiently. Regular maintenance can prevent many problems.
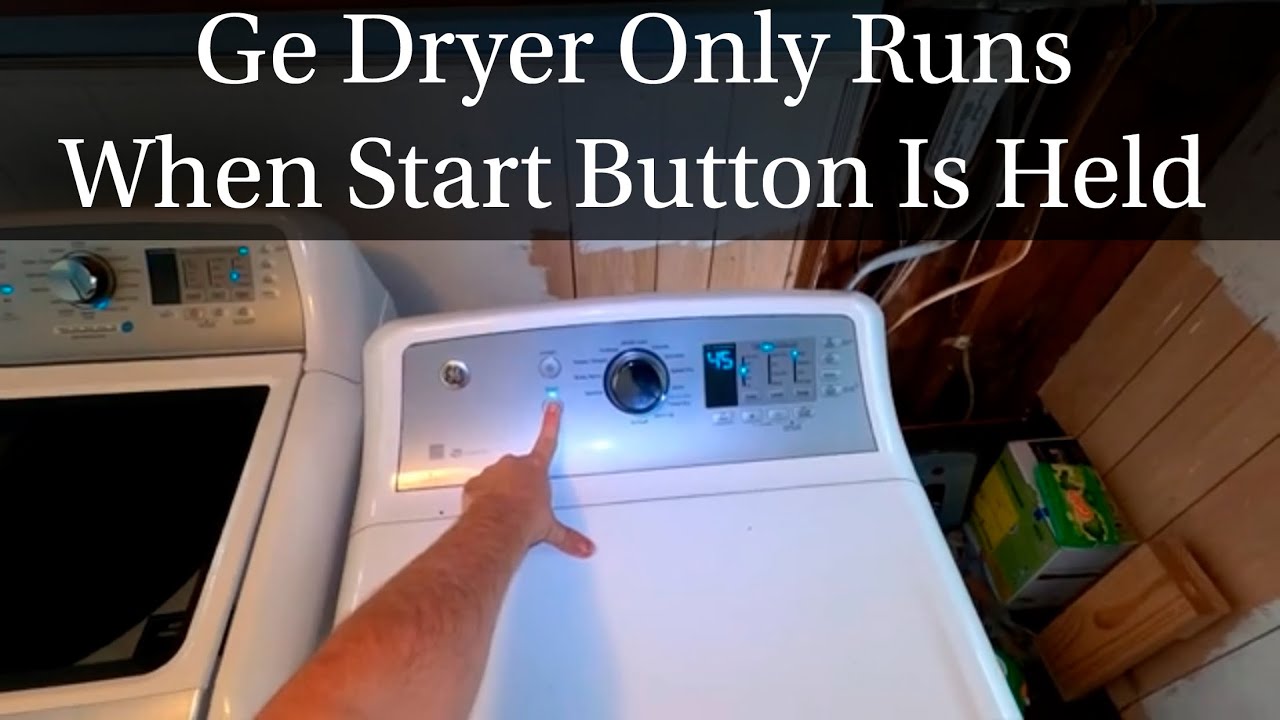
Dryer Not Starting
There’s nothing more frustrating than heading into the laundry room, ready to tackle a mountain of clothes, only to find your GE Sensor Dry Dryer refusing to start. It’s a common problem that can leave you feeling stranded amidst the chaos of everyday life. But before you start panicking or considering costly repairs, there are a few simple checks you can perform to get your dryer back in action.
Power Supply Check
First things first, let’s check the power supply. It’s surprising how often the solution lies in something as straightforward as this. Ensure your dryer is plugged in securely. A loose plug can easily disrupt the power flow.
Then, verify that your outlet is working. You can do this by plugging in another appliance or using a tester. If the outlet is dead, your dryer won’t start no matter what you do.
Don’t forget to check your home’s circuit breaker or fuse box. Sometimes, a tripped breaker or blown fuse might be the culprit. Resetting the breaker or replacing the fuse could be all you need to power up your dryer.
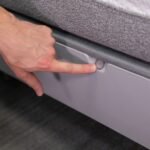
Door Switch Inspection
The door switch is another common issue when your dryer won’t start. This switch is designed to prevent the dryer from running when the door is open. Sometimes, it can malfunction or become misaligned.
Inspect the door switch carefully. Look for visible damage or debris that might be blocking it. A quick cleaning can often resolve the issue.
If the switch seems intact but still doesn’t work, consider testing it with a multimeter. A faulty switch won’t complete the circuit, preventing the dryer from starting. Replacing a defective door switch might be necessary.
Before you dive into more complex troubleshooting, ask yourself: Have you recently closed the door too forcefully? This can sometimes misalign the switch, causing it to malfunction. Adjusting the door might be the simple fix you need.
By following these steps, you might find that your dryer springs back to life, saving you time and effort. Remember, sometimes the simplest solutions are the most effective. Have you ever encountered a similar issue? What surprising fix worked for you?
Clothes Not Drying
Experiencing issues with your GE Sensor Dry Dryer can be frustrating. Many face the challenge of clothes not drying properly. This common problem can stem from simple maintenance issues. Explore these basic troubleshooting steps to get your dryer back on track.
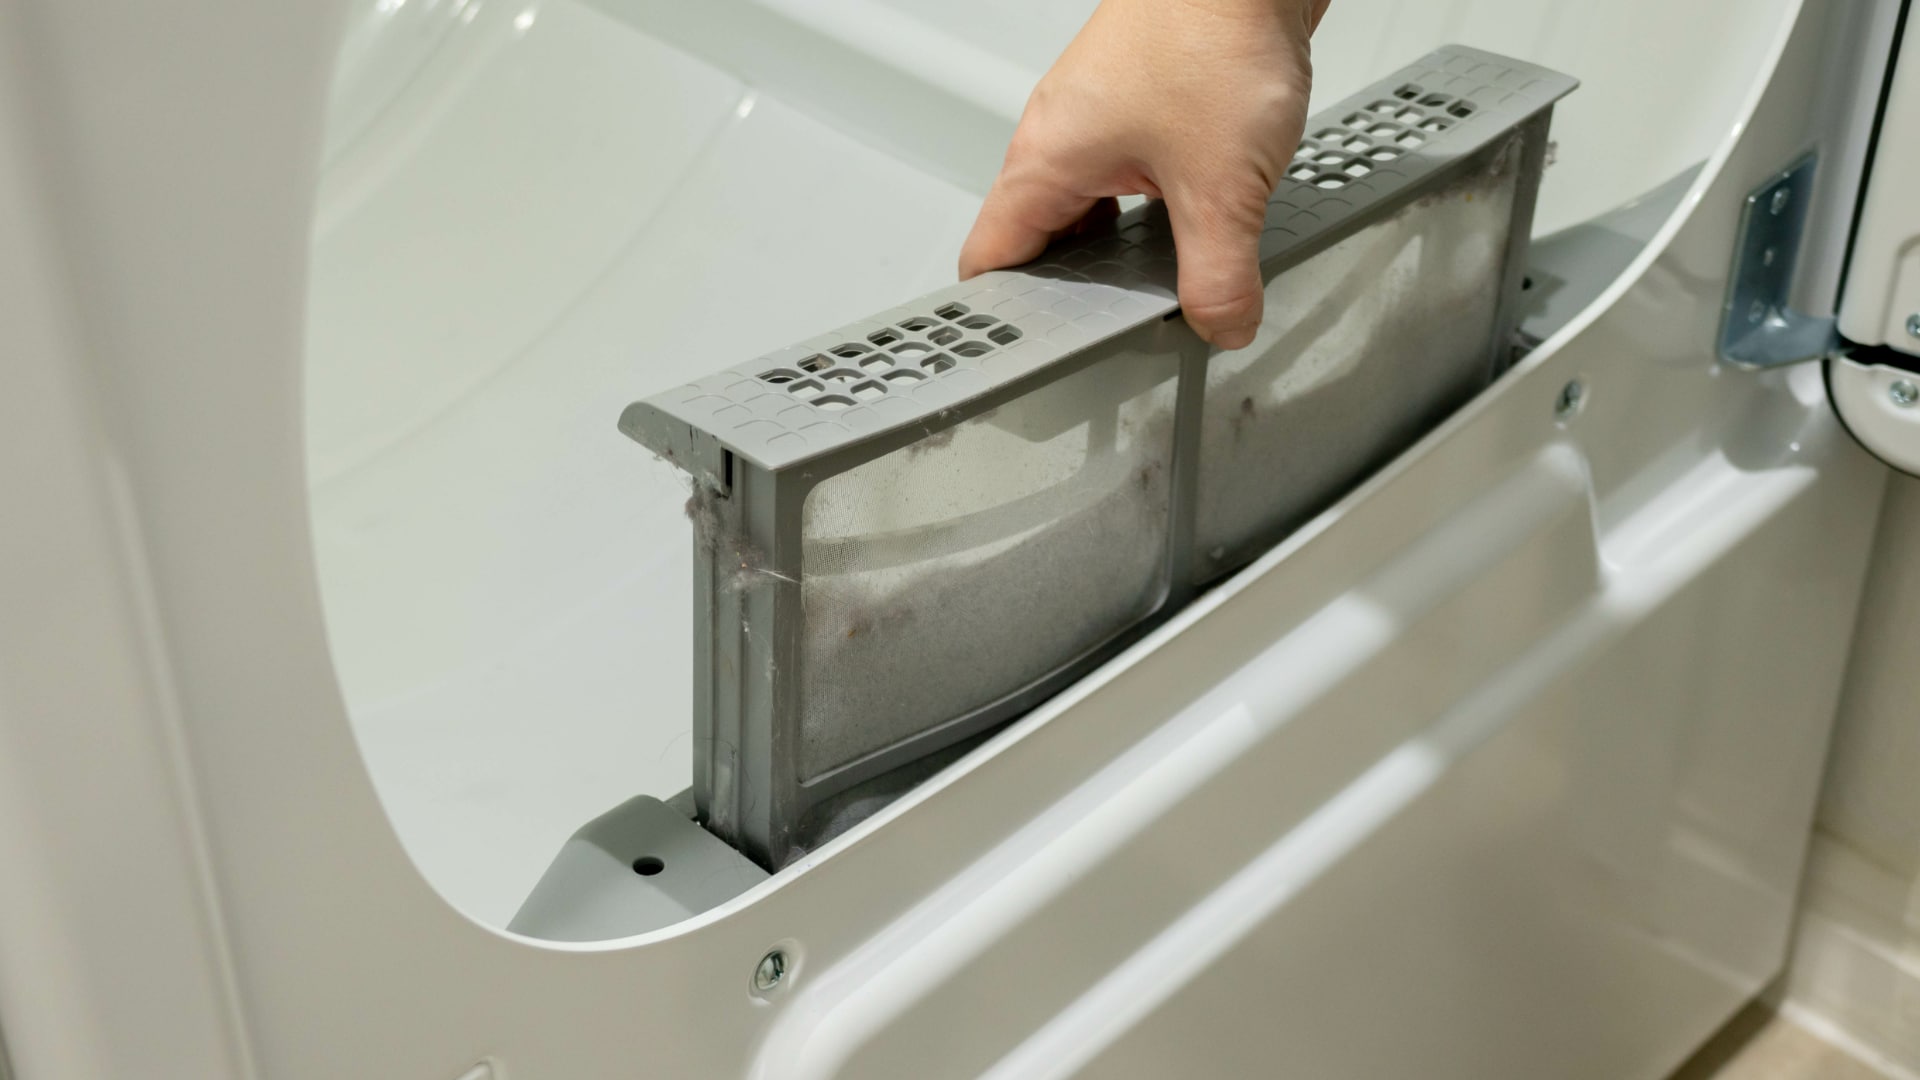
Lint Filter Cleaning
The lint filter needs regular cleaning for optimal dryer performance. A clogged filter restricts airflow, making clothes take longer to dry. After each drying cycle, remove lint from the filter. This simple task can significantly improve drying efficiency. A clean filter also reduces fire risks.
Ventilation System Check
Blocked vents can cause your dryer to underperform. Ensure the vent hose is free of kinks. Regularly inspect the outside vent opening for obstructions. Clear any debris or blockages promptly. Good airflow is crucial for efficient drying. Keep vents clean to enhance your dryer’s performance.
Credit: academy.fredsappliance.com
Excessive Drying Time
Experiencing long drying times with your GE Sensor Dry Dryer? It can be frustrating. This issue often affects laundry routines. Resolving it involves a few simple checks. Sometimes, it’s due to easily fixable problems. Addressing these can save time and energy.
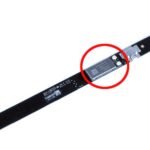
Sensor Bar Cleaning
The sensor bars play a key role. They detect moisture levels. When dirty, they can misread the moisture. This results in longer drying times. Regular cleaning of sensor bars is essential. Use a soft cloth and rubbing alcohol. Gently wipe away any lint or residue. This ensures accurate moisture detection.
Drum Capacity Evaluation
Overloading the dryer can extend drying time. The drum needs enough space for air circulation. Evaluate your dryer’s capacity. Avoid filling it to the brim. Leave some space for clothes to tumble freely. This helps air circulate well, reducing drying time.
Unusual Noises
Does your GE Sensor Dry Dryer make strange sounds? These noises can be annoying. They might also signal a problem. Addressing them quickly can prevent bigger issues.
Common causes include worn parts or loose components. Below, find tips to fix these problems. Ensure your dryer runs smoothly and quietly.
Belt Inspection
A worn or damaged belt often causes strange noises. Inspect the belt for any signs of wear or cracks. A damaged belt might slip or break. Replacing it can restore quiet operation.
Ensure the belt is tight and properly aligned. Misalignment can cause the belt to rub against other parts. This creates loud, irritating sounds. Use a screwdriver to adjust as needed.
Drum Rollers Check
Noisy drum rollers can disrupt your dryer’s performance. Check each roller for wear. Worn rollers can cause loud thumping or squeaking sounds. Replacing them can solve these issues.
Ensure rollers spin freely and smoothly. A stuck roller might cause the drum to wobble. Secure or replace any faulty rollers. This helps maintain a quiet and efficient dryer.
Overheating Issues
Experiencing overheating with a GE Sensor Dry Dryer can be frustrating. Check for blocked vents or filters, which can cause excessive heat. Regular maintenance and cleaning help ensure efficient operation and prevent overheating issues.
Overheating issues with your GE Sensor Dry Dryer can be more than just a minor inconvenience. If left unchecked, they may lead to reduced efficiency or even damage to your appliance. Understanding the root cause is crucial to ensuring your dryer operates safely and effectively. Let’s dive into some practical steps you can take to troubleshoot and resolve these overheating issues.Thermal Fuse Examination
The thermal fuse is a critical safety component in your dryer. It prevents overheating by cutting off power if the dryer gets too hot. If your dryer is overheating, the thermal fuse could be blown. First, unplug your dryer for safety. Locate the thermal fuse, typically found on the blower housing or at the dryer’s heat source. Using a multimeter, check for continuity. If there’s no continuity, the fuse is blown and needs replacing. Replacing a thermal fuse is straightforward. Purchase the correct replacement, remove the faulty one, and install the new fuse. Ensure the connections are secure to avoid future issues. Have you checked your thermal fuse recently?Thermostat Functionality
A faulty thermostat can also lead to overheating. The thermostat regulates the temperature inside your dryer. If it fails, the dryer could get too hot. To test the thermostat, disconnect the power and locate it near the heating element. Use a multimeter to check for continuity. A lack of continuity indicates a malfunctioning thermostat. Replacing the thermostat involves removing the faulty unit and installing a new one. Ensure all connections are tight. Don’t forget to double-check your work before turning the power back on. Regular maintenance can prevent these issues. Checking your dryer’s components periodically can save you from unexpected breakdowns. Could thermostat issues be the reason behind your dryer’s overheating? By addressing these potential overheating issues, you maintain your dryer’s efficiency and prolong its lifespan. Do you feel more equipped to handle your dryer’s overheating problems now?Control Panel Problems
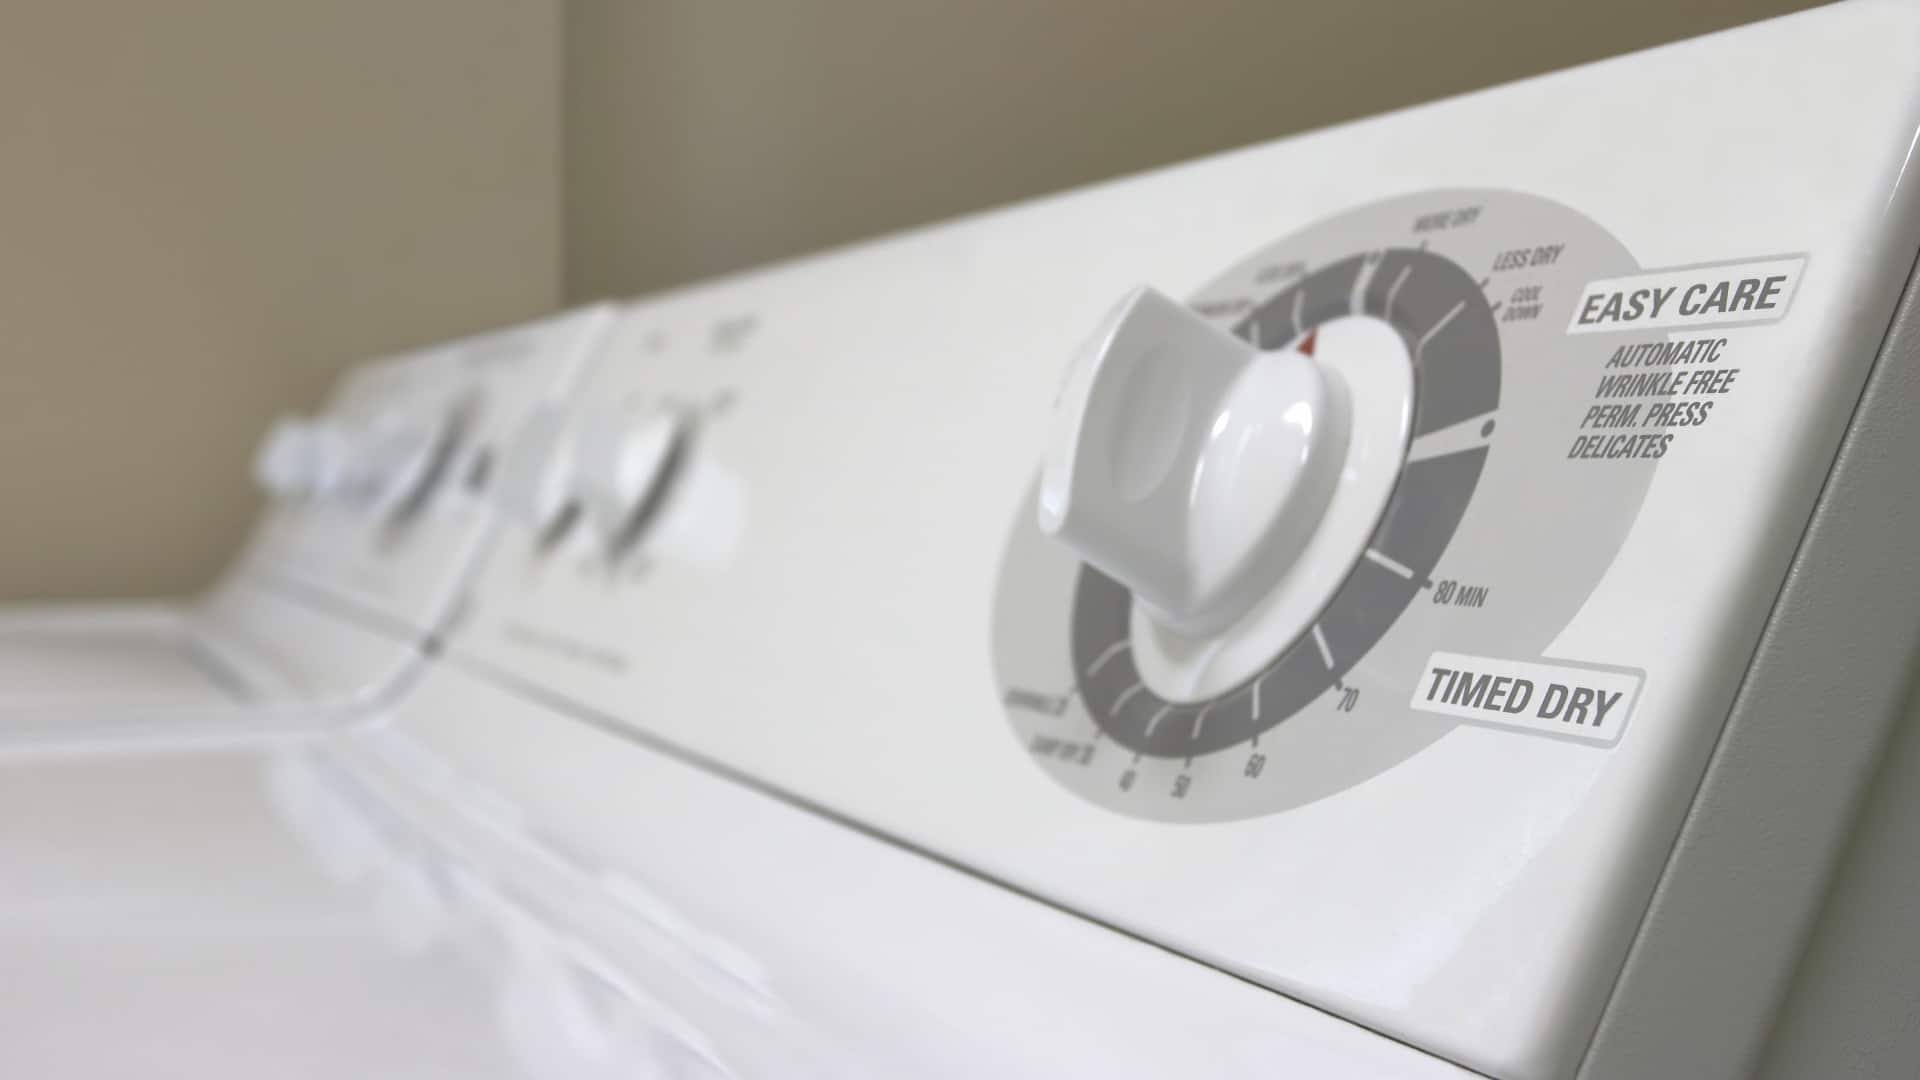
Experiencing issues with your GE Sensor Dry Dryer control panel can be frustrating. Common problems include unresponsive buttons or incorrect settings. Identifying these issues early can save time and prevent damage. Understanding how to troubleshoot can get your dryer back to working efficiently.
Resetting The System
Sometimes, the control panel needs a simple reset. This can resolve minor glitches. To reset, unplug the dryer. Wait for at least 60 seconds. Then plug it back in. This clears temporary errors. It often restores normal functions.
Button Function Check
Inspect each button on the control panel. Ensure they work as intended. Press each button individually. Check if it responds correctly. Non-responsive buttons may need replacement. This confirms whether the control panel is functioning properly.
Credit: www.youtube.com
Maintenance Tips
Troubleshooting a GE Sensor Dry Dryer involves checking common issues like blocked vents and faulty sensors. Regular maintenance helps prevent overheating and ensures efficient drying. Clean lint filters and inspect connections to keep the dryer running smoothly.
Maintaining your GE Sensor Dry Dryer is crucial to its longevity and efficiency. Regular upkeep not only prevents unexpected breakdowns but also enhances its performance. Dive into these maintenance tips to ensure your dryer runs smoothly and efficiently.Regular Cleaning
Start by cleaning the lint filter after every load. A clogged lint filter restricts airflow, reducing the dryer’s efficiency and posing a fire risk. Monthly, check the dryer vent and ductwork. Remove any lint buildup to maintain proper airflow. Use a vacuum or a flexible brush for thorough cleaning. Ever noticed your clothes taking longer to dry? It might be time to clean the moisture sensors. Use a damp cloth and mild soap to gently wipe the sensors. This simple task can prevent misreads and improve drying times.Professional Inspection
Consider scheduling a professional inspection annually. A technician can spot potential issues you might miss, saving you from costly repairs later. During an inspection, professionals often check the belt, drum, and electrical components. They ensure everything is working seamlessly. Have you ever thought about the wear and tear on your dryer over the years? A professional can provide insights into when parts might need replacing, giving you peace of mind. Maintaining your GE Sensor Dry Dryer doesn’t have to be complicated or time-consuming. What small maintenance task will you tackle today to ensure your dryer runs efficiently?Conclusion
Fixing a GE Sensor Dry Dryer can be simple with proper guidance. Check the manual first. It holds valuable solutions for common issues. Clean the lint filter regularly to prevent problems. Inspect the vent for blockages to ensure smooth operation.
Listen for unusual noises. They might signal mechanical issues. Replace worn parts promptly to maintain efficiency. Seek professional help if problems persist. Keeping your dryer in top shape will extend its life. Save time and stress by tackling minor issues early.
Stay informed and proactive for a hassle-free laundry day. Happy drying!
")