Harley Davidson motorcycles offer an unmatched riding experience. But starter problems can spoil the fun.
Are you struggling with your Harley’s starter? You’re not alone. Many riders face this issue. Starter problems can be frustrating and can leave you stranded. But, understanding the root causes can help you fix them. From weak batteries to faulty solenoids, various factors can be at play.
This guide will help you troubleshoot common starter problems. Knowing what to look for can save you time and money. Let’s dive in and get your Harley back on the road.
Common Starter Issues
Harley Davidson motorcycles are known for their reliability and performance. But, like any machine, they can experience starter problems. Understanding common starter issues can help you troubleshoot and fix your bike quickly. In this section, we will discuss some common starter issues and how to identify them.
Dead Battery
A dead battery is a frequent problem for many Harley Davidson owners. The battery might lose its charge due to various reasons. Here are some signs that indicate a dead battery:
- The starter makes a clicking sound.
- The lights are dim or not working.
- The bike won’t start at all.
To troubleshoot a dead battery, follow these steps:
- Check the battery terminals for corrosion or loose connections.
- Use a multimeter to measure the battery voltage. It should read around 12.6 volts.
- If the voltage is low, charge the battery using a suitable charger.
- If the battery doesn’t hold a charge, it may need replacement.
Faulty Starter Motor
The starter motor is essential for starting your Harley Davidson. A faulty starter motor can prevent your bike from starting. Signs of a faulty starter motor include:
- The engine cranks slowly or not at all.
- There is a grinding noise when trying to start the bike.
- The starter motor gets hot quickly.
To troubleshoot a faulty starter motor, consider these steps:
- Inspect the starter motor for any visible damage.
- Check the wiring connections to the starter motor.
- Test the starter motor by jumping it directly from the battery.
- If the starter motor fails the test, it may need repair or replacement.
By identifying and addressing these common starter issues, you can keep your Harley Davidson running smoothly. Remember, regular maintenance and checks can prevent many of these problems.
Initial Diagnostic Steps
Experiencing starter problems with your Harley Davidson can be frustrating. Identifying the issue quickly is crucial to getting back on the road. Let’s walk through the initial diagnostic steps to help troubleshoot the problem effectively.
Visual Inspection
Begin by performing a visual inspection of your Harley Davidson. Look for any obvious signs of damage or wear. Check the starter motor for any visible issues. Inspect all wiring for frays or breaks. Make sure all connections are secure and free of corrosion.
- Look for loose or damaged wires
- Check for signs of corrosion on battery terminals
- Inspect the starter motor for any visible damage
- Ensure all connections are tight and secure
Check Battery Voltage
The next step is to check the battery voltage. A weak or dead battery is a common cause of starter problems. Use a multimeter to measure the voltage. Here’s how to do it:
- Turn off the ignition and all electrical accessories.
- Set your multimeter to measure DC voltage.
- Place the red probe on the battery’s positive terminal.
- Place the black probe on the battery’s negative terminal.
- Read the voltage on the multimeter.
The battery should read between 12.6 to 12.8 volts when fully charged. If it reads below 12.4 volts, the battery may need charging or replacement.
| Battery Voltage | Status |
|---|---|
| 12.6 – 12.8 volts | Fully charged |
| 12.4 – 12.6 volts | Partially charged |
| Below 12.4 volts | Needs charging |
If the battery is in good condition, proceed to check other components. If the voltage is low, consider charging the battery or replacing it if necessary.
Battery-related Problems
Harley Davidson starter problems often lead back to battery-related issues. The battery is a critical component in any motorcycle. Understanding and troubleshooting battery-related problems ensures your Harley stays in top condition. Let’s dive into some common battery issues and how to address them.
Corrosion On Terminals
Corrosion on battery terminals can cause starting problems. It hinders the battery’s ability to deliver power. Over time, terminals can accumulate corrosion due to exposure to the elements. This creates resistance and affects the electrical connection.
To check for corrosion:
- Inspect the battery terminals visually.
- Look for a white or greenish substance on the terminals.
- If you find corrosion, clean the terminals with a wire brush.
- Use a mixture of baking soda and water for tough corrosion.
- Rinse with clean water and dry thoroughly.
Ensure the terminals are tightly connected after cleaning. This helps maintain a strong electrical connection.
Battery Load Test
A battery load test measures the battery’s capacity to hold and deliver power. It’s an effective way to identify a weak or failing battery. You can perform this test using a load tester.
Steps to conduct a battery load test:
- Charge the battery fully before testing.
- Connect the load tester to the battery terminals.
- Apply a load equal to half the battery’s cold cranking amps (CCA) rating.
- Hold the load for 15 seconds.
- Observe the voltage drop during the test.
A healthy battery should not drop below 9.6 volts. If the voltage drops significantly, the battery may need replacement.
By addressing these battery-related problems, you can resolve many Harley Davidson starter issues. Regular maintenance and checks ensure your motorcycle remains reliable and ready to ride.
Starter Motor Troubles
Experiencing starter problems with your Harley Davidson can be frustrating. Diagnosing the issue is crucial for quick repairs. This guide will help you troubleshoot common starter motor problems.
Listen For Clicking Noise
A clicking noise when trying to start your Harley Davidson often indicates a problem. This sound might come from the starter motor. It suggests that the motor isn’t engaging properly.
Here are some steps to take:
- Check the battery charge. A weak battery can cause clicking sounds.
- Ensure all connections are tight. Loose connections can prevent the motor from engaging.
- Inspect the starter motor for visible damage. Replace if necessary.
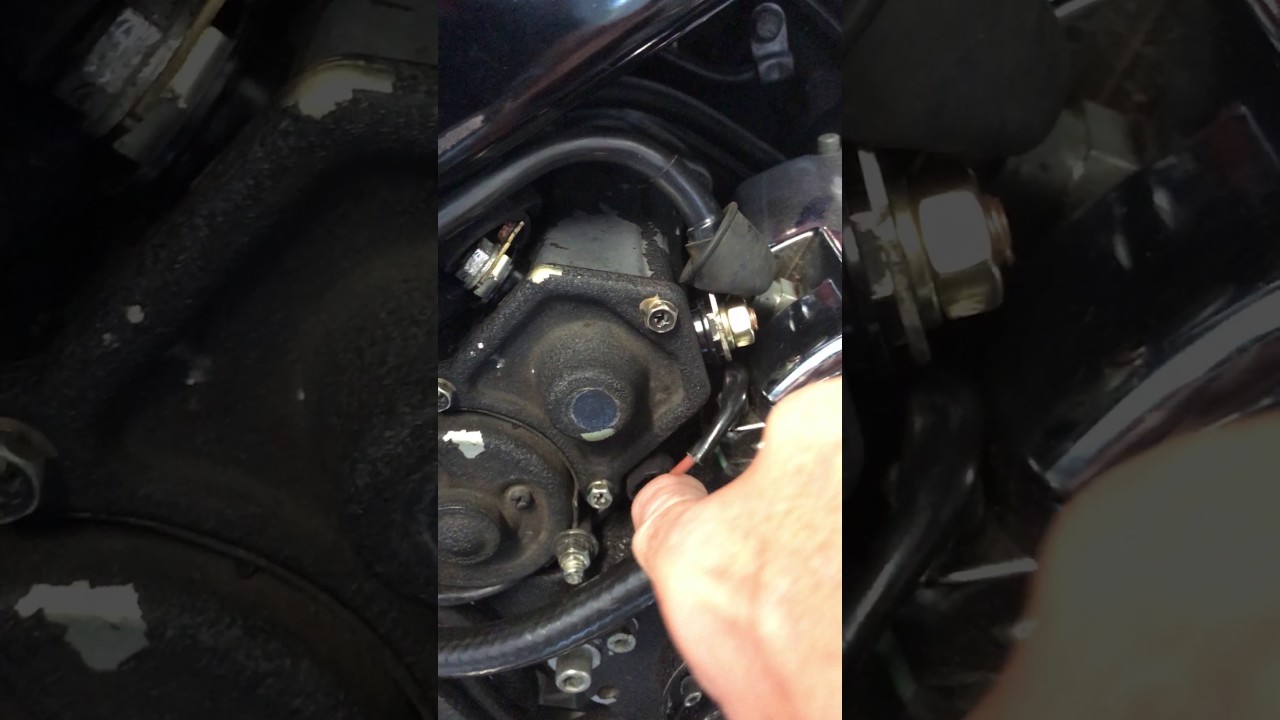
Inspect Starter Relay
The starter relay is another common trouble spot. If the relay is faulty, the starter motor won’t receive the necessary power.
Follow these steps to inspect the relay:
- Locate the starter relay. It’s usually near the battery.
- Check for corrosion on the relay terminals. Clean if needed.
- Test the relay with a multimeter. Ensure it works properly.
- If the relay is bad, replace it with a new one.
Taking these troubleshooting steps can help you identify and fix starter motor problems. Keep your Harley running smoothly by ensuring all components are in good condition.
Electrical System Check
Experiencing starter problems with your Harley Davidson can be frustrating. One common cause can be issues with the electrical system. Checking this system can help identify the problem quickly. This section will guide you through inspecting the wiring and checking the fuses.
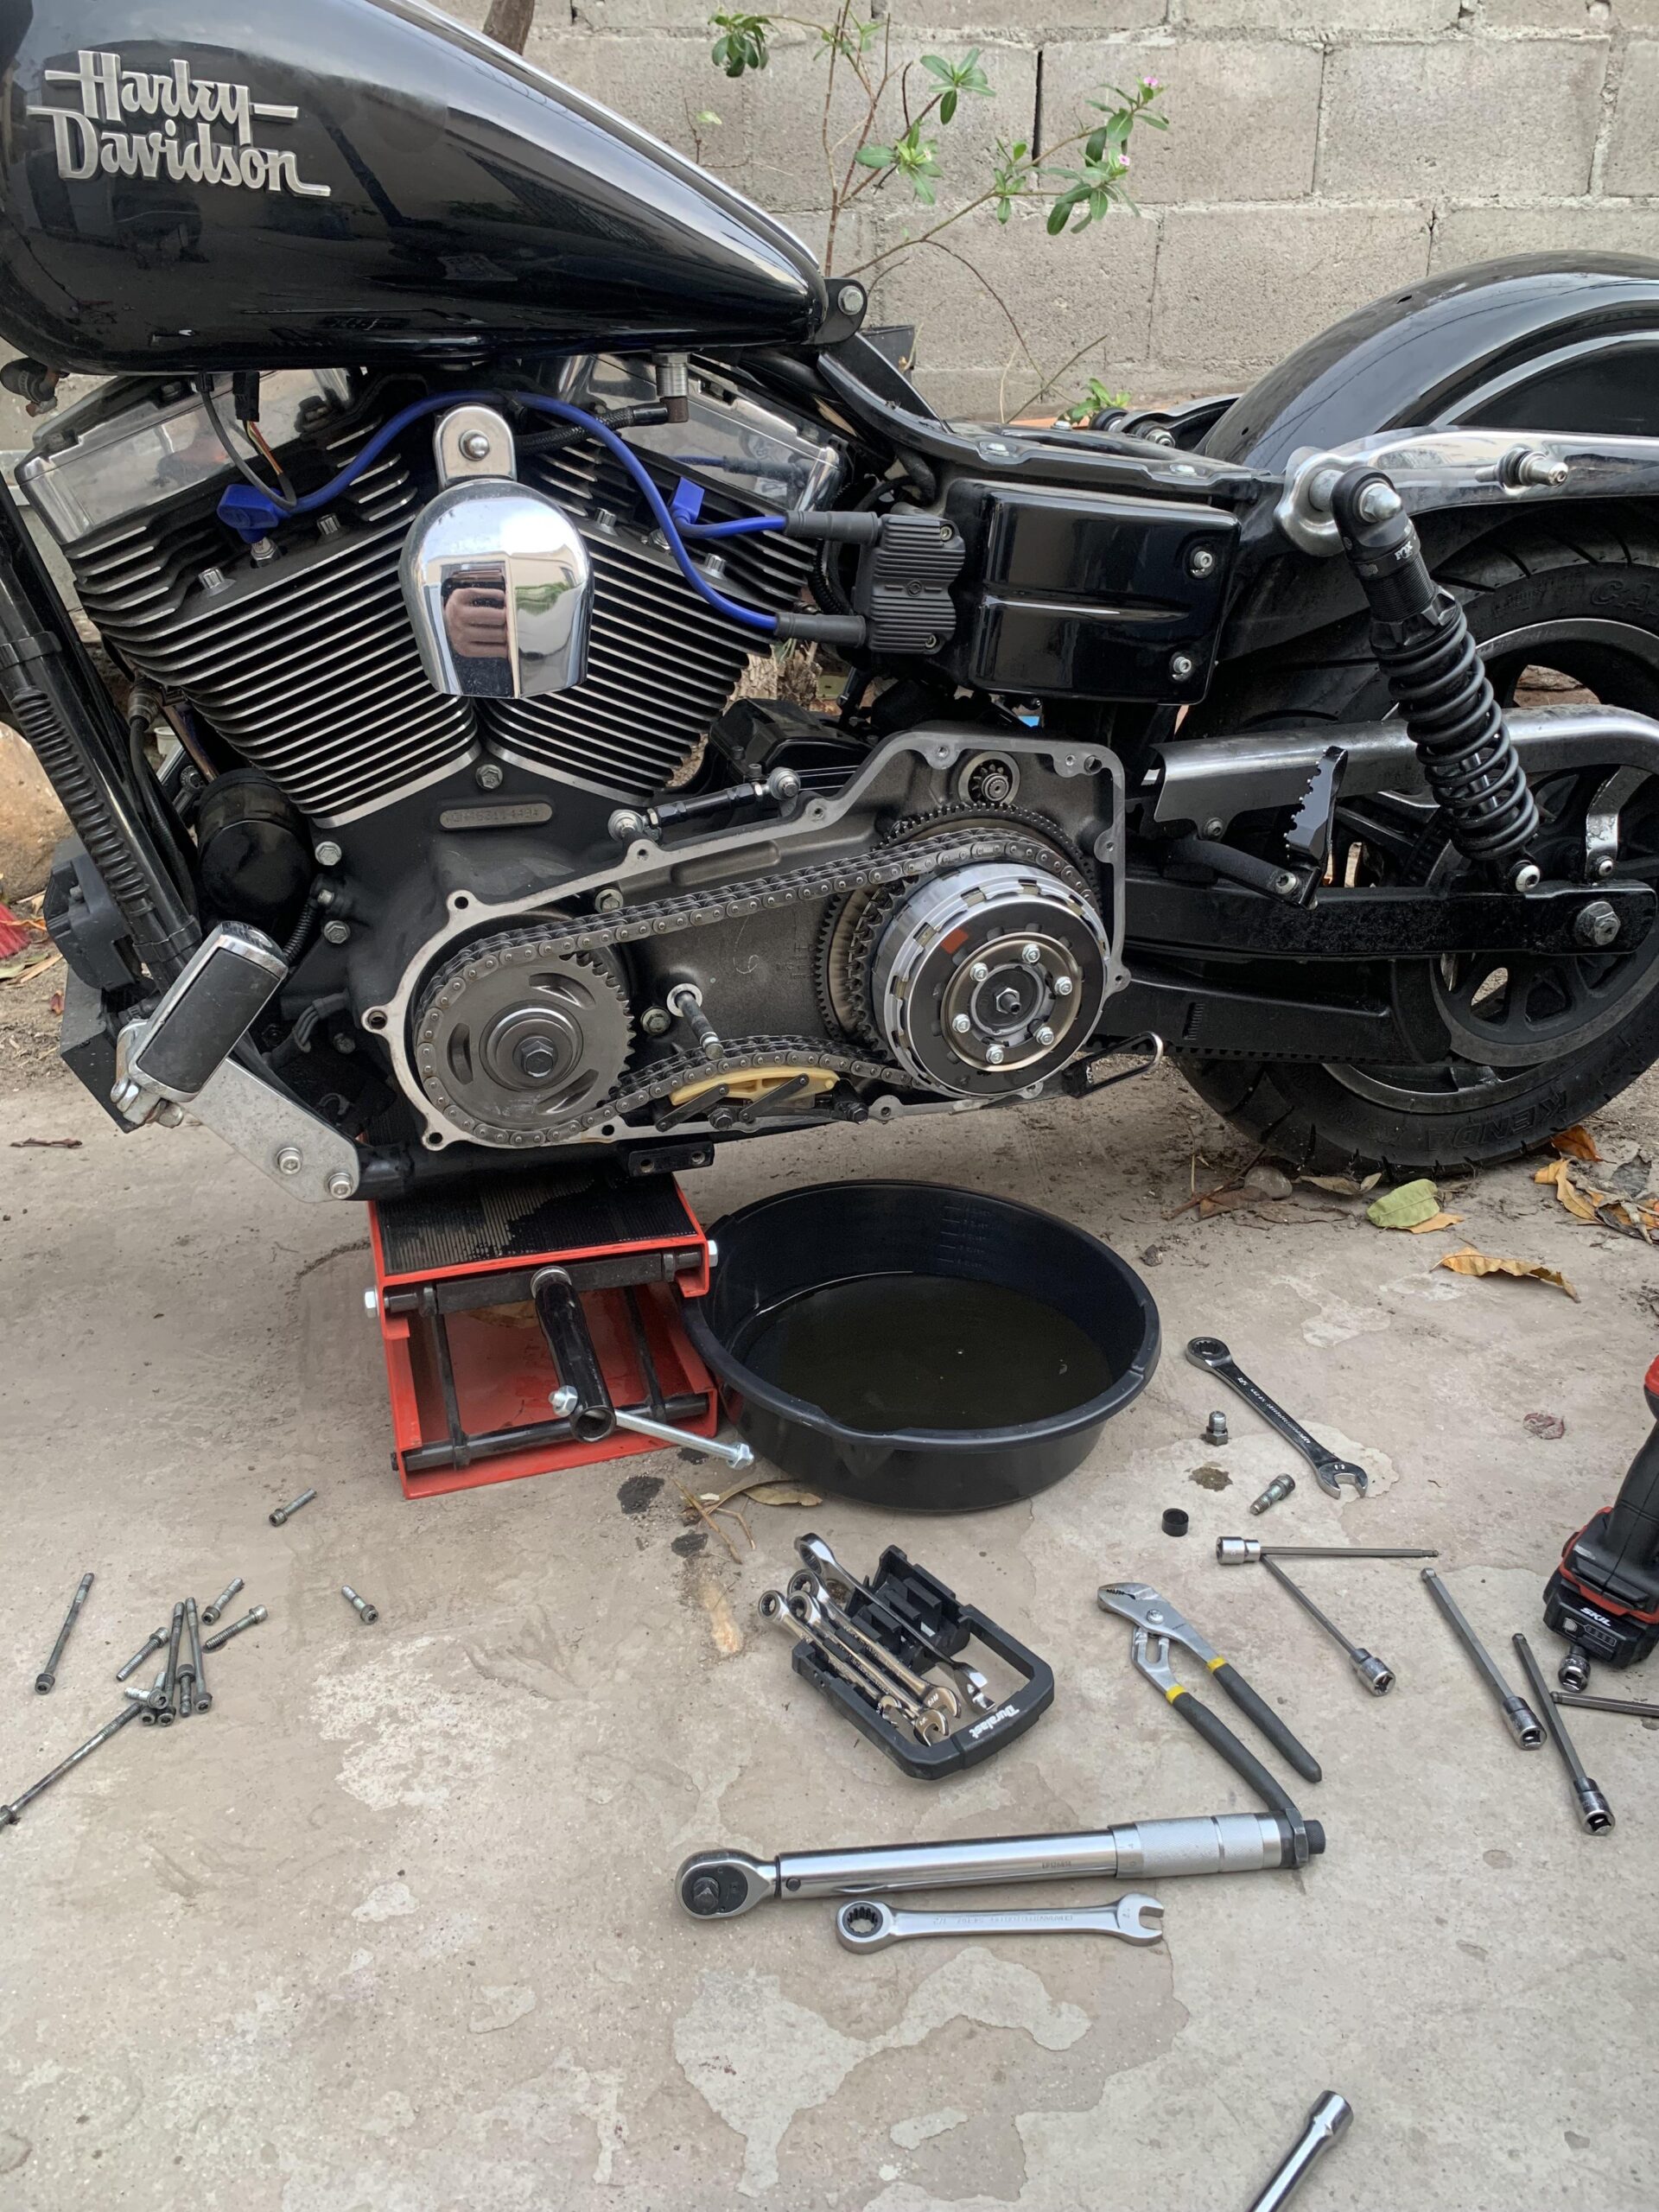
Inspect Wiring
Begin by inspecting all the wiring connected to the starter. Loose or damaged wires can prevent your bike from starting. Look for any obvious signs of wear or damage.
- Check for frayed wires: These can cause short circuits.
- Look for corrosion: Corrosion can disrupt the electrical flow.
- Ensure tight connections: Loose connections can prevent the starter from engaging.
Use a multimeter to test the wires for continuity. This ensures that the electrical current flows properly. If you find any issues, replace the damaged wires.
Check Fuses
Fuses protect the electrical system from overloads. A blown fuse can stop the starter from working. Locate the fuse box on your Harley Davidson. Refer to your manual if needed.
- Identify the starter fuse: Check the diagram on the fuse box lid.
- Remove the fuse: Use a fuse puller or pliers.
- Inspect the fuse: Look for a broken wire inside the fuse.
If the fuse is blown, replace it with one of the same rating. Always carry spare fuses for emergencies. After replacing, start the bike to see if the problem is fixed.
Regular checks of the electrical system can prevent many starter issues. Keep your Harley in top shape for a smooth ride.
Credit: www.youtube.com
Ignition Switch Issues
Experiencing starter problems on your Harley Davidson can be frustrating. One common issue is related to the ignition switch. Ignition switch problems can prevent your bike from starting. Understanding and troubleshooting this issue can save you time and money.
Test Ignition Switch
Begin by checking the ignition switch. Ensure the key turns smoothly. A faulty switch may feel stiff or loose. Use a multimeter to test the switch’s electrical connections. Check for continuity when the switch is in the ‘on’ position. If there’s no continuity, the switch might be faulty.
Replace If Necessary
If the ignition switch fails the test, it needs replacement. Disconnect the battery before removing the switch. This step ensures safety. Remove the old switch carefully. Install the new switch and reconnect the battery. Test the new ignition switch to ensure it works correctly. A working switch should restore your bike’s starting function.
Quick Fixes
Harley Davidson starter problems can be frustrating. But, some quick fixes can get you back on the road. Below are two simple solutions to common starter issues: Jump Starting the Bike and Tightening Loose Connections.
Jump Start The Bike
A dead battery is often the culprit. Jump starting your bike can be a quick fix. Follow these steps:
- Ensure the bike is in neutral.
- Connect the positive (red) jumper cable to the positive terminal of the dead battery.
- Attach the other end of the positive jumper cable to the positive terminal of a working battery.
- Connect the negative (black) jumper cable to the negative terminal of the working battery.
- Attach the other end of the negative jumper cable to a grounded metal surface on the bike with the dead battery. Avoid connecting directly to the negative terminal of the dead battery.
- Start the working vehicle and let it run for a few minutes.
- Attempt to start your Harley Davidson.
If the bike starts, remove the jumper cables in reverse order. Keep the bike running for at least 20 minutes to recharge the battery.
Tighten Loose Connections
Loose connections can also prevent your bike from starting. Follow these steps to check and tighten them:
- Turn off the bike and remove the key.
- Inspect the battery terminals for any loose connections.
- Use a wrench to tighten the terminal bolts if they are loose.
- Check the starter motor connections and ensure they are secure.
- Inspect the ground wire connections and tighten them if needed.
Secure connections ensure proper electrical flow. This helps in starting your Harley Davidson smoothly.

Credit: www.roadglide.org
Preventive Maintenance Tips
Preventive maintenance ensures your Harley Davidson starts reliably every time. Simple checks and routine care can prevent starter problems. This section covers essential tips to keep your bike in top shape.
Regular Battery Check
Check your battery often. A weak battery won’t start your bike. Use a multimeter to check voltage. It should read between 12.6 to 12.8 volts when the engine is off. If it’s lower, charge or replace the battery.
Inspect the battery terminals. Look for signs of corrosion or loose connections. Tighten loose terminals with a wrench. Clean corroded terminals with a mixture of baking soda and water. Rinse and dry thoroughly.
Keep Connections Clean
Dirty or corroded connections can cause starter issues. Regularly inspect all connections. This includes the battery, starter relay, and starter motor. Clean any dirt or corrosion using a wire brush.
Apply dielectric grease to connections. This prevents moisture and corrosion. Ensure all connections are secure. Loose connections can lead to intermittent starting problems.
Credit: harleydavidsonblog.com
Frequently Asked Questions
What Are Common Harley Davidson Starter Problems?
Common issues include a weak battery, faulty starter relay, or worn-out starter motor.
How To Identify A Bad Starter On Harley Davidson?
Listen for clicking sounds when starting. If engine doesn’t turn, the starter might be bad.
Why Does My Harley Davidson Not Start?
Possible reasons include dead battery, faulty starter, or problems with the ignition switch.
How Do I Test A Harley Davidson Starter Relay?
Use a multimeter to check continuity. No continuity indicates a faulty relay needing replacement.
Can A Weak Battery Cause Starter Problems?
Yes, a weak battery may not provide enough power for the starter to crank the engine.
Conclusion
Resolving Harley Davidson starter problems can be straightforward with the right steps. Check battery connections first. Inspect the starter relay and solenoid next. Look for any wiring issues. Ensure the clutch and kickstand switches work properly. Regular maintenance can prevent future issues.
Remember to consult your bike’s manual. Seek professional help if necessary. Keep your Harley running smoothly and enjoy the ride. Happy troubleshooting!
")


