Is your Kenmore refrigerator acting up and leaving you frustrated? Don’t worry—you’re not alone.
A malfunctioning fridge can quickly turn into a stressful situation, especially when your food is at risk of spoiling. The good news is that many common issues can be identified and resolved without needing to call in an expensive repair service.
Whether it’s not cooling properly, making strange noises, or leaking water, this guide is here to help you troubleshoot and fix your Kenmore refrigerator step by step. Stick with us, and you’ll be back to enjoying a fully functioning fridge in no time!
Common Issues With Kenmore Refrigerators
Kenmore refrigerators are known for their reliability, but like any appliance, they can encounter problems over time. If your fridge isn’t working as expected, don’t panic. Many common issues are simple to identify and fix, saving you time and money on professional repairs.
1. &60;&62;refrigerator Not Cooling Properly&60;&62;
Is your fridge failing to keep your food cold? This is one of the most frequent issues users face. Start by checking the thermostat setting. Sometimes, it’s accidentally turned down or bumped during cleaning.
Ensure the vents inside the fridge aren’t blocked by food containers. Air circulation is crucial for maintaining the right temperature. Dirty condenser coils at the back of the fridge can also reduce cooling efficiency, so give them a quick clean with a vacuum or brush.
2. &60;&62;water Leaking From The Refrigerator&60;&62;
Have you noticed puddles forming under your fridge? A clogged or frozen defrost drain is often the culprit. When the drain is blocked, melted ice from the defrost cycle has nowhere to go and spills onto the floor.
To fix this, locate the drain hole inside your freezer and gently flush it with warm water. You can also use a pipe cleaner to remove debris. If the issue persists, consider inspecting the water line for cracks or leaks.
3. &60;&62;ice Maker Not Working&60;&62;
If your ice maker has stopped producing ice, it can be frustrating. First, make sure the ice maker is turned on. Many models have a small switch or lever for activation.
Next, check the water supply line for any kinks or blockages. If the line is fine, the issue might lie with the water inlet valve. Replacing this valve is a straightforward task you can handle with basic tools and a little patience.
4. &60;&62;unusual Noises Coming From The Fridge&60;&62;
Does your fridge sound like it’s hosting a concert? While some noise is normal, loud or unusual sounds often point to an issue. A rattling noise could mean a loose fan blade or compressor mount.
Buzzing might signal a problem with the ice maker trying to fill without water. Take a moment to locate the noise and inspect the area. Tightening loose screws or replacing a worn-out part can often resolve the problem.
5. &60;&62;frost Build-up In The Freezer&60;&62;
Thick frost in your freezer isn’t just annoying—it can reduce storage space and affect cooling efficiency. This usually happens when the freezer door isn’t sealing properly. Check the door gasket for cracks or wear, and clean it to remove debris that might prevent a tight seal.
Also, avoid leaving the freezer door open for long periods. If the issue continues, the defrost system might need a closer look. A faulty defrost timer or heater is often to blame and may require replacement.
Have you faced any of these issues before? How did you handle them? Share your experiences in the comments below to help others troubleshoot their Kenmore refrigerators with confidence.
Refrigerator Not Cooling
Is your Kenmore refrigerator not cooling properly? This issue can be frustrating, especially when food starts to spoil. A refrigerator not cooling often signals a technical problem that requires attention. Fortunately, with a few simple checks, you can identify and resolve the issue before calling a technician.
Checking Temperature Settings
Start by inspecting the temperature settings on your refrigerator. Ensure the thermostat is set to the recommended range, usually between 35°F and 38°F for the fridge and 0°F for the freezer. A misaligned setting can prevent proper cooling. Adjust the dial and wait a few hours to see if the temperature improves.
If the settings seem correct but the refrigerator is still warm, test the thermostat. Rotate the dial and listen for a click, which indicates the thermostat is functional. If there’s no sound, the thermostat may need repair or replacement.
Cleaning The Condenser Coils
Dirty condenser coils can restrict airflow, causing cooling issues. Locate the coils, typically found at the back or beneath the refrigerator. Dust and debris can accumulate over time, reducing efficiency.
Unplug the refrigerator and gently clean the coils using a brush or vacuum. Avoid damaging any components while cleaning. Once cleaned, plug the refrigerator back in and monitor its cooling performance over the next 24 hours.
Inspecting The Door Seals
Faulty door seals can allow warm air to enter, disrupting the cooling process. Check the seals for cracks, tears, or dirt buildup. A damaged or dirty seal won’t create a proper airtight closure.
Clean the seals using a damp cloth and mild detergent. If the seals are cracked or loose, they need replacing. Perform a dollar bill test by closing the door on a piece of paper. If you can easily pull it out, the seals aren’t tight enough.
Freezer Not Freezing
Is your Kenmore freezer failing to freeze? It’s frustrating when your frozen foods begin to thaw, and you’re left wondering what went wrong. The good news is, many common issues can be fixed without calling a repair technician. Let’s dive into some practical troubleshooting steps to get your freezer back on track.
Examining Airflow Vents
A blocked airflow vent can prevent your freezer from reaching the right temperature. Check the vents inside your freezer to ensure they’re not obstructed by food items. Overloading the freezer can block airflow and cause uneven cooling.
Try rearranging items to keep the vents clear. Leave enough space for air to circulate freely. This small adjustment can often make a big difference in performance.
Testing The Evaporator Fan
The evaporator fan plays a critical role in cooling your freezer. It circulates cold air from the coils to the freezer compartment. If it stops working, the freezer won’t freeze properly.
To test it, listen for a humming or whirring noise when the freezer door is closed. If the fan is silent, it may be faulty. You can also visually inspect it by unplugging the fridge and removing the back panel inside the freezer. If the fan blades are stuck or damaged, it may need replacement.
Checking The Defrost System
A malfunctioning defrost system can lead to frost buildup, which blocks airflow and limits cooling. Start by checking the defrost timer, defrost heater, and thermostat. If any of these components fail, the freezer may stay too warm.
Look for signs of excessive frost around the evaporator coils. If you see frost, manually defrost the freezer by unplugging it and letting it sit for a few hours. Once defrosted, test the system to see if it resumes normal operation. If not, a faulty part may need to be replaced.
By tackling these three areas—airflow, the fan, and the defrost system—you can address many common freezing problems. Taking the time to troubleshoot can save you money and prevent unnecessary stress. What’s your next step to ensure your freezer stays in top shape?
Water Dispenser Problems
Is your Kenmore refrigerator’s water dispenser acting up? A faulty water dispenser can be frustrating, especially when you’re craving a refreshing glass of cold water. Before you consider calling a technician, there are a few simple troubleshooting steps you can try yourself. Let’s break down the most common issues and how to fix them.
Unclogging The Water Line
A clogged water line is a frequent culprit behind water dispenser problems. Over time, mineral deposits or ice can block the flow of water. Start by disconnecting your fridge from the power supply and shutting off the water source.
Locate the water line at the back of your fridge. Detach it carefully and inspect for blockages. You can flush it with warm water to clear any clogs. If the line is frozen, let it thaw completely before reconnecting. Once everything is back in place, turn the water source on and test the dispenser. Did that solve it?
Replacing The Water Filter
When was the last time you replaced the water filter? A dirty or expired filter can restrict water flow, affecting the dispenser’s performance. Check your Kenmore fridge manual for the recommended replacement schedule—usually every 6 months.
Locate the filter inside your fridge, typically in the upper-right corner or behind the grille at the bottom. Twist the old filter counterclockwise to remove it, and insert the new one by turning it clockwise. Run a few glasses of water through the new filter to flush out air and debris. Your water should now flow smoothly.
Inspecting The Dispenser Switch
If the water line and filter seem fine, the dispenser switch might be the issue. This switch activates the water flow when you press the dispenser lever. It can wear out over time or get stuck.
Unplug your fridge and remove the dispenser cover. Use a multimeter to check if the switch is receiving power. If it’s faulty, you’ll need to replace it. Replacement switches are available online or at appliance stores, and installing one is usually straightforward with basic tools. Imagine the satisfaction of fixing it yourself!
By taking these steps, you can often fix your Kenmore refrigerator’s water dispenser without professional help. Which of these troubleshooting tips worked best for you? Let us know in the comments below!
Ice Maker Malfunctions
Ice makers are a fantastic convenience, but they can quickly turn into a source of frustration when they malfunction. Whether your Kenmore refrigerator isn’t producing ice or the ice quality has taken a nosedive, it’s easy to feel overwhelmed. The good news is, many ice maker issues are straightforward to troubleshoot and fix at home. Let’s dive into some practical steps to get your ice maker back on track.
Resetting The Ice Maker
Sometimes, all your ice maker needs is a reset to get back to work. Start by locating the reset button on your Kenmore refrigerator’s ice maker. This button is often near the ice tray or control panel.
Press and hold the reset button for a few seconds. You might hear a sound indicating the reset is underway. Give it a few minutes, and check if the ice maker begins operating again.
If this doesn’t solve the problem, don’t worry—there’s more troubleshooting you can do. Resetting is a quick fix but not always the cure for deeper issues.
Inspecting The Water Supply
No water, no ice—it’s that simple. Check the water line connected to your refrigerator. Look for kinks, clogs, or leaks that may be interrupting the flow of water to the ice maker.
Make sure the water valve is fully open. Sometimes, this is overlooked if the refrigerator was recently moved or installed. Double-check the valve position for smooth water delivery.
If the water pressure is low, you may need to clean or replace the water filter. A clogged filter can restrict water flow and cause ice maker issues.
Checking The Ice Mold Thermostat
The ice mold thermostat plays a critical role in determining when the ice maker should produce ice. If the thermostat is faulty, the ice maker may either stop working or produce ice irregularly.
Use a multimeter to test the thermostat’s functionality. If it shows no continuity, it’s time for a replacement. Thermostats can wear out over time, so it’s a common issue in older units.
Before replacing the thermostat, ensure the freezer temperature is set to the correct range (around 0°F to 5°F). Incorrect temperature settings can also affect the ice mold thermostat’s performance.
Have you faced any ice maker challenges with your Kenmore refrigerator? Which of these steps do you think will fix your issue? If you’re still stuck, don’t hesitate to share your concerns with a professional—it might save you time and frustration!

Credit: www.youtube.com
Refrigerator Making Strange Noises
Is your Kenmore refrigerator making strange noises? These sounds can be annoying and may indicate an issue. Identifying the source of the noise is the first step. Some noises are normal, while others need attention. Let’s explore how to troubleshoot these sounds effectively.
Identifying The Noise Source
Refrigerators often make various sounds during operation. Start by identifying the type of noise. A buzzing sound could mean an issue with the compressor. Clicking noises may point to a faulty relay switch. Humming or rattling sounds can come from loose components. Listening carefully can help pinpoint the problem area.
Inspecting The Compressor
The compressor is essential for your refrigerator’s cooling function. A loud buzzing sound often originates from the compressor. Unplug the refrigerator before inspecting this part for safety. Check for visible damage or wear. If the compressor seems faulty, it may need professional repair or replacement.
Tightening Loose Components
Loose parts can cause rattling or vibrating sounds. Inspect the back panel and shelves to ensure they are secure. Tighten any screws or bolts that may have loosened. Check the fan blades for obstructions or looseness. A quick adjustment can often resolve these noises.
Refrigerator Leaking Water
Water leaking from your Kenmore refrigerator can be frustrating and messy. This issue can stem from various causes, such as blocked drains or damaged parts. Understanding the problem and fixing it can save time and prevent further damage. Below are common causes and steps to troubleshoot a leaking refrigerator.
Checking The Drain Pan
The drain pan collects excess water from the defrost cycle. If the pan is cracked or overflowing, it can cause leaks. Remove the drain pan located at the bottom of the refrigerator. Inspect it for cracks or damage. If it’s broken, replace it with a new one. Clean the pan to remove dirt and debris before reinstalling.
Clearing The Defrost Drain
A clogged defrost drain can cause water to pool inside the fridge. Locate the drain at the back of the refrigerator, near the freezer compartment. Use warm water or a pipe cleaner to clear any blockages. Ensure the water flows freely through the drain after cleaning. Regular maintenance prevents future clogs.
Inspecting Water Supply Connections
Leaking water supply connections can lead to puddles around your refrigerator. Inspect the water line connected to the fridge, usually behind the unit. Check for loose fittings, cracks, or damage in the tubing. Tighten loose connections or replace damaged parts to stop the leak. Verify the connections are secure after adjustments.

Credit: 5starappliancerepair.pro
Lights Not Working
Is your Kenmore refrigerator light not working? It may seem like a minor issue, but a dark fridge can be frustrating when you’re searching for food or organizing items. Let’s figure out what’s wrong and fix it step by step.
Replacing The Bulb
First, check the light bulb. It’s often the most common reason for a light not working. Open your fridge door, locate the bulb, and inspect it for any visible signs of damage like cracks or blackened glass.
If the bulb looks burnt out, replace it with a compatible bulb. Check your user manual for the correct wattage and size. You can find replacements at most hardware stores or online. Screw the new bulb in securely, but don’t over-tighten it.
After replacing the bulb, close the fridge door and reopen it. Did the light come back on? If not, the issue might lie elsewhere.
Inspecting The Light Switch
The light switch inside your fridge is another potential culprit. When you open the door, this small button signals the light to turn on. If it’s stuck or damaged, the bulb won’t illuminate.
Press the switch manually a few times to ensure it’s not jammed. If the light flickers or comes on briefly, the switch might be faulty. You may need to clean it or replace it entirely.
Checking Electrical Connections
If the bulb and switch are fine, the issue might be with the electrical connections. Start by unplugging your refrigerator for safety. Locate the wiring near the light socket and inspect it.
Are the wires securely connected? Loose or frayed wires can prevent the light from working. Tighten any loose connections or call a technician if you’re unsure how to handle exposed wires safely.
Another step is to check your home’s power supply. Is the fridge plugged into a working outlet? Test the outlet with another appliance to rule out a power issue.
Solving the light problem in your Kenmore refrigerator doesn’t have to be overwhelming. Which solution worked for you? Let us know in the comments below. Your feedback might help others facing the same issue!
Error Codes And What They Mean
Modern Kenmore refrigerators are equipped with smart technology that displays error codes when something goes wrong. These codes are like clues, helping you figure out what’s causing the issue. Understanding these error messages can save you time, money, and unnecessary frustration.
Interpreting Error Messages
Error codes might look intimidating at first, but they’re designed to simplify troubleshooting. For example, a common error code like “ER FF”means there’s an issue with the freezer fan. Another frequent one, “ER DH”, points to a defrost heater problem.
Check your refrigerator’s manual for a full list of error codes and their meanings. If you can’t find the manual, many Kenmore models have their code explanations available online. A quick search for your model number could save you hours of confusion.
Have you ever ignored a blinking error code, hoping the problem would fix itself? Don’t make that mistake. Addressing the issue early can prevent bigger problems later on.
Steps To Reset The Refrigerator
Sometimes, resetting your refrigerator can clear minor errors without needing repairs. To do this, unplug the appliance from the wall. Wait for 5–10 minutes, then plug it back in.
If your model has a reset button, press it after plugging the refrigerator back in. This often clears simple error messages like “ER 1F”, which indicates an ice fan issue. Once reset, check if the error code reappears.
Still seeing the error? Make sure the doors are fully closed and seals are clean. Even minor gaps can trigger certain error codes.
When To Contact Support
If the error code persists after a reset, it’s time to get professional help. Codes like “ER IF”(ice maker fan failure) or “ER CF”(communication failure) often require specialized tools to fix. Trying to repair these yourself could void your warranty.
Before calling support, have your refrigerator’s model and serial number ready. This helps technicians provide faster and more accurate assistance. Also, describe the error code and any steps you’ve already taken to fix it.
Sometimes, support can guide you through additional troubleshooting steps over the phone. But don’t hesitate to schedule a repair visit if the issue seems complicated. After all, a fully functioning refrigerator is worth the investment in professional help.
Preventative Maintenance Tips
Regular cleaning of condenser coils helps improve cooling efficiency. Check door seals for leaks to maintain consistent temperature. Ensure proper airflow by avoiding overloading shelves.
Preventative Maintenance Tips Kenmore refrigerators are built to last, but even the best appliances need a little TLC to keep performing at their best. Preventative maintenance isn’t just about avoiding big repairs—it’s about keeping your fridge running efficiently and saving energy. Think of it as small steps that can save you from costly headaches down the road. Here’s how you can keep your Kenmore refrigerator in top shape:Regular Cleaning Routine
A clean fridge isn’t just about appearances—it directly impacts performance. Dust and debris can clog the condenser coils, making the fridge work harder and use more energy. Wipe down the exterior and interior surfaces weekly using a mild detergent or baking soda mixed with water. Don’t forget to clean the rubber door gasket. If it’s sticky or grimy, it can fail to seal properly, letting cold air escape. Vacuum the condenser coils every six months. These are usually located at the back or bottom of your fridge. If you have pets, you might need to clean them more often to remove fur buildup.Checking Components Periodically
Your Kenmore refrigerator has a few key components that need your attention. Ignoring them could lead to bigger problems. Inspect the door seal (gasket) by closing the door on a thin piece of paper or a dollar bill. If you can easily pull it out, the seal isn’t tight, and you’re likely losing cold air. Replace it if needed. Check the water filter every three to six months, depending on your usage. A clogged filter can slow water flow and affect ice production. Most filters have easy-to-read replacement indicators to guide you. Look out for unusual noises coming from the compressor or evaporator fan. A loud hum or rattle could mean parts are wearing out. Addressing it early can prevent more serious issues.Scheduling Professional Inspections
Some refrigerator issues aren’t visible to the untrained eye. That’s where professional help can make a difference. Schedule a professional inspection at least once a year. A technician can check refrigerant levels, electrical connections, and other internal components that you might overlook. If your fridge is over five years old, inspections become even more critical. Older models are more prone to wear and tear, and early detection can save you from costly repairs or replacements. Think of these inspections as an investment in the longevity of your appliance. Would you rather spend a small fee now or face a hefty repair bill later? — By sticking to these simple yet effective maintenance tips, you can keep your Kenmore refrigerator running smoothly for years. Which of these tips will you start with today? Let us know in the comments!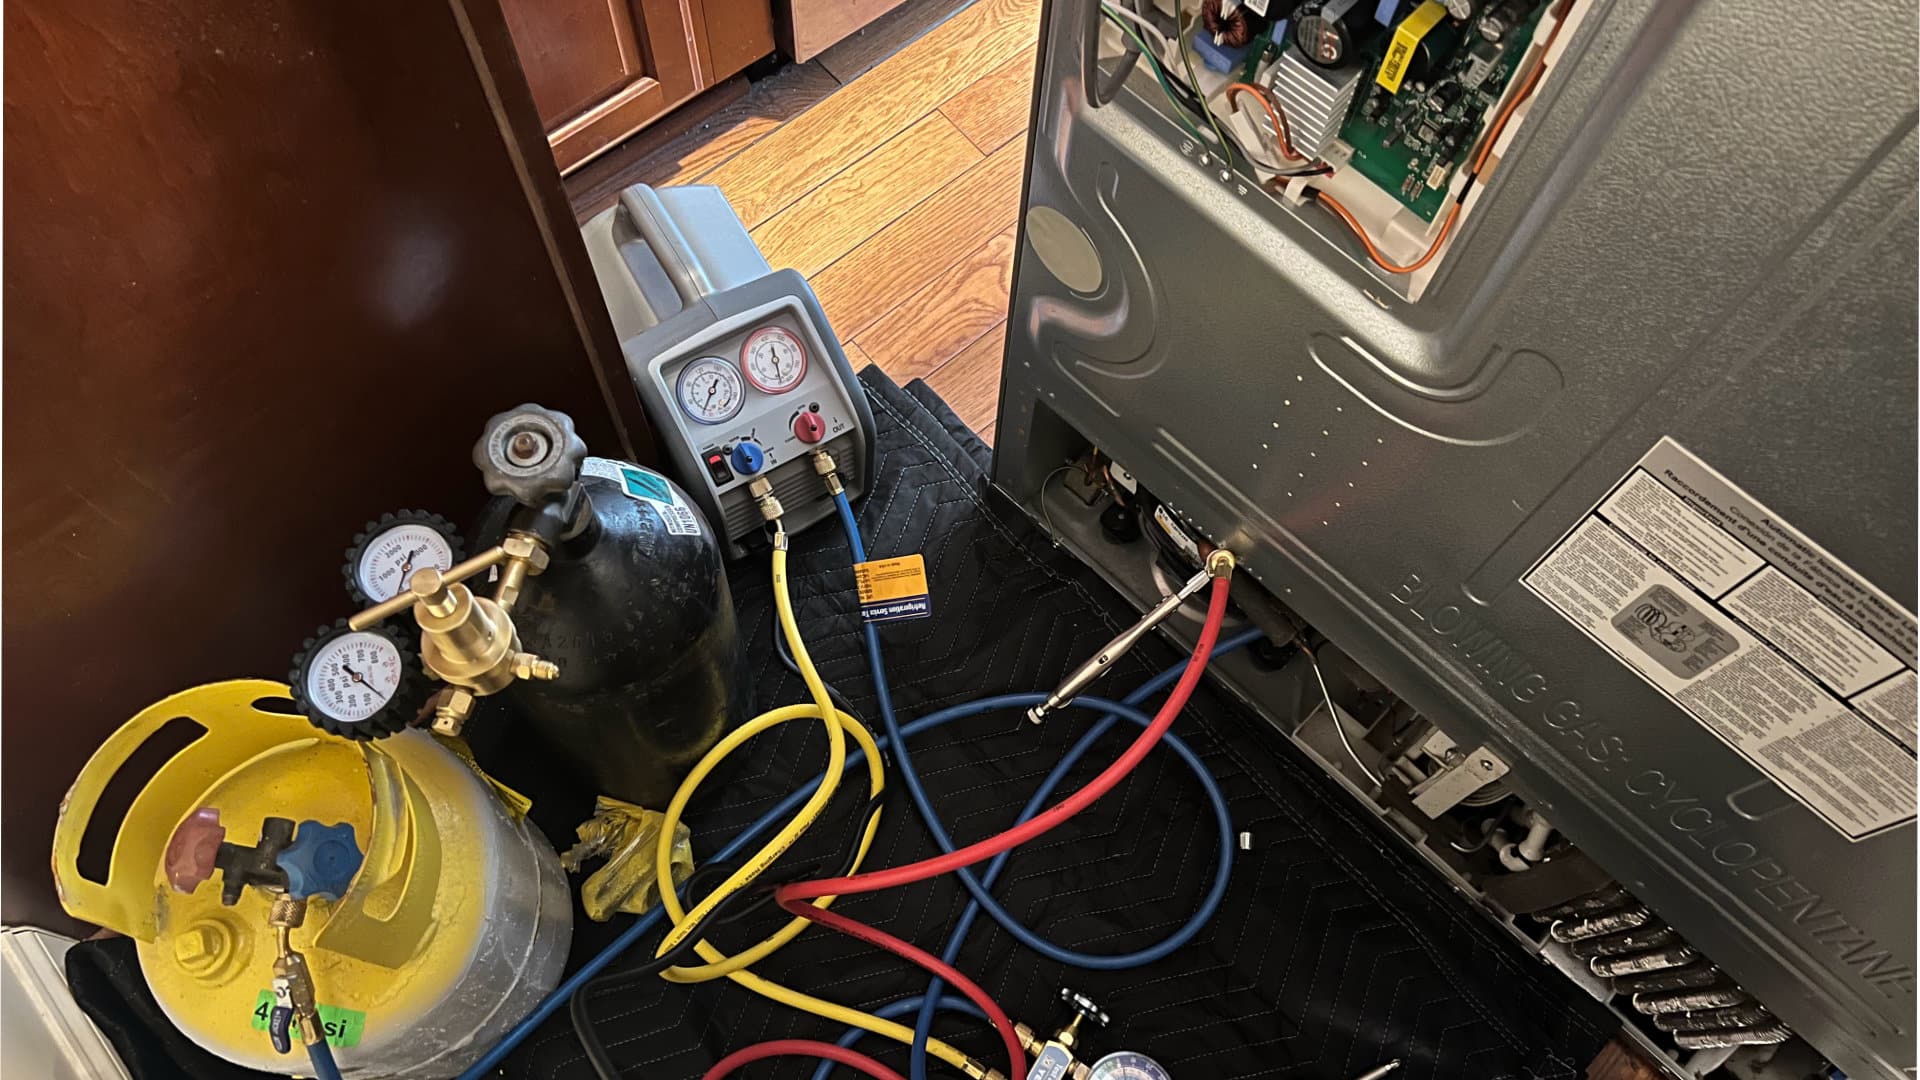
Credit: dependableappliance.biz
Conclusion
Troubleshooting a Kenmore refrigerator doesn’t have to be overwhelming. Start with simple checks like power and settings. Pay attention to unusual noises or temperature issues. Regular maintenance helps prevent many common problems. If issues persist, professional help might be needed.
Always consult the user manual for guidance. A well-maintained refrigerator lasts longer and works efficiently. Take action early to avoid costly repairs. Keeping your appliance in good shape ensures reliable performance for years. Remember, addressing small issues quickly can save time and money.
Stay proactive and keep your fridge running smoothly.
")


