Owning a Litter Robot 2 can make cat care easier. But sometimes, issues arise.
Troubleshooting these problems can be straightforward with the right guidance. The Litter Robot 2 is a popular automatic litter box among cat owners. It’s designed to simplify the cleaning process, but like any device, it can experience malfunctions. Understanding how to troubleshoot common issues can save time and frustration.
This guide will walk you through the most frequent problems and their solutions. From power issues to sensor errors, we’ll cover it all. By the end, you’ll be equipped to keep your Litter Robot 2 running smoothly, ensuring a happy and clean space for your feline friend.
Power Issues
Experiencing power issues with Litter Robot 2? Check connections and ensure the power supply is secure. This might solve common problems.
Experiencing power issues with your Litter Robot 2 can be frustrating. They can disrupt the unit’s performance and leave your cat’s litter box unclean. This section will guide you through common power problems and how to fix them.No Power
First, check the power cord and ensure it is plugged in securely. Sometimes, a loose connection can cause the unit to lose power. If the connection is fine, inspect the power outlet. Try plugging another device into the same outlet to see if it works. If the outlet is working, the problem might be with the power adapter.Next, check the power adapter for any signs of damage. Look for frayed wires or bent prongs. If you see any damage, you may need to replace the adapter. You can purchase a new one from the manufacturer or a trusted retailer.Intermittent Power Loss
Intermittent power loss can be due to a few reasons. Start by checking the power cord and adapter. Ensure they are not damaged or loose. Sometimes, moving the unit can cause the power cord to disconnect slightly.Also, inspect the power button. Sometimes, dirt or debris can get stuck around it. Clean around the power button with a soft cloth. Make sure it moves freely and is not stuck.If the power issues persist, consider checking the internal connections. You may need to open the unit. Ensure all internal wires are connected securely. If you are not comfortable doing this, contact customer support for assistance. “`Rotation Problems
The Litter Robot 2 is a beloved device for many pet owners. However, it is not immune to problems. One of the most common issues is rotation problems. These can manifest in two main ways: the unit either gets stuck in one position or it spins continuously. Below, we will discuss both issues in detail and offer troubleshooting tips.
Stuck In One Position
When your Litter Robot 2 gets stuck in one position, it can be frustrating. Here are some steps to diagnose and fix the problem:
- Check the Power: Make sure the unit is plugged in and the outlet is functional.
- Inspect the Sensors: The Litter Robot has sensors that can sometimes get dirty or blocked. Clean them to ensure they work properly.
- Reset the Unit: Turn off the power for a few minutes. Then, turn it back on to see if the issue resolves.
- Examine the Base: Ensure the base is on a flat surface. Uneven surfaces can cause rotation issues.
Continuous Spinning
If your Litter Robot 2 is spinning continuously, this is another common issue. Follow these steps to troubleshoot:
- Power Cycle: Unplug the unit for a few minutes, then plug it back in.
- Check the Globe: Ensure the globe is properly aligned and not overloaded with litter.
- Inspect the Motor: Listen for unusual noises from the motor. This could indicate a mechanical problem.
- Examine the DFI Sensors: The DFI (Dirt-Free Indicator) sensors can cause the unit to spin if they are dirty or malfunctioning. Clean them carefully.
By following these steps, you can often resolve the rotation problems with your Litter Robot 2. Regular maintenance and cleaning can also help prevent these issues from recurring.
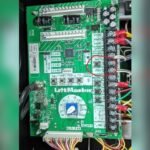
Sensor Malfunctions
Experiencing sensor malfunctions with your Litter Robot 2? Common issues include the robot not detecting waste properly. Simple troubleshooting steps can often fix these problems.
Sensor malfunctions in the Litter Robot 2 can cause frustration. Proper sensor function is crucial for smooth operation. Some common sensor issues are easy to fix. Let’s discuss two major sensor malfunctions: Faulty Cat Sensor and Waste Drawer Full Indicator.Faulty Cat Sensor
A faulty cat sensor can prevent the Litter Robot 2 from cycling. This sensor detects your cat’s presence. If it malfunctions, the unit may not clean properly. Check for any obstructions around the sensor. Sometimes, litter or debris can block it. Clean the sensor area with a soft cloth.If cleaning does not help, a reset might be needed. Turn off the unit and unplug it. Wait for a few minutes, then plug it back in and turn it on. If the problem persists, the sensor might be defective. Contact customer support for further assistance.Waste Drawer Full Indicator
The Waste Drawer Full Indicator can sometimes give false alerts. This can be annoying. Ensure the drawer is correctly placed. Misalignment can trigger the sensor. Remove the drawer and reinsert it carefully.Check for litter buildup around the sensor. Clean the area with a soft cloth. If the issue continues, a system reset may help. Turn off the unit and unplug it. Wait for a few minutes, then plug it back in and turn it on. If the indicator still shows full, the sensor might need replacement. Contact customer support for help.Proper sensor function is essential for your Litter Robot 2. Regular maintenance can prevent many issues. Keep your unit clean and sensors unobstructed. Enjoy a hassle-free litter box experience! “`
Credit: www.litter-robot.com
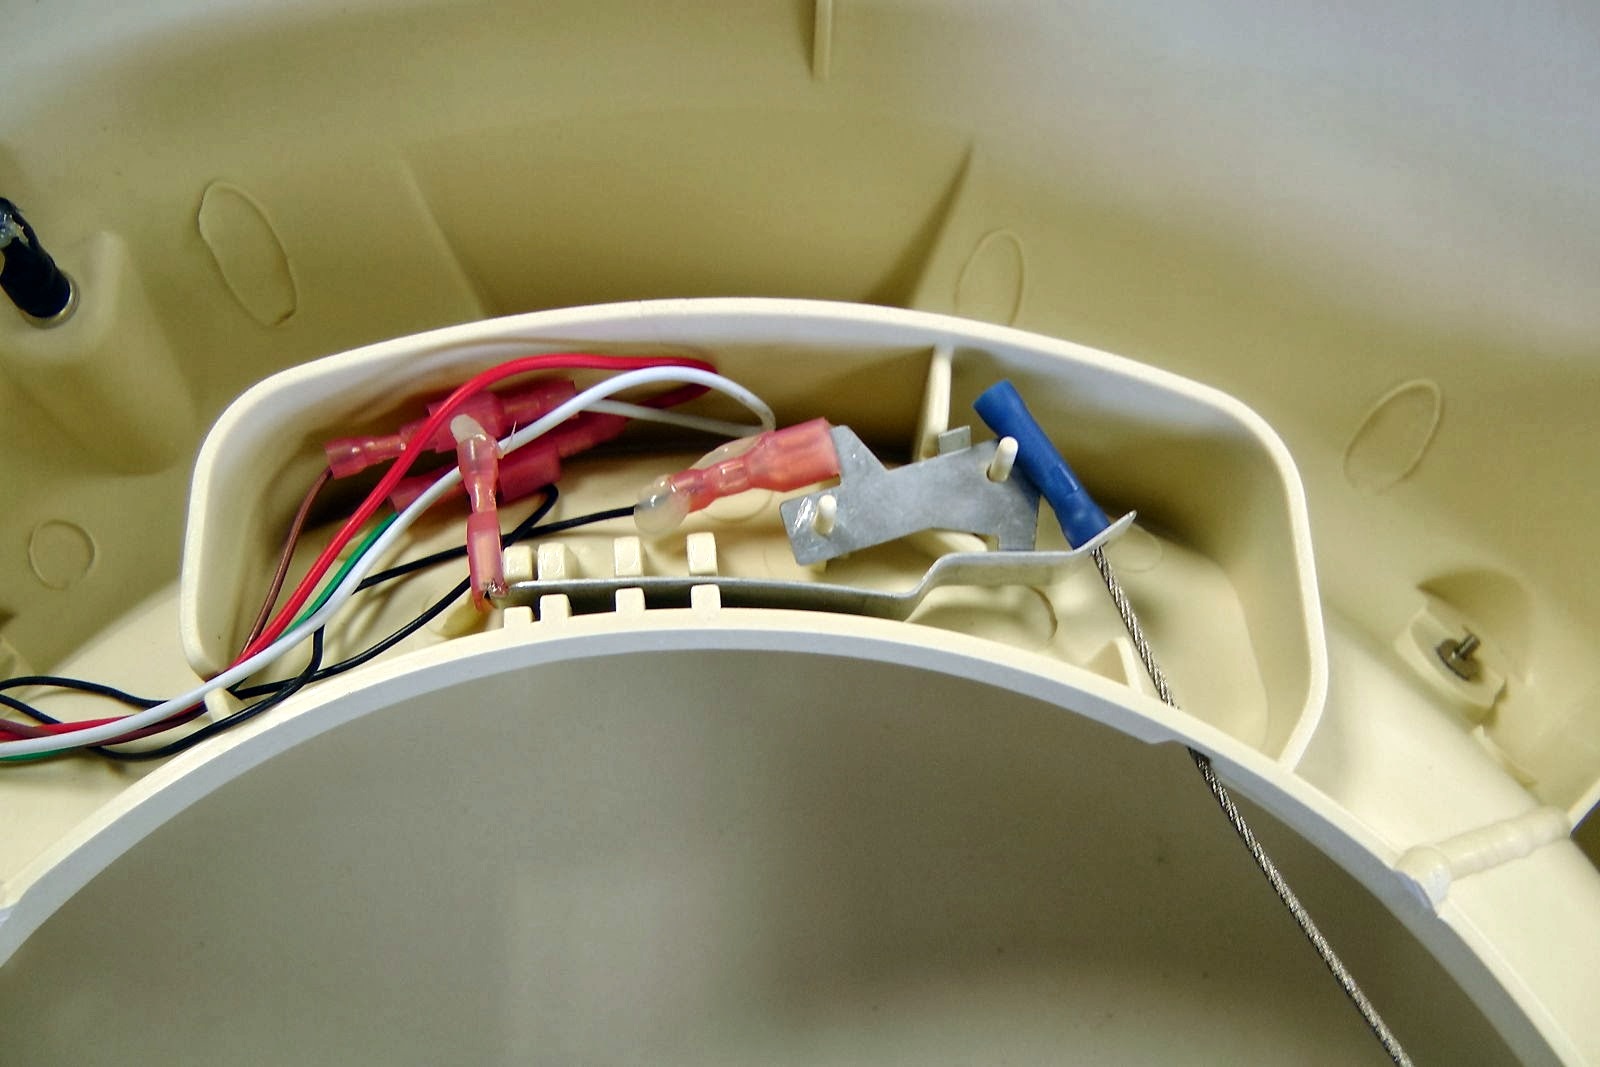
Motor Errors
Experiencing motor errors with your Litter Robot 2 can be frustrating. Understanding and fixing these errors ensures your unit runs smoothly. Let’s dive into two common motor-related issues: Motor Not Running and Motor Noise.
Motor Not Running
If the motor in your Litter Robot 2 is not running, there are a few steps you can take to diagnose the problem. Follow these simple troubleshooting steps:
- Check if the unit is plugged in and the power switch is on.
- Ensure the power supply is working by testing it with another device.
- Inspect the motor for any visible damage or loose connections.
- Reset the unit by turning it off and on after a few minutes.
If the motor still does not run after these steps, it may need a replacement. Contact customer support for further assistance.
Motor Noise
Unusual noise from the motor can indicate a problem. Here’s how to troubleshoot motor noise:
- Verify that the unit is on a flat surface. An uneven surface can cause vibrations.
- Check for any obstructions inside the unit that may be causing the noise.
- Inspect the motor for any loose parts or signs of wear.
- Lubricate the motor with a small amount of machine oil if it sounds dry.
If the noise persists after these checks, the motor might be faulty. Replacing the motor can help resolve the issue.
Clogging Issues
Facing clogging issues with your Litter Robot 2 can be frustrating. These issues often disrupt the device’s performance. Understanding the common problems can help you fix them quickly. Let’s explore two common clogging issues: litter jams and waste drawer blockages.
Litter Jam
Litter jams occur when litter gets stuck in the robot’s mechanics. This can prevent the unit from cycling correctly. To clear a litter jam, start by turning off the unit. Remove the globe and inspect for any clumps of litter. Gently break up any clumps and clean the area. Ensure no litter is obstructing the sensor. Once cleared, reassemble the unit and turn it back on.
Waste Drawer Blockages
Waste drawer blockages can also cause clogging issues. These blockages happen when waste accumulates and prevents the drawer from closing properly. To resolve this, first, turn off the Litter Robot 2. Remove the waste drawer and check for any waste build-up. Empty the drawer and clean it thoroughly. Inspect the area where the drawer sits for any debris. Clear any obstructions and ensure the drawer fits snugly. Turn the unit back on and check for normal operation.
Credit: community.robotshop.com
Cleaning And Maintenance
Cleaning and maintaining your Litter Robot 2 is essential for its optimal performance. Regular cleaning ensures your unit runs smoothly and provides a clean environment for your pet. This guide will help you understand routine and deep cleaning procedures for your Litter Robot 2.
Routine Cleaning
Routine cleaning keeps your Litter Robot 2 functioning well. Start by emptying the waste drawer. Dispose of the waste bag and replace it with a new one. Then, wipe down the inside of the waste drawer with a damp cloth.
Next, clean the globe. Use a mild soap and water solution. Avoid harsh chemicals. Gently wipe the inside and outside of the globe. Rinse with clean water and dry thoroughly. Don’t forget to clean the bonnet and base. Use a damp cloth to wipe these parts.
Deep Cleaning Procedures
Deep cleaning requires more effort but ensures your Litter Robot 2 stays in top condition. Begin by unplugging the unit. Remove the globe and waste drawer. Disassemble the bonnet and base.
Soak the globe in a mild soap and water solution. Use a soft brush to scrub away any buildup. Rinse thoroughly and let it dry completely. Clean the waste drawer with soap and water. Rinse and dry it well.
Wipe down the bonnet and base with a damp cloth. Ensure all parts are completely dry before reassembling. Once dry, reassemble the unit and plug it back in. Your Litter Robot 2 is now clean and ready for use.
Replacement Parts
Maintaining your Litter Robot 2 can extend its life. Knowing how to replace parts is essential. This guide will help you identify and purchase necessary parts.
Identifying Parts
First, understand which part needs replacement. The Litter Robot 2 has several key parts:
- Globe – The rotating part where litter is deposited.
- Base – The main unit holding the motor and electronics.
- Bonnet – The cover that sits on top of the globe.
- Waste Drawer – The compartment collecting waste.
- Carbon Filter – Reduces odors from the waste drawer.
Identify the part by checking the manual. If lost, download it from the Litter Robot website.
Where To Purchase
Once the part is identified, purchase from reliable sources. Here are some options:
| Source | Details |
|---|---|
| Litter Robot Official Store | Ensure compatibility and authenticity of parts. |
| Amazon | Check for Litter Robot brand and read reviews. |
| eBay | Look for new or gently used parts. |
Verify the part number before purchasing. This ensures it fits your model.
With the right replacement parts, your Litter Robot 2 will function smoothly. Enjoy a hassle-free litter box experience!
Customer Support
Experiencing issues with your Litter Robot 2? Don’t worry. The customer support team is here to help. Whether you need troubleshooting advice or have questions about your warranty, they offer reliable solutions. Here’s when and how to contact them.
When To Contact Support
Knowing when to reach out is crucial. If you experience persistent issues with your Litter Robot 2, contact support. These include:
- The unit is not cycling properly.
- Unusual noises during operation.
- Indicator lights behaving abnormally.
- Issues with the waste drawer not emptying.
For minor troubleshooting, refer to the user manual first. If the problem persists, reach out to customer support.
Warranty Information
Understanding your warranty can save you time and money. The Litter Robot 2 comes with a standard 18-month warranty. This warranty covers:
| Issue | Covered |
|---|---|
| Mechanical defects | Yes |
| Electrical failures | Yes |
| Wear and tear | No |
| Accidental damage | No |
To claim your warranty, you will need:
- Proof of purchase.
- Serial number of your unit.
- Detailed description of the issue.
The customer support team will guide you through the process.
Credit: www.litter-robot.com
Frequently Asked Questions
Why Is My Litter Robot 2 Not Cycling?
Check if the unit is plugged in and the power switch is on. Ensure the waste drawer is not full.
How Can I Reset My Litter Robot 2?
Press and hold the reset button for 5 seconds. This will recalibrate the unit.
What Do Blinking Lights On Litter Robot 2 Mean?
Blinking lights indicate an error. Check the user manual for specific light patterns and troubleshooting steps.
How Do I Clean The Litter Robot 2 Sensor?
Gently wipe the sensor with a soft, dry cloth. Avoid using water or cleaning chemicals.
Why Does My Litter Robot 2 Smell?
Empty the waste drawer regularly. Clean the globe and base to eliminate odors. Use high-quality litter.
Conclusion
Fixing your Litter Robot 2 doesn’t have to be tough. Follow these simple tips. Regular maintenance helps avoid problems. Keep sensors clean and avoid overloading. Check the manual for specific issues. If problems persist, consider professional help. Owning a Litter Robot 2 can be hassle-free.
Just stay proactive with care. Happy cleaning!
")