Having trouble with your Orbit 2 Outlet Hose Faucet Timer? You’re not alone.
Many users experience issues with this handy device. Gardeners rely on the Orbit 2 Outlet Hose Faucet Timer to automate watering schedules. But, technical problems can disrupt your garden’s hydration. In this post, we’ll guide you through common troubleshooting steps.
You’ll learn how to identify and fix issues with ease. Whether it’s a programming error, water flow problem, or battery issue, we’ve got you covered. Keep reading to ensure your garden stays lush and healthy with a well-functioning timer.
Common Issues
Many users face common issues with the Orbit 2 Outlet Hose Faucet Timer. Knowing these problems can help you troubleshoot quickly. Let’s dive into the most frequent issues you might encounter.
Timer Not Turning On
If your timer is not turning on, there could be several reasons. First, check the batteries. Ensure they are installed correctly and have enough charge. Weak or dead batteries often cause this issue.
Next, inspect the connections. Ensure the timer is properly connected to the hose and faucet. Loose connections can prevent the timer from working.
Also, verify the settings. Make sure the timer is programmed correctly. Double-check the start time, duration, and frequency. Incorrect settings can lead to the timer not activating.
Finally, look for any damage to the timer. Cracks, dents, or water damage can affect its functionality. If the timer shows signs of damage, consider replacing it.
Water Not Flowing
If water is not flowing through the timer, start by checking the valve. Ensure it is open and not blocked. A closed or obstructed valve can stop water flow.
Next, inspect the filter. A clogged filter can prevent water from passing through. Clean or replace the filter if necessary.
Examine the hose for kinks or bends. A kinked hose can restrict water flow. Straighten the hose to allow water to move freely.
Lastly, check for leaks. Leaks can reduce water pressure and stop water flow. Tighten any loose connections and replace damaged parts to fix leaks.
| Issue | Possible Causes | Solutions |
|---|---|---|
| Timer Not Turning On | Weak batteries, loose connections, incorrect settings, damage | Replace batteries, check connections, verify settings, inspect for damage |
| Water Not Flowing | Closed valve, clogged filter, kinked hose, leaks | Open valve, clean filter, straighten hose, fix leaks |
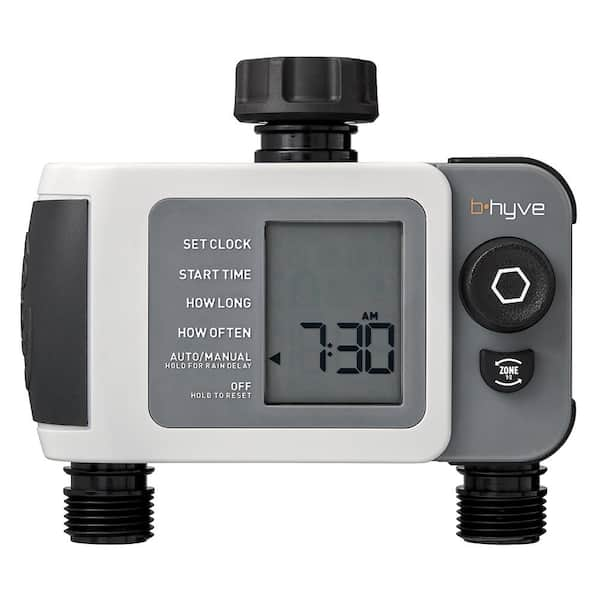
Credit: www.homedepot.com
Battery Problems
Battery problems can cause your Orbit 2 Outlet Hose Faucet Timer to malfunction. Knowing how to check and replace the batteries can save you time and frustration. Below are simple steps to troubleshoot common battery issues.
Checking Battery Life
First, ensure the batteries are not dead. Weak batteries can cause the timer to act erratically. Follow these steps to check the battery life:
- Remove the battery cover.
- Take out the batteries.
- Use a battery tester to check the voltage.
Most battery testers will have a dial or indicator. If the voltage is low, the batteries need replacing.
Replacing Batteries
Replacing batteries is straightforward. Always use fresh, high-quality batteries for the best performance.
- Remove the old batteries.
- Insert new batteries, ensuring the correct polarity.
- Close the battery cover securely.
After replacing the batteries, check if the timer is working correctly. If not, there may be another issue with the device.
Battery problems are common but easy to fix. Regularly check and replace batteries to keep your Orbit 2 Outlet Hose Faucet Timer running smoothly.
Programming Errors
Programming errors with the Orbit 2 Outlet Hose Faucet Timer can cause frustration. These errors often lead to watering schedules not working correctly. Understanding common issues helps in fixing them quickly.
Resetting The Timer
Resetting the timer can often resolve many programming errors. Follow these steps to reset your Orbit 2 Outlet Hose Faucet Timer:
- Press and hold the reset button for 5 seconds.
- Wait until the screen goes blank and then reappears.
- Re-enter your desired watering schedule.
This process clears any previous settings that might be causing issues. A reset can often fix random glitches or errors.
Correcting Schedule Settings
Incorrect schedule settings can lead to programming errors. Ensure you set the correct start time and duration:
| Common Errors | Solution |
|---|---|
| Wrong start time | Double-check and set the correct start time. |
| Wrong duration | Ensure the duration matches your watering needs. |
| Overlapping schedules | Set non-overlapping schedules for both outlets. |
Correcting these settings ensures your watering schedule works as intended. Check your settings regularly to avoid future errors.
Water Pressure Issues
Experiencing water pressure issues with your Orbit 2 Outlet Hose Faucet Timer can be frustrating. These problems can affect the performance of your watering system. To resolve them, follow the steps below to diagnose and adjust water pressure settings.
Testing Water Pressure
First, you need to determine if the water pressure is too high or too low. Use a simple water pressure gauge. Attach it to your faucet. Turn the water on fully. Read the gauge.
- Ideal water pressure: 40-60 PSI
- Low water pressure: Below 40 PSI
- High water pressure: Above 60 PSI
If your pressure is not within the ideal range, adjustments are needed.
Adjusting Pressure Settings
To adjust water pressure, you might need a pressure regulator. If pressure is too high, install the regulator between the faucet and the timer. Adjust the regulator to achieve the ideal pressure range.
- Turn off the water supply.
- Attach the pressure regulator to the faucet.
- Reconnect the timer to the regulator.
- Turn the water supply back on.
- Use the regulator’s adjustment screw to set the desired pressure.
If pressure is too low, check for blockages or leaks in your system. Clean or replace any clogged parts. Ensure all connections are tight and secure.
| Issue | Solution |
|---|---|
| High Water Pressure | Install and adjust a pressure regulator |
| Low Water Pressure | Check for blockages or leaks |
Following these steps can help maintain optimal performance for your Orbit 2 Outlet Hose Faucet Timer.
Hose Connections
Ensuring secure hose connections is crucial for the proper functioning of your Orbit 2 Outlet Hose Faucet Timer. Loose or faulty connections can lead to leaks, resulting in water wastage and inefficient irrigation. Let’s explore how to troubleshoot these connections effectively.
Inspecting Hose Attachments
First, examine the hose attachments for any visible damage. Check for cracks, wear, and tear on the hose ends. Make sure the rubber washer inside the hose connector is intact and seated properly. A damaged or missing washer can cause leaks.
Next, verify that the hose is securely attached to the faucet timer. Twist the hose connector in a clockwise direction to ensure it is tight. If the hose attachment feels loose, it might need further securing or replacement.
Securing Loose Connections
If you find any loose connections, tighten them by hand. Avoid using tools that could over-tighten and damage the fittings. Ensure the hose connects snugly to the timer without any gaps.
For persistent leaks, consider using plumber’s tape on the threaded connections. Wrap the tape around the threads of the faucet and the hose connector to create a better seal. This can help prevent water from seeping through small gaps.
Lastly, check for leaks after securing the connections. Turn on the water and observe the hose and timer. If leaks persist, you may need to replace the hose or the timer’s connectors. Regular inspections and maintenance can help keep your irrigation system running smoothly.
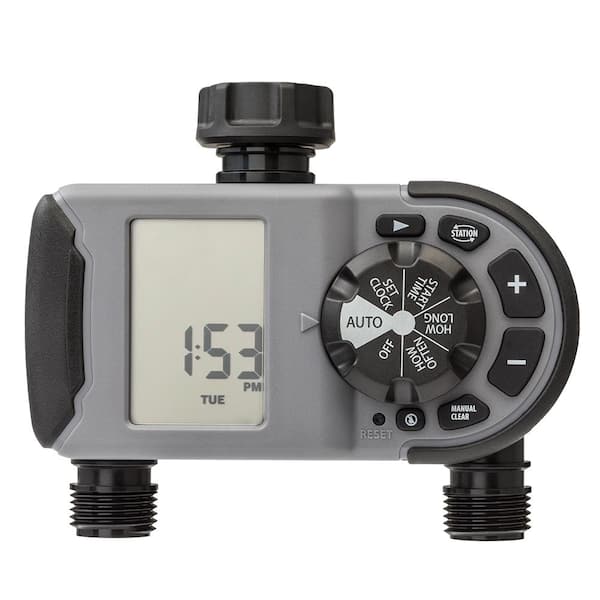
Credit: www.homedepot.com
Leak Prevention
Ensuring your Orbit 2 Outlet Hose Faucet Timer is leak-free is crucial. Leaks can waste water and damage your garden. This guide helps you identify and fix leaks.
Identifying Leaks
First, check for visible water around the faucet. Turn on the timer and observe.
Look for these signs:
- Water dripping from connections
- Puddles near the faucet
- Wet areas on the timer body
If you notice any of these signs, you likely have a leak.
Fixing Seal Problems
Most leaks occur due to seal issues. Follow these steps to fix seals:
- Turn off the water supply.
- Remove the timer from the faucet.
- Inspect the rubber washers inside the connectors.
- If they are worn out, replace them with new ones.
- Reattach the timer to the faucet.
- Turn on the water supply and check for leaks.
If the leak persists, the problem may be with the hose or the timer body itself.
| Issue | Solution |
|---|---|
| Worn out washer | Replace with a new washer |
| Cracked timer body | Contact Orbit support |
| Loose connection | Tighten the connectors |
Environmental Factors
Environmental factors can greatly impact the performance of your Orbit 2 Outlet Hose Faucet Timer. Understanding how weather and surroundings affect your device will help maintain its functionality. This section will focus on how to deal with extreme weather and protect your timer.
Dealing With Extreme Weather
Extreme weather can disrupt the timer’s operation. High temperatures may cause overheating, leading to malfunction. To prevent this, place the timer in a shaded area. This reduces direct sun exposure.
Cold weather can freeze the internal components. During winter, disconnect the timer and store it indoors. This simple step ensures the timer’s longevity.
Protecting The Timer
Environmental debris can clog the timer. Dust, leaves, and dirt can enter the device. Regularly clean the timer to remove any blockages. This keeps the timer running smoothly.
Water exposure can also damage the timer. Although it is water-resistant, prolonged exposure can lead to issues. Use a protective cover to shield it from rain and sprinkler water. This small investment can save you from frequent replacements.
Maintenance Tips
Keeping your Orbit 2 Outlet Hose Faucet Timer in good condition ensures its long-lasting performance. Regular maintenance can prevent common issues and prolong the life of your timer. Here are some essential maintenance tips to follow.
Regular Cleaning
Dust and debris can affect the timer’s functionality. Clean your timer regularly to maintain its performance.
- Disconnect the Timer: Remove the timer from the faucet before cleaning.
- Use a Soft Cloth: Wipe the exterior with a damp cloth. Avoid harsh chemicals.
- Check the Inlet Filter: Clean the filter to ensure proper water flow. Rinse it under water to remove debris.
A clean timer works more efficiently and reduces the risk of malfunctions.
Storing The Timer
Proper storage is crucial for the longevity of your timer, especially during off-seasons.
- Remove Batteries: Take out the batteries to prevent corrosion.
- Drain the Timer: Empty any residual water to avoid freezing damage.
- Store in a Dry Place: Keep the timer in a cool, dry location. Avoid direct sunlight and moisture.
Following these steps ensures your timer remains in good working condition and ready for the next season.
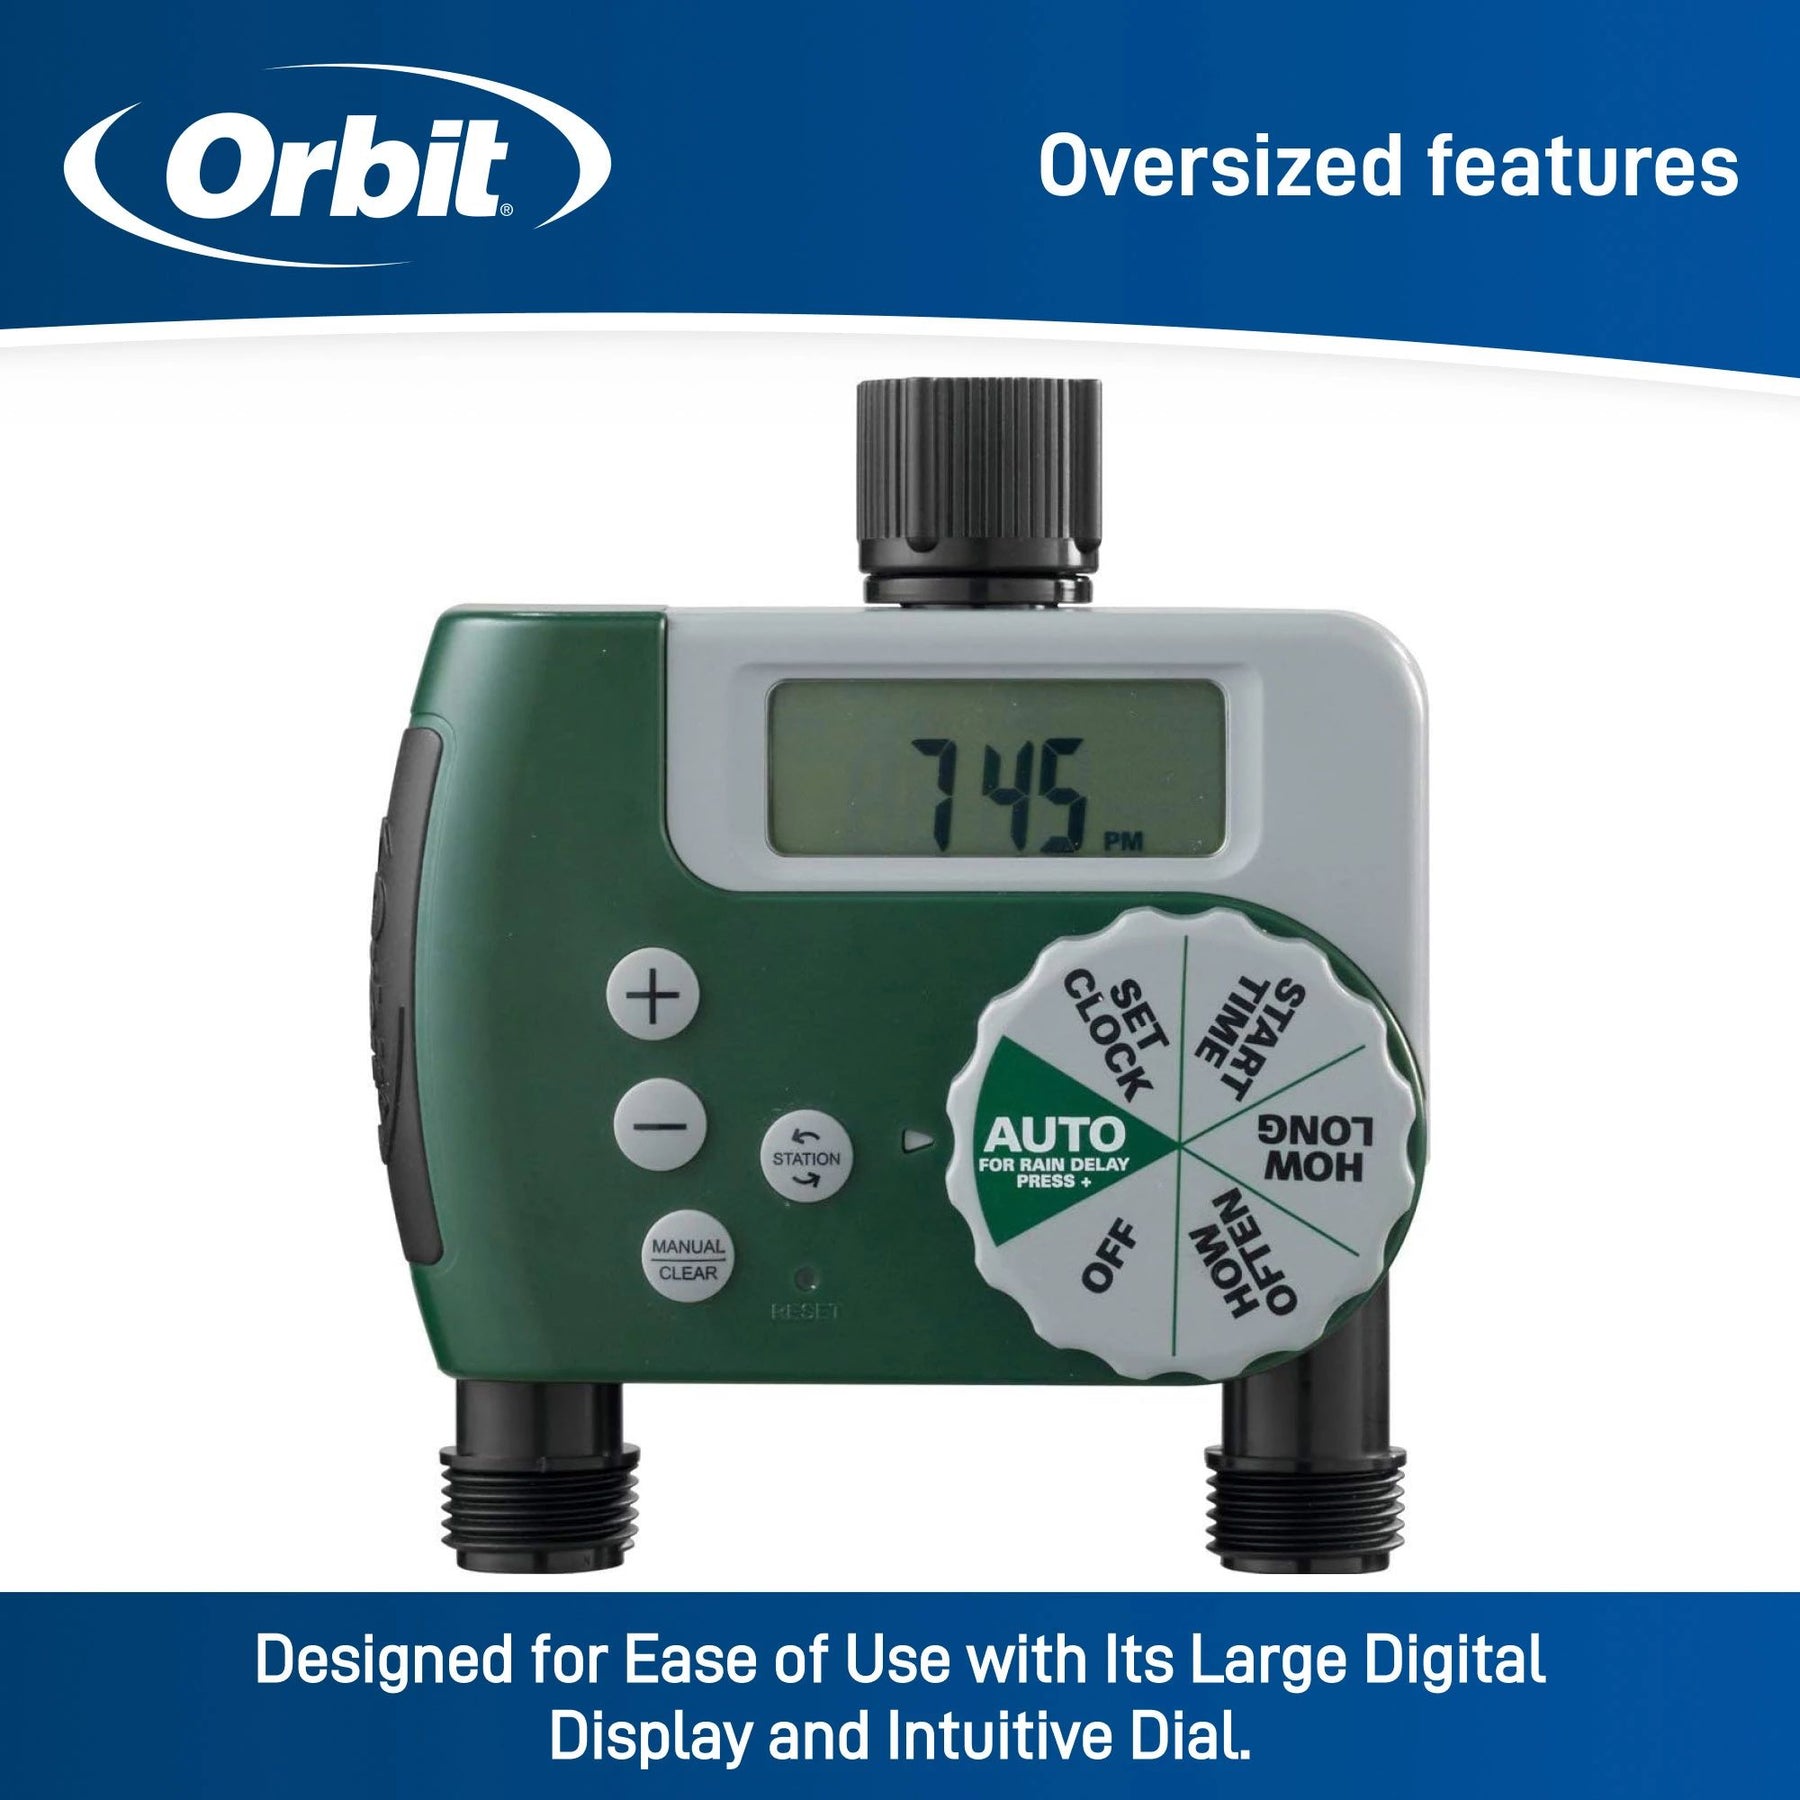
Credit: www.orbitonline.com
Frequently Asked Questions
How Do I Reset My Orbit 2 Outlet Hose Faucet Timer?
To reset the timer, press and hold the reset button for 5 seconds.
Why Is My Orbit Timer Not Working?
Check the batteries. Replace if needed. Make sure the timer is correctly programmed.
How To Fix A Leaking Orbit Hose Timer?
Check for tight connections. Replace washers if needed. Ensure no cracks in the hose or timer.
Why Does My Orbit Timer Skip Watering Cycles?
Ensure the timer is set correctly. Check for programming errors or low battery.
How Do I Program My Orbit 2 Outlet Hose Timer?
Refer to the user manual. Follow step-by-step instructions to set start times and durations.
Conclusion
Troubleshooting your Orbit 2 Outlet Hose Faucet Timer can be simple. Follow the steps outlined in this guide. Check batteries, connections, and settings regularly. Ensure water pressure is adequate. These tips help maintain your timer’s performance. A well-functioning timer saves water and keeps your garden healthy.
Addressing issues early prevents bigger problems. Stay proactive and enjoy a hassle-free watering experience. Thank you for reading!
")


