Is your Orbit sprinkler controller acting up and leaving your lawn thirsty? You’re not alone.
When your sprinkler system stops working as it should, it can be frustrating—and costly if left unresolved. But don’t worry, you’ve come to the right place. This guide is here to help you troubleshoot common Orbit sprinkler controller problems and get your system back on track.
Whether you’re dealing with unresponsive zones, scheduling glitches, or mysterious error codes, we’ll walk you through simple, step-by-step solutions. Stick around, and you’ll save yourself time, money, and the headache of trial-and-error fixes. Ready to take control of your watering system? Let’s dive in!
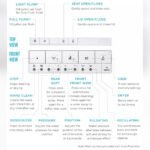
Common Issues With Orbit Sprinkler Controllers
Orbit sprinkler controllers are reliable, but occasional issues can arise. Understanding common problems can help you fix them quickly. Most issues are simple and require basic troubleshooting. Let’s explore the most frequent problems and how to address them.
1. Controller Not Powering OnA common issue is the controller failing to turn on. Check the power source first. Ensure the outlet is working properly. Inspect the power cord for damage. Replace it if necessary. If using batteries, confirm they are installed correctly. Dead batteries can also cause this problem.
2. Sprinkler Zones Not ActivatingSometimes, certain sprinkler zones fail to activate. Start by checking the wiring connections. Ensure all wires are securely connected to the terminals. Verify the zone settings on the controller. A programming error could be the cause. Test the solenoid on the affected valve. A faulty solenoid may need replacing.
3. Display Screen Not RespondingThe display screen may stop responding or freeze. First, try resetting the controller. Unplug it for a few minutes, then plug it back in. Clean the screen gently to remove dirt or debris. If the problem persists, the internal hardware may be damaged. Consider consulting the user manual or contacting support.
4. Watering Schedule Not WorkingIssues with the watering schedule can disrupt your lawn care. Check the programmed schedule for errors. Ensure days and times are set correctly. Look for conflicts between manual and automatic settings. Confirm the rain delay feature isn’t activated. This feature can pause watering during rainy periods.
5. Low Water PressureLow water pressure can reduce sprinkler performance. Inspect the water supply valve. Ensure it’s fully open to allow maximum flow. Check for leaks in the irrigation system. Leaks can cause pressure loss. Clean the sprinkler heads to remove blockages. Dirt buildup often restricts water flow.
6. System Not Saving SettingsSettings may not save due to internal memory issues. Start by replacing the backup battery. Low or dead batteries can affect memory retention. Ensure you press the “Save” button after making changes. If settings still don’t save, a system reset may be required. Refer to the user manual for reset instructions.
Credit: www.manualslib.com
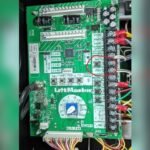
Controller Not Powering On
Orbit sprinkler controllers are reliable, but sometimes they may fail to power on. This issue can disrupt your watering schedule and cause frustration. Fixing it requires identifying the source of the problem. Below, you will find simple steps to troubleshoot the power issue.
Checking The Power Supply
Start by verifying the power source. Ensure the outlet is working by plugging in another device. If the outlet is functional, check the controller’s power cord. Look for damage or loose connections. A damaged cord may need replacement to restore power.
Inspecting The Transformer
Locate the transformer connected to your Orbit controller. Inspect it for signs of wear or overheating. A burnt smell or visible damage indicates the transformer needs replacement. Use a multimeter to test the transformer voltage output. Compare it to the required voltage listed in the manual.
Resetting The Controller
Sometimes, resetting the controller resolves power issues. Disconnect the controller from its power source. Wait for 30 seconds before reconnecting. Press the reset button if your model has one. This clears minor internal glitches that may prevent the controller from turning on.
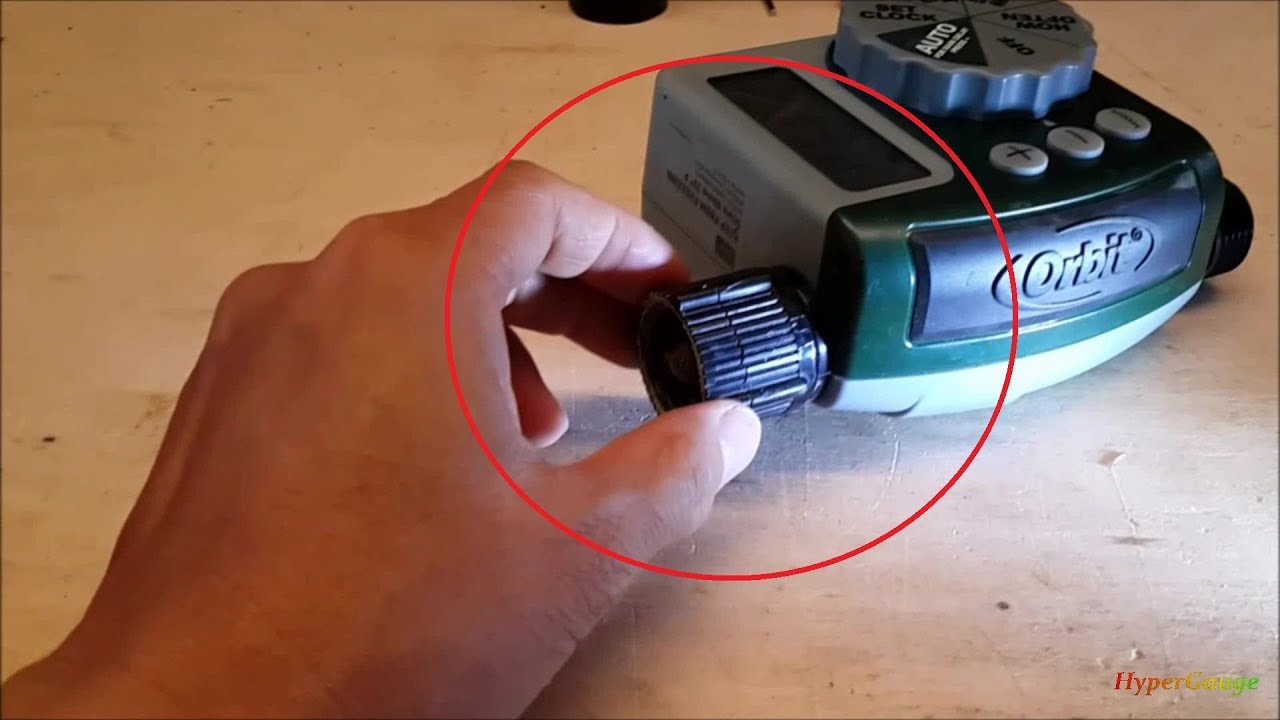
Sprinklers Not Activating
Sprinklers failing to activate is a common issue with Orbit controllers. This can disrupt your lawn’s irrigation schedule and lead to dry patches. Understanding the possible causes can save time and effort. Below are key steps to troubleshoot and resolve this problem effectively.
Verifying Wiring Connections
Loose or disconnected wires can prevent your sprinklers from working. Start by opening the controller panel and inspecting the wiring. Ensure all wires are securely connected to the correct terminals. Look for frayed or damaged wires and replace them if needed. Use a multimeter to check for electrical continuity in the wires.
Testing The Solenoid Valves
Faulty solenoid valves can stop water flow to sprinkler zones. Locate the valves and check for dirt or debris blocking the mechanism. Use a multimeter to test the solenoid for electrical resistance. A reading between 20-60 ohms usually indicates a functional solenoid. Replace the solenoid if it shows no resistance or unusual readings.
Ensuring Proper Scheduling
An incorrect schedule in the controller can cause sprinkler activation issues. Double-check the start times and watering durations for each zone. Make sure the controller is set to the correct day and time. Avoid overlapping schedules, as they can confuse the system. Reset the controller if necessary and re-enter the watering schedule.
Credit: www.youtube.com
Watering Schedule Errors
Watering schedule errors are a common issue with Orbit sprinkler controllers. These errors can lead to overwatering or missed watering times. Fixing such problems ensures your lawn and plants stay healthy. It also helps avoid water waste. Below are easy steps to troubleshoot and resolve watering schedule errors.
Adjusting Start Times
Incorrect start times can disrupt your watering schedule. Check the controller’s clock to ensure it’s accurate. Then, review the programmed start times. Adjust them based on your desired watering periods. For example, set early morning hours to avoid midday evaporation.
If there are multiple start times, confirm they don’t overlap. Overlapping times can cause excessive watering. Remove any unnecessary start times to keep the schedule simple and efficient.
Setting Correct Zones
Zones determine which areas get watered during each cycle. Verify that the right zones are assigned to the correct programs. Misassigned zones can result in dry spots or overwatered areas.
Inspect each zone’s settings carefully. Ensure they align with your lawn or garden’s needs. Update the duration for each zone if necessary. Shorten times for shaded areas and increase for sunny spots.
Resetting The Program
Sometimes, errors persist despite adjustments. Resetting the program can clear all incorrect settings. Locate the reset button on the controller or follow the manual’s instructions.
After resetting, re-enter your preferred schedule. Double-check start times, zones, and watering durations. This ensures the new program runs without errors.
Wi-fi Connectivity Problems
Orbit sprinkler controllers rely on a stable Wi-Fi connection to function properly. Connectivity issues can disrupt scheduling and control, making troubleshooting essential. Understanding common Wi-Fi problems can help you restore smooth operation quickly.
Checking Router Settings
Ensure your router broadcasts a 2.4 GHz Wi-Fi signal. Orbit controllers only connect to this frequency, not 5 GHz. Verify your Wi-Fi network name (SSID) and password. Avoid special characters or overly complex passwords, as they may cause connection problems. Check if your router settings allow new devices to join.
Position the router close to the controller to reduce signal interference. Avoid placing it near metal objects or thick walls. Weak signals can interrupt communication between the controller and router.
Reconnecting The Controller
Disconnect the Orbit controller from power for a few seconds. Reconnect it and wait for the device to restart completely. Open the Orbit app and navigate to the Wi-Fi settings. Follow the prompts to reconnect your controller to the network.
If the app shows errors, reset the controller to factory settings. Press and hold the reset button for 10 seconds. Reconnect the device to your Wi-Fi network using the app again.
Updating Firmware
Outdated firmware can cause connectivity issues with your Orbit controller. Check the Orbit app for firmware updates. Update the controller if a new version is available. Keeping the firmware updated ensures compatibility with your network.
Firmware updates also fix bugs and improve device performance. Make sure your controller stays connected during the update process. Interruptions can lead to incomplete installations and further issues.
Rain Sensor Malfunctions
Rain sensors are critical for saving water and preventing overwatering. A malfunctioning rain sensor can lead to inconsistent sprinkler performance. Identifying and fixing issues early ensures your Orbit sprinkler controller works effectively. Below are practical steps to troubleshoot common rain sensor problems.
Cleaning The Sensor
Dirt and debris can block the rain sensor, affecting its accuracy. Inspect the sensor for leaves, dust, or grime. Use a soft cloth or brush to gently clean it. Avoid using abrasive materials that might damage the sensor. Ensure the sensor’s vents are clear for proper functioning.
Testing Sensor Functionality
Testing the rain sensor helps confirm whether it’s working correctly. Simulate rain by lightly dripping water onto the sensor. Observe if the sprinkler system stops as expected. If it doesn’t, the sensor may require repair or replacement. Ensure the sensor’s connections to the controller are secure.
Bypassing The Sensor
If the sensor is faulty, bypass it to restore sprinkler function temporarily. Locate the sensor bypass switch on your Orbit controller. Turn the switch to the “bypass” mode to deactivate the sensor. This lets the sprinkler operate while you address the sensor issue. Remember to reactivate it after troubleshooting.
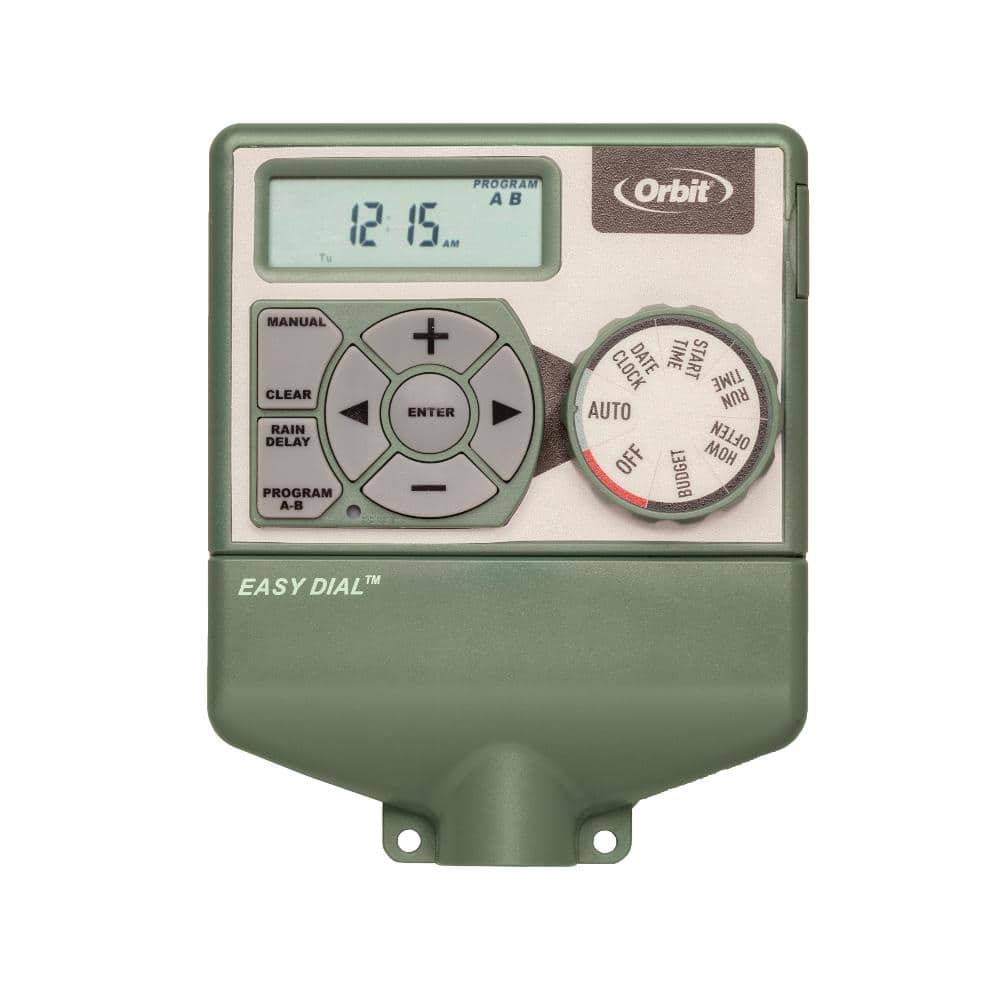
Controller Display Issues
Have you ever glanced at your Orbit sprinkler controller, only to find the display acting up? A flickering screen, missing digits, or a completely blank panel can be frustrating when you’re trying to keep your lawn healthy. Don’t worry—most display issues are fixable with simple steps, and you don’t need to be an expert to tackle them.
Fixing Screen Glitches
A glitchy screen might just need a quick reset. Start by unplugging the controller for about 30 seconds, then plug it back in. This simple reboot often resolves temporary errors.
If the issue persists, inspect the power source. Ensure the controller is securely plugged into a working outlet. Faulty power can cause inconsistent display performance.
Check the wiring connections inside the controller. Loose or damaged wires can interfere with the display. Use a screwdriver to tighten connections and replace frayed wires if necessary.
Have you cleaned the screen recently? Dust and debris can block visibility or mimic glitches. Wipe the display gently with a soft, dry cloth.
Replacing The Display Panel
Sometimes, the display panel itself is the problem. If you notice permanent damage like cracks or faded sections, replacing it might be your best option.
Begin by contacting Orbit’s customer support or checking their website for compatible replacement parts. They usually list the specific display panels for each model.
Once you have the replacement, remove the old panel by unscrewing the front cover. Be careful not to damage the surrounding components.
Secure the new display panel in place, ensuring all screws are tight and connections are properly aligned. Power the controller back on to test the new screen.
If you’re unsure about any step, consider watching online tutorials or asking for help from a knowledgeable friend. It’s better to proceed cautiously than risk damaging your controller.
Tackling these display issues doesn’t have to be a headache. Have you checked your Orbit controller lately? A few simple fixes might save you time and money while keeping your lawn in top shape.
Advanced Troubleshooting Tips
Orbit sprinkler controllers are reliable, but occasional issues can arise. Advanced troubleshooting helps resolve stubborn problems. Knowing key steps can save time and keep your system running smoothly. This guide provides practical tips for fixing complex issues.
Performing A Hard Reset
A hard reset can resolve persistent glitches in your Orbit sprinkler controller. First, disconnect the controller from its power source. Wait for 60 seconds to ensure all residual power is drained. Reconnect the power and check if the issue is resolved. This process clears old settings and reboots the system.
If the problem persists, consult the user manual for specific reset instructions. Some models may require pressing a reset button. Always follow the recommended procedure to avoid damaging the controller.
Contacting Customer Support
If troubleshooting steps don’t fix the issue, reach out to Orbit’s support team. Keep your model number and purchase details handy. Describe the problem clearly and mention any steps you’ve tried. This helps the support team provide accurate guidance.
Replacing Faulty Components
Credit: www.homedepot.com
Conclusion
Troubleshooting an Orbit sprinkler controller doesn’t have to feel overwhelming. Start by checking power connections and settings. Inspect wiring and valves for any visible issues. Resetting the controller can solve many minor glitches. Always refer to the user manual for detailed guidance.
Regular maintenance ensures your system works efficiently. If problems persist, contacting customer support may help. A well-functioning sprinkler saves water and keeps your lawn healthy. With these steps, you can address most common issues confidently. Stay proactive, and your sprinkler system will remain reliable for years.
")