Panini check scanners are vital for businesses that handle checks. But sometimes, they may face issues.
Understanding Panini check scanner troubleshooting can save you time and frustration. This guide aims to help you identify and fix common problems with your Panini check scanner. From connectivity issues to paper jams, knowing how to troubleshoot can keep your operations running smoothly.
Whether you are a small business owner or an IT professional, having a clear and concise troubleshooting guide is essential. Read on to learn the steps you can take to resolve your Panini check scanner issues quickly and efficiently.
Common Issues
Panini check scanners are reliable tools for businesses. Yet, users face some common issues. These can disrupt the workflow. This section covers two main problems: paper jams and misreads. Understanding these problems helps in quick troubleshooting.
Paper Jams
Paper jams are a frequent problem. They occur due to many reasons. The most common cause is using poor-quality paper. Also, feeding multiple checks at once can cause jams. To fix this, follow these steps:
- Turn off the scanner.
- Open the scanner cover.
- Gently remove any jammed paper.
- Check for any remaining pieces inside.
- Close the cover and turn on the scanner.
Use high-quality paper to prevent jams. Feed one check at a time. Regular maintenance also helps in reducing paper jams.
Misreads
Misreads happen often and can be frustrating. They occur when the scanner cannot read check details properly. Common causes include:
- Dirty scanner lens
- Worn-out check details
- Incorrect scanner settings
To fix misreads, try the following steps:
- Clean the scanner lens with a soft cloth.
- Ensure checks are in good condition.
- Check and adjust scanner settings.
Regular cleaning and proper check handling reduce misreads. Ensure settings match the type of checks being scanned.
Initial Checks
Experiencing issues with your Panini check scanner? Start with some initial checks. These basic steps can help solve common problems. Properly checking power supply and connections is essential.
Power Supply
First, ensure the scanner is receiving power. Check the power cable for damage. Verify that it is securely connected to the scanner. Make sure the power outlet works. Test it with another device. If the scanner has a power switch, make sure it is turned on. Look for any indicator lights to confirm the scanner is powered.
Connections
Next, inspect all connections. Ensure the USB cable is firmly connected. Check both ends: the scanner and the computer. If using a USB hub, try connecting directly to the computer. Confirm the computer recognizes the device. Go to ‘Device Manager’ on your computer. Look for the scanner under ‘Imaging Devices’. If it is not listed, try a different USB port. Sometimes, using a different cable can solve the issue. Regularly clean the scanner connectors for better performance.
Software Problems
Facing software problems with your Panini check scanner can be frustrating. Many users experience issues related to driver updates and compatibility. Below, we will explore how to address these common software problems.
Driver Updates
Keeping your scanner’s drivers up to date is crucial. Outdated drivers can cause your Panini check scanner to malfunction. Regular updates ensure your scanner works smoothly with your operating system.
Visit the Panini website to download the latest driver updates. Follow the instructions provided to install them correctly. This often resolves many software-related issues.
Compatibility Issues
Compatibility issues can prevent your scanner from working properly. Ensure your scanner’s software is compatible with your computer’s operating system. Check the system requirements on the Panini website.
If there is a mismatch, consider updating your operating system. Sometimes, running the software in compatibility mode can also help. This trick can resolve many minor compatibility problems.
Credit: www.possupply.com
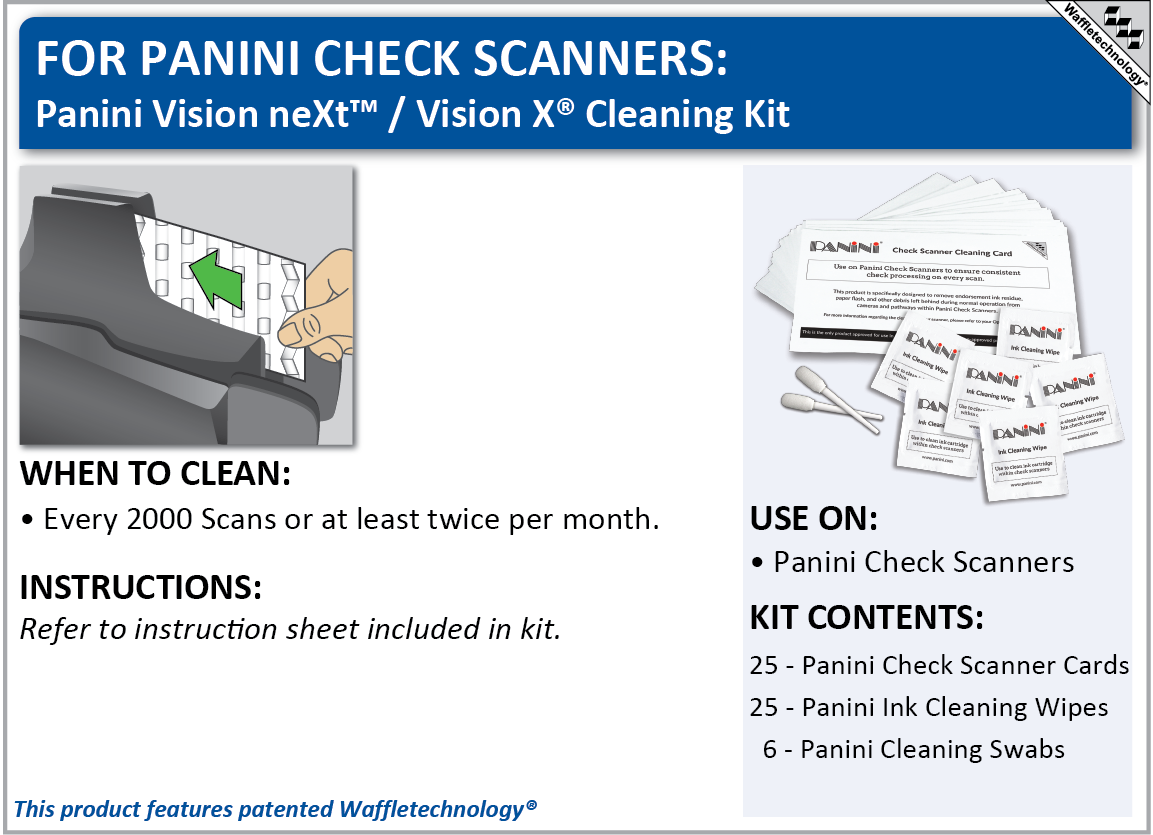
Cleaning Tips
Maintaining your Panini check scanner is essential for optimal performance. Regular cleaning can prevent many common issues. Below, we provide some cleaning tips for your scanner. Follow these steps to keep your device running smoothly.
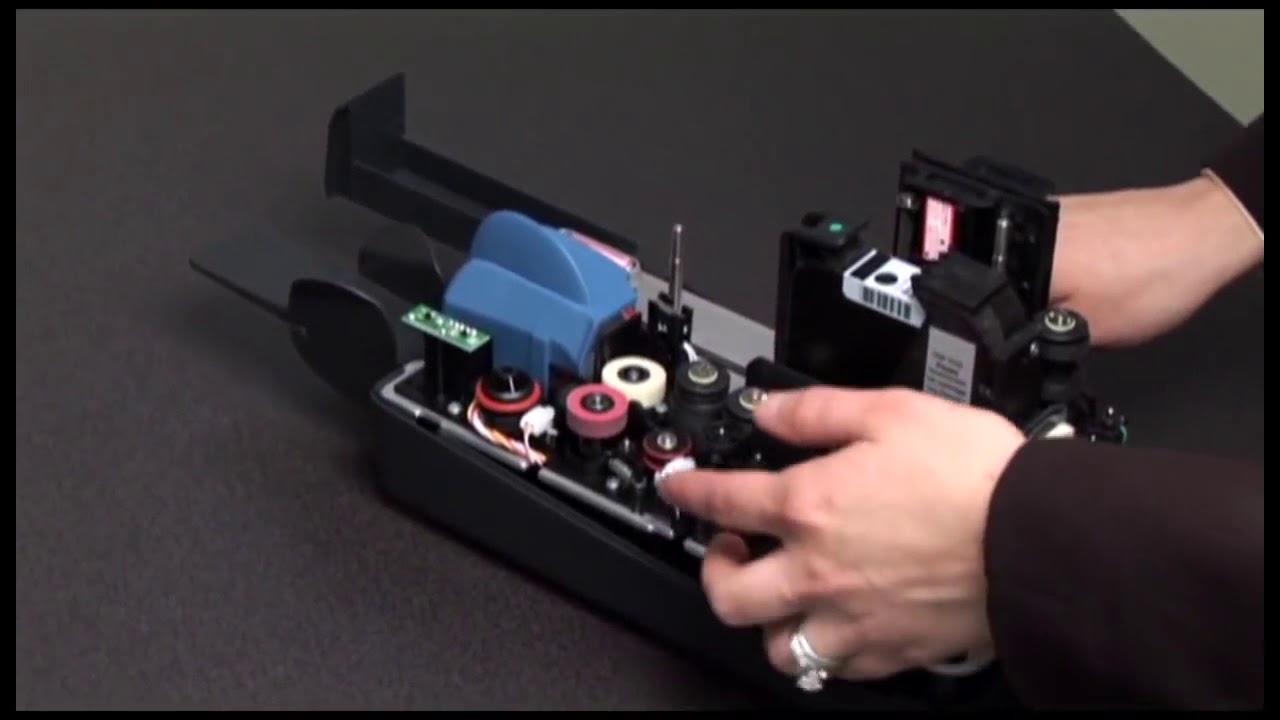
Cleaning Rollers
The rollers in your Panini check scanner can collect dust and debris over time. This can affect the scanner’s performance. To clean them, follow these steps:
- Turn off and unplug the scanner.
- Open the scanner’s cover to access the rollers.
- Use a lint-free cloth slightly dampened with isopropyl alcohol.
- Gently wipe each roller, rotating them to clean all sides.
- Allow the rollers to dry completely before closing the cover.
Regular cleaning of the rollers ensures smooth operation and reduces paper jams.
Clearing Sensors
The sensors in your Panini check scanner detect checks and ensure accurate scanning. Dust and debris can obstruct these sensors. To clear them, follow these steps:
- Turn off and unplug the scanner.
- Open the scanner’s cover to access the sensors.
- Use a soft brush to gently remove dust from the sensors.
- Alternatively, use a can of compressed air to blow away debris.
- Ensure all sensors are clear before closing the cover.
Clear sensors are crucial for accurate check scanning and error-free operations.
By following these cleaning tips, you can maintain your Panini check scanner’s performance. Regular maintenance reduces downtime and extends the life of your device.
Maintenance Routine
Maintaining your Panini check scanner ensures its efficiency and longevity. Following a proper maintenance routine can prevent common issues and keep your device running smoothly. This section outlines important steps to include in your maintenance routine.
Regular Inspections
Regular inspections are crucial for your Panini check scanner. Check for any visible dust or debris weekly. Inspect the rollers and sensors for wear and tear. Ensure cables are securely connected. Verify the scanner’s software is up-to-date. These simple checks can prevent major problems.
Replacing Parts
Some parts of your Panini check scanner will wear out over time. Replace worn-out rollers, belts, and sensors promptly. Keep spare parts on hand for quick replacements. Follow the manufacturer’s guidelines for replacing parts. Regularly replacing parts can extend your scanner’s lifespan.
Credit: www.youtube.com
Error Codes
Encountering error codes on your Panini Check Scanner can be frustrating. Knowing what these codes mean and how to resolve them can save you time. Below, we delve into common error codes and steps to troubleshoot them.
Code Meanings
Error codes on your Panini Check Scanner give insights into specific problems. Here’s a list of common codes:
| Code | Meaning |
|---|---|
| 01 | Paper Jam |
| 02 | Scanner Not Connected |
| 03 | Scanner Cover Open |
| 04 | Ink Cartridge Error |
Steps To Resolve
Follow these steps to resolve common error codes:
- Paper Jam (Code 01):
- Turn off the scanner.
- Open the scanner cover.
- Remove any jammed paper.
- Close the cover and turn on the scanner.
- Scanner Not Connected (Code 02):
- Check the USB connection.
- Ensure the scanner is properly plugged in.
- Restart your computer and scanner.
- Scanner Cover Open (Code 03):
- Close the scanner cover securely.
- If the error persists, check for obstructions.
- Ink Cartridge Error (Code 04):
- Remove and reinsert the ink cartridge.
- Ensure the cartridge is seated correctly.
- Replace the cartridge if the error continues.
Advanced Troubleshooting
Advanced troubleshooting can help resolve complex issues with your Panini check scanner. This section covers key areas to ensure your device runs smoothly. Follow these steps for effective problem-solving.
Firmware Updates
Updating the firmware can fix many scanner problems. Follow these steps:
- Visit the Panini website.
- Download the latest firmware update.
- Connect your scanner to the computer.
- Run the firmware installer.
Make sure to restart your scanner after the update. This ensures the new firmware is applied correctly.
Technical Support
If the problem persists, contact Panini’s technical support. They can provide specialized assistance. Here is how to reach them:
| Support Type | Contact Information |
|---|---|
| support@panini.com | |
| Phone | +1-800-123-4567 |
Have your scanner model and serial number ready. This helps the support team identify your device quickly.
Advanced troubleshooting can often resolve issues that basic steps cannot. Keeping your firmware updated and knowing how to reach technical support are key to maintaining your Panini check scanner.

Credit: www.youtube.com
Preventive Measures
Keeping your Panini Check Scanner in good shape is crucial. Follow these preventive measures to avoid common issues and extend your scanner’s life.
Proper Handling
Proper handling of your Panini Check Scanner can prevent many issues. Always use both hands when lifting or moving the scanner. Avoid dropping or hitting it against hard surfaces.
Clean the scanner regularly. Dust and debris can damage internal parts. Use a soft cloth to wipe the exterior. For internal cleaning, follow the manufacturer’s instructions.
Safe Storage
Safe storage is essential for maintaining your scanner’s functionality. Store the scanner in a dry, cool place. Avoid areas with high humidity or extreme temperatures.
Cover the scanner when not in use. This prevents dust and debris from entering the machine. Use the cover provided by the manufacturer for best results.
Organize cables neatly. Tangled or damaged cables can cause connectivity issues. Use cable ties to keep them organized.
| Measure | Action |
|---|---|
| Proper Handling | Lift with both hands, avoid dropping, clean regularly |
| Safe Storage | Store in a cool, dry place, cover when not in use, organize cables |
Frequently Asked Questions
Why Is My Panini Check Scanner Not Working?
Your Panini check scanner might not work due to power issues, connection problems, or software errors. Check all cables and software.
How Do I Clean My Panini Check Scanner?
To clean your Panini check scanner, use a cleaning card. Run it through the scanner to remove dirt and debris.
What Should I Do If My Scanner Jams?
If your scanner jams, turn it off. Carefully remove the jammed check. Restart the scanner.
How Can I Update My Panini Scanner Software?
Visit the Panini website. Download the latest software updates. Follow the installation instructions provided.
What Does The Error Code On My Scanner Mean?
Error codes indicate specific issues. Refer to the Panini user manual or website for detailed error code explanations and solutions.
Conclusion
Solving Panini check scanner issues can be simple. Follow the steps given above. Regular maintenance helps prevent most problems. Keep the scanner clean and updated. Check connections and software regularly. If issues persist, contact support. Troubleshooting saves time and avoids frustration.
A well-functioning scanner ensures smooth operations. Happy scanning!
")


