To troubleshoot a Pioneer Mini Split, check for common issues like power supply problems, sensor malfunctions, or refrigerant leaks. Ensure regular maintenance to prevent these issues.Pioneer Mini Splits are popular for their efficient cooling and heating capabilities. They can sometimes encounter issues that disrupt their performance. Troubleshooting these problems can help restore functionality and extend the unit’s lifespan. Common issues include power supply problems, sensor malfunctions, and refrigerant leaks.
Regular maintenance, such as cleaning filters and checking connections, can prevent many of these problems. Understanding the basic troubleshooting steps can save time and money, ensuring your Pioneer Mini Split runs smoothly throughout the year. This guide will help you identify and resolve common issues with your unit.
Introduction To Pioneer Mini Split Systems
Pioneer mini split systems are a great choice for many homes. They offer efficient cooling and heating. These systems are reliable and easy to install.
Why Choose Pioneer?
Pioneer mini split systems are known for their high performance. They are energy-efficient, saving you money on your utility bills. Pioneer units are also quiet, ensuring a peaceful environment.
- Energy-efficient
- High performance
- Quiet operation
- Easy installation
Common Issues
Even the best systems can face issues. Here are some common problems with Pioneer mini split systems:
| Issue | Possible Cause |
|---|---|
| System not cooling | Low refrigerant levels |
| Strange noises | Loose parts |
| Unit won’t turn on | Power supply problems |
Here is a simple troubleshooting guide:
- Check the power supply.
- Inspect the filters.
- Look for any loose parts.
- Verify refrigerant levels.
Initial Troubleshooting Steps
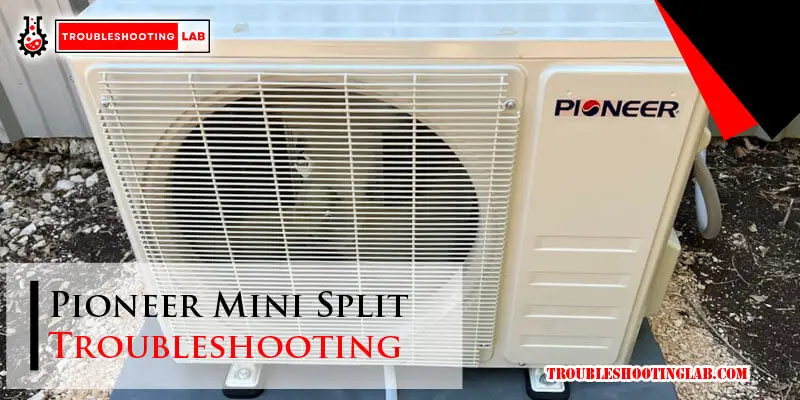
Experiencing issues with your Pioneer Mini Split system can be frustrating. Before calling a technician, there are some initial troubleshooting steps you can take. These steps often resolve common problems and save time and money. Follow the guide below to get your system back in working order.
Checking Power Supply
The first step is to check the power supply. Ensure the unit is properly plugged in. Verify the outlet is functional by plugging in another device. Check the circuit breaker for any tripped switches. Reset the breaker if necessary. Confirm the unit’s power switch is on.
Inspecting Remote Control
Next, inspect the remote control. Ensure it has working batteries. Replace them if needed. Make sure there are no obstructions between the remote and the unit. Clean the sensor on both the remote and the unit. Test the remote control by using it to operate another device, if possible.
Addressing Temperature Problems
Temperature issues with your Pioneer Mini Split can be frustrating. Whether it’s inadequate cooling or inconsistent heating, addressing these problems quickly is essential. This guide will help you troubleshoot common temperature issues, ensuring your system works optimally.
Inadequate Cooling
If your Mini Split is not cooling effectively, several factors could be at play. Use the following checklist to pinpoint the issue:
- Check the Thermostat Settings: Ensure the thermostat is set to the desired temperature.
- Inspect the Air Filters: Dirty filters can block airflow. Clean or replace them.
- Examine the Outdoor Unit: Remove any debris around the unit to ensure proper airflow.
- Verify Refrigerant Levels: Low refrigerant can affect cooling. You may need a professional to check this.
If these steps don’t solve the problem, consider calling a professional technician for a more in-depth inspection.
Inconsistent Heating
Experiencing inconsistent heating from your Pioneer Mini Split? Follow these steps to troubleshoot:
- Check the Thermostat Settings: Ensure the thermostat is in heating mode and set to the right temperature.
- Inspect the Air Vents: Make sure all vents are open and unobstructed.
- Examine the Heating Coils: Dirty coils can hinder heating. Clean them if necessary.
- Verify Electrical Connections: Loose or faulty connections can cause heating issues. Inspect and secure all connections.
If heating remains inconsistent, professional service may be required to diagnose and fix the problem.
| Problem | Possible Cause | Solution |
|---|---|---|
| Inadequate Cooling | Dirty Filters | Clean or replace filters |
| Inconsistent Heating | Dirty Heating Coils | Clean the coils |
By following these troubleshooting steps, you can address common temperature problems with your Pioneer Mini Split. Regular maintenance and timely repairs will keep your system running smoothly.
Dealing With Noisy Operation
Dealing with a noisy mini split system can be frustrating. This guide helps you identify and fix common noise issues with your Pioneer mini split. With a few simple steps, your unit will run quietly again.
Identifying Noise Sources
Noisy operation can come from various parts of the mini split. Identifying the source of the noise is the first step in solving the problem. Here are common noise sources:
- Indoor Unit: This includes the fan or blower.
- Outdoor Unit: This includes the compressor or fan.
- Refrigerant Lines: These can vibrate and cause noise.
Solutions For Common Noises
Once you know where the noise is coming from, you can take steps to fix it. Here are some solutions for common noise issues:
Indoor Unit Noises
Fan or Blower: If the fan or blower is noisy, check for dirt or debris. Clean the blades to ensure smooth operation. Tighten any loose screws or bolts.
Outdoor Unit Noises
Compressor: The compressor can be noisy. Ensure it is properly mounted. Use anti-vibration pads to reduce noise.
Fan: The outdoor fan can also cause noise. Clean the fan blades and check for damage. Replace any damaged parts.
Refrigerant Line Noises
Vibration: If refrigerant lines vibrate, secure them with clamps. Use foam insulation to reduce noise.
| Noise Source | Solution |
|---|---|
| Indoor Unit Fan | Clean blades, tighten screws |
| Outdoor Unit Compressor | Check mounting, use pads |
| Refrigerant Lines | Secure with clamps, use insulation |
By following this guide, you can easily troubleshoot and resolve noise issues in your Pioneer mini split system. Enjoy a quieter, more efficient cooling experience.
Fixing Water Leakage Issues
Water leakage from your Pioneer mini split can be a big problem. Understanding the cause helps in fixing it quickly. Let’s explore common issues and solutions.
Drainage Problems
Drainage problems are a frequent cause of water leakage. Check the drainage pipe for clogs. A blocked pipe can prevent water from draining properly.
- Ensure the drainage pipe is not kinked or bent.
- Clean the drainage pipe regularly to avoid blockages.
- Use a vacuum to remove clogs from the pipe.
Also, inspect the drain pan. If the drain pan is full or damaged, it can cause leaks. Replace or repair the drain pan if necessary.
Condensation Concerns
Condensation can also lead to water leakage. Excess condensation forms when the unit is not running efficiently.
- Check the air filters. Dirty filters can restrict airflow.
- Clean the filters every month to ensure proper airflow.
- Inspect the cooling coils for dirt and debris.
If the coils are dirty, clean them with a coil cleaner. Regular maintenance prevents excessive condensation.
Another factor is the room’s humidity level. High humidity can cause more condensation. Use a dehumidifier to control humidity levels.
| Issue | Solution |
|---|---|
| Clogged Drainage Pipe | Clean the pipe and remove clogs |
| Full Drain Pan | Empty or replace the drain pan |
| Dirty Air Filters | Clean or replace air filters |
| Dirty Cooling Coils | Clean the coils |
| High Humidity | Use a dehumidifier |
Handling Sensor Errors
Mini split systems rely on sensors for optimal performance. Sensors monitor temperature and humidity. They ensure your system runs efficiently. Sensor errors can disrupt this balance. This guide will help you handle sensor errors in your Pioneer Mini Split.
Temperature Sensor Malfunctions
Temperature sensors detect the room’s heat levels. If they malfunction, your system may overheat or freeze. Follow these steps to troubleshoot temperature sensor issues:
- Check the sensor for dust or debris.
- Ensure the sensor is properly connected.
- Use a multimeter to check sensor resistance.
- If necessary, replace the faulty sensor.
| Symptom | Possible Cause | Solution |
|---|---|---|
| Inaccurate temperature readings | Sensor obstruction | Clean the sensor |
| System not cooling or heating | Loose connection | Secure the connection |
| System shuts down | Faulty sensor | Replace the sensor |
Humidity Sensor Issues
Humidity sensors measure moisture levels in the air. Incorrect readings can affect your comfort. Here’s how to address humidity sensor problems:
- Inspect the sensor for dirt buildup.
- Confirm the sensor’s wiring is intact.
- Test the sensor using a hygrometer.
- Replace the sensor if readings are inaccurate.
Keeping sensors clean and well-maintained is crucial. Regular checks can prevent most sensor issues. This ensures your Pioneer Mini Split operates smoothly.
Understanding Error Codes
Understanding error codes on your Pioneer Mini Split is crucial. These codes help identify problems. This guide will explain common error codes and how to reset the system.
Common Error Codes
Here are some common error codes you might see:
- E1 – Indoor/outdoor unit communication error.
- E2 – Zero-crossing detection error.
- E3 – Indoor fan speed error.
- E4 – Indoor room temperature sensor error.
- E5 – Evaporator coil temperature sensor error.
- P1 – High/low voltage protection.
- P2 – High discharge temperature protection.
How To Reset The System
Resetting your Pioneer Mini Split system is easy. Follow these steps:
- Turn off the unit using the remote control.
- Disconnect the power supply.
- Wait for 5-10 minutes.
- Reconnect the power supply.
- Turn on the unit using the remote control.
This reset process can solve many minor issues. If problems persist, contact a professional technician.
When To Call A Professional
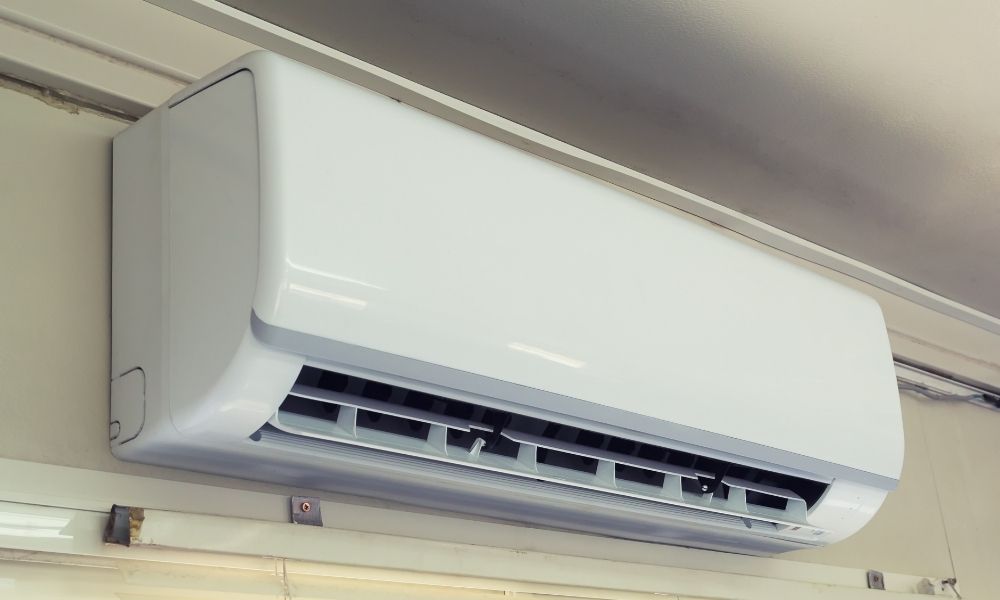
Troubleshooting your Pioneer Mini Split can sometimes be straightforward. But there are moments when it’s best to call a professional. Knowing when to seek expert help can save time and prevent further damage. Here’s a guide to identify those critical times.
Identifying Major Issues
Some problems are too complex for DIY fixes. Recognizing these issues early is crucial. Here are signs you need professional help:
- Strange Noises: Odd sounds like grinding or banging indicate severe problems.
- Frequent Breakdowns: Constant malfunctions suggest underlying issues.
- Unusual Smells: Strange odors can signal electrical or mold issues.
- Inconsistent Temperatures: Uneven cooling or heating points to system faults.
If you notice these signs, call a professional immediately. Attempting to fix these problems on your own can lead to more damage.
Finding A Qualified Technician
Choosing the right technician is vital. Here are steps to ensure you find a qualified professional:
- Check Credentials: Ensure the technician is certified and licensed.
- Read Reviews: Look for positive feedback from previous customers.
- Ask for References: Contact past clients to learn about their experiences.
- Compare Quotes: Get multiple estimates to find a fair price.
A qualified technician can diagnose and fix the issues correctly. This ensures your Pioneer Mini Split works efficiently for years to come.
Frequently Asked Questions
Why Is My Pioneer Mini Split Not Cooling?
Check if the thermostat is set correctly. Ensure the air filters are clean and outdoor unit is unobstructed.
How Do I Reset My Pioneer Mini Split?
Locate the reset button on the indoor unit. Press it for a few seconds to reset the system.
What Causes Pioneer Mini Split To Leak Water?
Clogged drain line or dirty filters can cause water leakage. Ensure proper installation and regular maintenance.
Why Is My Pioneer Mini Split Making Noise?
Loose components or debris in the unit can cause noise. Inspect and tighten parts, clean the unit thoroughly.
How Often Should I Service My Pioneer Mini Split?
Service your Pioneer mini split every six months. Regular maintenance ensures efficient operation and prolongs the unit’s lifespan.
Conclusion
By following this Pioneer Mini Split Troubleshooting Guide, you can solve common issues quickly and efficiently. Regular maintenance ensures optimal performance and longevity. Always refer to the manual for detailed instructions. Stay comfortable with a properly functioning mini split system.
Happy troubleshooting!


