Understanding starter relay issues can save time and money. A faulty starter relay can cause car troubles.
A starter relay plays a crucial role in your vehicle’s ignition system. It sends power from the battery to the starter motor when you turn the key. Problems with the starter relay can lead to frustrating experiences, like your car not starting at all.
Knowing how to troubleshoot these issues is essential. In this guide, you’ll learn the basics of diagnosing and fixing common starter relay problems. By understanding these steps, you’ll gain confidence in handling minor car troubles. This knowledge can help prevent bigger, more expensive repairs down the road. Let’s dive into the essentials of starter relay troubleshooting.
Common Starter Relay Issues
Dealing with starter relay issues can be frustrating. Knowing the common problems can help you diagnose and fix them quickly. In this section, we will discuss the symptoms and causes of a faulty starter relay.
Symptoms Of A Faulty Relay
Identifying a faulty starter relay is crucial for a quick fix. Here are some common symptoms:
- Clicking sound when turning the key
- Engine won’t start or starts intermittently
- Starter motor stays engaged even after the engine starts
- Burning smell coming from the relay or wiring
Causes Of Relay Failure
Understanding the causes of relay failure can prevent future issues. Here are some common causes:
| Cause | Description |
|---|---|
| Wear and Tear | Relays can wear out over time due to frequent use. |
| Corrosion | Moisture can corrode the relay terminals, causing failure. |
| Electrical Issues | Short circuits or faulty wiring can damage the relay. |
| Overheating | Excessive heat can cause the relay to malfunction. |
Keeping these issues in mind can help you maintain your starter relay and avoid unexpected problems.
Credit: www.cyclepedia.com
Tools Needed For Troubleshooting
When troubleshooting a starter relay, having the right tools is crucial. Using the proper tools ensures accurate diagnosis and swift repair. Let’s explore the tools needed for troubleshooting, divided into basic and advanced categories.
Basic Tools
Basic tools are essential for initial diagnosis. Here are some must-have items:
- Multimeter: Measures voltage, resistance, and current.
- Screwdrivers: Both flathead and Phillips for removing screws.
- Wrenches: Various sizes for loosening and tightening bolts.
- Wire Strippers: Helps in stripping the insulation from wires.
- Test Light: Checks for power in circuits.
Advanced Tools
Advanced tools provide more in-depth analysis. These tools are ideal for complex issues:
- Oscilloscope: Visualizes electrical signals.
- Battery Load Tester: Tests the battery under load conditions.
- Relay Tester: Specifically checks the functionality of relays.
- Diagnostic Scanner: Reads error codes from the vehicle’s computer.
- Thermal Imager: Identifies hot spots in electrical components.
Equipping yourself with these tools can make troubleshooting more efficient. Ensure you have both basic and advanced tools for a thorough diagnostic process.
Safety Precautions
Before troubleshooting a starter relay, it is crucial to follow safety precautions. This ensures you stay safe and prevents damage to your vehicle. Below, we have outlined essential steps to keep you safe during the process.
Protective Gear
Wearing the right protective gear can prevent injuries. Consider the following:
- Gloves: Protect your hands from cuts and electrical shocks.
- Safety goggles: Shield your eyes from sparks and debris.
- Closed-toe shoes: Prevent foot injuries from falling objects.
Disconnecting The Battery
One of the most critical safety steps is disconnecting the battery. Follow these steps:
- Turn off the vehicle and remove the keys from the ignition.
- Locate the battery in your vehicle. It is usually under the hood.
- Use a wrench to loosen the negative terminal clamp. This is typically marked with a minus (-) sign.
- Remove the negative cable and secure it away from the battery.
- Repeat the process for the positive terminal, marked with a plus (+) sign.
By disconnecting the battery, you prevent accidental electrical shocks and short circuits.
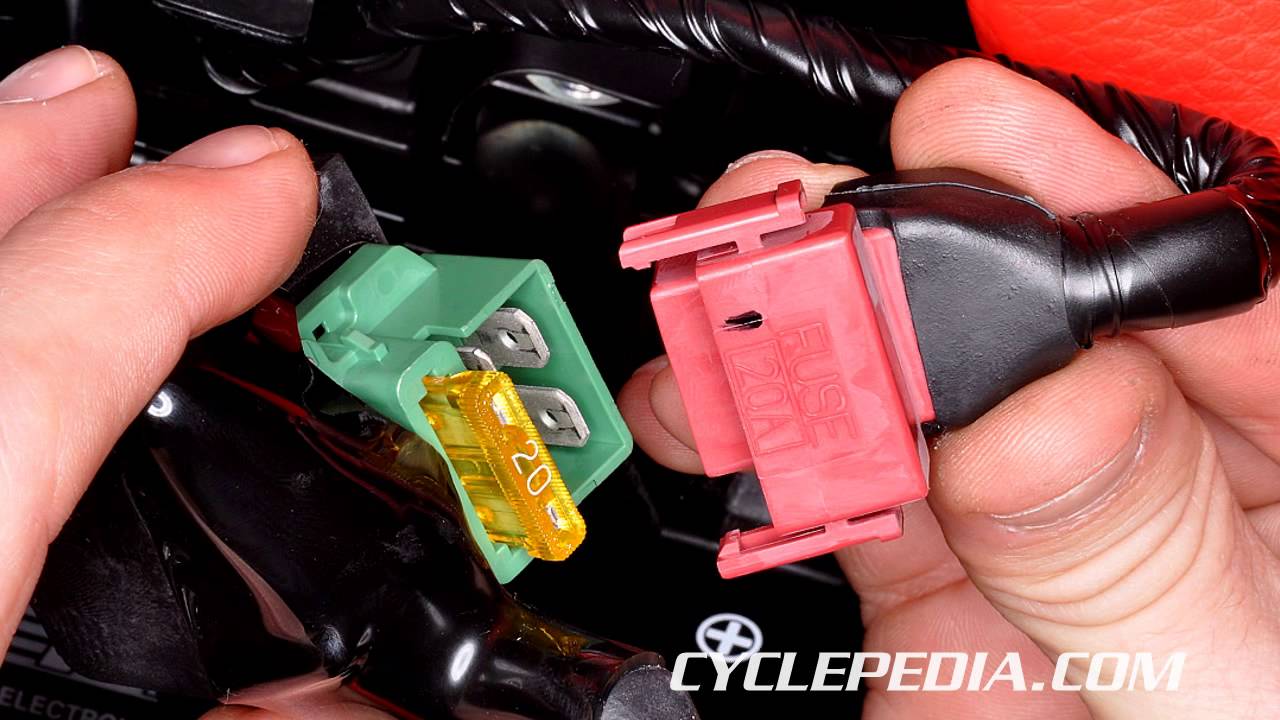
Credit: www.partzilla.com
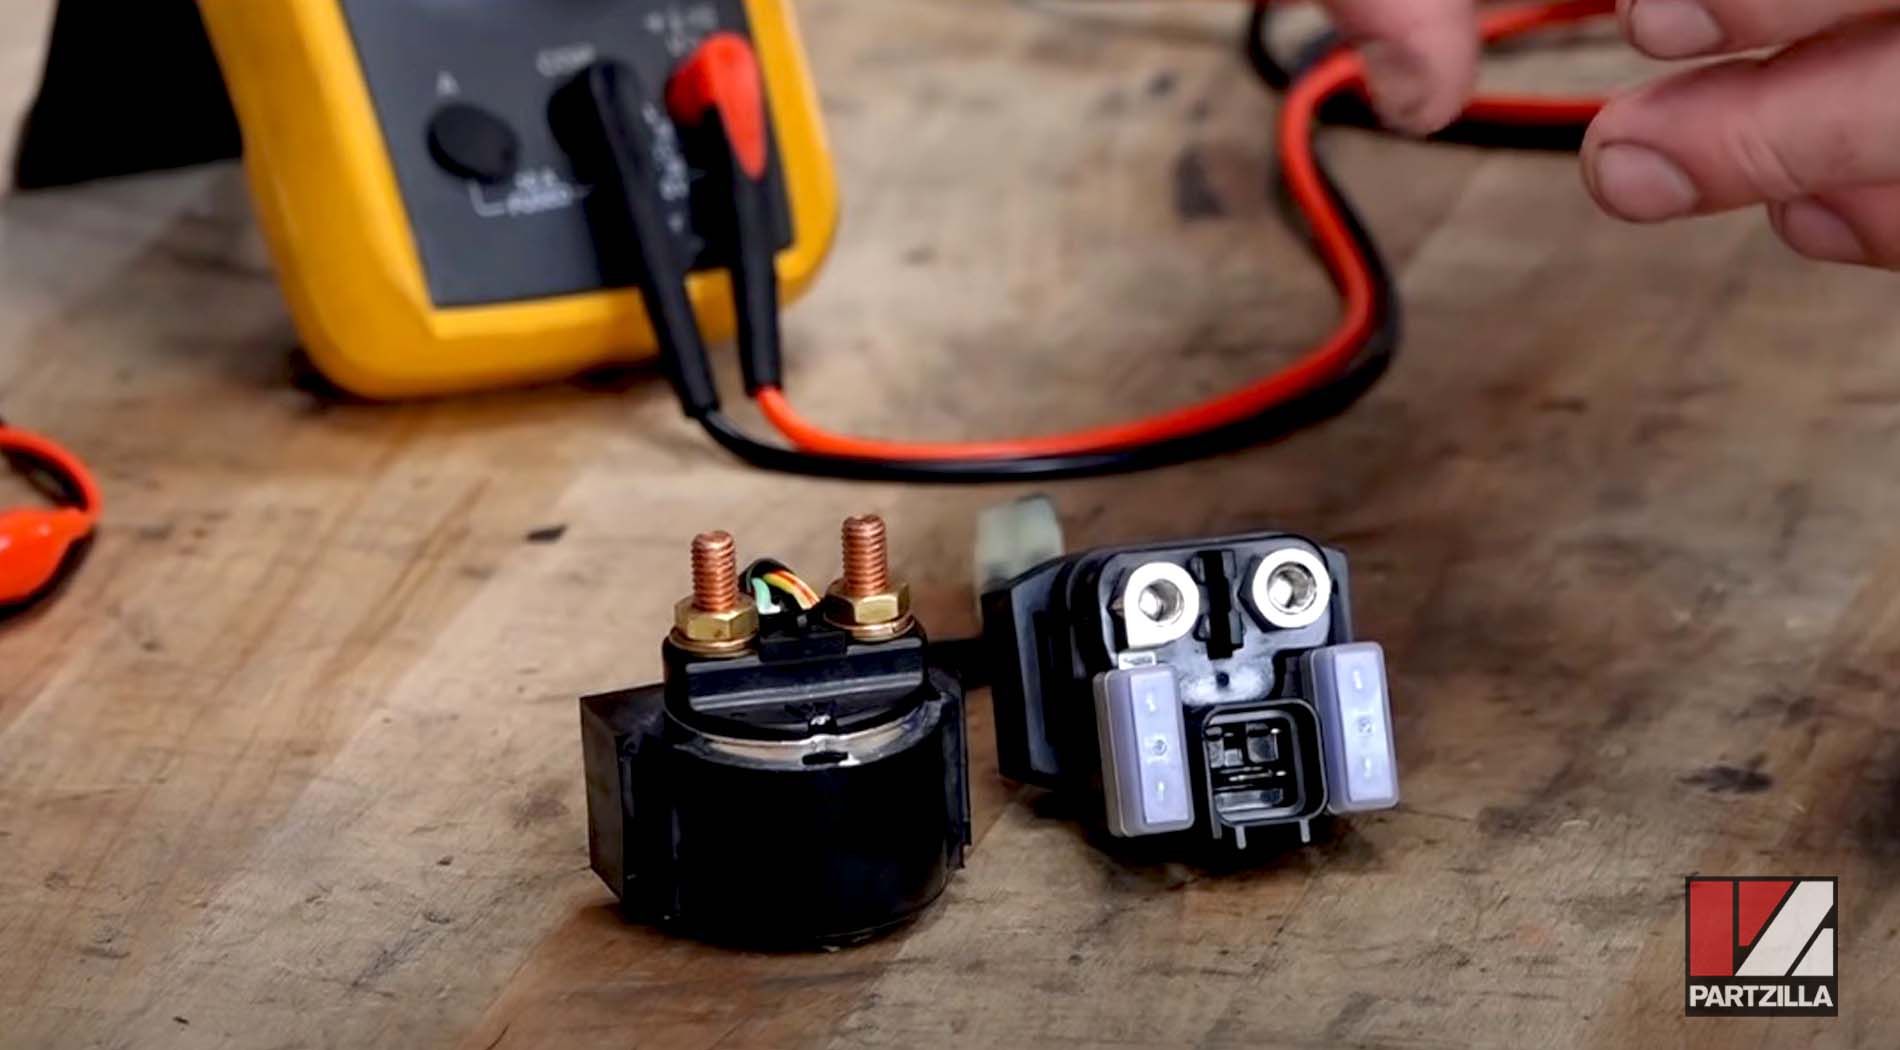
Testing The Starter Relay
Testing the starter relay is crucial for diagnosing starting issues in vehicles. A faulty relay can prevent the engine from starting. This guide will help you troubleshoot the starter relay through visual inspection and electrical testing.
Visual Inspection
Start by locating the starter relay, usually found in the fuse box. Check for any visible damage or corrosion on the relay and its terminals. Look for melted plastic or burn marks, which indicate overheating. Ensure all connections are secure and free from rust or grime.
Electrical Testing
Use a multimeter to test the relay’s electrical function. Set the multimeter to the continuity or ohms setting. First, test the relay coil by placing the multimeter probes on the relay terminals. You should get a reading between 50 and 120 ohms. If not, the coil may be faulty.
Next, test the relay’s switch function. Connect the relay to a 12-volt power source. Listen for a clicking sound, indicating the relay is working. Use the multimeter to check for continuity between the switch terminals. If there is no continuity, the relay may need to be replaced.
Quick Fixes For Starter Relay Problems
Experiencing issues with your starter relay can be frustrating. Quick fixes can often resolve these issues. Here are some easy steps to get your starter relay back in shape.
Cleaning Corroded Connections
Corrosion can disrupt the flow of electricity. Cleaning corroded connections helps restore proper function. Follow these steps:
- Turn off the vehicle and disconnect the battery.
- Locate the starter relay and remove it.
- Check the connections for any signs of corrosion.
- Use a wire brush to clean the corroded areas.
- Wipe the connections with a clean cloth.
- Reinstall the starter relay and reconnect the battery.
Cleaning the connections can make a big difference. It ensures smooth electrical flow.
Tightening Loose Wires
Loose wires can cause the starter relay to malfunction. Tightening loose wires is a quick fix. Here’s how:
- Turn off the vehicle and disconnect the battery.
- Locate the starter relay and inspect the wires connected to it.
- Identify any loose wires.
- Use a screwdriver to tighten the screws holding the wires.
- Ensure all wires are securely connected.
- Reinstall the starter relay and reconnect the battery.
Tightening the wires ensures a stable connection. This helps prevent future problems.
By following these simple steps, you can quickly fix common starter relay problems. These quick fixes can save time and money.
Replacing A Faulty Starter Relay
A faulty starter relay can hinder your vehicle’s performance. Understanding how to replace it is crucial. This guide will help you through the process.
Choosing The Right Replacement
Selecting the correct starter relay is essential. Ensure compatibility with your vehicle. Check the manufacturer’s specifications. Use a trusted brand to avoid further issues.
Consider the relay’s voltage and current rating. These should match your vehicle’s requirements. A mismatched relay can cause damage. Always verify before making a purchase.
| Criteria | Details |
|---|---|
| Voltage Rating | Matches vehicle’s specifications |
| Current Rating | Handles the required current load |
| Brand | Reputable and trusted |
Step-by-step Replacement Guide
Follow these steps to replace your faulty starter relay. Ensure safety by disconnecting the battery first.
- Locate the Starter Relay: Find it in the fuse box or engine compartment.
- Remove the Old Relay: Gently pull it out. Be careful not to damage surrounding components.
- Install the New Relay: Align it with the socket. Push it firmly into place.
- Reconnect the Battery: Ensure all connections are secure. Reconnect the battery terminals.
- Test the Relay: Start the vehicle. Check for proper operation.
Replacing a starter relay is straightforward. Following these steps ensures a successful replacement. Enjoy your smooth-running vehicle.
Preventive Maintenance Tips
Preventive maintenance helps extend the life of your starter relay. Regular care can prevent unexpected issues. Below are some essential tips to keep your starter relay in top condition.
Regular Inspections
Regular inspections are crucial for detecting early signs of wear. Check the starter relay every few months. Look for any visible damage or corrosion. Listen for unusual sounds when starting the engine. Early detection can prevent major failures.
Keeping Connections Clean
Clean connections are vital for a reliable starter relay. Dirt and grime can affect performance. Use a clean cloth to wipe the relay and its connections. Make sure to disconnect the battery first. Use a small brush to clean hard-to-reach areas.
Regular cleaning ensures optimal performance. It helps prevent corrosion and maintains efficient electrical flow. For a deeper clean, consider using a contact cleaner. Follow the product instructions carefully.
| Task | Frequency |
|---|---|
| Visual Inspection | Every 3 months |
| Clean Connections | Every 6 months |
| Listen for Unusual Sounds | Every start |
By following these simple steps, you can keep your starter relay in good shape. Remember, a little maintenance goes a long way.
When To Seek Professional Help
If your starter relay troubleshooting efforts fail, it may be time to seek professional help. Persistent issues often need expert attention. This ensures your vehicle stays reliable and safe.
Starter relay issues can be tricky. Sometimes, troubleshooting them at home isn’t enough. There are moments when expert help becomes necessary. Knowing when to seek a professional can save time and prevent further damage.Complex Issues
Some problems go beyond basic fixes. If the starter relay shows signs of deep electrical faults, it’s best to call a professional. Such issues might involve the entire electrical system. Without proper training, diagnosing these can be risky.Faulty wiring or unusual noises also need professional attention. These signs hint at more serious problems. A trained mechanic can identify and fix these with precision.Lack Of Tools Or Experience
Not everyone has the right tools. Starter relay troubleshooting often requires special equipment. Professionals have access to these tools. They can perform tests that are not possible with basic home tools.Experience matters. Professionals deal with these issues daily. They know what to look for and how to fix it quickly. If you’re unsure or lack experience, it’s safer to seek their help. “`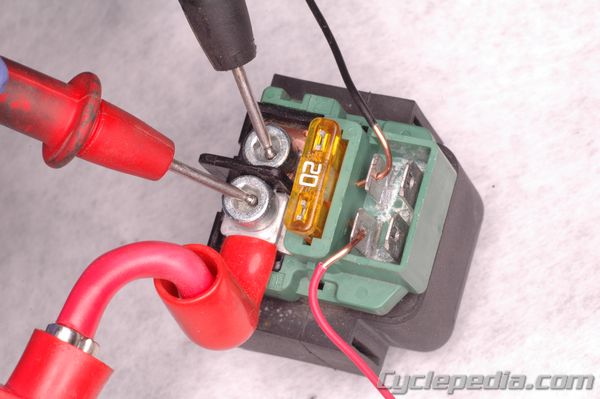
Credit: www.cyclepedia.com
Frequently Asked Questions
What Are Common Symptoms Of A Faulty Starter Relay?
A bad relay can cause the engine not to start. Clicking sounds. No noise when turning the key.
How Can I Test My Starter Relay?
Use a multimeter to check voltage. No voltage means a bad relay.
Can A Bad Starter Relay Drain The Battery?
Yes, a faulty relay can drain the battery. It may keep the circuit open.
What Causes A Starter Relay To Fail?
Age, wear, and electrical issues often cause relay failure. Moisture can also damage it.
How Do I Replace A Starter Relay?
Locate the relay. Disconnect the battery. Remove the old relay. Install the new one. Reconnect the battery.
Conclusion
Fixing a starter relay can seem tough, but it’s doable. Follow these steps. Check the battery, connections, and the relay itself. Use basic tools for testing. Replace faulty parts promptly. Regular maintenance helps avoid issues. A working relay ensures your vehicle starts smoothly.
Remember, small efforts can save big costs. Happy troubleshooting!
")