To troubleshoot a Taylor thermometer, check the battery and ensure proper calibration. Clean the sensor for accurate readings.
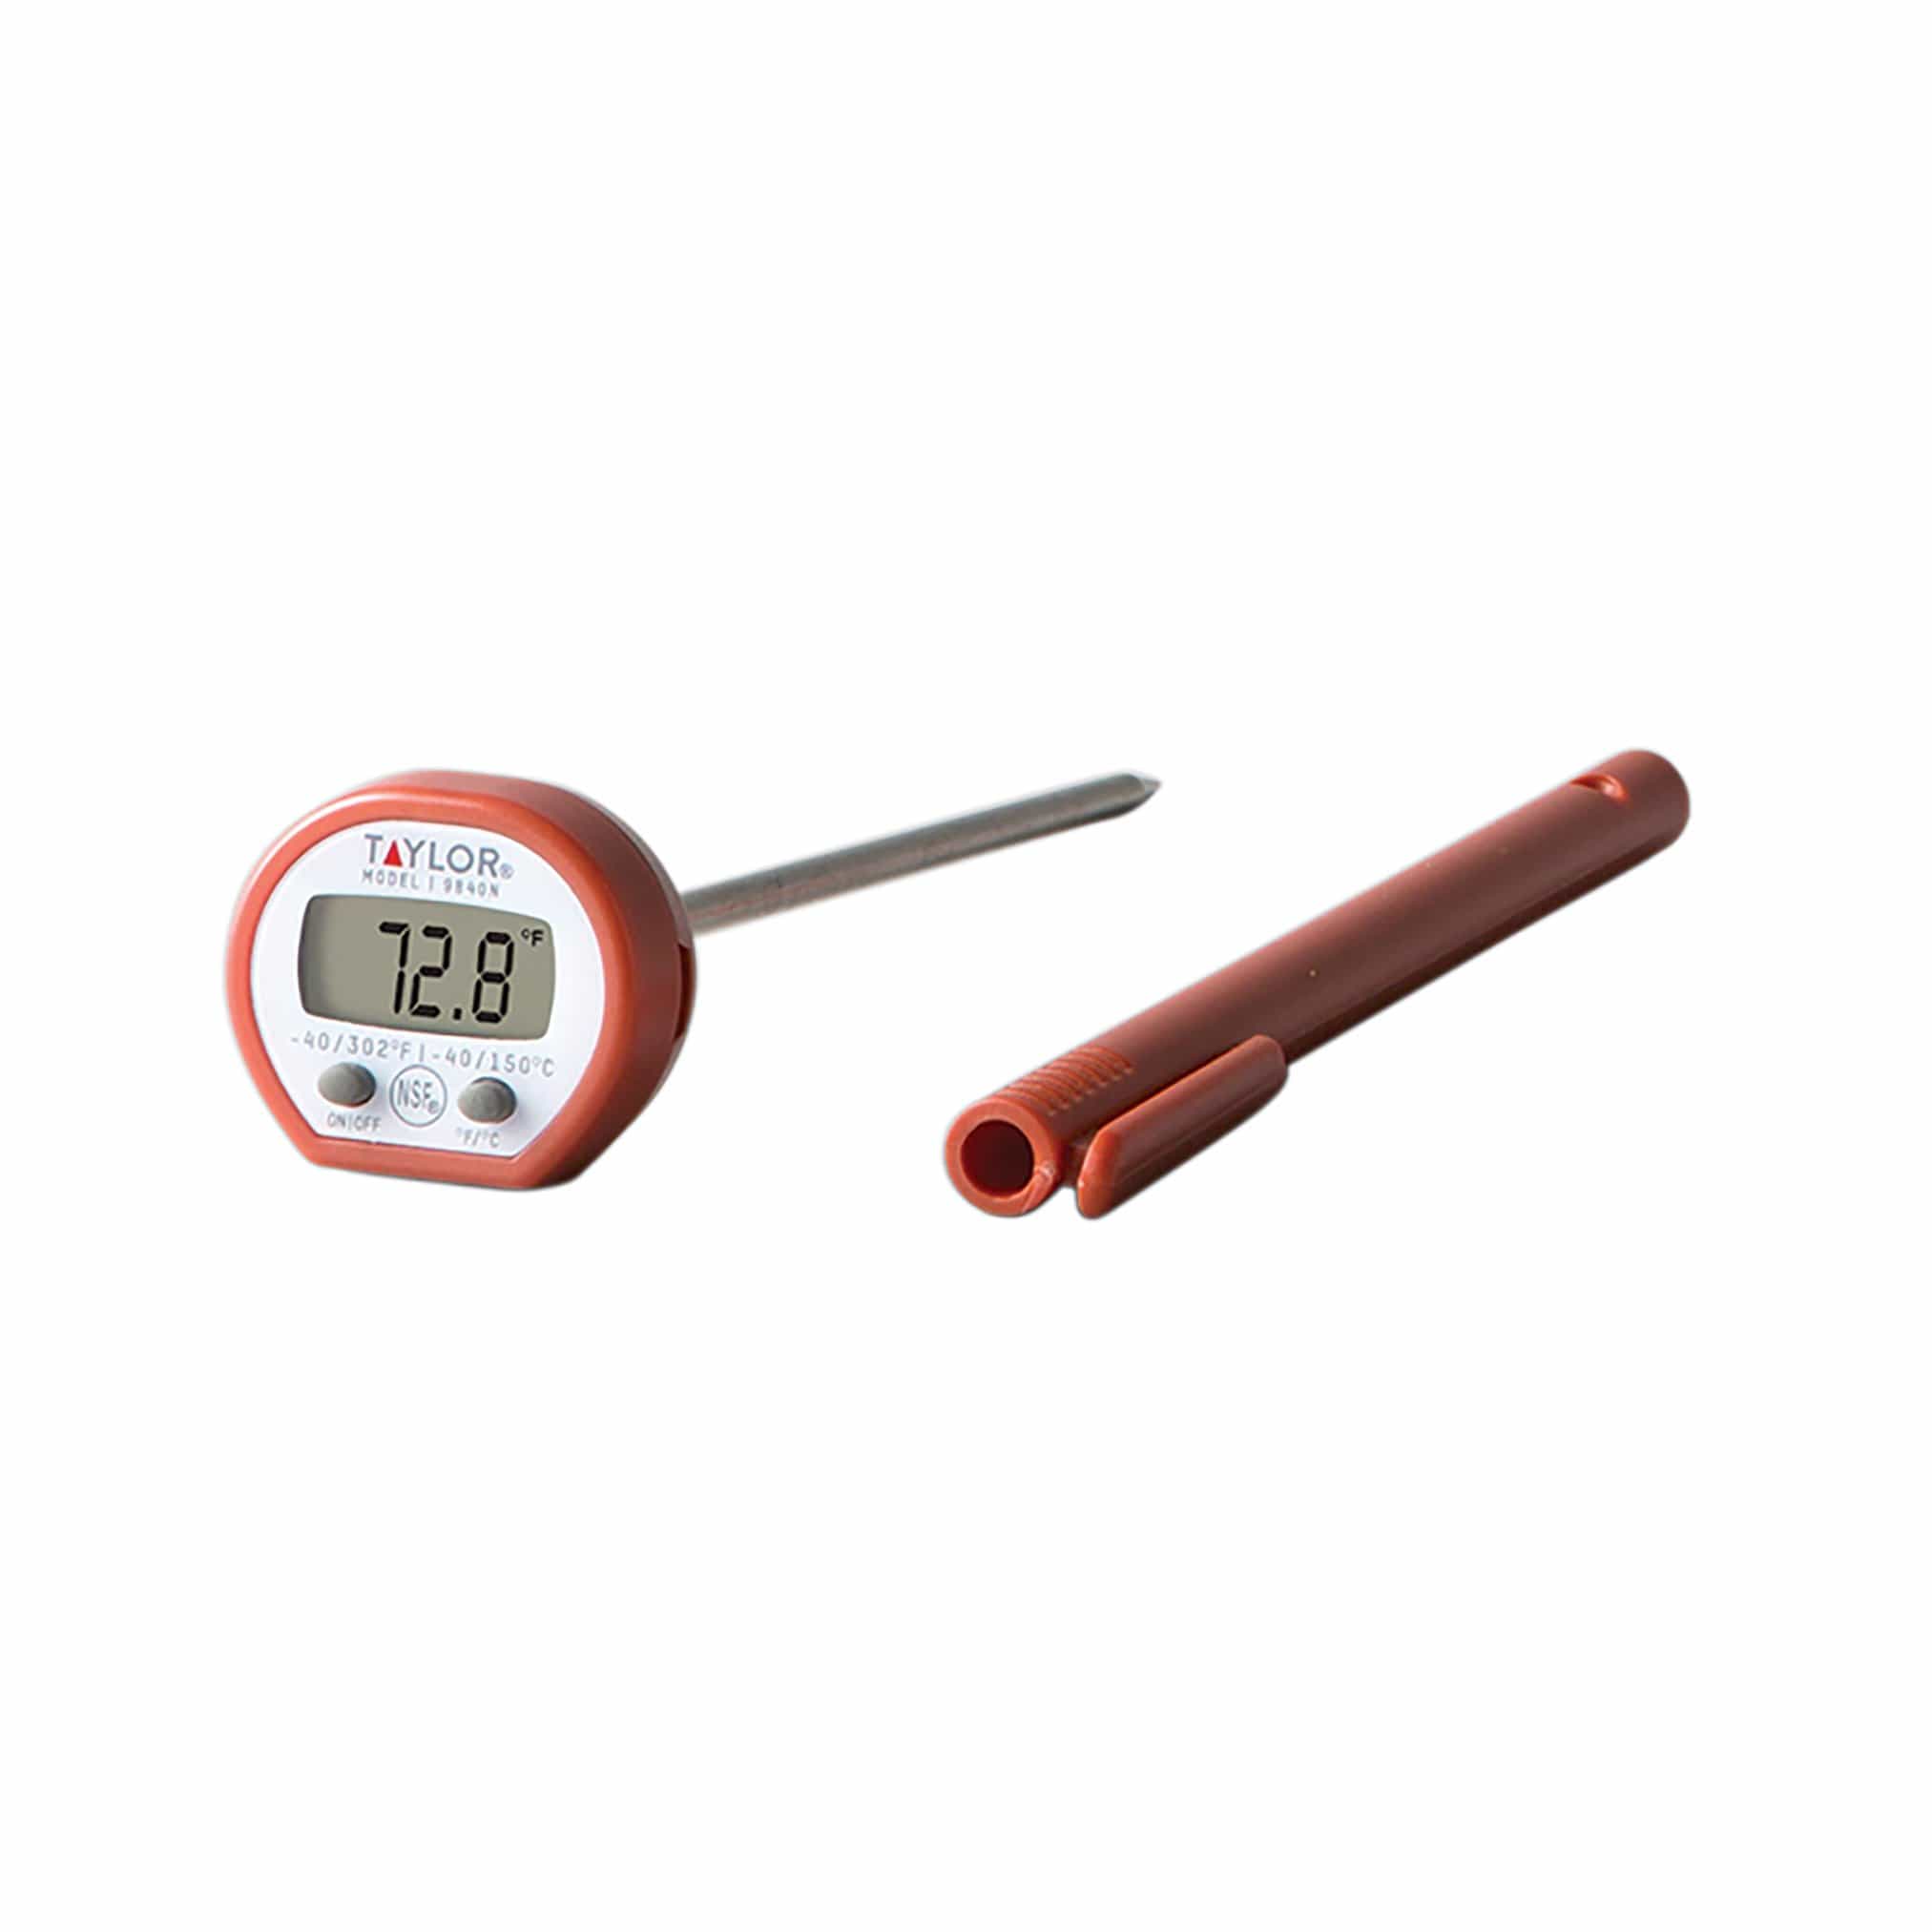
Taylor thermometers are reliable tools for temperature measurement in kitchens and households. However, like any device, they may encounter issues over time. Troubleshooting these thermometers can save time and ensure they function correctly. Common problems include battery issues, calibration errors, and dirty sensors.
By addressing these areas, you can maintain the accuracy and reliability of your Taylor thermometer. Regular maintenance and simple checks can prevent most problems, helping you get consistent and precise temperature readings. This guide will help you identify and solve common issues with your Taylor thermometer, ensuring it serves you well for years to come.
Common Issues of Taylor Thermometer
Taylor thermometers are reliable, but they can have some issues. Understanding these problems can help you fix them quickly. Here are some common issues you might face.
Display Problems
Sometimes, the display on your Taylor thermometer might not work. This can be due to several reasons:
- Dead or weak batteries
- Loose connections
- Moisture inside the device
Follow these steps to troubleshoot display problems:
- Check and replace the batteries.
- Ensure all connections are tight.
- Dry the device if it has moisture.
If the display remains blank, the thermometer may need professional repair.
Inaccurate Readings
Inaccurate readings are another common issue. This can happen due to:
- Improper calibration
- Sensor damage
- Environmental factors
To resolve inaccurate readings:
- Recalibrate the thermometer using the manual.
- Inspect the sensor for any damage.
- Ensure the thermometer is used in appropriate conditions.
If the readings are still off, you may need a new thermometer.
Taylor Thermometer Battery Replacement
Is your Taylor thermometer not working? The battery might need replacing. This guide will help you choose the right battery and provide simple steps to replace it.
Choosing The Right Battery
Choosing the correct battery is crucial. Different Taylor thermometers use different batteries. Check your user manual for the specific type.
Common battery types include LR44, CR2032, and AAA. You can find this information on the back of your thermometer or in the manual.
| Thermometer Model | Battery Type |
|---|---|
| Model 1 | LR44 |
| Model 2 | CR2032 |
| Model 3 | AAA |
Steps To Replace
- Find the battery compartment on the thermometer.
- Open the compartment using a small screwdriver or coin.
- Remove the old battery carefully.
- Insert the new battery, ensuring the correct polarity.
- Close the battery compartment securely.
Make sure the battery is inserted correctly. Check the thermometer to see if it powers on. If it does not, recheck the battery placement.
Cleaning Tips For Taylor Thermometer
Maintaining your Taylor thermometer is crucial for accurate readings. Clean it regularly to ensure optimal performance. Below are some essential tips to help you clean your thermometer effectively.
Proper Cleaning Tools
- Soft cloth or microfiber cloth
- Warm, soapy water
- Rubbing alcohol
- Cotton swabs
- Soft-bristled brush
Using the right tools prevents damage to the thermometer. A soft cloth and warm, soapy water are ideal for gentle cleaning. Rubbing alcohol helps disinfect the device. Cotton swabs and a soft-bristled brush reach small crevices.
Cleaning Process
- Turn off the thermometer and remove any batteries if possible.
- Wipe the exterior with a soft cloth dipped in warm, soapy water. Avoid soaking.
- Clean the sensor with a cotton swab dipped in rubbing alcohol. Gently rub the sensor tip.
- Scrub small crevices with a soft-bristled brush. Ensure no debris is left.
- Dry the thermometer thoroughly with a clean, dry cloth before reassembling.
Regular cleaning keeps your Taylor thermometer in top condition. Use these tips to maintain accuracy and extend the life of your device.
Calibration Guide For Taylor Thermometer
Ensuring your Taylor thermometer is accurate is crucial. Calibration helps maintain precise readings. Follow this guide for both manual and digital calibrations.
Manual Calibration
Manual calibration is simple and effective. Here’s a step-by-step process:
- Fill a glass with ice and water. Let it sit for 5 minutes.
- Insert the thermometer into the ice water, ensuring it doesn’t touch the sides.
- Wait until the reading stabilizes. It should read 32°F (0°C).
- If not, adjust the nut or screw on the thermometer. Continue until the correct temperature is displayed.
For manual thermometers with a dial, use the adjustment screw. For models with a nut, use a wrench.
Digital Calibration
Digital calibration is straightforward and quick. Follow these steps:
- Turn on the digital thermometer. Press the calibration button.
- Place the probe in ice water. Wait until the reading stabilizes.
- Adjust the reading to 32°F (0°C) using the calibration button.
Some models have a reset button. Use it for a factory reset if needed.
| Thermometer Type | Calibration Method |
|---|---|
| Manual | Use ice water and adjust screw/nut |
| Digital | Use ice water and calibration button |
Regular calibration ensures accurate readings. It’s a simple process that guarantees reliability.
Taylor Thermometer Storage Tips
Proper storage of your Taylor thermometer is crucial for maintaining its accuracy and longevity. By following these simple storage tips, you can ensure your thermometer remains in top condition.
Ideal Storage Conditions
Store your Taylor thermometer in a cool, dry place. This helps maintain its accuracy and lifespan.
Keep it away from direct sunlight and heat sources. Extreme temperatures can damage the internal components.
Avoid storing it in humid areas. Moisture can cause corrosion and affect functionality.
Avoiding Damage
Always store your thermometer in its protective case. This prevents accidental drops and scratches.
Keep it out of reach of children. Small parts can pose a choking hazard.
Avoid placing heavy objects on top of the thermometer. This can cause physical damage.
| Storage Tip | Reason |
|---|---|
| Cool, Dry Place | Prevents moisture damage |
| Avoid Sunlight | Protects from heat damage |
| Use Protective Case | Prevents physical damage |
- Store in a cool, dry place.
- Avoid direct sunlight.
- Keep in its protective case.
- Ensure the thermometer is dry before storing.
- Check for any signs of damage regularly.
- Replace the batteries if not in use for long.
Taylor Thermometer Error Codes
Taylor thermometers are reliable and accurate. Sometimes, they might show error codes. Understanding these error codes can help you fix the issue quickly. Below we discuss common error codes and how to fix them.
Common Error Codes
Error codes help identify problems with your Taylor thermometer. Here are some common error codes you might encounter:
| Error Code | Description |
|---|---|
| ERR1 | Low Battery |
| ERR2 | Sensor Malfunction |
| ERR3 | Out of Range |
Fixing Error Codes
Fixing error codes is usually simple. Here are some steps to fix common error codes:
- Low Battery (ERR1): Replace the battery with a new one.
- Sensor Malfunction (ERR2): Clean the sensor gently with a soft cloth.
- Out of Range (ERR3): Move the thermometer closer to the object.
Regular maintenance can prevent many issues. Always keep your thermometer clean and store it in a safe place.
Environmental Factors
Taylor thermometers can sometimes give inaccurate readings. Environmental factors play a big role in this. Understanding these factors helps you get the most accurate results.
Temperature Extremes
Extreme temperatures can affect your thermometer. If it’s too hot or too cold, the readings may be off. Always check the thermometer’s operating range.
If you use the thermometer outside its range, it may malfunction. Keep it within the recommended temperatures.
| Temperature Range | Effect on Thermometer |
|---|---|
| Below -10°C | Possible malfunction |
| Above 50°C | Inaccurate readings |
Humidity Issues
Humidity also impacts your thermometer. High humidity can cause condensation. This may interfere with the sensor.
If you see moisture inside, dry the thermometer. Keeping it dry helps ensure accurate readings.
- Check for condensation
- Store in a dry place
- Use silica gel packs to reduce moisture
Customer Support For Taylor Thermometer
Having trouble with your Taylor thermometer? Don’t worry! Taylor offers excellent customer support. They ensure you get the help you need quickly. Below, we cover warranty information and how to contact support.
Warranty Information
Taylor thermometers come with a warranty. It covers defects and malfunctions. The warranty period usually lasts one year. Always check your product manual for specific details.
Here are some key points:
- One-year warranty from the date of purchase
- Covers manufacturing defects
- Does not cover misuse or accidental damage
Keep your receipt safe. You’ll need it for any warranty claims.
Contacting Support
Need help with your Taylor thermometer? Contacting support is easy. Here’s how you can reach them:
- Phone: Call the customer service number listed in your manual.
- Email: Send an email to the support team. Include your product details.
- Website: Visit the Taylor support page. You can fill out a contact form.
Here’s a quick reference:
| Method | Details |
|---|---|
| Phone | 1-866-843-3905 |
| service@taylorusa.com | |
| Website | Taylor Support Page |
Always provide your product model and issue. This helps the support team assist you better.
Frequently Asked Questions
How Do I Reset My Taylor Thermometer?
To reset your Taylor thermometer, press and hold the reset button for five seconds. Release the button once the display clears.
Why Is My Digital Thermometer Not Working?
Your digital thermometer might not work due to dead batteries. Check and replace them. Clean the sensor tip. Ensure proper contact with the object or body. If issues persist, consult the manual or contact customer support.
How Do You Know If The Thermometer Is Not Working Correctly Or Has A Fault?
Check for inconsistent readings, display errors, or unresponsive buttons. Compare with a known accurate thermometer. Replace batteries if needed.
How To Calibrate A Taylor Digital Thermometer?
To calibrate a Taylor digital thermometer, place the probe in ice water. Wait until it reads 32°F. Adjust if necessary.
Why Is My Taylor Thermometer Not Working?
Check the battery and ensure it’s inserted correctly. Replace if necessary.
Conclusion
Troubleshooting your Taylor thermometer is simple with these steps. Regular maintenance ensures accurate readings. Always refer to the manual for specific instructions. Proper care prolongs the device’s lifespan. Addressing common issues promptly helps maintain its efficiency. Keep your thermometer in top shape for reliable temperature measurements every time.
")


I have a old low read thermometer that has separated. Need help.
Hi there! If your Taylor thermometer has separated, you might be able to fix it by putting it in the freezer for a short time. Sometimes, the liquid can rejoin after cooling. Just be careful not to leave it in too long, as extreme cold might damage it. If that doesn’t work, it might be best to reach out to Taylor customer support for further help. Hope this helps!
My Taylor wireless digital probe was recognized once for 2 min and never again. Junk !
Hi there,
Thank you for sharing your experience with the Taylor wireless digital probe. I understand how frustrating it can be when a device stops working after initially recognizing it. Let’s try to get it working again with some simple troubleshooting steps:
If you continue to face issues, please feel free to reach out with any additional details, and we’ll be happy to help further. I hope these steps resolve the issue!
Best regards,
TroubleshootingLAB
My thermometer will not stop beeping unless I turn it off! Can’t find an answer for that,
Thanks for your question. Constant beeping usually means the thermometer is either in alarm mode or detecting a completed temperature reading.
Here’s what you can try:
If it keeps beeping after a reset, the sensor or internal board may be malfunctioning. In that case, contacting Taylor support would be the safest option.
Quick tip: Avoid pressing multiple buttons quickly, as that can sometimes activate alarm settings accidentally.