Are your trailer lights acting up just when you need them most? Flickering, dimming, or completely dead lights can turn a simple trip into a stressful challenge.
But before you panic or spend money on costly repairs, there’s good news—you can often troubleshoot and fix these common trailer light problems yourself. In this guide, you’ll discover easy-to-follow tips to identify what’s wrong and how to get your trailer lights shining bright again.
Keep reading to learn practical solutions that save you time, money, and frustration on the road. Your safety and peace of mind depend on it.
Symptoms Of Trailer Light Issues
Trailer light issues show in several clear ways. Recognizing these signs helps prevent accidents and legal problems. Watch for unusual light behavior during towing. Early detection leads to easier fixes and safer driving.
Flickering Lights
Lights blink on and off quickly. Flickering often happens over bumps or rough roads. This means a loose wire or bad ground connection. It causes unstable power flow to lights. Check wiring and connections for damage or rust.
Dim Lights
Lights appear weaker than usual. Dim lights reduce visibility and safety. They often point to poor electrical contact. Dirt, corrosion, or loose wires cause voltage drop. Clean and secure all wiring and connectors.
Intermittent Operation
Lights work only sometimes. Moving wires or trailer parts can trigger this. It may feel like lights turn on and off randomly. This usually means a broken wire or loose plug. Inspect all wiring joints carefully.
One Light Works, Another Doesn’t
Some lights function while others fail. For example, brake lights may work but turn signals do not. This issue often results from a bad ground on one side. Check both sides of the trailer wiring separately.
Backfeeding Problems
Running lights go out when braking or turning. Electricity flows the wrong way through the system. This causes lights to lose power unexpectedly. Backfeeding happens due to wiring faults or poor grounding. Test circuits to find the problem.
Complete Light Failure
No trailer lights turn on at all. This is a serious safety hazard. Usually caused by a broken main wire or blown fuse. Check the trailer connector and vehicle wiring. Repair or replace damaged parts immediately.
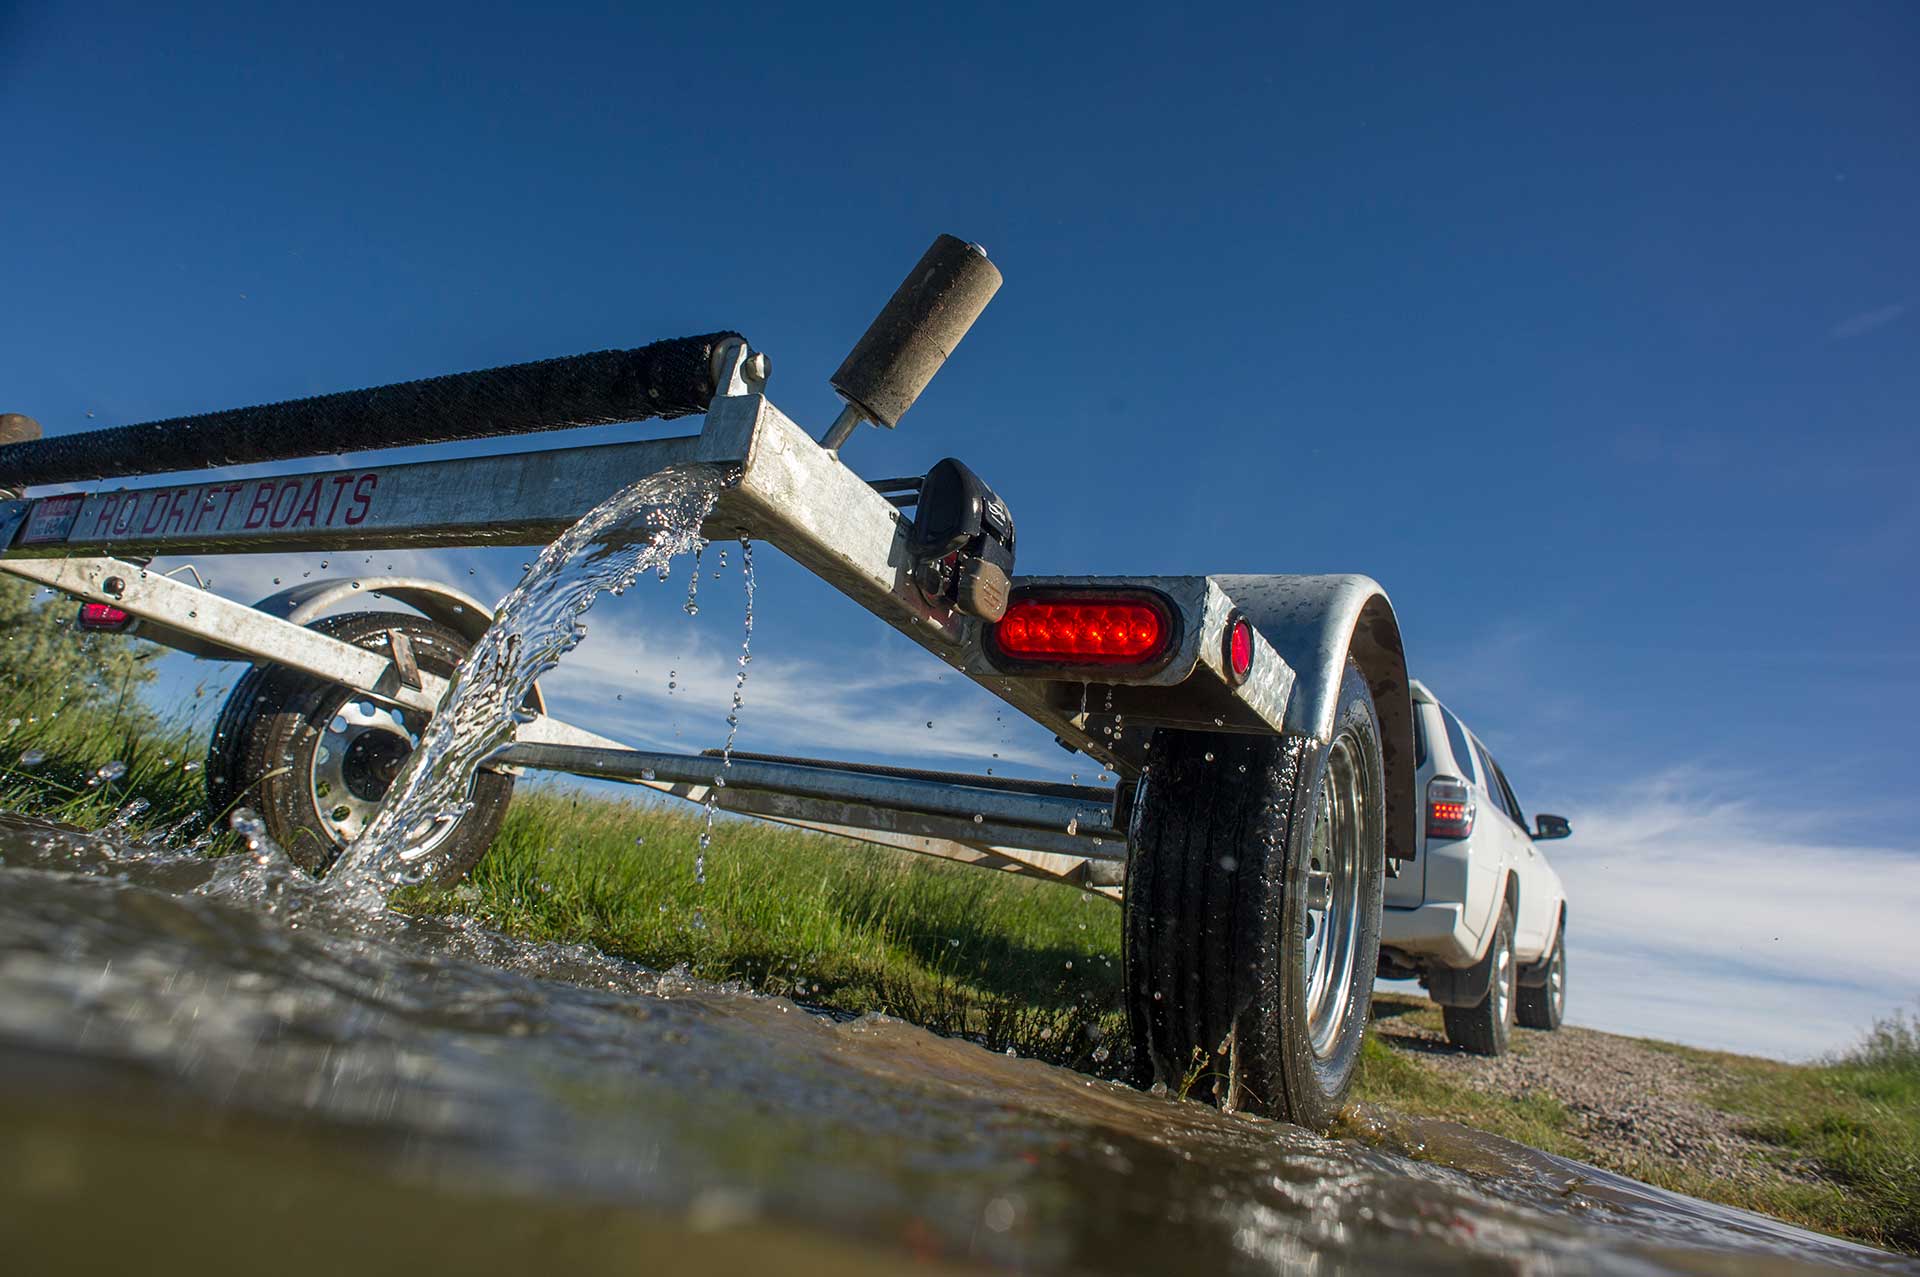
Credit: www.tu.org
Causes Of Trailer Light Failures
Trailer light failures disrupt safety and legal compliance on the road. Understanding the causes helps in quick troubleshooting and repair. Many issues stem from the trailer’s electrical system and its connections. Below are the common reasons trailer lights stop working properly.
Poor Ground Connection
The trailer’s frame usually acts as the ground for the lights. A weak or rusty ground connection creates resistance. This stops electricity from flowing correctly. The result is flickering or dim lights. Sometimes, only some lights fail while others work. Dirt, rust, or paint can block the ground path.
Corroded Wiring
Exposure to water and road salt leads to wiring corrosion. Corroded wires lose their ability to carry current. This causes intermittent or total light failure. Corrosion often appears as green or white powder on wires. It increases resistance and weakens electrical signals.
Loose Or Damaged Connectors
Connectors link the trailer wiring to the tow vehicle. Over time, connectors may loosen or suffer damage. Loose pins cause poor contact and light issues. Bent or broken pins stop electricity flow completely. Dirt and corrosion inside connectors also cause failures.
Faulty Fuses And Relays
Fuses and relays protect the trailer’s electrical system from overloads. A blown fuse interrupts the circuit and turns lights off. Defective relays can cause flickering or no power to lights. Checking and replacing fuses and relays is a simple fix for many problems.
Wiring Breaks And Shorts
Trailer wires face wear from movement and road debris. Broken wires stop current from reaching lights. Shorts happen when wires touch metal or each other. This causes blown fuses or erratic light behavior. Inspecting wiring for cuts or exposed spots helps find issues.
Quick Fixes For Common Problems
Troubleshooting trailer light problems often starts with simple fixes. Many common issues arise from loose connections, dirt, or worn parts. These quick fixes restore proper function without needing advanced tools or skills. Follow these practical steps to get your trailer lights working safely and reliably again.
Cleaning And Tightening Grounds
Check all ground connections on the trailer frame. Dirt and rust block electrical flow. Use a wire brush to clean contact points. Tighten ground screws and bolts firmly. Good grounding stops flickering and dim lights. Always ensure metal-to-metal contact is clean and secure.
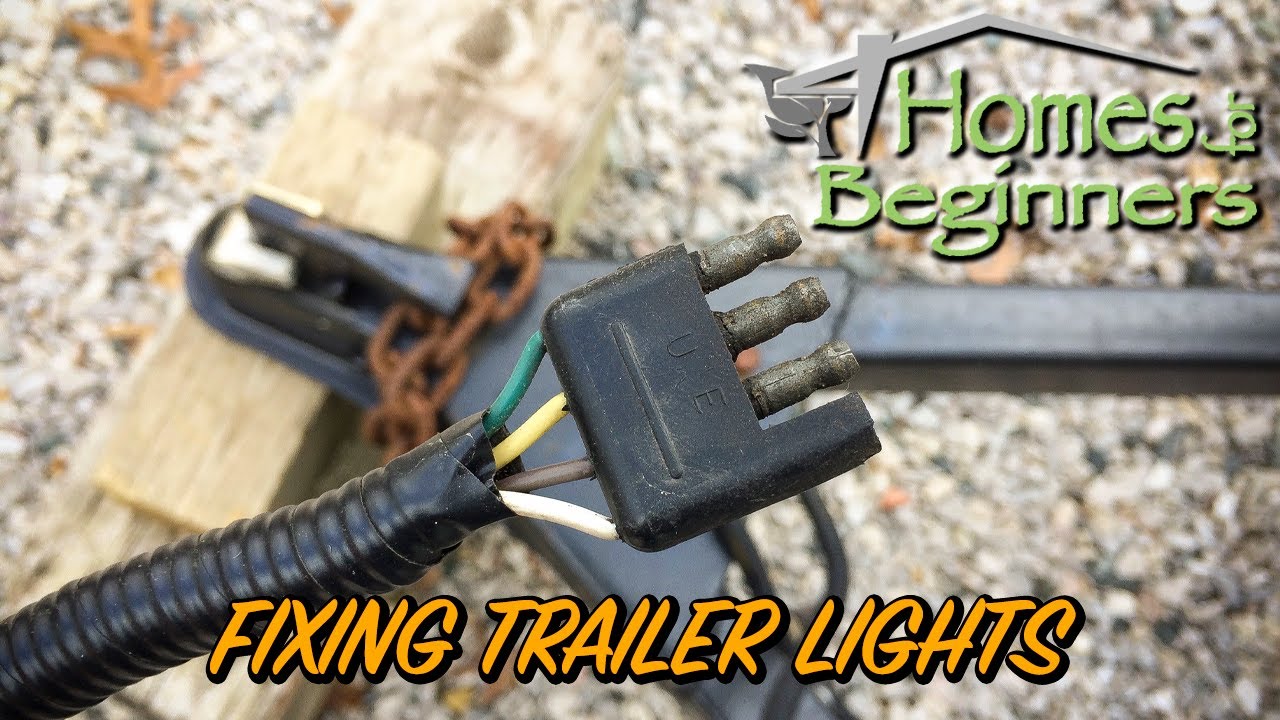
Inspecting And Replacing Connectors
Look over all connectors for corrosion or damage. Bent pins or broken plastic shells cause poor connections. Replace any worn or cracked connectors. Use dielectric grease to protect connectors from moisture. Proper connectors keep signals strong and consistent.
Running Dedicated Ground Wires
Some trailers benefit from extra ground wires. Run a dedicated ground wire from the trailer lights to the tow vehicle’s ground. This bypasses faulty frame grounds. A dedicated wire improves light brightness and reduces flicker. Secure the wire to avoid damage during towing.
Replacing Blown Fuses And Relays
Inspect the fuse box and relays for damage. Blown fuses cut power to trailer lights. Replace any blown fuses with the correct rating. Test relays by swapping with a known good one. Functional fuses and relays protect your wiring and keep lights operating.
Securing And Repairing Wiring
Check all wiring for cuts, frays, or loose connections. Repair damaged wires with electrical tape or heat-shrink tubing. Secure loose wires using zip ties or clips. Avoid wires rubbing against sharp edges. Well-maintained wiring prevents shorts and light failures.

Credit: www.youtube.com
Testing Trailer Lights
Testing trailer lights is essential to ensure safety on the road. Faulty lights can cause accidents or legal issues. Regular checks help detect problems early. Testing involves tools and simple steps anyone can follow. This section guides you through testing trailer lights effectively.
Using A Test Light
A test light is a simple tool to check power in wires. Connect the clip to a good ground. Touch the probe to the wire or bulb socket. If the light glows, power is present. No glow means no power or a bad connection. This method quickly finds power issues in trailer wiring.
Using A Multimeter
A multimeter measures voltage, current, and resistance. Set it to measure voltage for trailer lights. Connect the black lead to ground and the red to the power wire. The screen shows voltage level. Low or no voltage indicates wiring problems. Multimeters provide precise readings to locate electrical faults.
Checking Voltage And Continuity
Voltage testing confirms power supply to trailer lights. Continuity testing checks if wires and bulbs form a complete circuit. Use the multimeter in continuity mode. Place leads on both ends of a wire or bulb socket. A beep or zero reading means good continuity. No beep means a break or fault in wiring.
Testing Individual Bulbs
Bulbs can fail even if wiring is good. Remove each bulb and inspect it visually. Look for broken filaments or dark spots. Test bulbs with a test light or multimeter. Replace any bulb that does not light up. Checking bulbs individually saves time and avoids unnecessary wiring repairs.
Tips For Reliable Trailer Lighting
Reliable trailer lighting keeps your vehicle safe and road-legal. Proper care prevents common issues like flickering or dim lights. Follow simple tips to maintain strong connections and avoid electrical faults. These steps help your trailer lights work every time you need them.
Regular Maintenance
Check trailer lights before every trip. Clean bulbs and sockets to remove dirt. Replace broken or burned-out bulbs quickly. Test all lights for proper function. Regular checks catch problems early, saving time and hassle.
Protecting Wiring From Corrosion
Corrosion damages wiring and causes poor connections. Use dielectric grease on connectors to block moisture. Inspect wiring for cracks or worn spots. Cover exposed wires with heat shrink tubing. Good protection extends wiring life and prevents shorts.
Using Quality Connectors
Choose connectors made for trailer use. Cheap connectors often fail due to poor fit or materials. Quality connectors ensure firm electrical contact. They resist corrosion and vibration. Investing in good connectors reduces light failures on the road.
Properly Securing Wiring Harnesses
Loose wiring can rub against metal and break. Use zip ties or clips to secure harnesses along the trailer frame. Keep wires away from moving parts and sharp edges. Neat wiring prevents shorts and keeps lights working reliably.
Upgrading To Led Lights
LED lights use less power and last longer. They resist shock and vibration better than bulbs. LEDs turn on faster, improving safety. Switching to LED can reduce wiring issues and lower maintenance needs. Consider upgrading for better performance.
Credit: www.youtube.com
Frequently Asked Questions
How To Diagnose Trailer Light Issues?
Diagnose trailer light issues by checking fuses, inspecting wiring and connectors for damage or corrosion. Test lights with a multimeter or test light tool. Verify ground connections are clean and secure. Replace faulty bulbs and repair broken wires to restore proper function.
What Are The Symptoms Of Bad Ground On Trailer Lights?
Symptoms of bad ground on trailer lights include flickering, dimming, intermittent operation, one light failing, backfeeding issues, or complete light failure.
How To Test Trailer Lights With A Test Light?
Connect the test light to the ground pin on the trailer receptacle. Turn the vehicle key ON. Touch the test light probe to each trailer light pin. The light should illuminate if the circuit works correctly.
Are There Separate Fuses For Trailer Lights?
Yes, trailer lights usually have separate fuses to protect their wiring and components from electrical damage.
Why Are My Trailer Lights Flickering Or Dim?
Flickering or dim trailer lights usually mean a bad ground connection. Dirt, rust, or loose wires can cause poor contact. Fixing the ground often solves these issues quickly.
Conclusion
Troubleshooting trailer light problems saves time and keeps you safe. Regularly check wiring, connectors, and ground connections for issues. Clean and tighten any loose or corroded parts. Use a multimeter to test circuits and find faults quickly. Proper maintenance prevents flickering, dimming, or total light failure.
Stay alert to signs like intermittent operation or uneven light performance. Simple fixes often restore full function without costly repairs. Keep your trailer lights working well for safer trips on the road.
")