Struggling with your Verizon Network Extender? You’re not alone.
Many users face issues with this device. A network extender can boost your signal, but sometimes, it doesn’t work as expected. Problems can arise from various sources like setup errors, connectivity issues, or hardware faults. Understanding these common issues and learning how to fix them can save you time and frustration.
This guide aims to help you troubleshoot your Verizon Network Extender effectively. We will cover typical problems and provide easy solutions. So, whether you’re dealing with weak signals or connectivity hiccups, this post will help you get your network extender back on track. Let’s dive into the world of troubleshooting and make your device work smoothly again.
Setting Up Your Extender
Setting up your Verizon Network Extender is crucial to boost your signal strength. This guide will help you through the process step-by-step. Follow these instructions to ensure a smooth setup experience.
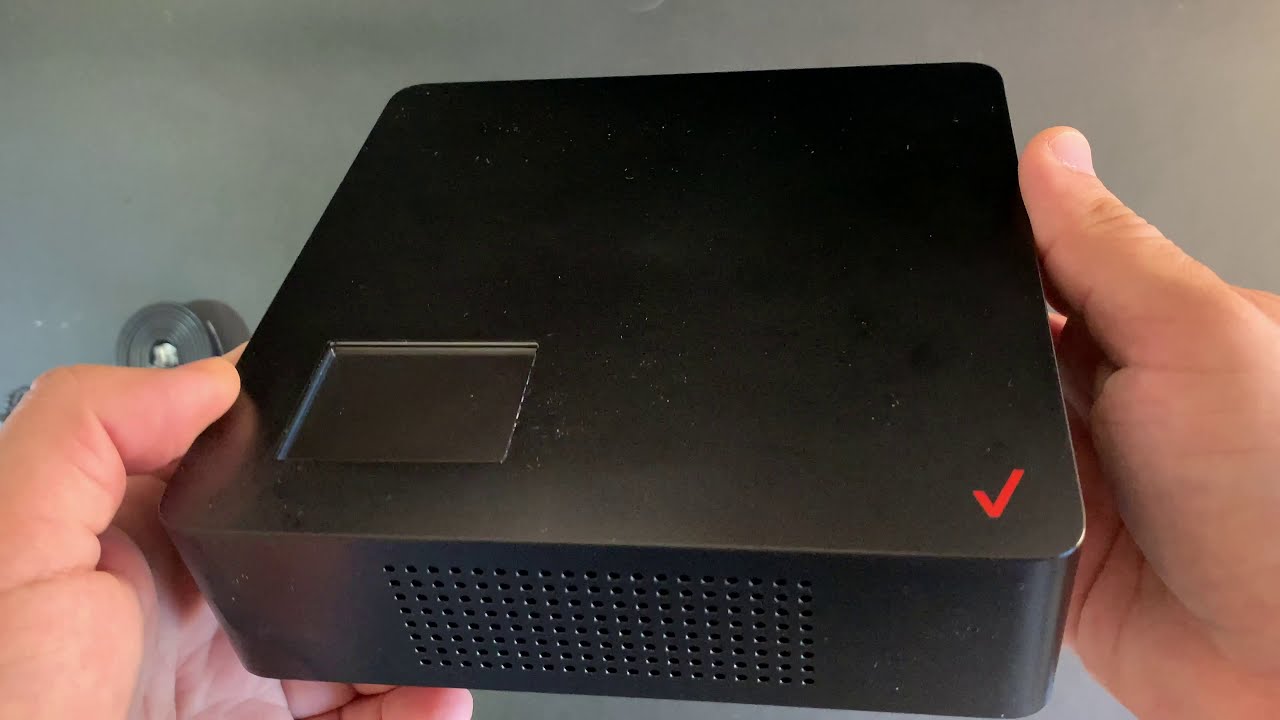
Unboxing And Components
First, unbox your Verizon Network Extender carefully. Inside the box, you will find the extender, power adapter, and ethernet cable. Ensure all components are present and in good condition. Missing parts can affect the setup process.
Initial Configuration
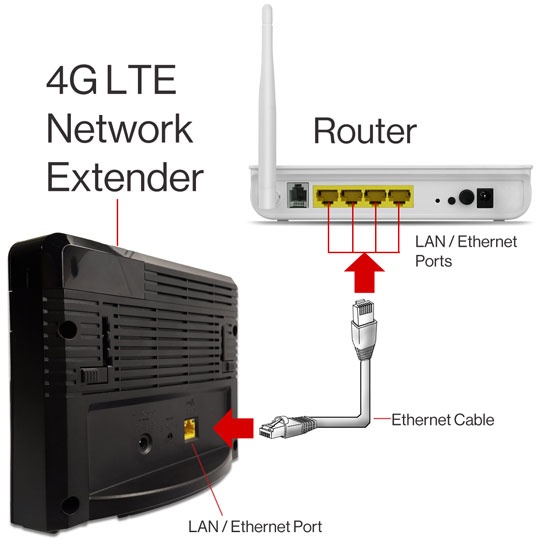
Next, connect your extender to a power source using the provided adapter. Wait for the device to power up. This may take a few minutes. Once powered, connect the ethernet cable to your router. This link establishes the connection between your extender and the internet.
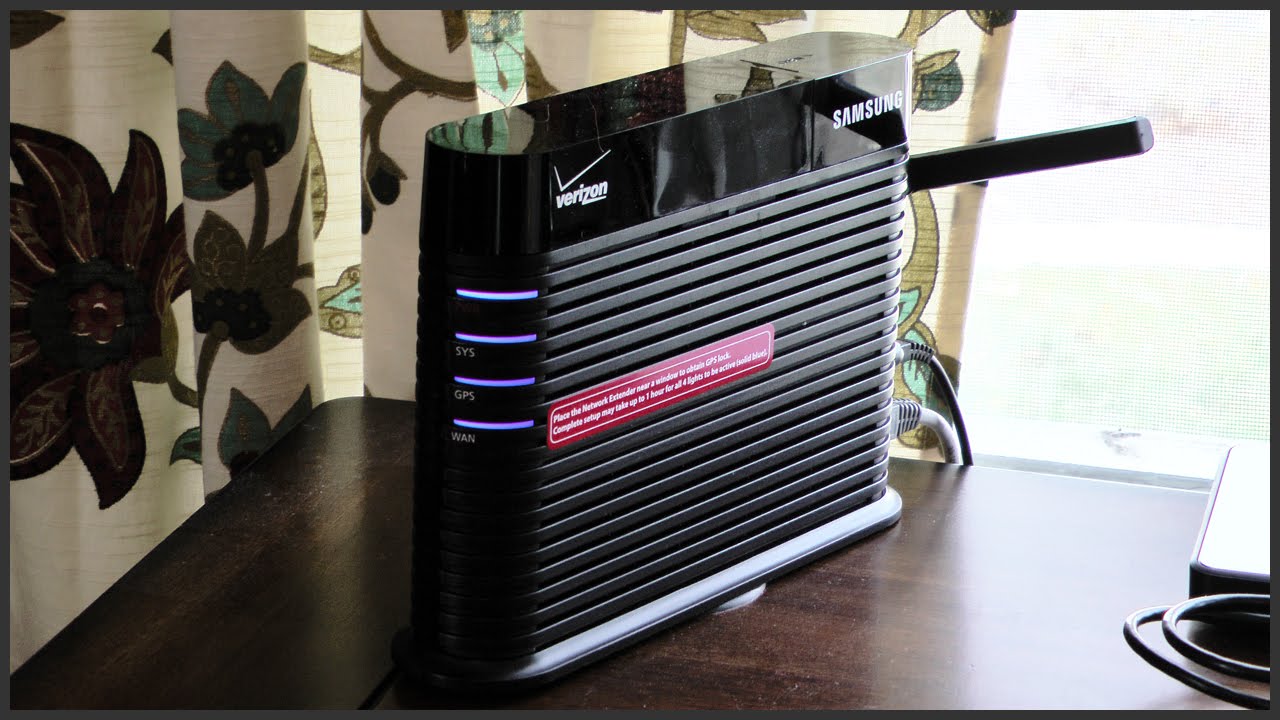
After connecting the ethernet cable, locate the extender’s placement. Place it in an area with good signal strength. Avoid placing it near walls or metal objects. These can interfere with the signal.
Once placed, your extender will start the initial configuration. Follow the on-screen prompts to complete the setup. The device will scan for a stable signal. Be patient, as this process might take some time. Your extender is now set up and ready to use.
Credit: www.youtube.com
Connection Problems
Experiencing connection problems with your Verizon Network Extender can be frustrating. These issues often stem from weak signal detection or interference. Understanding and troubleshooting these problems can help restore your connectivity.
Weak Signal Detection
If the Verizon Network Extender struggles with weak signal detection, it may fail to connect properly. Ensure the device is placed in an open area. Avoid placing it near large objects or inside cabinets. The extender needs a clear path to your main router. Verify that the extender is within range of your router. Moving it closer can sometimes solve the issue.
Interference Issues
Interference can disrupt the connection between the extender and your devices. Electronic devices, such as microwaves, can cause interference. Keep the extender away from such devices. Walls and floors can also impact the signal. Position the extender in a central location. This helps to minimize interference and improve signal strength.
Performance Issues
Experiencing performance issues with your Verizon Network Extender can be frustrating. These problems can impact your internet speeds and connection stability. Understanding and troubleshooting these issues is essential for an optimal experience.
Slow Internet Speeds
Slow internet speeds can disrupt your daily activities. To address this, consider these steps:
- Check your internet plan: Ensure it supports the number of devices you use.
- Restart your network extender: Power cycling can resolve many issues.
- Update firmware: Ensure your extender’s firmware is up to date.
- Reduce interference: Keep the extender away from other electronic devices.
These steps can help improve your internet speeds.
Frequent Disconnects
Frequent disconnects can be a significant annoyance. To troubleshoot, try the following:
- Check signal strength: Ensure your extender is in a strong signal area.
- Reposition the extender: Move it closer to your router.
- Check for overheating: Ensure the extender is in a well-ventilated area.
- Update firmware: Make sure your extender’s firmware is current.
- Check device compatibility: Ensure your devices are compatible with the extender.
Following these steps can help maintain a stable connection.
By addressing these performance issues, you can enjoy a seamless internet experience with your Verizon Network Extender.
Credit: www.verizon.com
Firmware And Software Updates
Firmware and software updates play a crucial role in ensuring your Verizon Network Extender functions optimally. Regular updates can fix bugs, enhance performance, and add new features. Keeping your device up to date is essential for a seamless network experience.
Checking For Updates
First, ensure your Verizon Network Extender is connected to the internet. This is vital for accessing update servers. Navigate to the device’s settings through the app or web interface. Look for an option labeled “Firmware Update” or “Software Update”. Click on this option to check for available updates.
Installation Process
Once an update is found, follow the on-screen instructions to begin the installation. Ensure your device remains connected to the internet during the process. The update might take several minutes to complete. Do not disconnect or turn off your device during the update. Once the installation is finished, your device will restart automatically.
Advanced Troubleshooting
Sometimes, basic troubleshooting steps are not enough. You may need to dig deeper. Advanced troubleshooting can help you solve complex issues with your Verizon Network Extender. This section will cover two important steps: Factory Reset and Manual Configuration.
Factory Reset
A factory reset can fix many issues. It restores the device to its original settings. Follow these steps:
- Locate the reset button on the back of the device.
- Press and hold the button for 10 seconds.
- Release the button and wait for the device to restart.
After the reset, the extender will reboot. This process may take a few minutes. Your device will be like new, ready for setup.
Manual Configuration
Manual configuration can help if automatic settings fail. Follow these steps to configure your extender manually:
- Connect your computer to the extender using an Ethernet cable.
- Open a web browser and enter the extender’s IP address.
- Log in using the default username and password.
- Navigate to the configuration settings.
- Enter the necessary network information.
- Save the changes and restart the device.
Each step is important. Ensure you enter the correct details. This will help your extender connect to your network.
Contacting Support
If troubleshooting your Verizon Network Extender is not working, contacting support may be necessary. Support can provide expert help. They have the tools and knowledge to solve complex issues.
When To Reach Out
There are specific times to contact Verizon support. If your Network Extender fails to connect. Or if it shows error messages. Also, if the device does not improve signal quality. These are signs you need expert assistance.
Information To Provide
When contacting support, have some key details ready. Provide your Network Extender model number. Have your account information handy. Describe the issue clearly. Mention any error messages you see. This helps the support team diagnose the problem quickly. Also, note any troubleshooting steps you have already taken. This can save time and avoid repeated steps.
Tips For Optimal Performance
Verizon network extenders can greatly improve your signal strength. However, to get the best performance, you need to follow some key tips. These tips ensure your network extender functions at its best.
Ideal Placement
Place your Verizon network extender in a central location. Avoid placing it near thick walls or metal objects. These can block the signal. Keep it away from other electronics. This reduces interference.
Position the extender at a higher spot. High shelves or wall mounts work well. This helps the signal travel further. Aim for open areas with minimal obstructions. This placement enhances coverage throughout your home.
Regular Maintenance
Perform regular maintenance on your network extender. Dust can accumulate and affect performance. Clean it with a soft cloth periodically. Check for firmware updates. Manufacturers often release updates to improve performance.
Restart your extender occasionally. This can resolve minor issues. Unplug it for a few seconds, then plug it back in. Monitor its performance and address any issues promptly. This keeps your network running smoothly.
Credit: www.youtube.com
Frequently Asked Questions
Why Is My Verizon Network Extender Not Working?
Check the power and internet connection. Restart the extender. Ensure it’s within coverage area.
How Do I Reset My Verizon Network Extender?
Press and hold the reset button for 10 seconds. Wait for the extender to reboot.
Why Is My Verizon Network Extender Not Connecting To The Internet?
Verify your router settings. Ensure the extender is properly connected to your network.
How Can I Improve My Verizon Network Extender Signal?
Place the extender in an open area. Avoid obstructions. Ensure it’s not too far from the router.
How Do I Know If My Verizon Network Extender Is Working?
Check the LED lights. Solid green means it’s working. Blinking lights may indicate an issue.
Conclusion
Troubleshooting your Verizon Network Extender can seem challenging at first. But with these tips, you can resolve most issues. Keep your software updated. Restart your device regularly. Check your internet connection. These steps help maintain a strong signal. If problems persist, contact Verizon support.
They can provide further assistance. Remember, a stable connection is key to staying connected. Don’t let minor issues disrupt your communication. Follow our guide, and enjoy seamless connectivity. Happy browsing!
")


