Is your well water pump acting up when you need it most? You rely on your well pump every day to bring clean, fresh water into your home, and when it stops working, it can quickly become a major headache.
But before you rush to call a plumber or replace expensive parts, there are simple troubleshooting steps you can take yourself. Understanding what might be causing your well water pump to fail can save you time, frustration, and money. In this guide, you’ll learn how to identify common problems, test key components, and find easy fixes to get your water flowing again.
Keep reading to take control of your well pump issues and avoid unnecessary repairs.

Credit: wildwaterplumbing.com
Power Supply Checks
Power supply issues often cause well water pump failures. Checking the power source ensures the pump receives electricity. This step helps find simple problems before more complex fixes.
Inspect Circuit Breaker
Locate your home’s electrical panel. Look for the breaker labeled for the well pump. Check if it has tripped to the OFF position. If tripped, switch it fully OFF, then ON again. This resets the circuit and restores power. If the breaker trips repeatedly, call an electrician.
Test Voltage With Multimeter
Use a multimeter to check the voltage at the pump’s power wires. Set the multimeter to measure AC voltage. Carefully touch the probes to the power terminals. The reading should match your home’s voltage, usually 110 or 220 volts. A low or no reading means a power problem. Check wiring or call a professional.
Resetting The Pressure Switch
Turn OFF power to the pump at the breaker. Find the pressure switch on the pipe near the pressure tank. Locate the small reset lever on the switch. Press and hold the lever down for a few seconds. Release it and turn the power back ON. The pump should start if this was the issue. If not, further troubleshooting is needed.
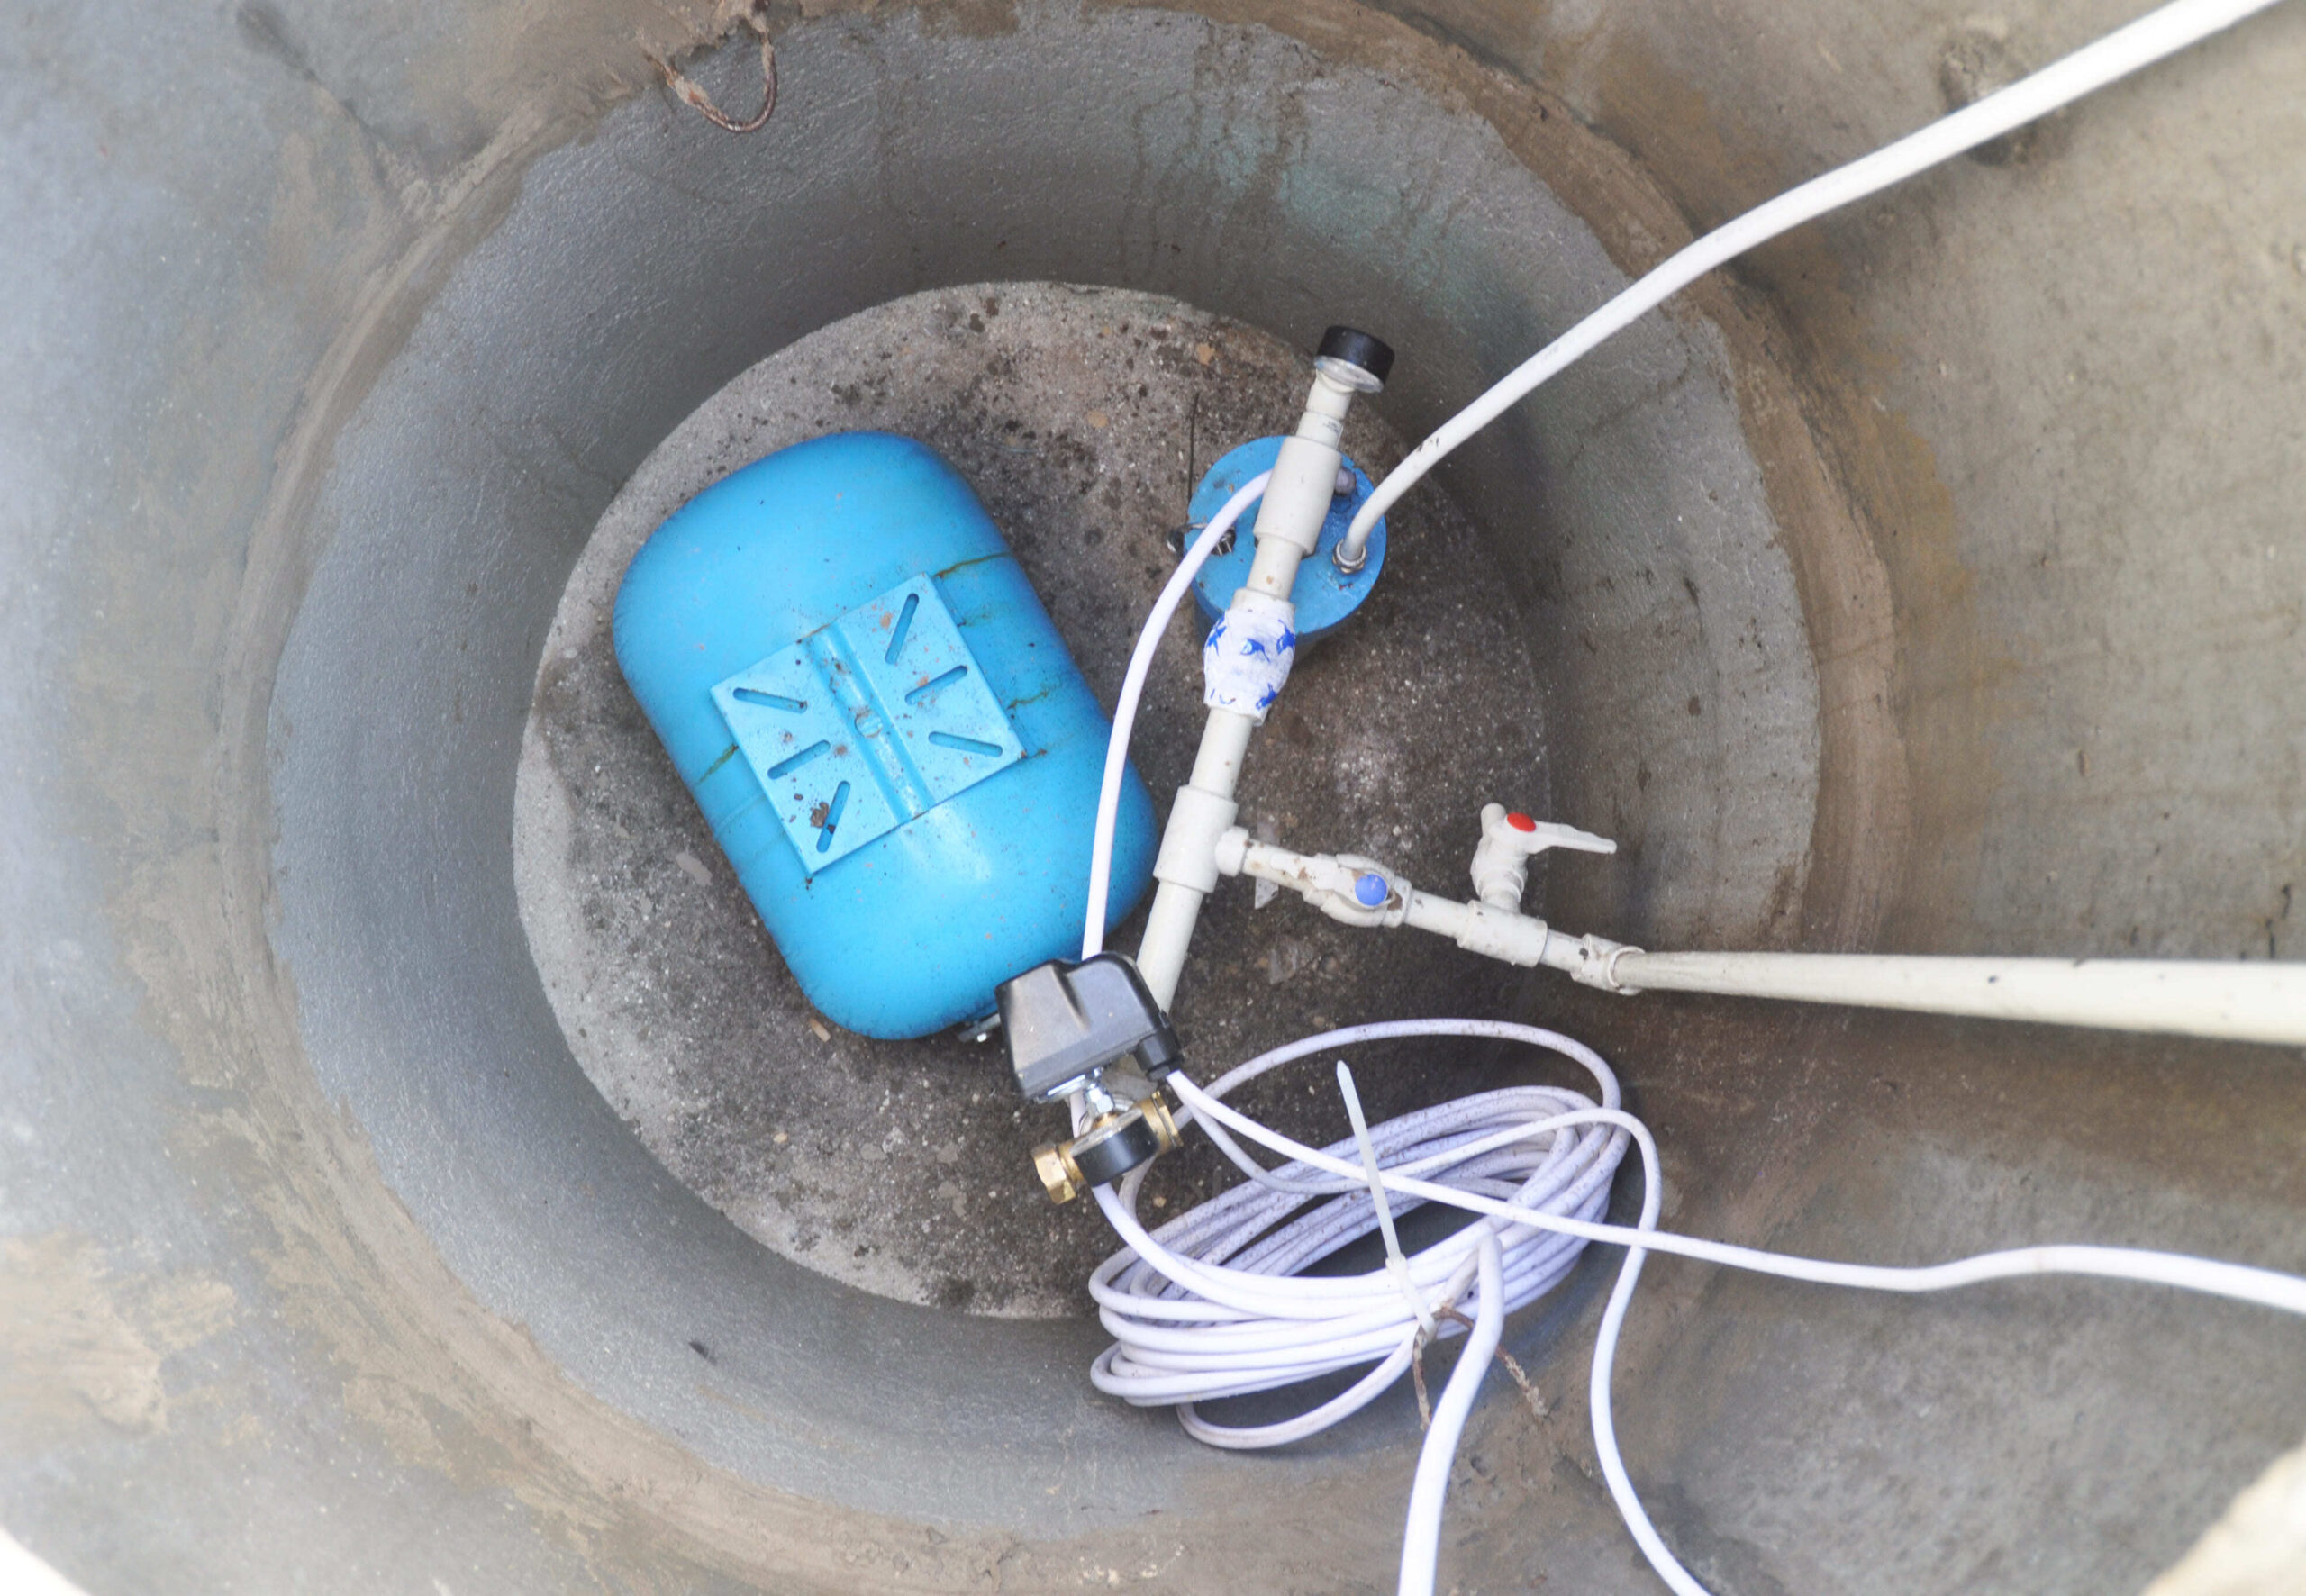
Pressure Switch Issues
The pressure switch controls the water pump by sensing pressure levels. It turns the pump on and off to keep water pressure steady. Issues with this switch often cause pump failures or erratic operation. Troubleshooting these problems can restore your well pump’s performance quickly.
Locate And Identify Switch
Find the pressure switch on the pipe near the pressure tank. It looks like a small metal box with a cover. The switch connects electrical wires to the pump. Identifying this switch is the first step in troubleshooting.
Bypass And Test Functionality
Turn off power to the pump before testing. Remove the cover from the pressure switch. Use a screwdriver to connect the two terminals inside, bypassing the switch. Turn the power back on. If the pump runs, the switch is faulty and needs replacement.
Manual Reset Steps
After power loss, the pressure switch may need a reset. Locate the small lever on the side of the switch. Flip the lever to the “reset” position. Restore power to the pump. The lever should return to “auto” once pressure builds up, allowing normal operation.
Water Pressure Problems
Water pressure problems in well water systems can cause frustration and inconvenience. Low water pressure makes daily tasks harder, like showering or watering plants. Understanding the common causes and how to check your system helps solve these issues quickly.
Low Water Pressure Causes
Several factors lead to low water pressure in a well system. A clogged pipe or filter restricts water flow. The pump may wear out or fail over time. Pressure switches can malfunction, causing irregular pressure. Leaks in the system reduce overall pressure. Identifying the exact cause helps you fix it properly.
Checking Pressure Tank
The pressure tank stores water and regulates pressure in your system. A damaged or waterlogged tank can cause pressure drops. Check the tank for rust, leaks, or cracks. Tap the tank; a hollow sound means air inside. A full water tank sounds solid. Maintaining the tank ensures steady water pressure.
Air Charge Adjustment
The pressure tank relies on the right air charge to work well. Too little air lowers pressure, while too much can damage the system. Use a tire pressure gauge to check the air charge. Turn off the pump and drain water before adjusting. Add or release air to reach the recommended pressure. Correct air charge keeps water pressure stable.
Pump Motor Troubles
The motor is the heart of a well water pump. Problems with the pump motor can stop water flow. Understanding motor troubles helps fix issues fast. Below are key signs and common problems with pump motors.
Signs Of Motor Failure
The pump motor may fail slowly or suddenly. Listen for unusual noises like grinding or humming. The pump might stop working or run inconsistently. Check if the motor struggles to start or shuts off quickly. These signs suggest the motor needs attention or replacement.
Bearing And Seal Wear
Bearings support motor rotation and seals keep water out. Worn bearings cause noise and vibration. Seals that fail let water enter the motor, causing damage. Inspect bearings for roughness and seals for leaks. Early replacement prevents bigger motor problems.
Overheating Symptoms
Overheating can damage the motor’s internal parts. The motor may shut down unexpectedly to cool off. Feel the motor housing for excessive heat. Overheating often results from electrical issues or blocked ventilation. Keep the motor clean and ensure proper wiring to avoid heat damage.
Mechanical Component Faults
Mechanical components are key parts of a well water pump. These parts work together to move water efficiently. Faults in these components can stop the pump from working properly. Identifying mechanical faults early can save time and money. Below are common mechanical issues and how to detect them.
Impeller Damage Detection
The impeller pushes water through the pump. Damage to the impeller lowers water flow. Signs include strange noises and reduced pressure. Check for cracks, wear, or broken blades. Remove the pump cover to inspect the impeller. Replace the impeller if it shows visible damage. A worn impeller causes the pump to work harder and may burn out the motor.
Leak Diagnosis
Leaks can happen in seals, joints, or pipes. Leaks reduce pump efficiency and can cause water loss. Look for wet spots or dripping water near the pump. Inspect seals and fittings for cracks or corrosion. Tighten loose connections and replace damaged seals. Small leaks can lead to bigger problems if ignored. Use a flashlight to find hidden leaks inside the pump housing.
Pulley And Shaft Issues
The pulley and shaft transfer power from the motor to the pump. Worn or misaligned pulleys cause noise and vibration. Check for belt wear, cracks, or slipping. Inspect the shaft for bends or corrosion. A bent shaft can damage the motor and impeller. Tighten or replace loose or worn pulleys and belts. Proper alignment ensures smooth operation and extends pump life.

Credit: www.familyhandyman.com
Short Cycling Troubleshooting
Short cycling is a common issue with well water pumps. It means the pump turns on and off too often in short periods. This can cause wear and tear and increase energy bills. Understanding the reasons behind short cycling helps fix the problem quickly. The following sections explain key checks for troubleshooting short cycling effectively.
Causes Of Frequent On-off Cycling
Short cycling happens when the pump runs for only a few seconds before shutting off. Common causes include a waterlogged pressure tank, incorrect pressure switch settings, or leaks in the system. A waterlogged tank has no air cushion to absorb pressure changes. This causes rapid pressure fluctuations and quick cycling. Incorrect pressure settings trigger the pump to turn on and off too soon. Leaks reduce system pressure and cause the pump to run more often.
Pressure Switch And Tank Checks
Start by inspecting the pressure switch. This device controls when the pump turns on and off. Look for dirt, corrosion, or loose wiring that may affect its function. Test the pressure settings with a pressure gauge. Adjust the switch if the cut-in and cut-out pressures are wrong. Check the pressure tank by tapping it. A hollow sound means it has air, while a dull sound suggests it is waterlogged. Drain and recharge the tank if needed to restore the air cushion.
System Leak Inspection
Leaks cause constant pressure drops that lead to short cycling. Examine all pipes, fittings, and valves for dripping water or moisture. Listen for unusual sounds like hissing or dripping near the system. Use soapy water on joints to spot bubbles that show air leaks. Repair any leaks promptly to maintain steady pressure. Ensure all valves are fully closed and seals are intact. Fixing leaks often stops short cycling immediately.
Low Water Level Effects
Low water levels in a well can cause serious problems for your water pump. When water drops below the pump’s intake, the system starts to pull in air. This can damage the pump and reduce water flow. Understanding these effects helps you keep your pump working smoothly and avoid costly repairs.
Air In Pump And Pipes
Low water levels let air enter the pump and pipes. This causes sputtering or irregular water flow. Air pockets reduce pressure and can lead to pump overheating. Over time, the pump seals and impellers may wear out. Continuous air in the system can cause the pump to fail completely.
Activating Low-level Cutoff
Many pumps have a low-level cutoff switch. This device stops the pump when water is too low. It protects the pump from damage caused by dry running. The switch resets automatically or manually once the water rises. This feature helps extend the pump’s lifespan and prevents costly breakdowns.
When To Call A Professional
Call a professional if your pump trips often or does not restart. Persistent air in the system may indicate a leak or damaged well casing. Pump noises or reduced water flow can signal serious issues. Experts can check the pump, pressure switch, and well condition. Early help saves money and prevents further damage.
Credit: brucemackay.com
Preventive Maintenance Tips
Preventive maintenance is key to keeping your well water pump working smoothly. Regular care helps avoid costly repairs and extends the pump’s life. Simple steps can catch problems early and keep water flowing without interruption.
Regular Inspection Schedule
Set a routine to check your well pump. Inspect it every few months for leaks, unusual noises, or rust. Check electrical connections for corrosion or wear. Early detection saves time and money by fixing small issues before they grow.
Cleaning And Priming Pumps
Clean the pump and surrounding area to prevent dirt buildup. Dirt can block parts and reduce efficiency. Priming the pump helps remove air trapped inside. This ensures the pump works correctly and avoids damage from dry running.
Replacing Worn Parts Early
Worn parts reduce pump performance and cause breakdowns. Replace belts, seals, and bearings as soon as signs of wear appear. Using fresh parts keeps the pump running strong. It also prevents sudden failures that disrupt water supply.
Frequently Asked Questions
How Do You Diagnose A Well Pump Problem?
Diagnose a well pump problem by checking power at the breaker, testing the pressure switch, and measuring voltage with a multimeter. Inspect for leaks, unusual noises, and low water pressure. These steps help identify electrical, mechanical, or pressure-related issues efficiently.
How Do I Reset A Water Well Pump?
To reset a water well pump, turn off power at the breaker. Locate the pressure switch and press its reset lever. Restore power and allow the pump to restart. If the lever won’t hold or the pump trips again, call a professional.
What Are The Common Problems With Well Water Pumps?
Common well water pump problems include low water pressure, motor failure, worn seals causing leaks, pressure switch issues, and electrical faults. These issues reduce pump efficiency and may require timely repairs to prevent damage.
What Is The Most Common Problem Of A Water Pump?
The most common water pump problem is seal and gasket leaks, causing coolant loss and overheating. Bearing failure also frequently occurs, producing grinding noises and wobbling.
What Causes A Well Water Pump To Stop Working Suddenly?
Power issues, such as tripped breakers or blown fuses, often cause sudden pump failure. Mechanical problems like motor burnout or pressure switch failure can also stop the pump.
Conclusion
Troubleshooting your well water pump can save time and money. Start by checking the power supply and pressure switch. Simple tests often reveal common issues like low water pressure or electrical faults. Keep an eye on pump sounds and water flow.
Regular maintenance helps prevent sudden failures. If problems persist, seek professional help to avoid damage. Understanding these basic steps makes handling well pump issues easier. Stay calm and follow the checklist for quick solutions. Your well system will run smoothly with proper care.
")


