To clear a jam or fix a print quality issue, you should first check the paper path and ensure your labels are correctly loaded, as daymark matt85 printer troubleshooting often starts with simple alignment or ribbon errors. The most common cause of these issues is a misaligned sensor or a dirty print head, which prevents the machine from detecting the label gaps. If you see a blinking red light, it usually means the printer can’t find the start of the label.
Daymark Matt85 printer troubleshooting and maintenance
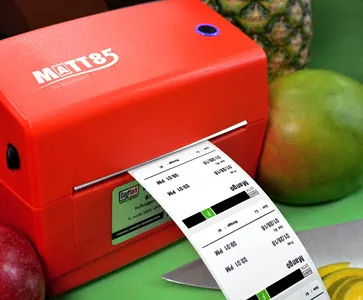
Most printing issues occur because the thermal print head has collected dust or adhesive residue from the labels. When this buildup happens, the printer can’t heat the thermal paper correctly, leading to faded text or blank labels. You can prevent this by cleaning the print head with a soft cloth and isopropyl alcohol, but you must ensure the printer is powered off first to avoid static damage.
Another frequent cause is a mismatched sensor setting. If you switched from one label size to another without calibrating the machine, the sensor will try to find a gap where none exists. This often results in the printer feeding multiple labels or stopping mid-print. The machine relies on a reflective or transmissive sensor to detect the gap, and if that sensor is blocked by debris, the printer will simply stop to protect the mechanism.
Finally, connectivity issues often stem from a loose cable or a driver error. If the printer light is solid green but nothing prints, the computer might be sending data to the wrong port.
Always check the physical connection to your DayMark Safety Systems official support portal to ensure you’re using the correct driver version for your specific operating system. If the cable feels loose or the port is damaged, the data transfer will fail, causing the print job to hang in the queue.
Reset the Label Sensor
If your printer isn’t stopping at the correct spot between labels, you need to perform a sensor calibration. This process teaches the machine the exact length of your label and the size of the gap. Before you begin, ensure you have at least three labels loaded through the printer path so the sensor has enough material to read.
To start the calibration, turn the printer off. Press and hold the feed button while turning the power back on. Release the button only after the light flashes, which indicates the printer is entering test mode. The printer will then feed a few labels to measure the gap.
If it stops precisely at the edge of the next label, the calibration is successful. If it continues to feed past the label, the sensor is likely dirty or the label backing is too thick for the current setting.
This fix is for users who have recently changed label types or sizes. If you perform this three times and the printer still fails to align, the sensor itself may be faulty. If you’re under warranty, don’t attempt to open the case, as this will void your coverage. Instead, contact the manufacturer to request a repair or a replacement unit.
Clean the Print Head
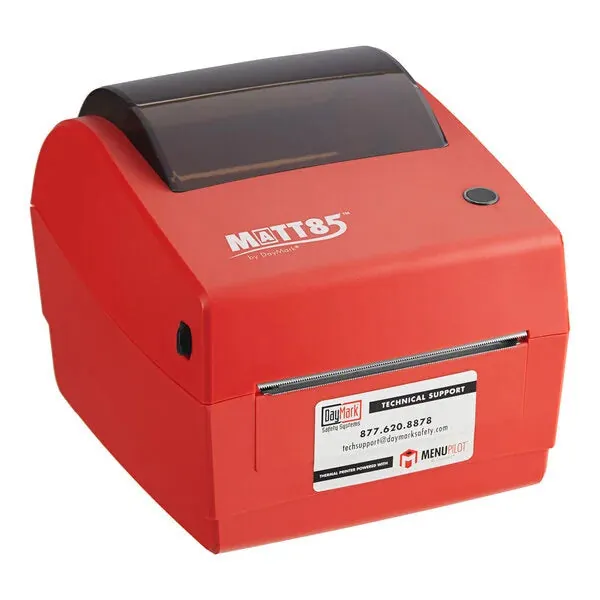
When your print quality is light, patchy, or has white lines running through the text, the print head needs a manual cleaning. Adhesive from the labels often melts onto the head during high-volume printing, creating a barrier that stops heat transfer. This is a common issue in kitchens or high-heat environments where the air contains oils or dust.
Use a cotton swab dipped in 70% isopropyl alcohol. Gently wipe the print head in a single direction to remove the buildup. Don’t use sharp tools or abrasive materials, as the print head is a delicate electronic component that scratches easily. Once you have wiped the head, let it air dry for two minutes before reloading your labels.
If you find that cleaning doesn’t restore clarity, check the label tension. If the labels are too tight, they exert uneven pressure that mimics a dirty head. Loosen the roll slightly to see if the lines disappear. If the lines remain stationary on every label, the issue is the head. If the lines shift position, the problem is likely the label stock itself.
This process is safe for most users, but avoid touching the head with your bare fingers. Oils from your skin can interfere with the heating elements. If you notice deep scratches on the surface of the head after cleaning, this is a sign of permanent wear. A scratched print head can’t be repaired and will require a hardware replacement by a professional technician.
Check the Ribbon Path
If you’re using a thermal transfer printer that requires a ribbon, a wrinkled or misaligned ribbon will cause print gaps. Check that the ribbon is wound tightly on the supply spindle and isn’t sagging across the print area. If the ribbon is loose, the printer will struggle to pull it through, causing the motor to stall or the print to appear blurry.
To fix this, remove the ribbon and clear any slack by turning the take-up spindle manually. Ensure the ribbon is centered on the rollers so it covers the entire width of the label. If the ribbon is too wide for your label stock, it can fold over the edges and create jams. If the ribbon keeps wrinkling, adjust the print head pressure dial if your model has one.
This fix is only for thermal transfer models; direct thermal printers don’t use ribbons and won’t have these spindles. If you’re unsure which type you have, look for a secondary roll inside the printer housing. If you find a ribbon, it’s a thermal transfer unit. If you only see the label roll, it’s direct thermal, and you can ignore this section entirely.
Common Troubleshooting Mistakes
Using abrasive scrubbers on the print head causes permanent damage to the heating elements. These delicate components are coated in a thin protective layer that, once scratched, leads to uneven thermal transfer and permanent white streaks on every label.
Ignoring “low battery” or “power error” lights leads to incomplete print jobs and memory corruption. If the voltage drops mid-cycle, the printer may lose its firmware calibration, forcing a factory reset that wipes your saved label templates.
Forcing a jammed label roll out of the printer often snaps the plastic guide arms or ruins the sensor alignment. Always open the internal latch mechanism fully before pulling. If you meet resistance, stop immediately; a broken guide arm is expensive to replace and requires a full teardown.
Using non-standard label stock that’s too thick prevents the sensor from reading the gaps between labels. If your labels are over 0.007 inches thick, the light beam can’t penetrate the backing. You’ll know this is the issue if the printer feeds continuously without stopping at the perforation. In this case, switch to a thinner material or adjust your sensor sensitivity setting to “High” in the driver menu.
Prevent Future Printing Issues
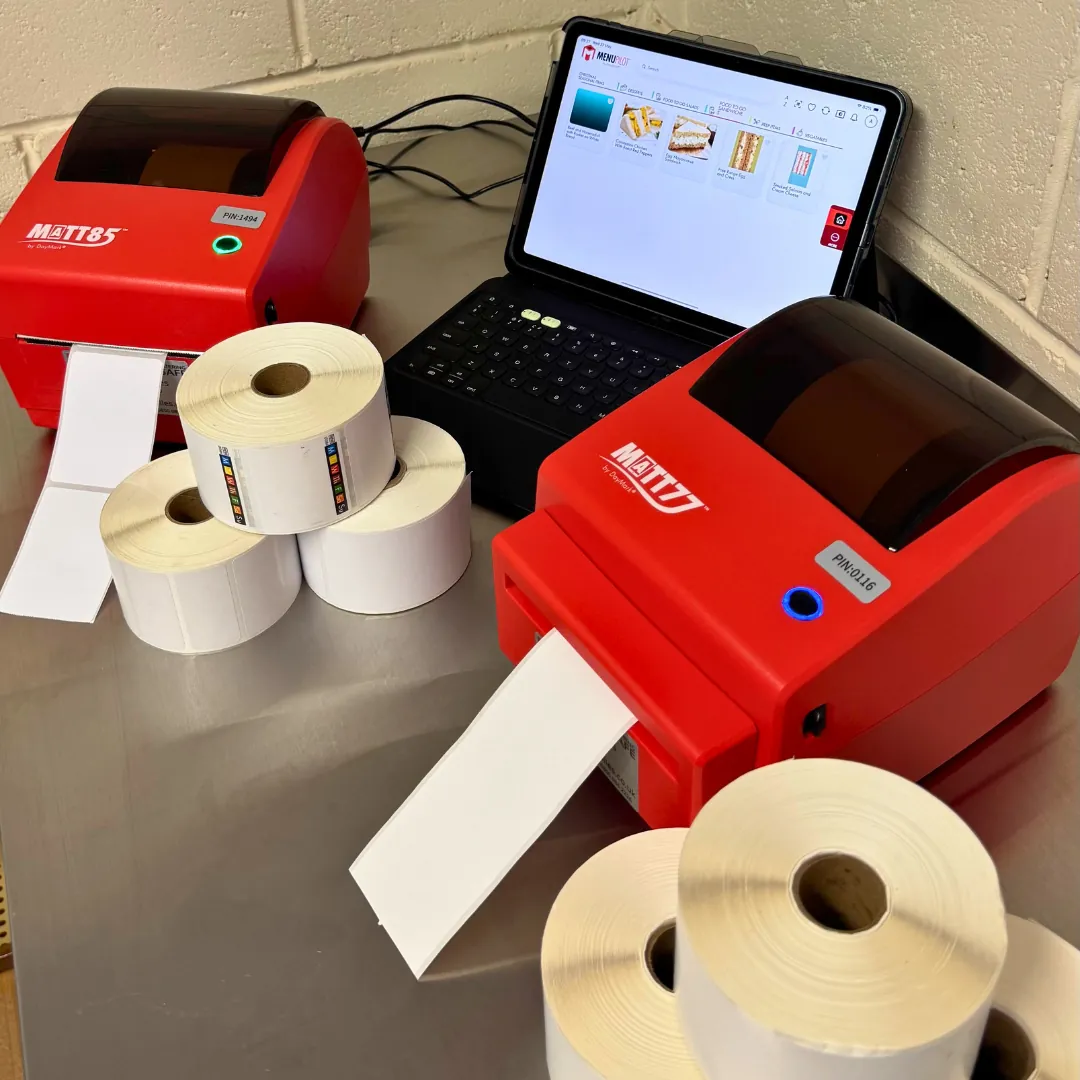
Keeping your printer in good condition requires a simple routine of cleaning and checking your settings before every shift. If you’re currently struggling with poor performance, use this table to match your symptom to the likely cause and the necessary action.
| If you’re doing this | Do this instead | Why |
|---|---|---|
| Pulling jammed labels | Open the latch fully | Prevents breaking the internal plastic guides |
| Cleaning with water | Use isopropyl alcohol | Water causes rust and doesn’t remove adhesive |
| Using old label stock | Check expiration dates | Old adhesive becomes gummy and ruins the head |
| Ignoring blinking lights | Reset the sensor | Blinking indicates the printer has lost its place |
Most operators make the mistake of waiting for a total failure before performing maintenance. This oversight often costs three hours of downtime for a technician visit. Instead, adopt a “clean-as-you-load” policy. Every time you swap a roll, wipe the print head with a lint-free swab dipped in 99% isopropyl alcohol.
If your print quality remains faint despite cleaning, check your heat settings. If you see white vertical lines, the print head is likely scratched and requires immediate replacement to avoid further damage.
Frequently asked questions
Can I fix a broken print head myself?
No, a broken or physically scratched print head can’t be fixed by a user and must be replaced by a professional. If cleaning the head with alcohol fails to resolve white lines or faded text, the heating elements are likely burnt out. Attempting repairs yourself can void your warranty.
How long should a thermal label printer last?
Most commercial label printers last between 3 to 5 years with daily use, provided you clean the print head regularly. The lifespan depends heavily on the volume of labels you print and the operating environment. If the printer struggles to feed after calibration, it may be reaching the end of its life.
Why is my printer light blinking red?
A blinking red light almost always indicates a media out error or a sensor calibration failure. This occurs when the printer can’t detect the label gap or the roll is empty. Ensure labels are loaded correctly and perform a sensor calibration to reset the printer’s label size detection.
Is it safe to use generic labels?
It’s safe to use generic labels, provided they meet the thickness and material specifications listed in your manual. Low-quality generic labels often feature adhesive that bleeds out and ruins the print head. If the printer stops frequently, switch back to manufacturer-recommended stock to test the difference.
What happens if I don’t clean the print head?
Failing to clean the print head allows adhesive buildup to create a permanent layer of residue that blocks heat. This results in unreadable text or blank labels. Over time, this buildup causes the print head to overheat and permanently damage the heating elements, so regular cleaning is essential.
Conclusion
If the light keeps blinking after you’ve cleaned the sensors, don’t worry. Sometimes the internal settings just need a quick reset to get back on track. You’ll find the factory reset instructions in your manual, so keep it handy. It’s a simple fix that’ll get your labels printing perfectly again in no time.
Related guides