Dryers are essential for modern laundry routines. Problems can disrupt daily life.
Understanding Whirlpool front load dryer troubleshooting can save time and money. Whirlpool front load dryers offer reliable performance. Yet, they may develop issues over time. This guide helps you diagnose and fix common problems. Knowing basic troubleshooting tips empowers you to handle minor issues.
It can prevent costly repairs and extend the life of your dryer. Simple maintenance and repair steps can keep your appliance running smoothly. So, let’s dive into the common issues and solutions for your Whirlpool front load dryer. This knowledge can make a significant difference in your laundry experience.
Credit: www.reddit.com
Common Dryer Issues
Whirlpool front load dryers are known for their reliability. But even the best appliances can have issues. Understanding common dryer problems can help you troubleshoot and fix them. This will save you time and money.
No Heat
A common problem with dryers is no heat. This can be due to several reasons. First, check the power supply. Make sure the dryer is plugged in and the circuit breaker is not tripped. Next, look at the thermal fuse. A blown fuse can stop the dryer from heating. Replace it if needed.
The heating element can also be a problem. If it’s broken, the dryer won’t heat. Use a multimeter to check for continuity. No continuity means the element is bad. Replace it with a new one. Lastly, the thermostat might be faulty. It controls the temperature in the dryer. If it’s not working, the dryer won’t heat. Test it with a multimeter and replace if needed.
Not Spinning
If your dryer is not spinning, the first thing to check is the drive belt. The belt connects the motor to the drum. If it’s broken or loose, the drum won’t spin. Replace the belt if it’s damaged.
Another common issue is the drum rollers. These help the drum turn smoothly. Over time, they can wear out and cause the drum to stop spinning. Inspect the rollers and replace them if they’re worn out. The motor could also be the problem. If the motor is faulty, the drum won’t spin. Listen for a humming sound. This can indicate a bad motor. Replace the motor if needed.
Lastly, check the door switch. The dryer won’t spin if the door is open. A faulty switch can make the dryer think the door is open. Test the switch with a multimeter and replace it if it’s broken.
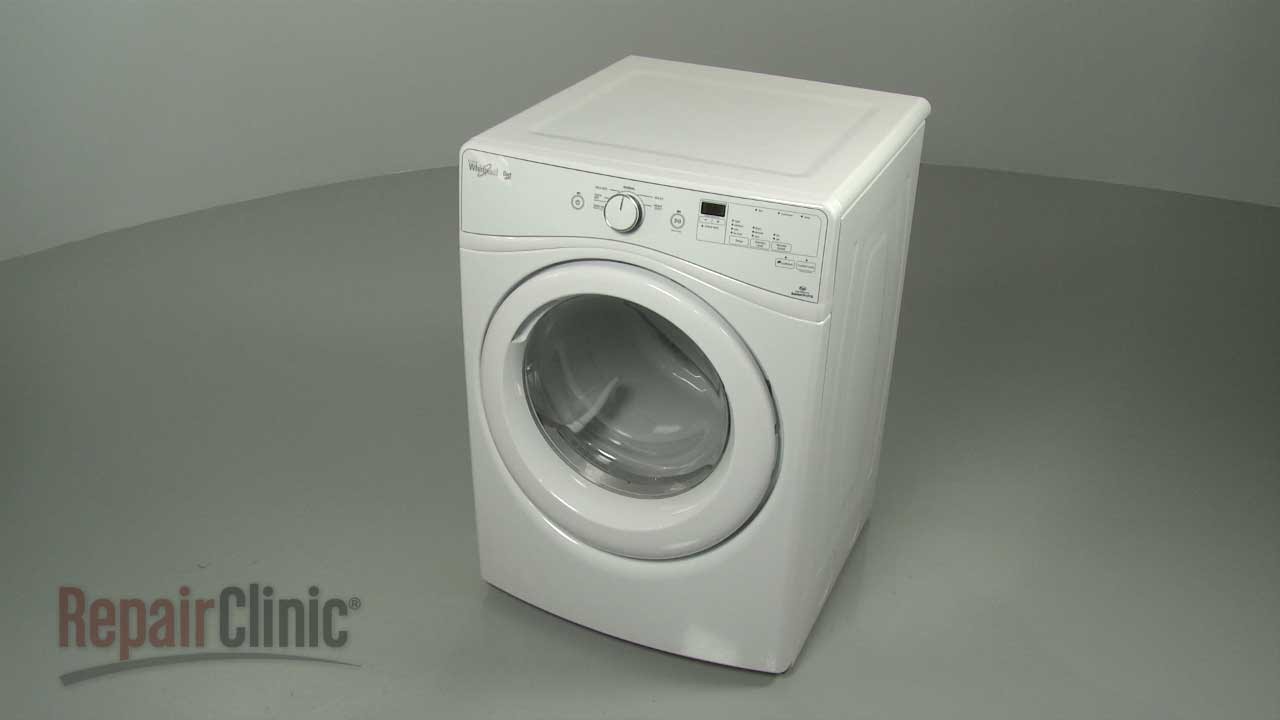
Credit: www.youtube.com
Understanding Error Codes
Whirlpool front load dryers are reliable. But sometimes they display error codes. Understanding these codes helps fix issues quickly. It also saves you time and money.
Below are common error codes and their meanings.
E1 And E2 Errors
E1 and E2 errors indicate temperature issues. The E1 error means the dryer is overheating. Check the lint screen and vent for clogs. Clean them if needed. The E2 error means the dryer is not heating enough. This could be a problem with the heating element. Verify that the dryer is connected properly to power. You might need a technician to replace any faulty parts.
E3 And E4 Errors
E3 and E4 errors relate to the dryer’s motor. The E3 error indicates a motor failure. This might be due to a broken belt. Inspect the belt for wear and tear. If it’s damaged, it needs replacing. The E4 error means the motor is overloaded. Check for too many clothes in the dryer. Remove some items and try again. If the error persists, consult a professional.
Checking Power Supply
Encountering issues with your Whirlpool front load dryer can be frustrating. But before diving into complex troubleshooting, start with the basics. The first step involves checking the power supply. Ensuring a stable power connection can often resolve many dryer problems.
Inspecting The Power Cord
Begin by examining the power cord. Unplug the dryer and inspect the cord for any visible damage. Look for frayed wires or exposed conductors. These can cause power issues. If you find any damage, replace the power cord immediately.
Next, ensure the cord is securely plugged into the outlet. A loose connection can interrupt power flow. Plug it firmly and check again. Sometimes, a simple fix like this can get your dryer back to working condition.
Resetting The Circuit Breaker
If the power cord looks fine, move on to the circuit breaker. Locate your home’s electrical panel. Look for the breaker labeled for your dryer. Sometimes, it might be tripped. Flip the breaker switch off and then back on. This resets it.
Check if the dryer starts working. A tripped breaker can stop the dryer from receiving power. Resetting it can often solve the problem. If the breaker trips again, there might be an underlying issue that needs professional attention.
Cleaning The Lint Filter
Cleaning the lint filter in your Whirlpool front load dryer is crucial. It helps maintain efficiency and prevent potential hazards. A clogged lint filter can cause longer drying times. It can also lead to overheating and even fires. Keeping it clean ensures your dryer works smoothly.
Removing The Lint Trap
First, locate the lint trap. It is usually inside the dryer door or on top of the machine. Gently pull it out. You may see a layer of lint covering the screen. Be careful not to damage the trap while removing it.
Proper Cleaning Techniques
Use your fingers to gather the lint. You can also use a soft brush. Make sure to get all the lint off the screen. If it is very dirty, rinse it with warm water. Allow it to dry completely before putting it back.
Check the slot where the lint trap goes. Use a vacuum cleaner to remove any lint buildup inside. This keeps the airway clear and the dryer efficient.
Do this after every load. Regular cleaning keeps your dryer running well. It also reduces the risk of problems.
Examining The Dryer Vent
One common issue with Whirlpool front load dryers is the dryer vent. If clothes aren’t drying properly, the vent may be the problem. Examining the dryer vent can solve many drying issues. This section will guide you through the steps to check and fix the vent.
Unclogging The Vent
A clogged vent restricts airflow, causing the dryer to work harder. First, unplug the dryer. Then, locate the vent on the back of the dryer. Disconnect the vent from the dryer and the wall. Use a vacuum to remove lint and debris. A long brush can also help to reach deep inside the vent. Ensure the vent is completely clear before reattaching it.
Checking For Proper Airflow
After unclogging, check for proper airflow. Reconnect the vent and plug the dryer back in. Turn on the dryer and go outside to where the vent exits the house. Feel the airflow coming out. It should be strong and steady. If the airflow is weak, there might be another blockage or a kink in the vent hose. Check the entire length of the vent hose for any bends or blockages. Straighten any kinks and remove any remaining debris.
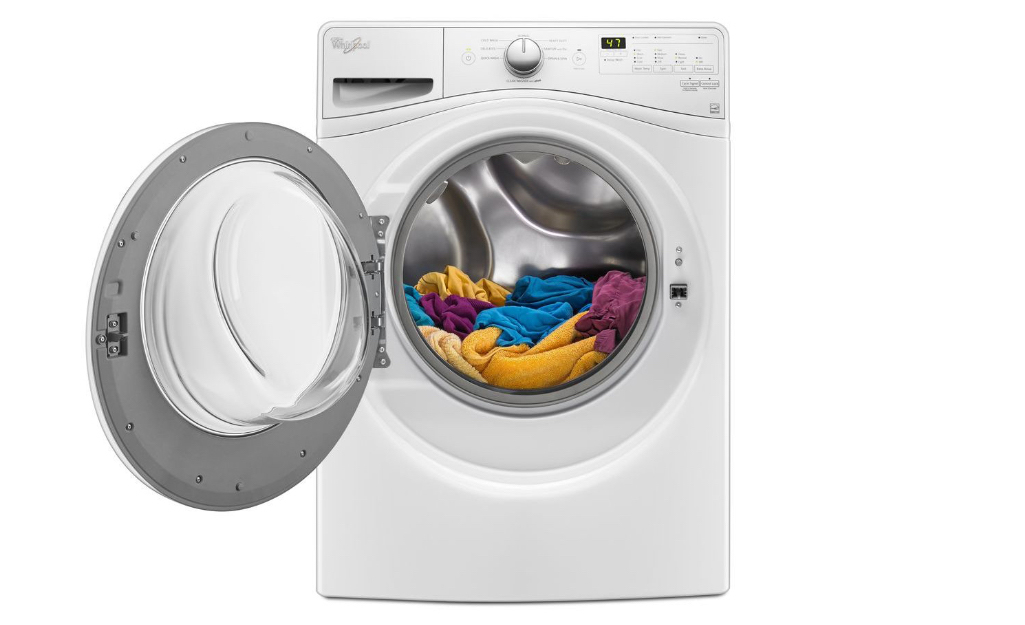
Credit: www.homedepot.com
Inspecting The Drum Belt
Inspecting the drum belt is crucial for maintaining the efficiency of your Whirlpool front load dryer. Over time, the drum belt may wear out, leading to various issues. By checking the drum belt, you can ensure that your dryer runs smoothly and efficiently.
Signs Of Wear And Tear
You need to recognize the signs of a worn-out drum belt. Here are a few indications:
- Strange noises: Squeaking or thumping sounds during operation.
- Drum not spinning: The drum fails to rotate when the dryer is on.
- Visible damage: Cracks, fraying, or other visible wear on the belt.
If you notice any of these signs, it’s time to inspect the drum belt more closely.
Replacing The Drum Belt
Replacing the drum belt is a manageable task. Here’s a simple guide to help:
- Unplug the dryer to ensure safety.
- Remove the dryer’s front panel to access the drum.
- Locate the drum belt and inspect it for damage.
- Remove the old belt by sliding it off the drum and motor pulley.
- Install the new belt, ensuring it is properly aligned.
- Reattach the front panel and plug in the dryer.
- Test the dryer to ensure the drum spins correctly.
By following these steps, you can replace the drum belt and restore your dryer’s performance. Regular maintenance can prevent future issues and extend the life of your appliance.
Testing The Thermostat
Is your Whirlpool front load dryer not heating properly? The thermostat might be the issue. Testing the thermostat can help you identify the problem. Follow these simple steps to test and, if needed, replace the thermostat.
Using A Multimeter
To test the thermostat, you’ll need a multimeter. This tool measures electrical resistance. First, unplug your dryer. Safety first!
Next, locate the thermostat. It’s usually near the heating element. Remove the back panel of the dryer to access it.
Once you’ve found the thermostat, disconnect the wires. Use a screwdriver to remove the screws holding it in place.
Set your multimeter to the lowest ohms setting. Touch the multimeter probes to the thermostat terminals. A reading of zero or close to zero means the thermostat is good. A higher reading means it’s faulty.
Replacing A Faulty Thermostat
If your thermostat is faulty, you need to replace it. First, purchase a compatible thermostat for your Whirlpool dryer. You can find these at appliance stores or online.
Begin by removing the faulty thermostat. Disconnect the wires and remove the screws.
Install the new thermostat by reversing these steps. Secure it with screws and reconnect the wires.
Finally, reattach the back panel of your dryer. Plug it back in and test your dryer. It should now heat properly.
| Steps | Details |
|---|---|
| Step 1 | Unplug the dryer |
| Step 2 | Locate and remove the thermostat |
| Step 3 | Test with a multimeter |
| Step 4 | Replace if faulty |
| Step 5 | Reattach parts and test dryer |
Maintaining Your Dryer
Regular maintenance ensures your Whirlpool front load dryer runs smoothly. It extends the dryer’s lifespan and helps prevent costly repairs. Follow the steps below to keep your dryer in top condition.
Regular Maintenance Tips
Regular maintenance keeps your dryer efficient. Here are some tips:
- Clean the lint filter after each use. This prevents lint buildup.
- Inspect the vent system every six months. Ensure there are no blockages.
- Wipe the drum with a damp cloth monthly to remove residue.
- Check the drum seal for wear and tear. Replace if damaged.
Preventive Measures
Preventive measures help avoid major issues. Follow these guidelines:
- Do not overload the dryer. Overloading can cause strain on the motor.
- Use the right settings for different fabrics. This prevents overheating.
- Ensure proper ventilation in the laundry area. This reduces moisture buildup.
- Keep the dryer level. An unbalanced dryer can lead to noise and damage.
By following these tips, you can maintain your Whirlpool front load dryer effectively. Regular care and preventive measures save time and money in the long run.
Frequently Asked Questions
Why Is My Whirlpool Front Load Dryer Not Starting?
Check the power source. Ensure the dryer is plugged in. Verify the circuit breaker isn’t tripped.
How Do I Reset My Whirlpool Front Load Dryer?
Unplug the dryer for five minutes. Plug it back in. This resets the control board.
What Causes A Whirlpool Dryer To Not Dry Clothes?
Check the lint filter. Clean it. Ensure the vent is not blocked. Check the heat settings.
Why Is My Whirlpool Dryer Making A Loud Noise?
Inspect for loose items inside. Check for worn-out parts like belts or rollers. Contact a technician if unsure.
How Often Should I Clean The Lint Trap?
Clean the lint trap after every load. This prevents fire hazards and ensures efficient drying.
Conclusion
Troubleshooting a Whirlpool front load dryer can be straightforward with the right steps. Regular maintenance helps prevent issues. Simple checks can solve many common problems. Always refer to your user manual for guidance. If problems persist, contacting a professional might be necessary.
Ensuring your dryer runs smoothly saves time and stress. Keep an eye on any unusual signs early. Regularly clean the lint filter and check the vent. These steps can extend your dryer’s life. Happy drying!
")