You can resolve most flow or spray issues through delta in2ition shower head troubleshooting by cleaning the mineral buildup from the rubber nozzles or checking the water flow restrictor. The most common cause for weak pressure is a clog from hard water deposits, which block the small holes where the water exits. If you notice a sudden drop in pressure, you should first check if your home’s main supply is fully open.
Why your Delta shower head performs poorly
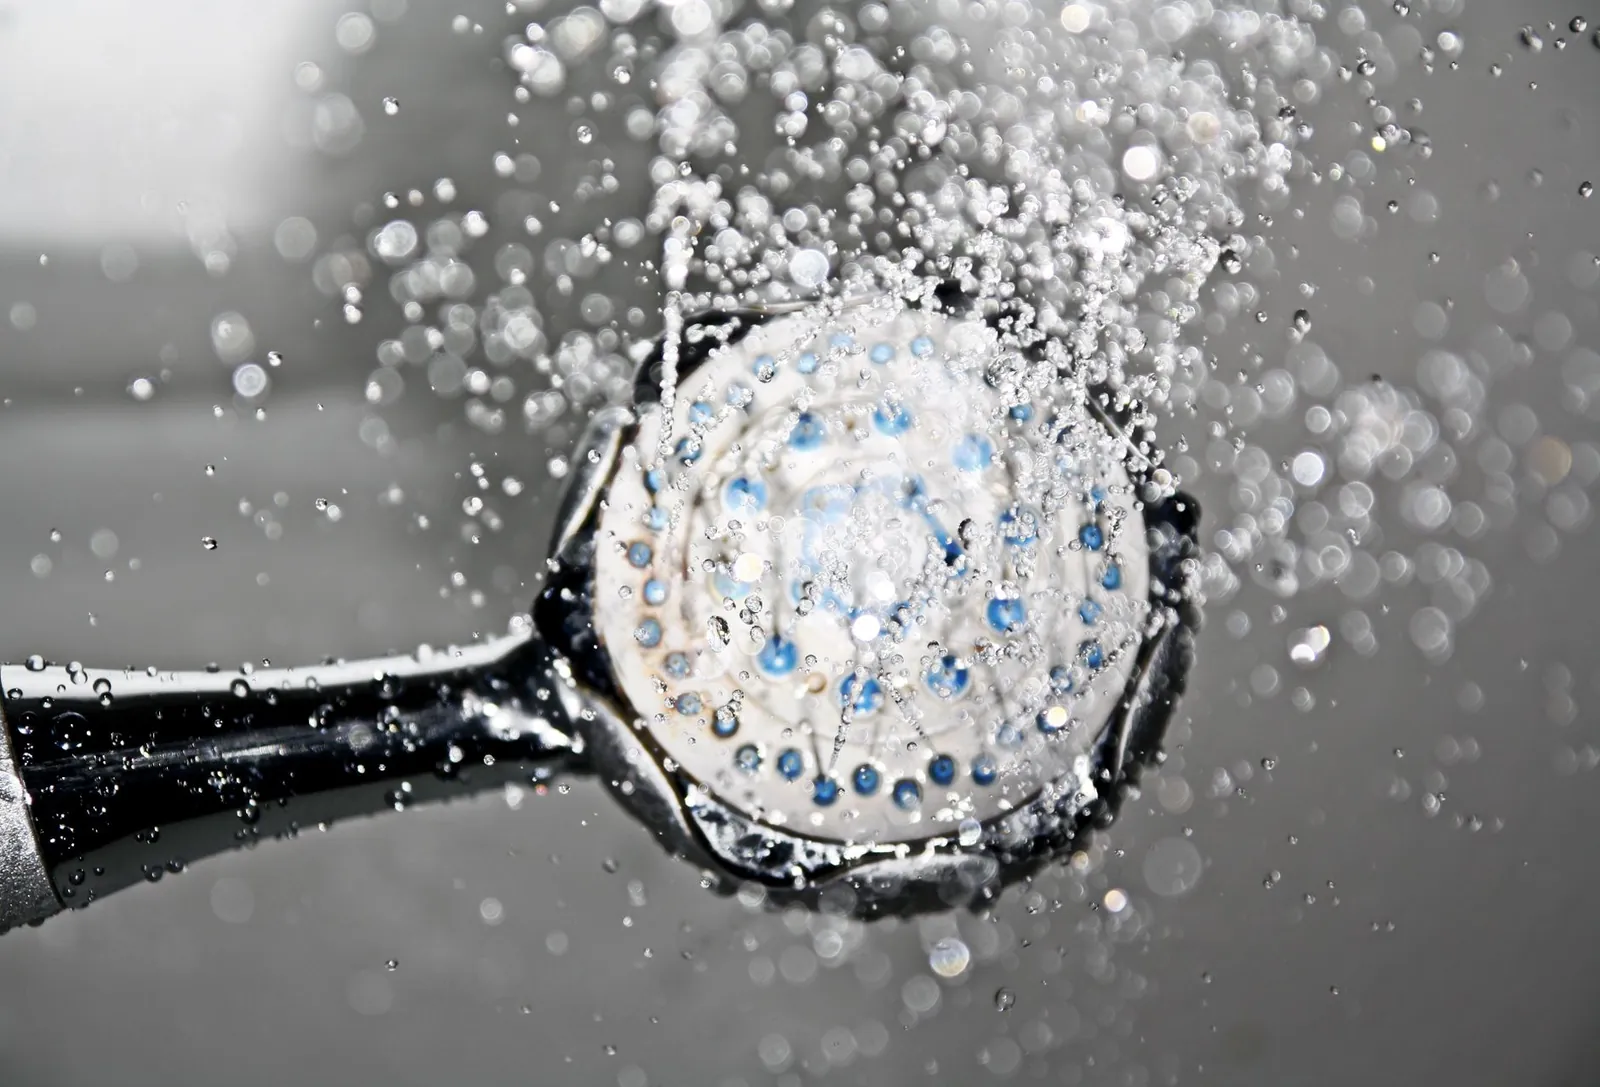
The primary reason these shower heads lose power is the accumulation of calcium and magnesium, often called limescale. Over time, these minerals harden inside the spray holes, narrowing the path for water and causing the spray to become uneven or weak. This is especially common in areas with hard water, where mineral levels in the supply lines are naturally high.
Another frequent cause involves the internal flow restrictor. To meet water efficiency standards, these units contain a small plastic piece designed to limit the amount of water moving through the head. If this piece becomes partially blocked by loose debris from your pipes, such as sediment or pipe scale, the flow will drop significantly. You can find specific information on the flow rates and efficiency standards for these devices by consulting the Delta Faucet official product documentation.
Finally, check the connection point between the shower arm and the unit. If the rubber washer inside the connection is worn out or misaligned, you might lose pressure through a leak at the joint. A loose connection often results in water spraying from the back of the head rather than through the nozzles, which reduces the force reaching the shower head itself.
Clear the spray nozzles
This fix is for users who notice that some nozzles are spraying in the wrong direction or are completely blocked. You don’t need tools for this, as the nozzles are made of soft rubber designed to release buildup. Simply run your thumb or a cloth back and forth across the rubber nubs while the water is running. The pressure of your touch will break the crust of minerals, allowing the water to flush the debris out.
If rubbing doesn’t work, you can soak the head in a mixture of white vinegar and water. Use a plastic bag filled with the solution and secure it around the shower head with a rubber band, leaving it for about 60 minutes. After the soak, turn the water on to rinse the loosened material away.
If you have sensitive skin or find that the vinegar irritates your eyes, wear safety goggles during the rinsing process. A common mistake is using a needle or metal pin to poke the holes. This often tears the rubber, permanently ruining the spray pattern. If the stream remains jagged after the soak, the mineral blockage is likely deep inside the internal filter screen.
If the water pressure doesn’t return to normal after cleaning the exterior, unscrew the head to inspect the inlet filter for trapped sediment. If the spray pattern remains uneven after this, the internal buildup is too thick to clear without professional assistance or a full replacement.
Inspect the filter screen

If the entire unit has low pressure, the filter screen at the connection point is likely the culprit. You must unscrew the shower head from the wall pipe by turning the connection nut counter-clockwise. Once the head is off, look into the base to see the small mesh screen or plastic filter. This screen catches particles from your pipes, and it will restrict water flow if it becomes fully covered in debris.
Rinse the screen under a strong stream of water, using a soft toothbrush to gently scrub away any stuck sediment. Never use a metal tool to pick at the mesh, as you might tear the screen or scratch the plastic housing, which can lead to permanent leaks. Once the screen is clean, check the condition of the rubber gasket inside the nut.
If the gasket looks cracked or flattened, replace it with a new one of the same size to ensure a watertight seal. If you continue to see debris in the screen after cleaning it, you may have a larger issue with your home’s plumbing pipes that requires a professional plumber to address.
Replace the flow restrictor
This step is for users who have confirmed that their home water pressure is normal but the shower head flow remains weak. You can often remove the flow restrictor, which is a small plastic disc located inside the shower head’s inlet.
Use a pair of needle-nose pliers to gently pull the restrictor out of the opening. Note that removing this piece will increase your water usage, which may raise your utility bill or cause the shower to run out of hot water faster.
If you decide to remove it, place the restrictor in a safe spot in case you need to reinstall it later for building code compliance. After removing the piece, screw the shower head back onto the pipe and test the flow. If the water pressure is now too high or causes the shower head to vibrate, you should reinstall the restrictor immediately.
If you’re uncomfortable using pliers on your plumbing fixtures, or if the restrictor is stuck firmly inside the housing, don’t force it. Contact a local plumber to avoid damaging the threads of your shower arm, which can be expensive to repair if they become stripped.
Avoid common mistakes
Don’t use harsh chemical drain cleaners on your shower head. These acidic solutions can strip the protective finish and melt internal plastic components, leading to catastrophic failure.
Avoid using pliers directly on the chrome surface. Even a momentary slip will leave deep, permanent gouges. If you must use a tool, wrap the connection in a thick rubber grip or a heavy microfiber cloth first.
Never attempt to drill out the spray holes to increase pressure. This ruins the calibrated spray pattern and immediately voids your manufacturer warranty. If flow is low, soak the head in white vinegar instead.
Finally, avoid over-tightening the shower head during reinstallation. Applying too much torque often cracks the plastic coupling nut. If you feel resistance, stop turning. A simple quarter-turn past hand-tight is usually sufficient to seat the washer. Overtightening risks hidden leaks inside your wall, which can cause thousands of dollars in water damage over time.
Prevent mineral buildup

| If you’re doing this | Do this instead | Why |
|---|---|---|
| Ignoring the spray | Wipe nozzles monthly | Prevents hard scale from forming |
| Using high-heat water | Use warm water | Reduces mineral deposit speed |
| Tightening with tools | Hand-tighten only | Protects the plastic threads |
| Ignoring leaks | Replace the washer | Stops pressure loss at the source |
Most homeowners wait until the flow rate drops significantly before taking action. This mistake often costs you a complete fixture replacement because mineral deposits harden into permanent, calcified blockages.
To determine your risk level, check your local water hardness report.
If you notice white, chalky flakes appearing in your basin, the buildup has already begun. In this case, submerge the head in a 50/50 white vinegar and water solution for two hours. If the flow remains uneven after this soak, the internal cartridge is likely compromised. Replace it to restore proper water flow.
Frequently asked questions
Can I use vinegar to clean the chrome finish?
You can clean chrome finishes with a diluted vinegar solution, but you must rinse it off immediately with fresh water. Leaving vinegar on the metal too long can dull the shine or cause peeling. Always check the manufacturer’s guide first if you have a specialty finish like oil-rubbed bronze.
How often should I clean my shower head?
You should clean your shower head every 3 to 6 months to maintain consistent water pressure. If you live in a region with hard water, you may need to clean it more frequently to keep the nozzles clear. Regular maintenance prevents mineral buildup from becoming difficult to remove.
Why does the shower head leak from the connection?
Leaks usually occur because the rubber gasket inside the connection nut is worn, missing, or improperly seated. Inspect the gasket to ensure it’s flexible and sits flat inside the nut. Replacing this inexpensive rubber part usually stops the leak immediately without needing any special tools.
Is it safe to remove the flow restrictor?
Removing the restrictor is physically safe, but it will increase your water consumption and may drain your hot water supply faster. Check your local building codes, as some areas have strict rules regarding maximum flow rates. If you’re on a restricted water system, keep the piece installed to stay compliant.
What happens if I use a wrench to tighten the nut?
Using a wrench on plastic nuts risks cracking the material or stripping the threads, causing the shower head to leak. Plastic components are designed to be tightened by hand to compress the gasket without damage. If you feel a wrench is necessary, the gasket is likely worn or the threads are misaligned.
How long does a shower head typically last?
A high-quality shower head typically lasts 5 to 10 years with proper care and regular cleaning. The lifespan depends heavily on your local water quality and how well you manage mineral buildup. If the finish corrodes or internal parts fail, it’s usually more cost-effective to replace the unit.
Maintaining your shower head is a simple process that keeps your bathroom running smoothly. By keeping the nozzles clean and ensuring your connections are tight, you can keep the water flowing at the right pressure for years to come.
Conclusion
If these simple fixes don’t restore your water pressure, it’s time to reach out to the manufacturer’s support team for further guidance. They’ll help you determine if a part is faulty or if you’re eligible for a replacement. Don’t hesitate to contact them, as they’re happy to help you get back to a relaxing shower.
Related guides