If your tool stops working, the most common fix for dewalt drill troubleshooting involves checking the battery connection and ensuring the charge level is sufficient for the task. Most power issues stem from a dirty contact point or a battery that has reached its voltage cutoff limit. You can often restore function by cleaning the terminals with a dry cloth or swapping in a fully charged pack. If the drill still won’t spin, verify that the forward/reverse switch is pushed fully into its locked position.
Troubleshooting a dewalt drill losing power
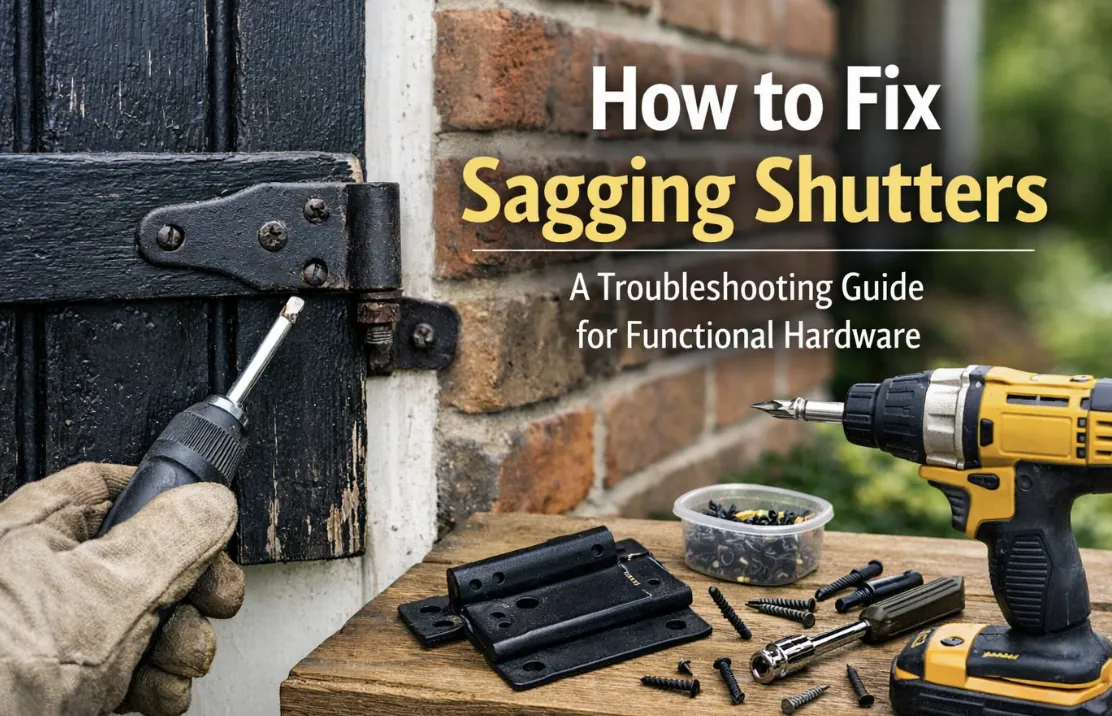
The primary cause of tool failure is a simple lack of electrical contact between the battery and the drill’s internal pins. Over time, dust and debris from drilling into wood or concrete build up on the metal contacts, creating a layer of resistance that prevents current from flowing. If you use your tool in dusty environments, this buildup happens faster, and the drill may cut out under load even when the battery is mostly full.
Another major cause is a tripped internal protection circuit. Modern lithium-ion batteries and brushless tools have sensors that monitor for overheating or high-current draws. If you try to drive a large screw into hardwood too quickly, the tool may shut down to protect the motor from burning out. This isn’t a defect but a safety design; once the motor cools down or you ease off the pressure, the tool usually resets automatically.
Finally, internal component wear can occur after years of heavy use. Brushes in older brushed models eventually wear down to the point where they no longer make contact with the motor armature. You can identify this if the drill starts to spark excessively or smells like ozone before it stops working entirely. For detailed safety guidance on using power tools, you should consult the Dewalt official tool safety guide provided by the manufacturer.
Clean the battery terminals and pins
This fix is for users who notice the drill cutting out intermittently or failing to start despite a charged indicator light. First, remove the battery from the tool and inspect the metal tabs inside the drill handle. If you see visible dust, wood shavings, or dark oxidation, use a soft, dry brush to clear the area carefully. Don’t use liquids or metal objects, as these can cause short circuits or damage the plastic housing.
Check the battery pack itself for the same debris. The metal slots on the battery should be clean and straight. If the tabs look bent, don’t try to force them back, as this can snap the metal. If the drill still doesn’t run after cleaning, try a second battery pack that you know is working.
If the second battery works, the issue is with the first battery’s internal cells. If neither battery works, the internal switch or motor may be faulty. This is the point where you should stop, as opening the tool housing yourself can void the warranty or lead to injury.
Adjust the gear and clutch settings
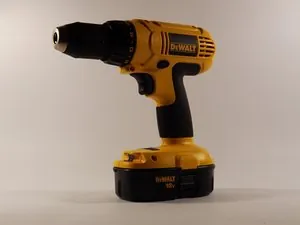
If your drill runs but lacks the torque to drive fasteners or rotate bits, the issue is likely a mismatch between the gear setting and the task. Most drills have a two-speed gearbox on top; speed one provides high torque for driving, while speed two is for drilling holes. If you’re trying to drive a large lag screw on speed two, the clutch will slip or the tool will stall.
Shift the slider firmly into the “1” position for heavy driving tasks. Next, check the numbered torque collar behind the chuck. If it’s set to a low number, the clutch will click and stop the chuck from turning as soon as it meets resistance.
Rotate the collar to the highest number or the drill icon to ensure the motor provides full power. You’ll know this is fixed when the drill drives the screw without the “ratcheting” clicking sound. This setting is for everyone, but if the drill still fails to turn even on the highest setting, the internal transmission may be damaged.
Seek professional repair for motor failure
When a drill produces a loud grinding noise or emits smoke, you must stop using it immediately to prevent further damage. These are signs of mechanical failure within the transmission or the motor, which requires specialized parts and tools to fix. If the tool is still under the manufacturer’s warranty, don’t attempt any unauthorized repairs. Contact a local service center or the manufacturer to initiate a warranty claim.
This path isn’t for those who want a quick fix, as professional repair can take several business days. It’s the best choice when the tool is an expensive model or a brushless unit that’s difficult to open.
If you’re outside the warranty period, compare the cost of a professional repair against the price of a new tool. Often, the labor cost for a full transmission rebuild is nearly as high as buying a new, modern drill. If you aren’t comfortable assessing the cost, a tool repair technician can give you an honest estimate.
Wrong advice that makes it worse
Applying oil to the battery pins: This creates a sticky surface that attracts conductive dust, which quickly leads to worse connection issues. If you notice debris, use a dry, soft-bristled brush or a blast of compressed air instead.
Bypassing the trigger switch: Never attempt to bridge the electrical contacts. This disables the tool’s safety features and creates a severe risk of electric shock or an unintended startup. If the tool fails to engage, the issue is often a faulty switch, a damaged battery, or a motor control board failure.
Using a non-compatible charger: Using a charger that doesn’t match your battery voltage can overheat the lithium cells and cause permanent, dangerous damage to the pack. Always check the label on the battery housing; if the voltage rating doesn’t match the charger output exactly, don’t plug it in.
Forcing a jammed chuck with pliers: This often strips the delicate internal teeth. Once those teeth are deformed, the chuck loses its ability to center bits, causing dangerous vibration during operation.
How to stop it happening again
Proper storage and consistent maintenance are the best ways to keep your drill running for years. If you leave your tool in a damp garage or an unheated shed, the electronics can corrode over time. Always store your tools in a dry, room-temperature environment inside a hard case or a dedicated storage bag.
Beyond storage, the most common mistake is ignoring the battery’s chemical health. Many users leave lithium-ion batteries plugged into the charger indefinitely. This constant trickle charge can degrade the internal cells, reducing the total lifespan of the battery. If you don’t plan to use the drill for more than a month, store the battery at roughly 50 percent charge.
| If you’re doing this | Do this instead | Why |
|---|---|---|
| Leaving batteries in the tool | Remove them after each use | Prevents slow, parasitic power drain |
| Storing in a damp shed | Store in a dry, indoor bin | Humidity causes rust on metal parts |
| Forcing the drill to stall | Use a pilot hole first | Reduces heat and motor strain |
| Using dull drill bits | Replace or sharpen bits | Sharp bits require less force to cut |
You can identify a failing motor by listening for a high-pitched whine or smelling ozone. If you hear these sounds, stop immediately. Continuing to operate a strained motor will overheat the windings and damage the internal electronics, leading to permanent tool failure.
Frequently asked questions
Can I fix a drill that smells like smoke?
Stop using the tool immediately and unplug the battery if you smell smoke or ozone. This indicates the motor windings are burning out due to an internal short. Continued use can lead to a fire or permanent mechanical failure.
How long should a battery last on one charge?
A standard 2.0Ah battery typically lasts 30 to 45 minutes during light-duty work. Runtime decreases significantly when drilling large holes or driving long screws due to higher current draw. If your battery drains in under five minutes, the internal cells have likely failed.
Is it safe to open the drill housing?
You shouldn’t open the power tool housing because it risks damaging internal gear alignment and creates electrical hazards. Opening the casing also voids your manufacturer warranty. Most internal components are sealed units that require professional tools for safe replacement.
Why does my drill chuck wobble?
A wobbly chuck is usually caused by a bent spindle or a loose set screw inside the assembly. If you dropped the drill, the spindle shaft may have become misaligned. While a loose screw can be tightened, a bent spindle requires professional repair.
What happens if I use the wrong gear?
Using the wrong gear causes the motor to overheat or the clutch to slip. High-speed gears lack the mechanical advantage for heavy driving, which can damage the transmission. Use low-speed for driving screws and high-speed for drilling small holes to ensure smooth operation.
How do I know if my battery is dead?
Your battery is likely dead if the drill doesn’t spin and the charger lights don’t activate. Most chargers indicate a failure if the battery can’t hold a charge. If the battery fails on another tool, the internal management system has likely failed.
Conclusion
If these quick checks don’t get your motor running, don’t worry. It’s likely time to reach out to a local service center or check your warranty status online. They’ll help you figure out if a part needs replacing so you can get back to your project without any more delays.
Related guides