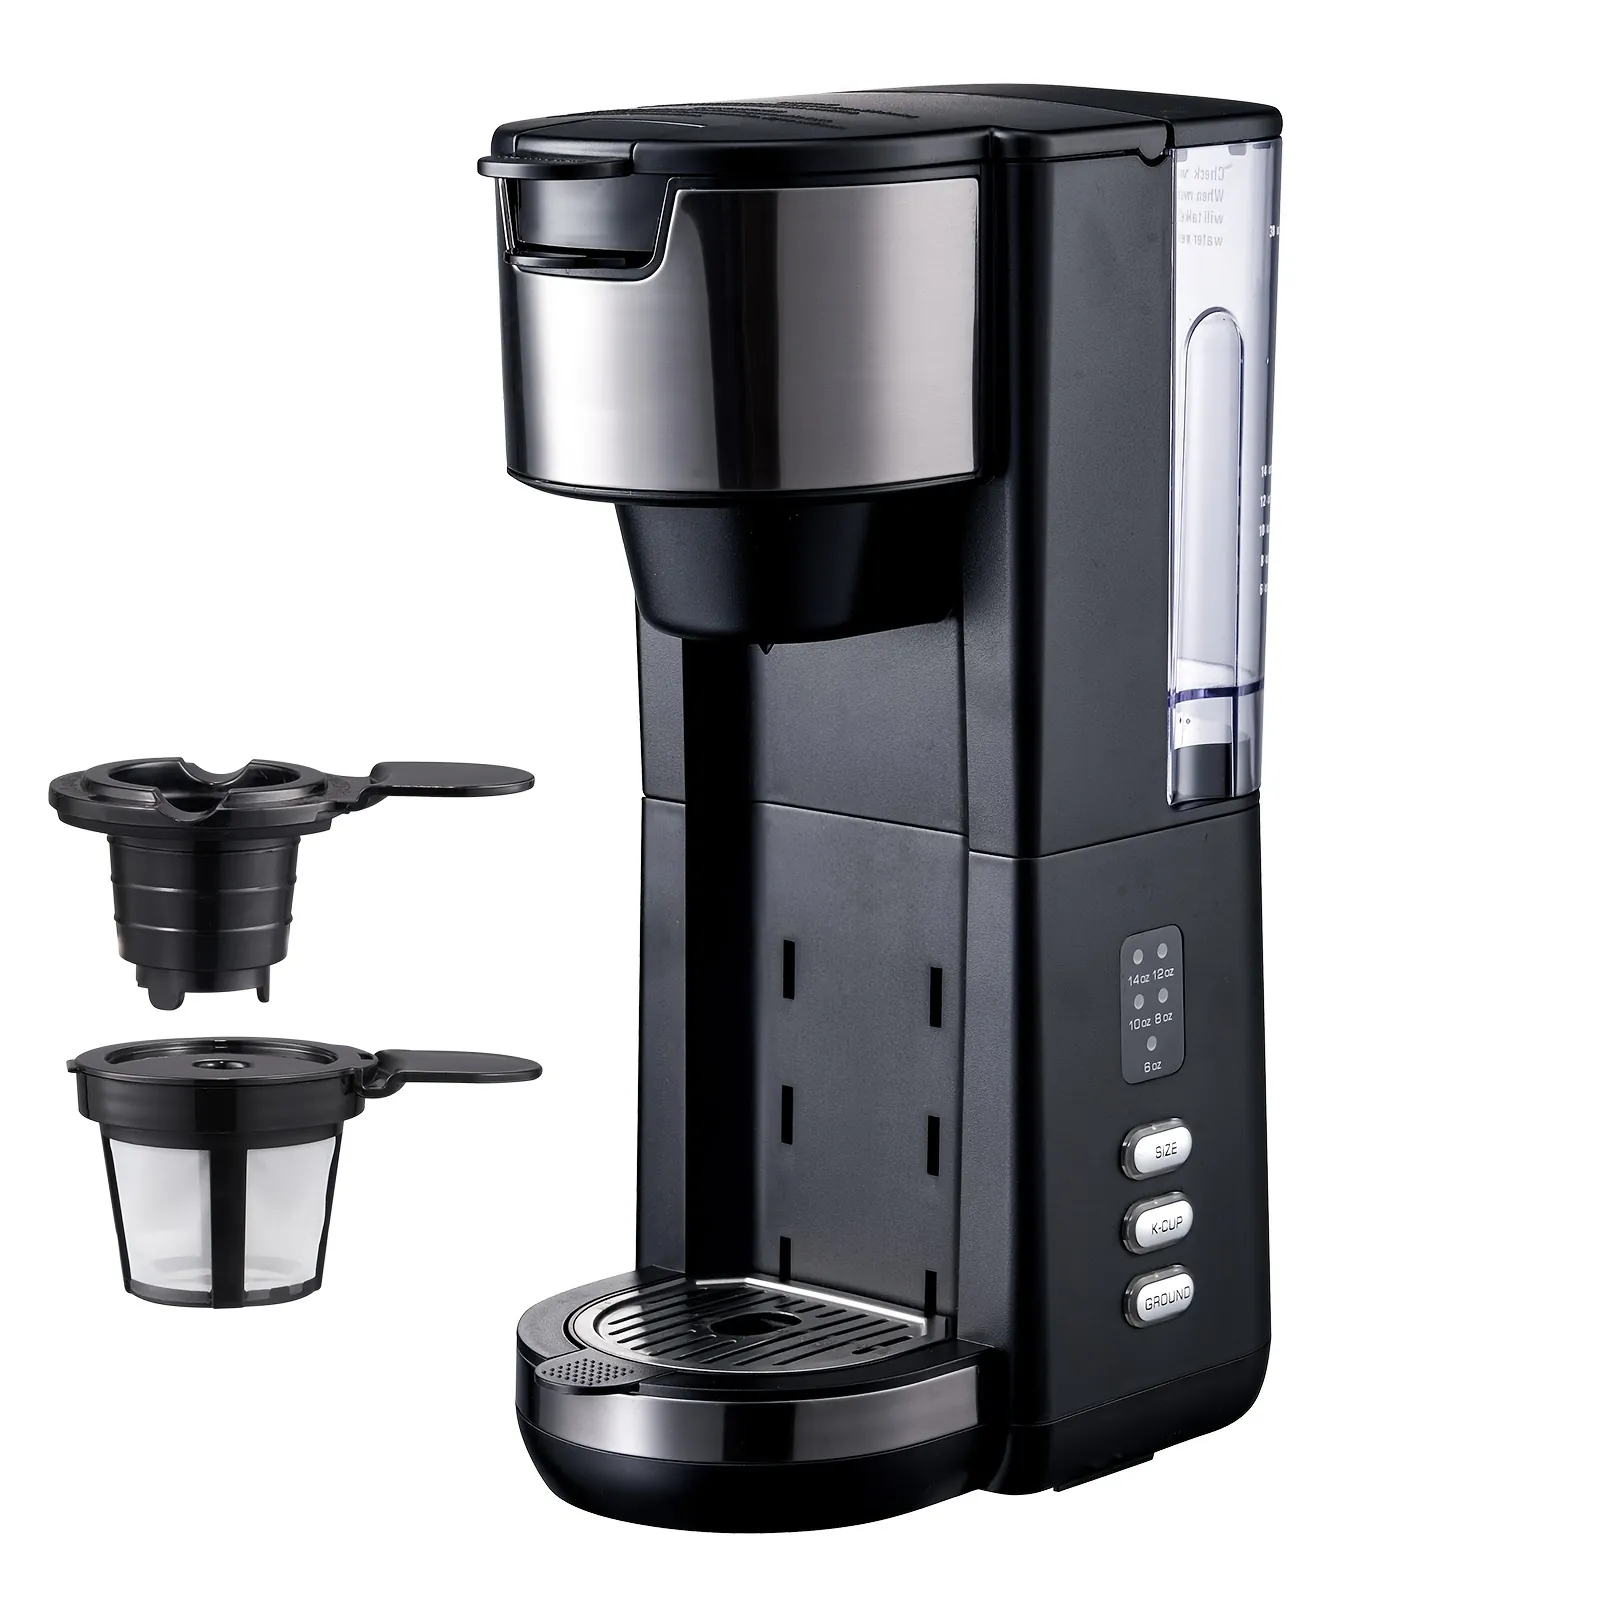
To get water flowing or heat back into your cup, effective farberware single serve coffee maker troubleshooting begins with checking your water reservoir and descaling your internal lines. Most issues occur because mineral buildup from tap water blocks the narrow internal pipes. If your machine isn’t brewing, the first step is to ensure the reservoir is fully locked into its base. If the unit still remains silent, inspect the needle where the pod sits to ensure it isn’t clogged with old coffee grounds or debris.
Fixing your Farberware single serve coffee maker
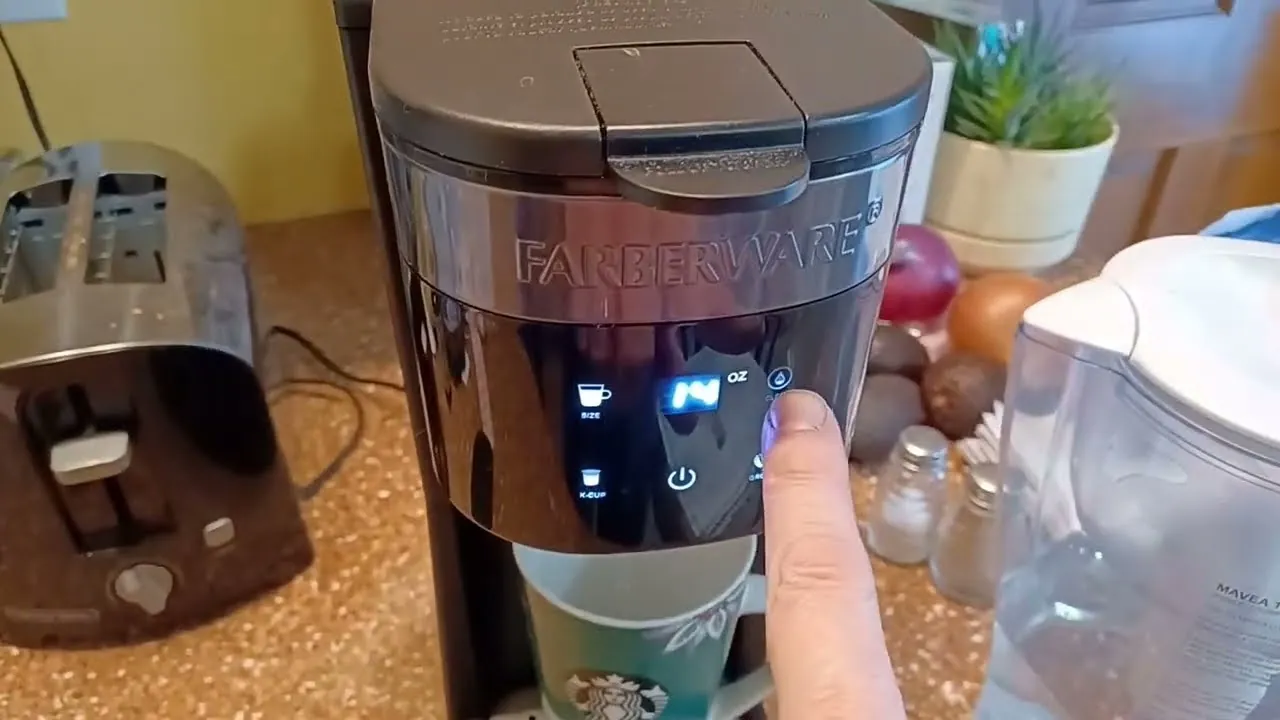
Most performance problems stem from two common causes: hard water buildup and incorrect pod placement. When you use water with high mineral content, calcium deposits form inside the heating element and the pump. Over time, these deposits narrow the internal tubes, making it impossible for the pump to force water through the system. This usually results in a loud, straining pump noise but very little coffee in your mug.
Another frequent cause is a simple mechanical error with the pod holder or the lid. If the lid doesn’t click into the locked position, the safety sensor prevents the machine from starting. This is a factory-designed safety feature to prevent hot water from spraying out if the unit is opened during a cycle.
You should check the official Farberware support page to confirm if your specific model has a reset button or a specific sequence required to clear a sensor error. If the needle that pierces the pod is bent or clogged, the water pressure will build up and then stop abruptly. This is a common issue if you use reusable filters that are packed too tightly with fine coffee grounds, which restricts the flow of water entirely.
Clear the needle and pod holder
If your machine runs but no coffee comes out, you must clean the exit needle. This is the small, sharp metal piece located inside the pod holder assembly that pierces the bottom of your coffee pod. Turn the unit off and unplug it from the wall.
Using a small, straightened paperclip, gently poke the hole in the center of the needle to dislodge any stuck coffee grounds. Be careful, as the needle is sharp and can easily scratch your skin if you slip.
Once the needle is clear, rinse the entire pod holder assembly under warm running water to remove any lingering oils or particles. If you use a reusable filter, ensure you aren’t overfilling it, as too much coffee will cause the water to back up and spill over the sides of the holder.
If the machine still fails to brew after you clear the needle, the internal pump may have an airlock. To fix this, fill the reservoir with water, lift the handle, and try to cycle the pump a few times without a pod inserted. If you hear a change in pitch from the motor, it often means the air has cleared and the water is moving freely again.
Descale the internal water lines
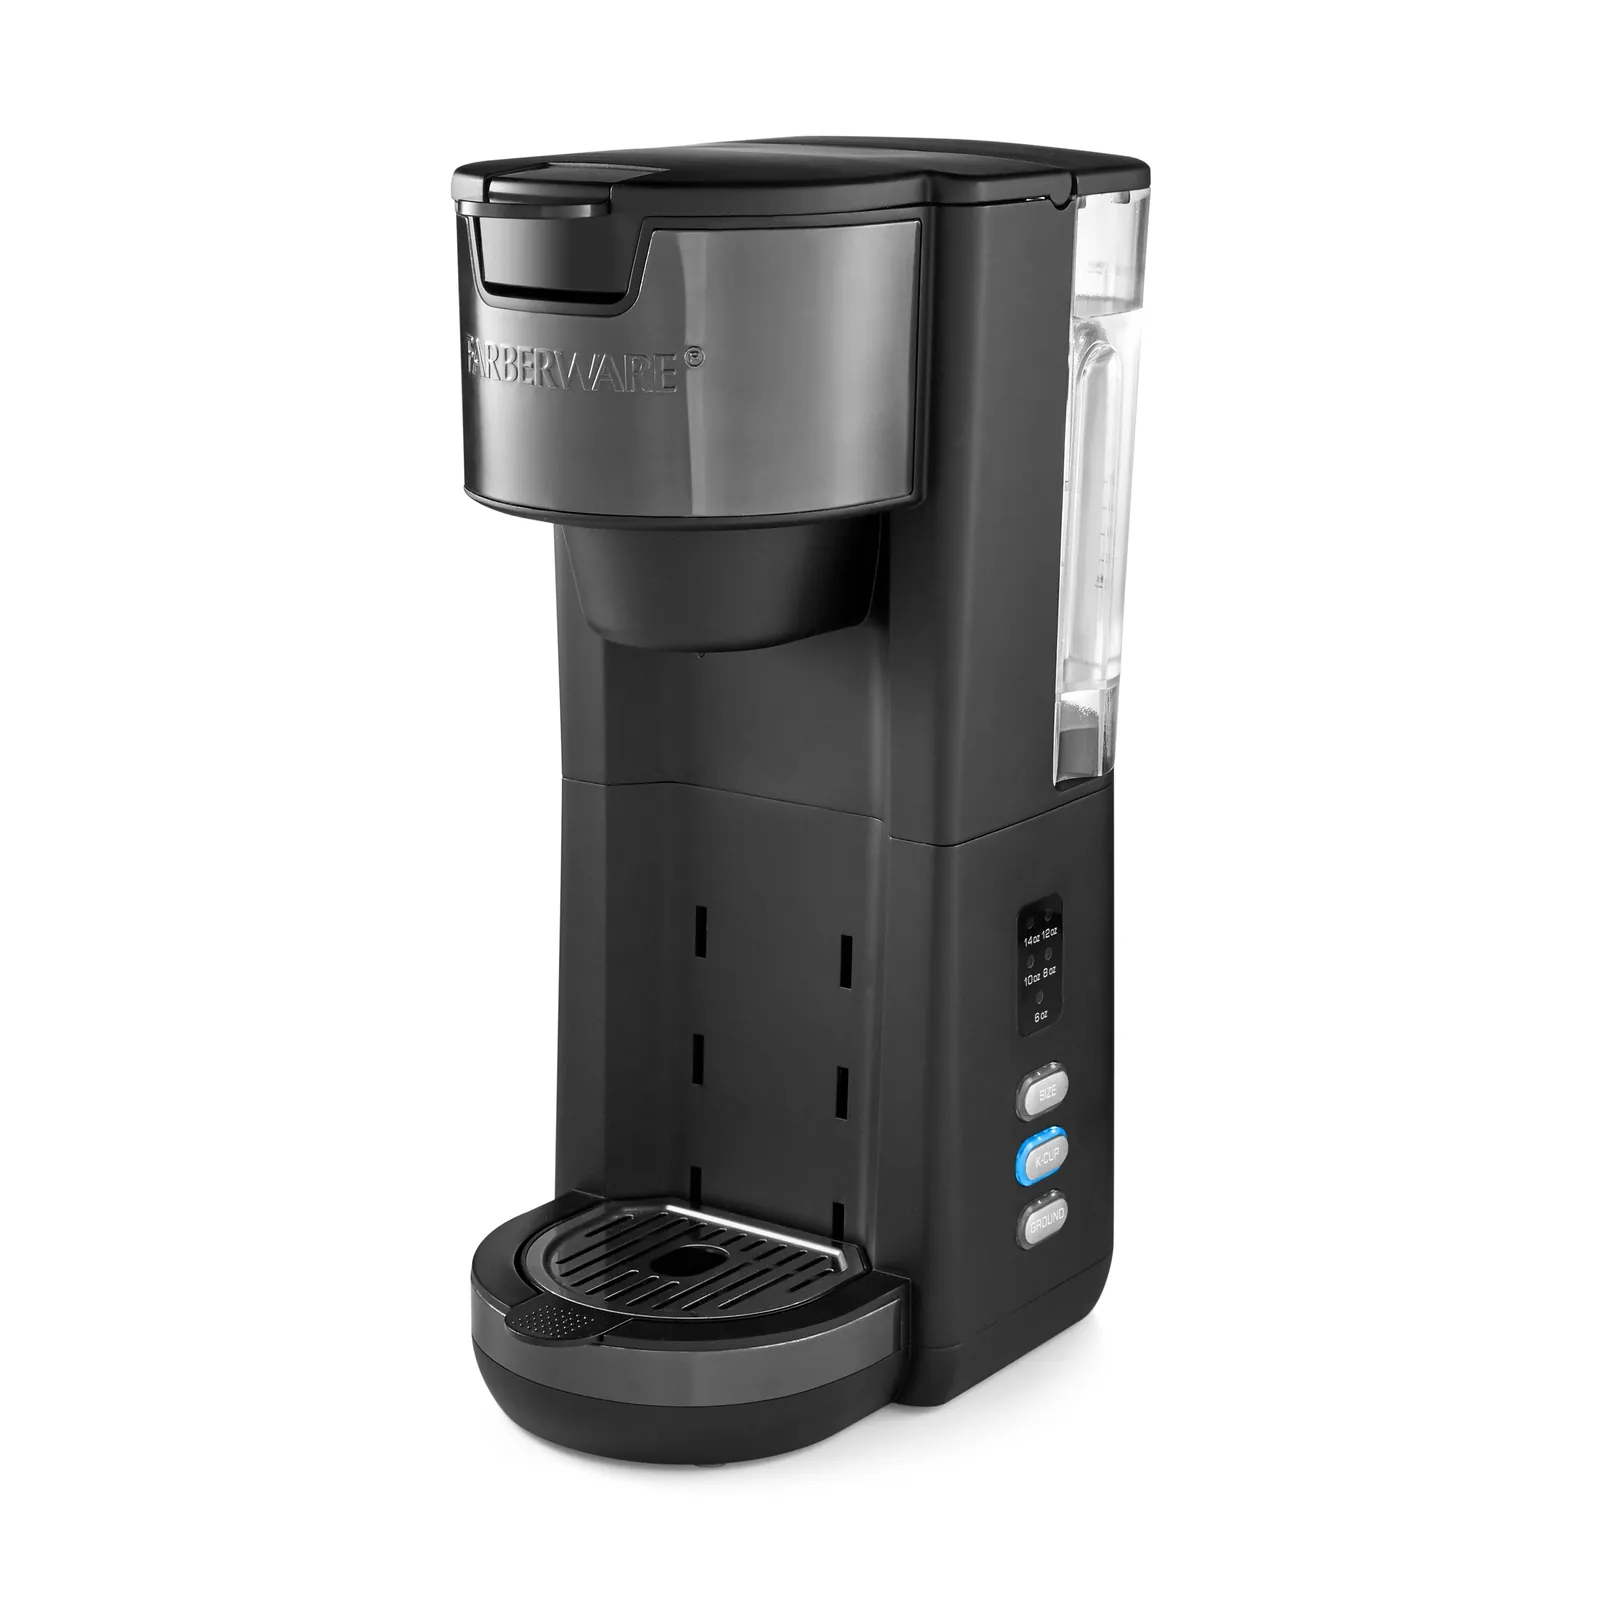
Descaling is the process of removing mineral buildup that accumulates inside the heating element. You should perform this if your coffee comes out lukewarm or if the brew cycle takes significantly longer than usual. Mix a solution of equal parts white vinegar and water, then fill the reservoir to the maximum line. Place a large mug under the dispenser and run a full brew cycle without a coffee pod.
Once the first cycle finishes, let the machine sit so the vinegar can break down the stubborn calcium deposits. After the wait, run two or three more cycles using only fresh, clean water to rinse out the vinegar smell and taste.
If you live in an area with particularly hard water, the frequency of this process depends on your usage; consult your owner’s manual for guidance. If the machine still doesn’t heat, the thermostat has likely failed and requires professional repair.
Check the reservoir and seals
The machine requires a consistent vacuum seal to pull water from the reservoir into the heating tank. If the reservoir isn’t seated perfectly on the base, the pump will pull air instead of water, leading to a loud, grinding noise. Check the rubber gasket at the bottom of the reservoir for cracks, tears, or debris that might prevent a tight connection. If the gasket looks dry or brittle, it won’t hold pressure, and the machine will fail to draw water.
If you have verified that the reservoir is clean and properly seated, check the small intake valve at the base of the machine where the reservoir attaches. Sometimes, a small piece of plastic or a mineral flake can get stuck in this valve, keeping it closed.
Use a soft cloth to wipe the area clean and ensure the valve spring moves freely when you press it. If the valve remains stuck or the gasket is damaged, you’ll need to replace the reservoir or the seal. Never use sharp tools to pry at the valve, as this can easily damage the housing and cause permanent leaks that ruin the internal electronics.
Avoid common repair mistakes
Many people try to fix machines by taking the outer casing off, but this is a dangerous error that often leads to permanent damage. The internal components are tightly packed and contain high-voltage parts that remain dangerous even when the unit is unplugged.
- Never use bleach or harsh chemicals: These substances can damage the internal rubber seals and leave toxic residues that are impossible to rinse out.
- Don’t force the handle: If the lid doesn’t close easily, it’s likely because the pod is misaligned or the needle is obstructed; forcing it will crack the plastic housing.
- Avoid using cold water for cleaning: Always use warm water to help dissolve coffee oils, but never use boiling water directly from a kettle, as it can warp the plastic reservoir.
- Don’t bypass the sensors: Some people try to trick the machine into running without a pod by using magnets or tape, which can cause the unit to overheat and melt the internal components.
- Don’t submerge the base: The main unit contains electrical circuits that will be destroyed if water enters the bottom housing.
How to stop it happening again
Preventing future problems requires a change in your daily routine. The mineral content of your local water supply determines how often you need to perform maintenance; if you see white spots in your kettle, your coffee maker needs more frequent attention.
| If you’re doing this | Do this instead | Why |
|---|---|---|
| Using hard tap water | Use filtered or bottled water | Prevents mineral buildup |
| Leaving pods in the machine | Remove the pod after brewing | Prevents needle clogging |
| Never cleaning the reservoir | Rinse it once a week | Stops mold and debris |
| Packing grounds too tight | Use a loose, level scoop | Allows water to flow |
| Keeps the pump healthy |
Most users mistake a slow drip for a failing pump. If your machine struggles, check the needle first. A paperclip can clear debris that causes pressure spikes. If the flow remains sluggish after cleaning, the issue is likely internal scale buildup.
If you’re using a reusable filter, always check the screen for fine holes blocked by sediment. A quick scrub with a soft toothbrush keeps the mesh open and ensures consistent strength.
Regular descaling is essential to maintain the performance of your coffee maker. Use a dedicated citric acid solution instead to prevent leaks that often cost more than the machine itself. If you live in an area with high water hardness, the frequency of this process depends on your usage; consult your owner’s manual for guidance.
Frequently asked questions
Can I use vinegar to clean my coffee maker?
You can use a 50% white vinegar and 50% water solution to dissolve mineral deposits. Fill the reservoir and run a brew cycle without a pod, then flush with two reservoirs of plain water. Avoid stronger acids like lemon juice, as they may leave a sticky residue.
How long should a single serve coffee maker last?
Most machines last between 3 and 5 years with regular use and proper maintenance. Lifespan depends heavily on descaling frequency and water quality. If the pump becomes extremely loud or water temperature drops consistently, the internal components are likely failing.
Why is my coffee maker leaking from the bottom?
Leaks are usually caused by a crack in the water reservoir or a damaged internal seal. Check the reservoir and rubber gasket for visible damage first. If the reservoir is intact, the leak may be internal, so stop using the machine to prevent electrical shorts.
Is it safe to use if the pump is loud?
A loud, grinding pump sound indicates the machine is struggling to draw water, which can lead to overheating. This noise typically occurs when the pump runs dry due to an airlock or blockage. If the noise persists after clearing the intake, the pump motor is likely failing.
What happens if I overfill the reusable filter?
Overfilling the filter creates resistance, causing water to overflow the pod holder and leak. Always leave a small gap at the top of the filter to ensure even water distribution. If you find grounds in your cup, the filter mesh may be damaged or the grind too fine.
Conclusion
If your machine still won’t cooperate after these checks, don’t worry. It’s likely time to reach out to the manufacturer’s support team for a warranty claim or professional repair advice. They’ll help you figure out if a replacement part is needed so you can get back to enjoying your morning brew soon.
Related guides