You can resolve issues with your system by performing simple daikin ftxs12lvju troubleshooting steps like checking the air filter, verifying the power supply, or resetting the indoor unit. Most problems happen because of a dirty filter that blocks airflow or a tripped circuit breaker. If the system doesn’t turn on or blows warm air, these basic checks often fix the problem without needing a professional technician. Always check the display for error codes, as these codes pinpoint the exact fault for the manufacturer.
Troubleshoot common Daikin FTXS12LVJU errors
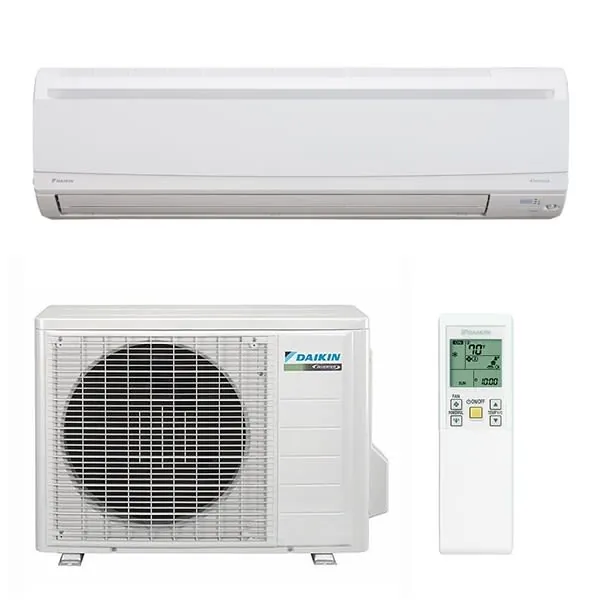
Most performance issues stem from poor maintenance or external power problems rather than internal hardware failure. When the unit stops cooling, it’s usually because the evaporator coil is blocked by dust or debris, which forces the system to work harder than necessary.
Regular cleaning keeps the airflow consistent and prevents the compressor from overheating. Inspect your coils as frequently as usage dictates, following the guidelines in your owner’s manual.
Another frequent cause is an unstable power connection. If the unit experiences a voltage drop or a power surge, the internal control board may enter a protection mode to prevent damage. This is why a simple power reset often restores normal operation.
If the unit fails to restart after a reset, check your breaker box for a tripped switch. A recurring trip indicates a short circuit, not just a surge. Don’t force the breaker back on repeatedly, as this risks permanent damage to the control board.
Additionally, environmental factors like extreme outdoor heat can push the system beyond its design limits. If the ambient temperature is higher than the unit’s rated capacity, it will struggle to reach the set temperature, leading to constant running and reduced efficiency.
Clean the air filters
If your unit isn’t cooling well, start by removing and cleaning the air filters. Dirty filters prevent proper air circulation, which causes the indoor coil to freeze up. This is a common mistake that leads to water dripping from the unit or a complete loss of cooling power.
If you have pets or live in a dusty area, check these filters based on your specific usage and the recommendations in your owner’s manual. For standard homes, regular inspections are the golden rule. If you can see light through the mesh when holding it up to a window, the filter is still clear. If it appears opaque or gray, it’s blocking vital airflow.
To clean them, carefully slide the front panel open and remove the mesh filters. Wash them under lukewarm water to remove trapped dust, then let them air dry completely before putting them back. Don’t use harsh chemicals or a dishwasher, as these can damage the filter material.
If the filters are torn or brittle, replace them with genuine parts to maintain the correct airflow. Generic replacements often have different density ratings that strain the blower motor. If you find the cooling remains poor after cleaning, it’s time to check the outdoor unit for blockages.
Reset the indoor unit
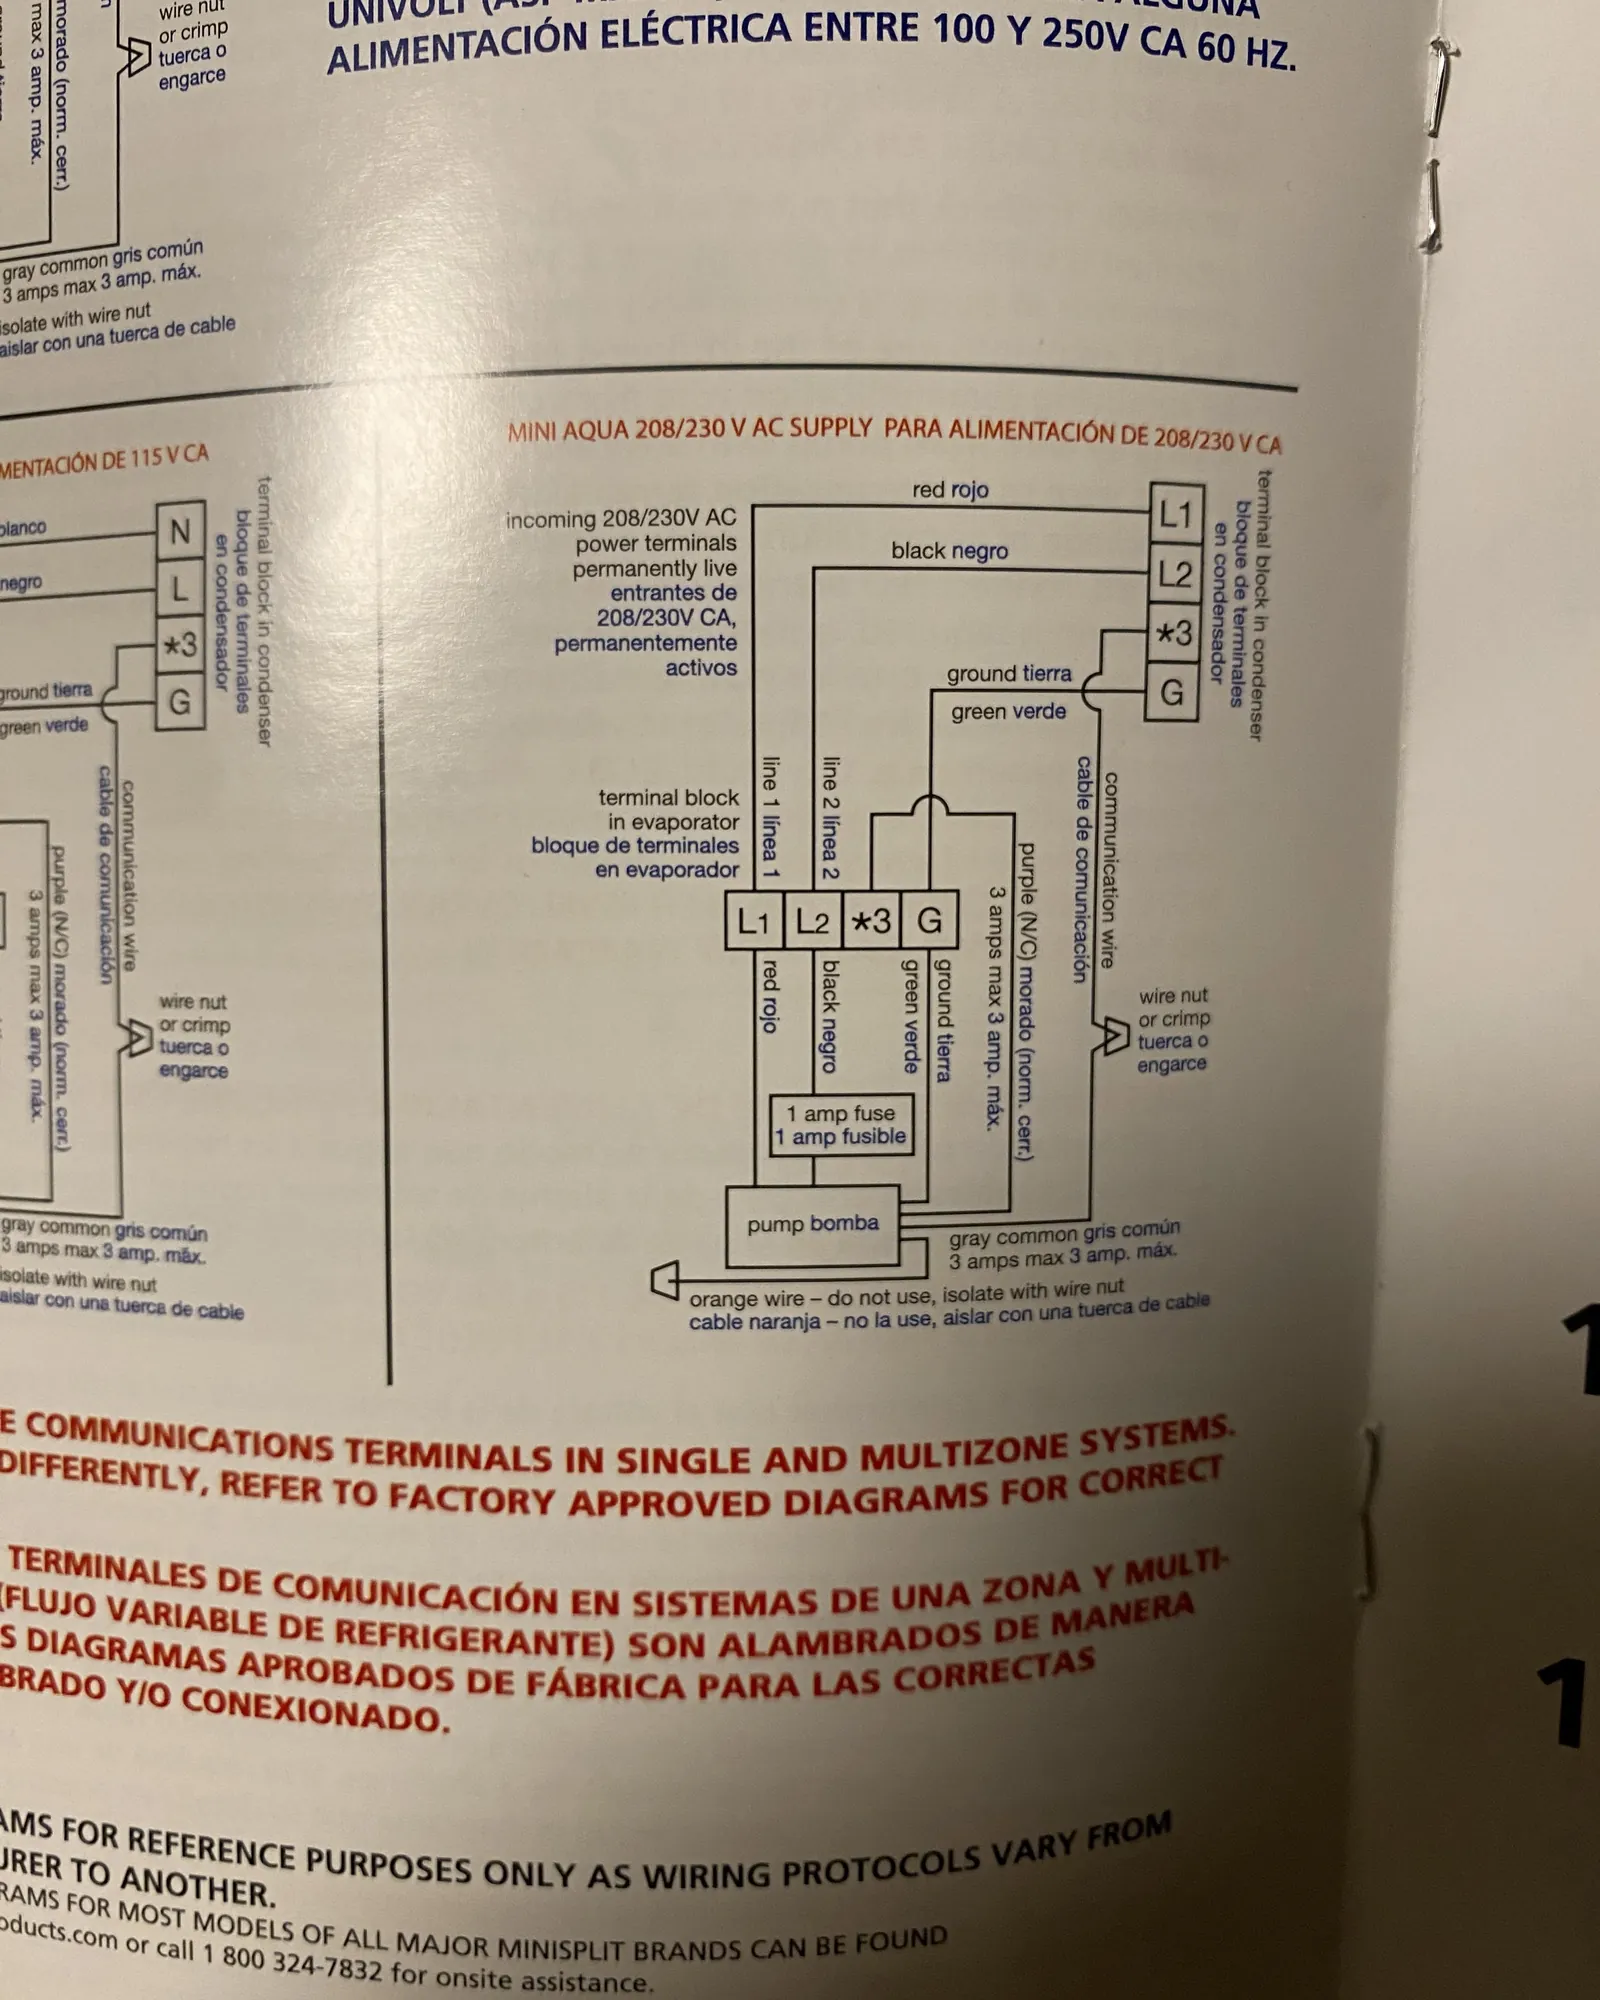
A system reset is the most effective way to clear temporary electronic glitches. If the remote controller is unresponsive or the unit displays a blinking light, turn off the power at the circuit breaker for at least 60 seconds. This allows the capacitors on the control board to discharge fully, forcing the system to reboot its software. After the minute has passed, turn the power back on and wait for the unit to initialize.
This fix is ideal if the unit was working fine until a sudden power flick or a remote control error. However, this isn’t for cases where you smell burning or see smoke, as these are signs of electrical damage.
If the system fails to start after a reset or shows the same error code immediately, the issue likely involves a failed internal component. In that situation, stop using the unit immediately to prevent further damage and contact a licensed HVAC professional.
Check the outdoor unit
The outdoor unit needs clear space to exchange heat with the outside air. If you have shrubs, leaves, or yard debris packed tightly against the grill, the unit can’t release heat. This causes the pressure inside the system to rise, which eventually triggers a safety shutdown. Ensure there’s at least 12 inches of clearance around all sides of the outdoor cabinet to allow for proper airflow.
Many homeowners make the mistake of planting decorative hedges too close to the unit. This extra strain leads to premature motor failure and significantly higher electricity bills during peak summer months.
If the fan inside the outdoor unit isn’t spinning, or if you hear an unusual grinding noise, don’t attempt to open the cabinet. These components involve high-voltage electricity and pressurized refrigerants that require specialized tools and training to handle safely.
If you notice ice buildup on the outdoor pipes, turn the system off and wait for it to thaw. If the ice returns after restarting, you must call a certified technician to inspect the refrigerant levels, as a leak will cause the system to fail permanently.
Avoid harmful DIY practices
Never use a pressure washer on the coils. The high force bends delicate aluminum fins, permanently ruining heat transfer efficiency. Even a low-pressure setting can collapse these fins, which restricts airflow and forces the compressor to work harder, shortening its lifespan by years.
Don’t spray water into the electrical control box. Moisture causes immediate short circuits, often destroying the main control board. If you see water near the contactor or capacitors, cut the power at the breaker before attempting to dry the area.
Avoid using household chemical cleaners. Harsh acids corrode the metal, leading to pinhole refrigerant leaks that are expensive to repair. Use only products specifically labeled for HVAC coils.
Never attempt to add refrigerant yourself. This requires a federal EPA 608 license and specialized gauges. Overcharging the system by even a few ounces can liquid-slug the compressor, causing a total mechanical failure.
Don’t ignore error codes by resetting the unit repeatedly. A code is a diagnostic warning of a failing part. Resetting it forces the system to run in a compromised state, turning a minor repair into a complete system replacement.
Maintain your system long-term
| If you’re doing this | Do this instead | Why |
|---|---|---|
| Leaving filters for months | Clean them every 2 weeks | Prevents coil freezing and dust buildup |
| Blocking outdoor airflow | Clear 12 inches of space | Allows heat to escape efficiently |
| Ignoring error codes | Note the code and call pros | Prevents costly compressor damage |
| Running with low cooling | Turn unit off and inspect | Stops the motor from burning out |
Most homeowners wait for a total breakdown before calling for help. This mistake often turns a simple capacitor replacement into a full compressor failure, which can cost five times more.
Use this decision rule to protect your investment: If you notice ice forming on the refrigerant lines or hear a metallic grinding sound, shut the system down immediately. Don’t attempt to “limp” it through the night. Running a system while it’s struggling to cycle creates internal heat that melts wire insulation.
Check your outdoor unit for debris after every major storm. If you see bent fins or notice the unit vibrating against its pad, tighten the mounting bolts before the vibration causes a refrigerant leak. A leak is the most common cause of permanent system death, and it’s almost always preventable with a quick visual inspection once a month.
Frequently asked questions
How do I know if my filter is too dirty?
You’ll know the filter is too dirty if you see visible layers of dust covering the mesh or if the airflow coming from the indoor vent feels weak. A dirty filter often causes the unit to run for longer periods without actually cooling the room effectively. If you hold the filter up to a light and can’t see through the mesh clearly, it’s definitely time for a thorough cleaning.
What does a blinking light on the unit mean?
A blinking light is a diagnostic indicator that the system has detected a specific fault in its operation. This happens when the internal sensors identify a problem like low refrigerant, a failed motor, or a communication error between the indoor and outdoor units. You should consult your owner’s manual to look up the exact blink pattern, as this helps a technician understand which part is causing the problem before they arrive.
Is it safe to run the unit if it’s leaking water?
No, you should turn the unit off immediately if you notice water leaking from the indoor unit. A leak usually means the internal drain line is clogged or the drain pan is cracked, which can lead to water damage in your walls or flooring. Running the unit while it’s leaking will only cause more water to accumulate and could potentially short out the electrical components inside the housing.
How often should I have the unit professionally serviced?
You should have a professional service the unit once every year to ensure the system is running at its peak efficiency. A professional will check the refrigerant levels, clean the internal coils that you can’t reach, and inspect the electrical connections for wear. This annual checkup is the best way to avoid expensive emergency repairs and extend the overall lifespan of your equipment.
Can I fix a refrigerant leak myself?
No, you can’t fix a refrigerant leak yourself because it requires specialized equipment to capture the gas and seal the leak properly. Refrigerant is a pressurized substance that’s harmful to the environment and requires a professional with a specific EPA certification to handle. If your unit is low on refrigerant, it’s a sign of a leak that needs a technician to locate and repair permanently.
How long does a reset take to work?
The internal computer needs this time to run a self-diagnostic test and synchronize the indoor and outdoor components.
Conclusion
Follow these simple maintenance steps to keep your unit running well, but always remember that internal electrical or refrigerant work is for professionals. If you have tried the basic resets and cleaning, and the system still doesn’t work, contact an authorized service provider to prevent further damage.