You can resolve most power, navigation, or suction issues by performing basic deebot n79 troubleshooting tasks like cleaning the sensors and checking the brush roll. These problems usually stem from dust buildup or tangled hair blocking the machine’s components. If the robot stops abruptly, it’s often because the debris bin is full or the main brush is jammed. Before you try anything else, ensure the device is fully charged and the power switch on the side is turned to the “on” position.
Causes for robot vacuum failure
The most common reason for a robot vacuum to stop working is the accumulation of dust on its optical sensors. These small windows are located on the underside of the unit and allow the robot to detect floor edges and obstacles. When they become covered in a fine layer of gray dust, the robot may think it’s about to fall off a ledge, causing it to stop or spin in circles.
Another frequent issue involves the main brush roll becoming wrapped in hair or carpet fibers. This creates friction that forces the motor to work harder than it should, often triggering a safety shutoff to prevent the internal electronics from overheating. You can identify this by a “stuck brush” error light or a series of beeps that vary depending on the specific model’s firmware.
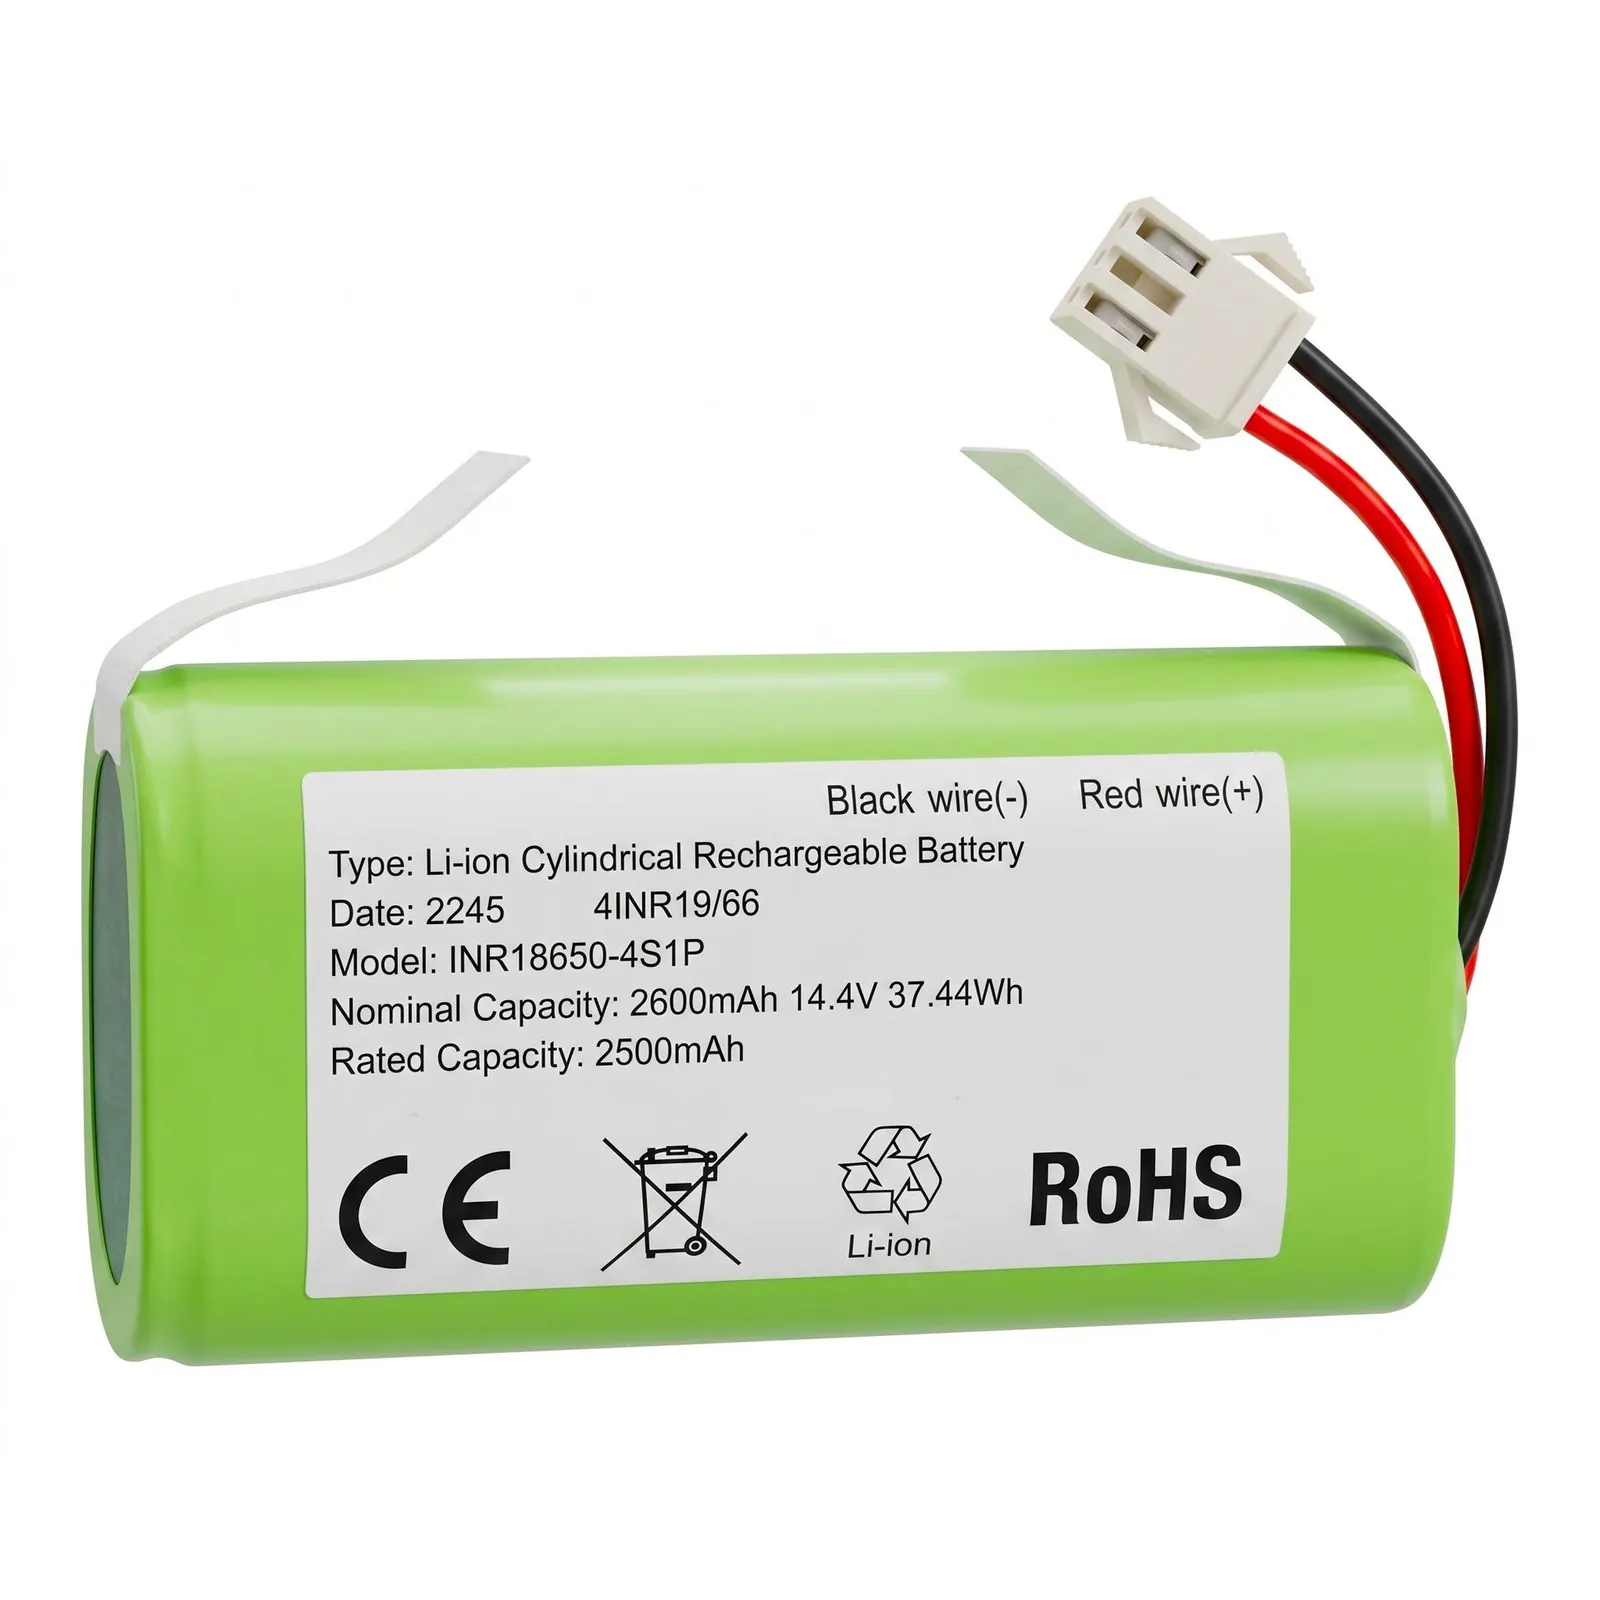
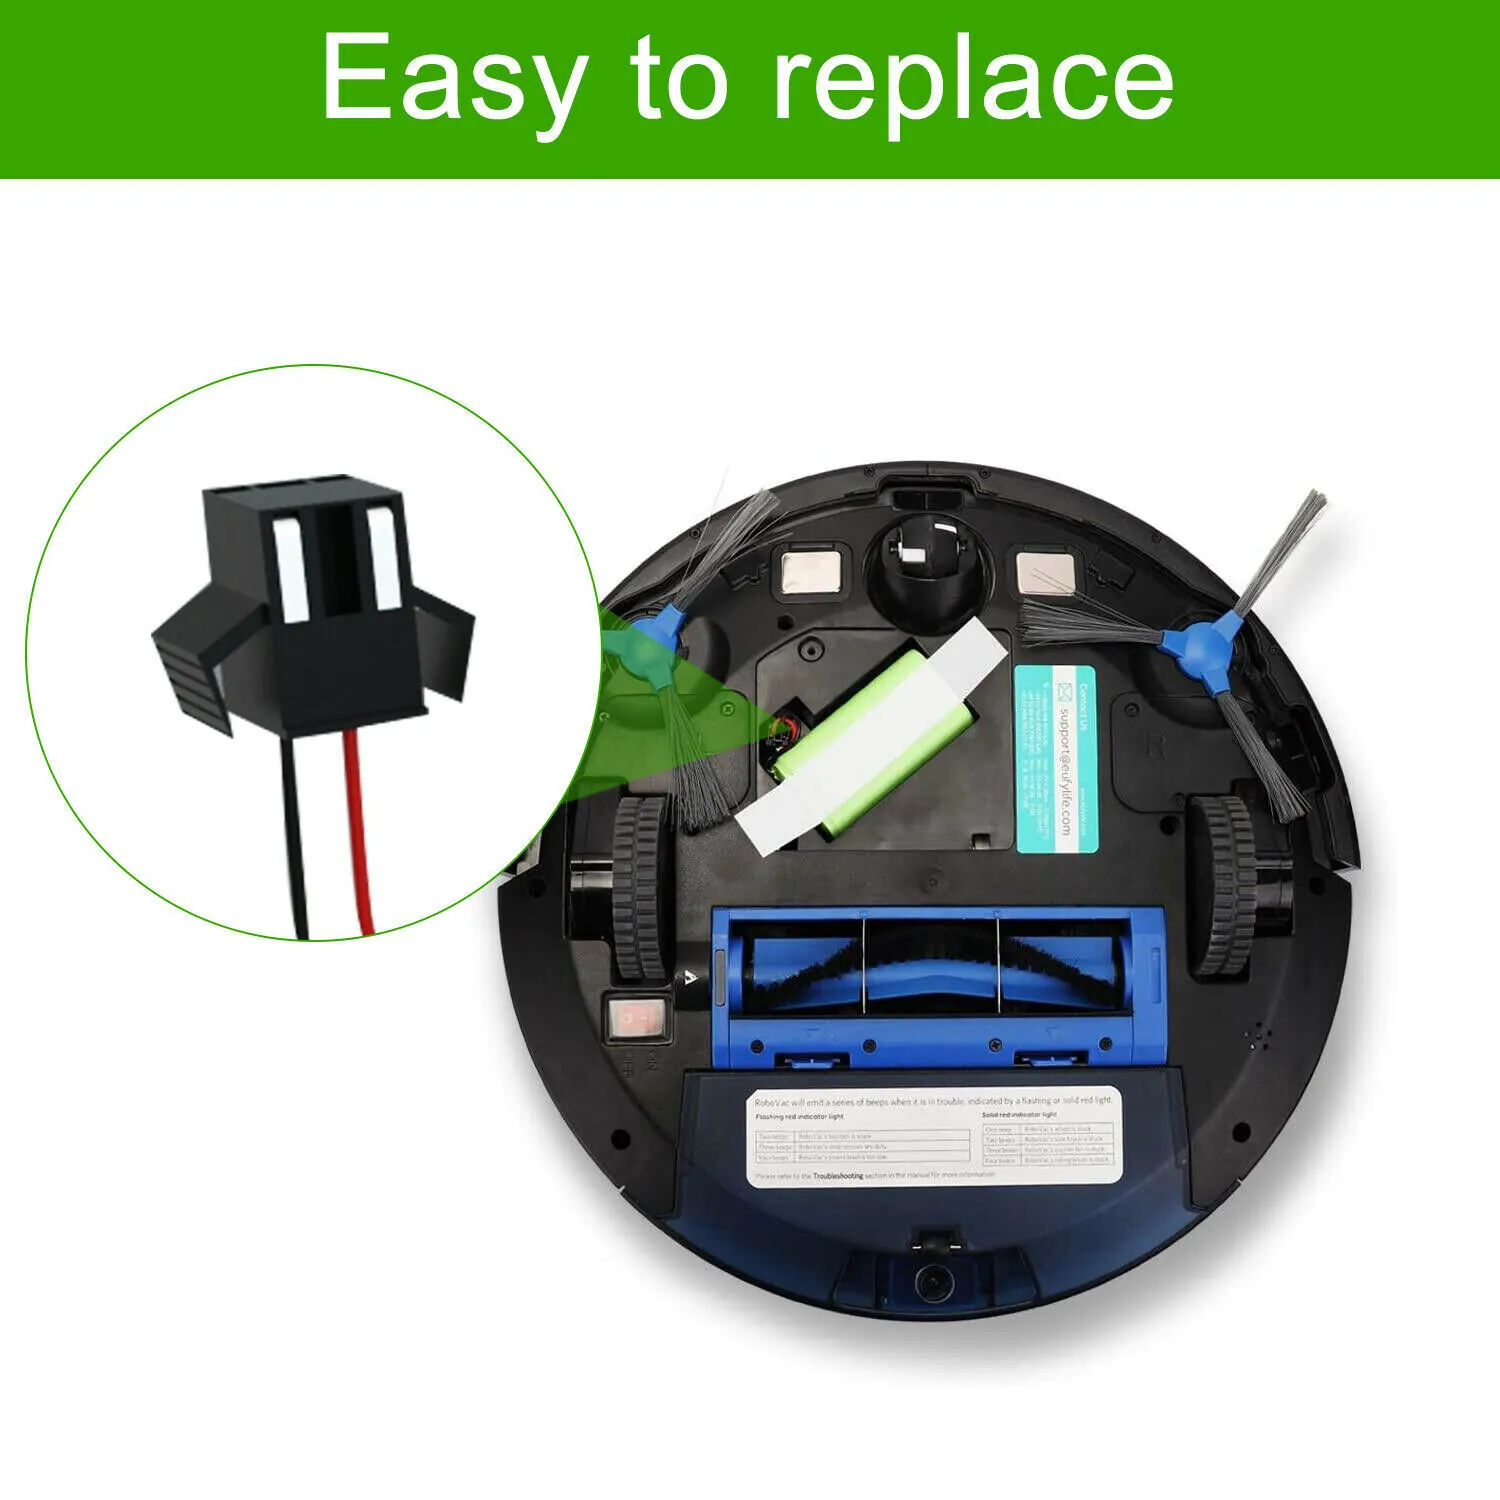
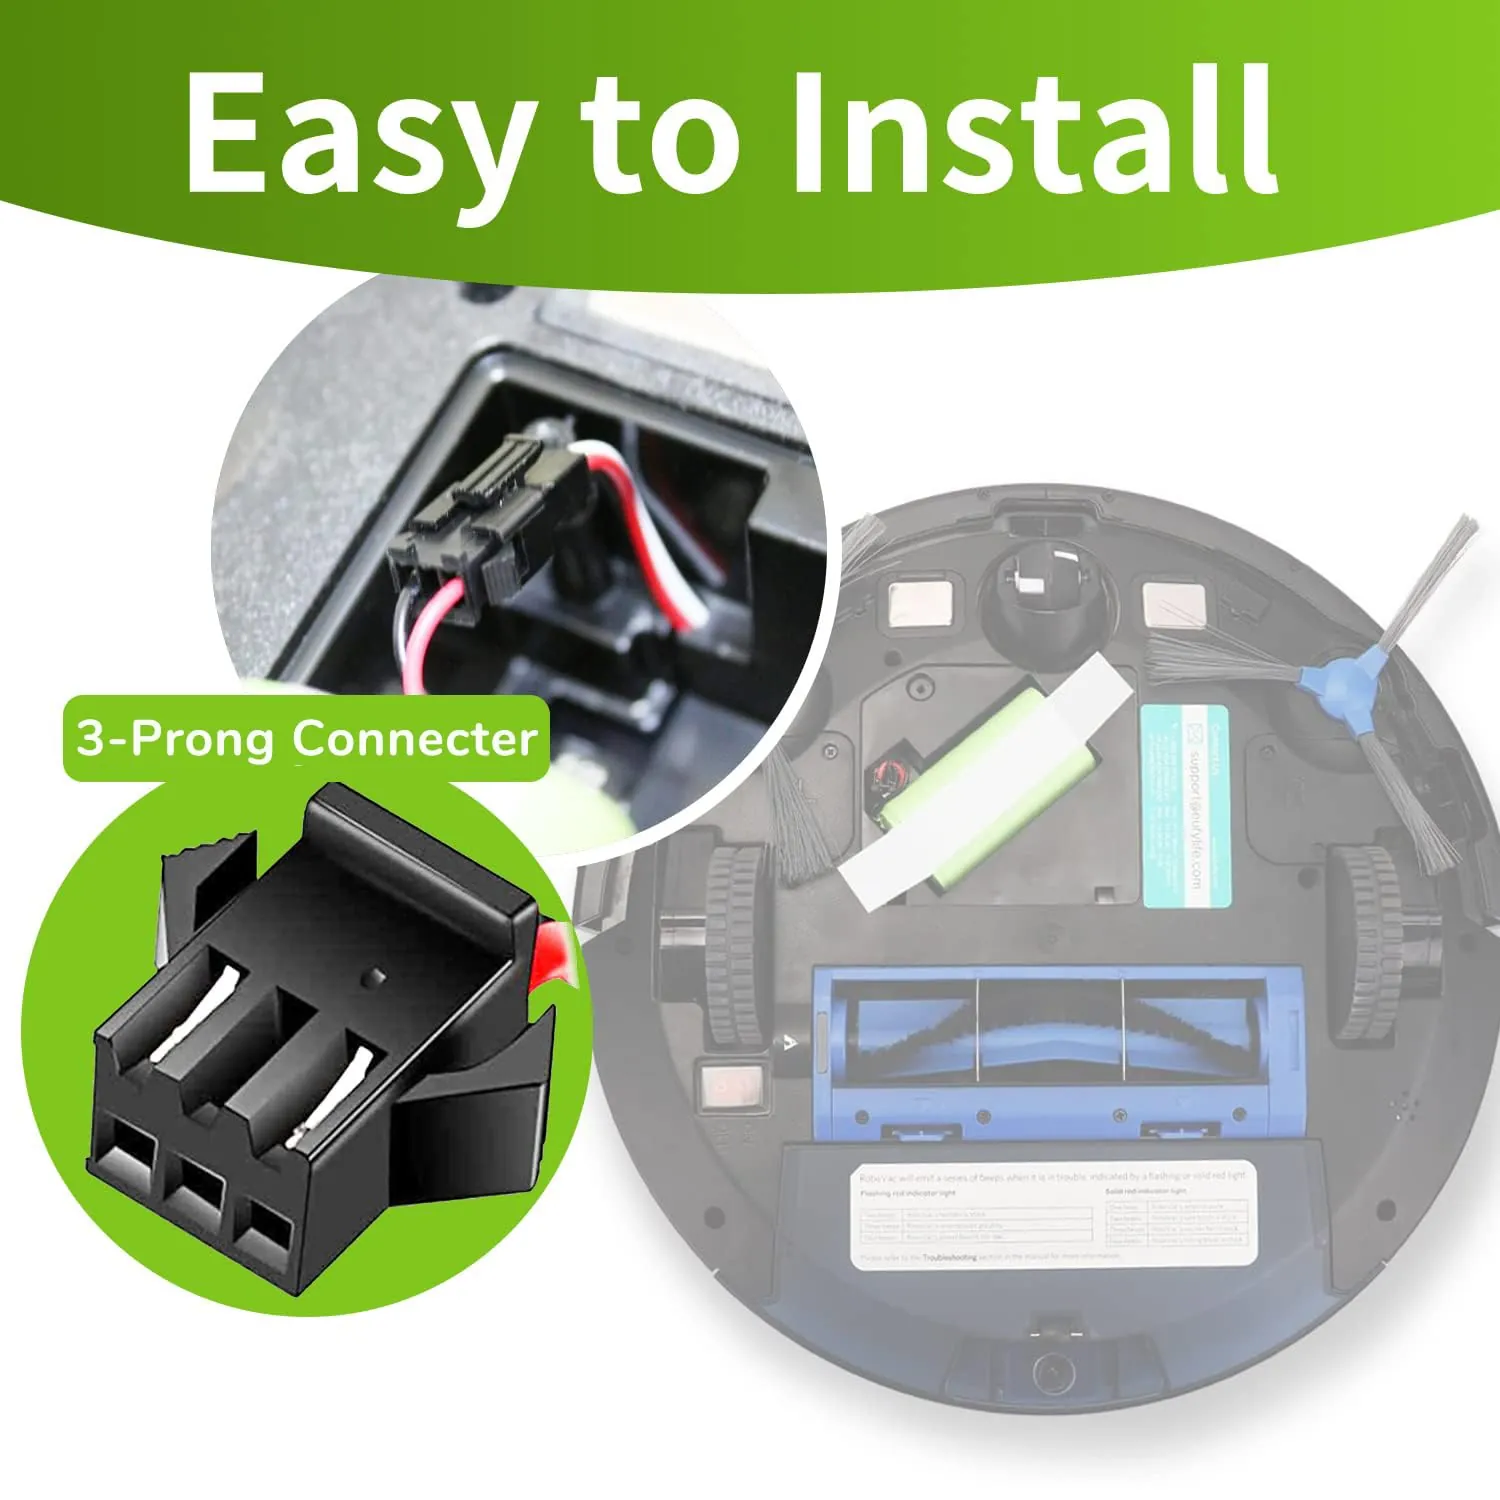
Finally, battery degradation over time affects performance. If your robot stops after only a few minutes of cleaning, the lithium-ion battery may no longer hold a sufficient charge. You can check the health of your battery by observing if the charging light remains red even after several hours on the dock. For specific details on battery safety and disposal, consult the Ecovacs official support documentation for your model’s manual.
Clean the sensors and wheels
If your robot is behaving erratically, start by wiping the sensors. Use a dry, lint-free microfiber cloth to gently clean the three drop sensors on the bottom of the unit. Don’t use water or liquid cleaners, as moisture can damage the internal circuit boards or cause the sensor glass to cloud over. If the robot continues to back up or stop, check the two side wheels for stuck debris.
You can test the wheels by pushing them inward; they should spring back out freely. If a wheel feels stiff or doesn’t move, use a pair of tweezers to remove any hair or string wrapped around the axle. This is a common fix for units that move in a jerky motion or fail to climb over low-pile rugs.
This process is for the average user who wants to clear simple obstructions. If the sensors are physically cracked or the wheels remain stuck after cleaning, don’t attempt to disassemble the chassis. You should contact a professional repair service or the manufacturer’s customer support team for assistance, as opening the case will void your warranty and may expose you to electrical risks from the battery pack.
Clear the main brush roll
A tangled brush roll is the most common cause of suction loss and motor stalling. To clear it, turn the robot over on a flat, stable surface and locate the brush guard cover. Press the two release tabs to lift the cover, then remove the main brush roll by lifting the side nearest to the motor.
Use a pair of scissors to carefully cut through any long hair or threads wrapped around the bristles. Be careful not to cut the bristles themselves, as this will reduce the vacuum’s ability to agitate carpet fibers. Once the brush is clean, check the square peg at the end of the roll to ensure it’s free of dust and debris before snapping it back into place.
If the brush roll resists spinning when you flick it with your finger, inspect the end bearings for fine hair buildup. People often overlook these tiny gaps, but even a small amount of trapped hair increases friction and forces the motor to draw excess current, which can trigger an early thermal shutdown.
If you notice the brush roll is missing bristles or the rubber flaps are torn, it’s time to replace the part. A worn brush roll creates a poor seal against the floor, significantly reducing suction power.
If you find the motor makes a grinding noise even after the brush is clear, the internal gears may be stripped. In that case, stop using the unit immediately to prevent further damage to the motor housing, as this requires a professional technician to evaluate.
Check the filter and bin
The filter is the most important component for maintaining consistent suction. Remove the dust bin from the rear of the unit and open the filter compartment. Tap the high-efficiency filter against the side of a trash bin to dislodge loose dust. If the filter looks gray or feels heavy, it’s likely saturated and needs to be replaced.
Don’t attempt to wash the filter with water unless the manual explicitly states it’s a washable model. Wetting a non-washable filter will cause it to clog permanently and may lead to mold growth inside the vacuum housing. If you can’t get the dust out by tapping it, a replacement is the only way to restore airflow.
Most users make the mistake of ignoring the secondary foam pre-filter. If your vacuum has one, pull it out and rinse it under cold water, then let it air dry for at least 24 hours. Placing a damp filter back into the machine will damage the motor and cause a musty odor.
This fix is ideal for anyone experiencing poor suction or a “bin full” error that persists after emptying the container. If suction remains weak after installing a clean filter, check the intake port for large blockages like paper scraps or coins. If the motor sounds strained despite a clear path, the air path may have a leak. In this case, stop using the unit immediately to prevent motor burnout, as a professional seal repair is likely required.
Common Deebot N79 troubleshooting mistakes
Using compressed air on sensors: This can push dust deeper into the internal housing where it becomes trapped, creating long-term sensor failure. If you see a “cliff sensor” error, use a dry, soft microfiber cloth instead. Compressed air lacks the precision needed for sensitive optics and often forces debris into the laser housing.
Washing the robot with a damp cloth: Any water entering the charging contacts or vents can cause short circuits that permanently disable the motherboard. If the unit is dusty, use a vacuum attachment or a completely dry brush. If you accidentally spill liquid near the base, leave the unit unplugged for 24 hours to ensure total evaporation.
Forcing the robot over high-pile rugs: The N79 is designed for hard floors and low-pile carpets. Forcing it over rugs thicker than 0.5 inches will burn out the wheel motors. If the robot stalls repeatedly, you must use physical barriers or magnetic strips to block those areas.
Ignoring the charging dock location: Placing the dock in a corner with no clearance prevents the robot from docking correctly. You need 1.5 feet of clearance on both sides and 5 feet in front. Without this space, the robot will fail to align, leading to battery depletion and constant “lost” errors.
Replacing batteries with generic versions: Low-quality aftermarket batteries often lack the necessary thermal protection. This can lead to overheating or fire risks during the charging process. Always verify that the replacement pack includes an internal fuse and matches the original voltage rating exactly.
Maintaining optimal vacuum performance
To keep your unit running, you must match your cleaning schedule to the amount of pet hair or debris in your home. If you have pets, you need to clear the brushes and filters at least twice a week. For homes without pets or high-traffic areas, a weekly check is usually enough to prevent the most common mechanical failures.
Most owners make the mistake of waiting for the bin to reach capacity before clearing it. This forces the vacuum to pull air through compacted dust, which rapidly overheats the motor. Empty the bin once it’s half-full to maintain peak suction power.
| If you’re doing this | Do this instead | Why |
|---|---|---|
| Running it daily on thick rugs | Use it on hard floors only | The motor isn’t strong enough |
| Cleaning sensors with water | Use a dry microfiber cloth | Moisture ruins the delicate sensors |
| Leaving it in a dark closet | Keep it on the dock | The battery will drain to zero |
| Ignoring error beeps | Count the beeps and look them up | It tells you exactly what is stuck |
If your vacuum loses suction, check the intake port first. If the port is clear, the issue is likely a clogged HEPA filter. Replace these filters based on your usage and the manufacturer’s manual. If you notice a burning smell, stop the unit immediately and inspect the brush roll for wrapped hair.
Frequently asked questions
How long does the battery last?
The battery typically lasts between 90 and 120 minutes on a full charge, depending on the floor type and suction mode. If your unit is older than 18 months, you’ll likely notice the runtime drop significantly as the battery chemistry degrades. You can tell it’s time for a replacement if the robot returns to the dock after only 20 to 30 minutes of cleaning.
Why is my vacuum spinning in circles?
The robot is spinning because one of its cliff sensors is blocked or malfunctioning, causing it to think it’s on the edge of a staircase. Check the bottom of the unit to ensure all three sensor windows are clean and free of dust. If the robot continues to spin after cleaning, one of the internal sensor components may have failed, which requires a professional repair.
Is it safe to leave the vacuum charging?
Yes, it’s perfectly safe to leave the unit on the charging dock when not in use. The internal battery management system is designed to stop charging once the battery reaches 100% capacity. Leaving it plugged in ensures the robot is always ready for its next scheduled cleaning cycle and prevents the battery from discharging too deeply.
What happens if the robot gets wet?
Water inside the housing will likely cause an immediate short circuit, which can destroy the main logic board or the wheel motors. If you accidentally vacuum up liquid, turn the power switch off immediately and leave the unit in a dry area for 48 hours. Never try to turn it on while it’s damp, as this will increase the chance of permanent electrical damage.
How often should I replace the filter?
A clogged filter restricts airflow, which puts extra stress on the suction motor and causes the battery to drain faster. If you notice a dusty smell coming from the exhaust or if the vacuum seems to have no suction, replace the filter immediately regardless of its age.
Conclusion
If your vacuum still isn’t working correctly after these checks, don’t worry. You should reach out to the manufacturer’s support team for further guidance or a possible repair. They’ll help you figure out if there’s a deeper hardware issue, so you can get back to enjoying a clean home soon.