When your vacuum stops working, the most effective way to start deebot dn622.11 troubleshooting is to check for physical blockages in the intake and ensure the main power switch is firmly in the “on” position. Most issues with this model stem from hair or debris tangling around the main brush roll or obstructing the suction path. If the unit doesn’t power on at all, the battery might simply need a full charge cycle or the charging contacts may be dirty.
Troubleshooting Deebot DN622.11 power issues
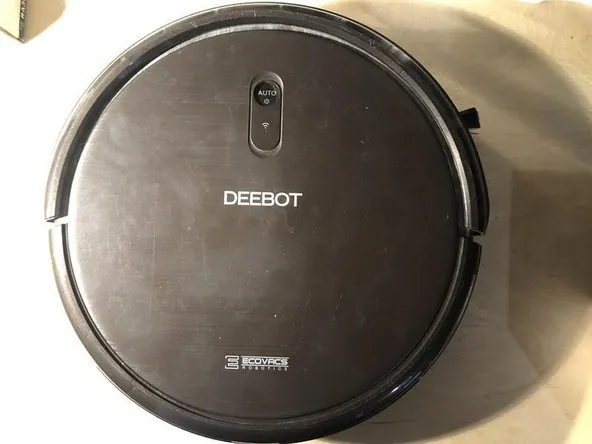
Common performance issues often arise from simple maintenance oversights rather than mechanical failure. The most frequent cause is a clogged brush roll, which forces the motor to work harder than necessary and eventually triggers an automatic safety shutdown to prevent overheating. If the brush can’t spin freely, the robot will often stop mid-cycle and beep to signal a fault.
Another primary reason for failure is poor contact between the robot and the charging station. Over time, small amounts of dust and grime can settle on the metal charging strips on both the robot and the base station. This prevents the electricity from flowing into the battery, leaving the device dead when you need it most. You should inspect these strips regularly for oxidation or debris buildup.
Finally, sensor obstruction is a frequent culprit for erratic behavior. The unit relies on infrared sensors to navigate your home and detect stairs or walls. If these sensors are covered in a thin layer of dust, the robot may spin in circles, stop abruptly, or fail to find its way back to the dock.
Keeping these surfaces clean is essential for the Ecovacs support guidelines regarding routine maintenance and sensor care. If the device still shows a red light after these checks, the internal battery may be at the end of its life cycle and require replacement.
Clear the main brush roll
This fix is intended for users who notice the vacuum is running but failing to pick up dirt or making a loud, grinding noise. First, flip the robot over on a flat, soft surface to protect the top sensors. Use a small screwdriver if necessary to release the brush cover, then lift the main brush roll out of the housing.
Carefully remove any hair, string, or carpet fibers wrapped around the bristles or the ends of the brush. You can use a small pair of scissors to cut through tangled hair, but be very careful not to damage the soft bristles. Once the brush is clean, check the two end caps to ensure they spin freely without resistance. If you find that the bearings feel gritty or stuck, a small amount of compressed air can help clear internal debris.
After cleaning, snap the brush back into place and ensure the cover is locked securely. If the cover is loose, the brush may not maintain proper contact with the floor, leading to poor suction performance. This process is safe for all owners, but if you notice the motor housing itself is cracked or burning, don’t attempt a repair. In such cases, contact a certified service center to avoid electrical hazards or voiding your warranty.
Clean the charging contacts
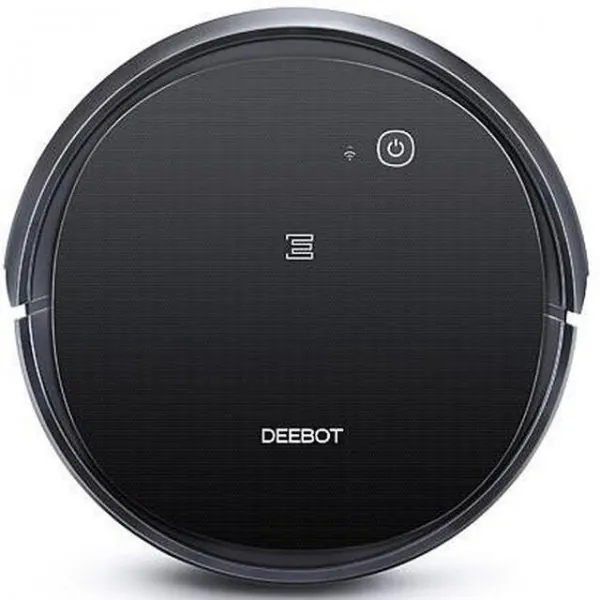
If your unit isn’t charging, this step helps restore power. Locate the two metal strips on the underside of the robot and the corresponding contact points on the docking station. These parts must be free of any film or dust to carry a charge.
Use a dry, soft microfiber cloth to wipe both sets of contacts thoroughly. If they’re visibly dirty or have a dark residue, use a slightly dampened cloth with a tiny amount of rubbing alcohol. Ensure the power is disconnected from the base station before you use any liquid. Never use abrasive materials like sandpaper or steel wool, as these will scratch the metal and cause faster corrosion.
After cleaning, let the contacts dry completely before plugging the base back in. Place the robot manually against the dock to see if it immediately begins its charging sequence. If the light on the base station flashes or turns solid green, you have successfully restored the connection. If the robot still refuses to charge after a full night on the dock, the issue is likely a failed battery cell or an internal power board fault.
Reset the system software
Sometimes the internal software becomes confused, leading to strange navigation patterns or failure to return home. A power cycle can resolve these temporary glitches. Turn the power switch on the side of the unit to the “off” position and wait for at least 60 seconds. This allows the internal capacitors to discharge fully, clearing the temporary memory of the robot.
After the wait, turn the power back on and place the robot near the base station. Press the “Auto” button on the top or the “Home” button on the remote to force the device to re-initialize its docking routine. This is the best step for when the robot seems “lost” or ignores your remote commands.
This fix isn’t for hardware damage; if the robot has been dropped or submerged in water, a software reset won’t fix the underlying physical trauma. If you suspect water damage or a severe mechanical impact, stop using the device immediately to prevent a short circuit.
What not to do
Avoid these common habits that often lead to more expensive repairs or permanent damage to your unit:
Don’t use household cleaners or water directly on the sensors. Moisture seeps behind the glass, causing permanent fogging that blinds the navigation system. If you notice dust buildup, use only a dry, static-free microfiber cloth.
Never force the robot to run while the brush roll is jammed, as this puts excessive strain on the motor and can cause damage. Clear the obstruction manually before restarting.
Don’t leave the unit in damp areas or near liquid spills. The internal electronics aren’t sealed against moisture. Even minor condensation can trigger short circuits on the main logic board, which is rarely covered by standard warranties.
Never use third-party chargers that don’t match the voltage on the base station label. Using a mismatched power brick risks frying the internal capacitors. If your charger fails, verify the output voltage matches the original unit exactly before plugging it in.
Don’t attempt to open the main body casing. Unless you have experience with small electronics, you risk snapping the delicate ribbon cables that connect the sensors to the motherboard.
How to stop it happening again
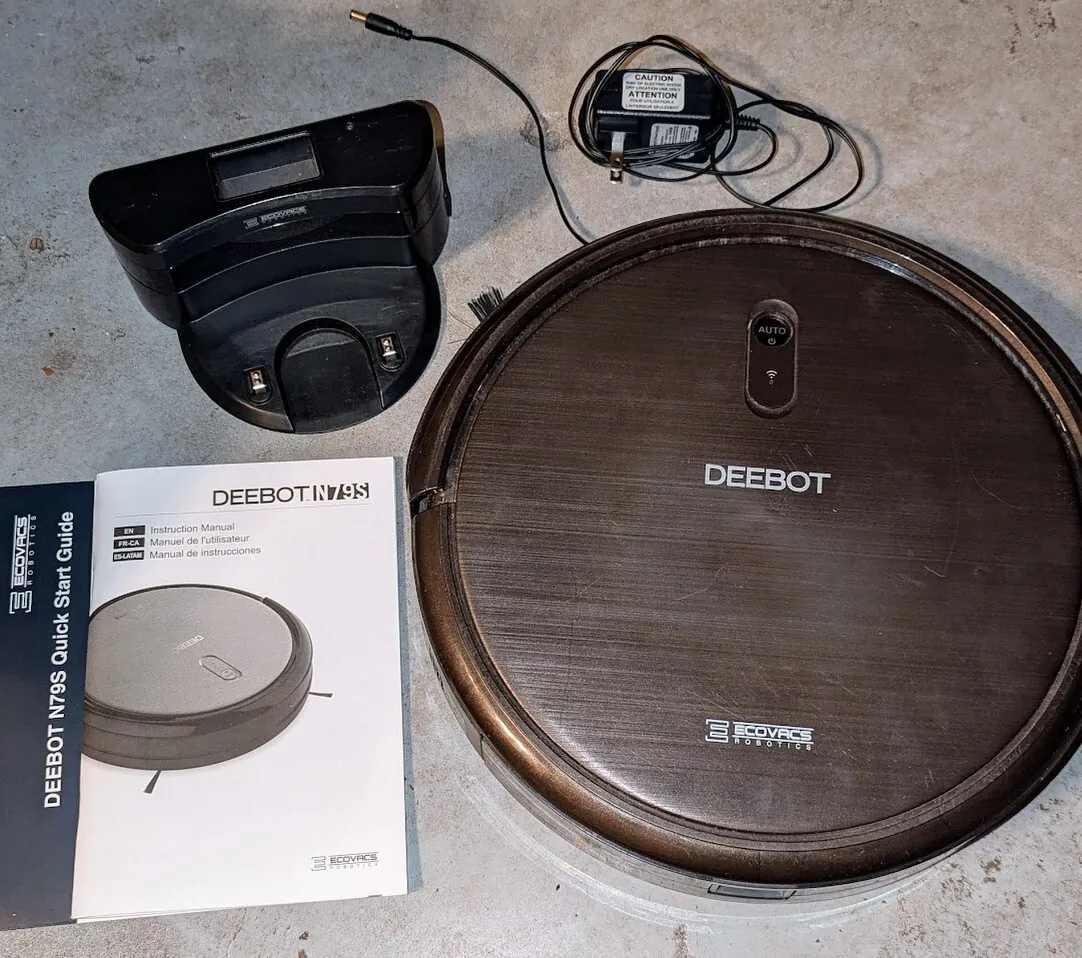
To keep your vacuum running smoothly, you must shift from reactive fixing to a simple schedule. Prevention saves time and extends the life of your motor and battery significantly.
| If you’re doing this | Do this instead | Why |
|---|---|---|
| Running it once a week | Run it every 2-3 days | Prevents deep dirt buildup |
| Letting hair tangle | Clear brush every week | Protects the motor bearings |
| Ignoring dust on sensors | Wipe sensors every cleaning | Ensures accurate navigation |
| Leaving it off the dock | Keep it docked when idle | Maintains battery health |
Most owners wait for a suction drop before cleaning filters, but this mistake forces the motor to work against high resistance, leading to premature burnout. If your home has pets, you must clear the brush roll every 48 hours to prevent hair from binding the internal drive belt.
Use this decision rule: if the bin is half-full, empty it. If the vacuum sounds higher-pitched than usual, check the intake for a blockage immediately. Ignoring these signs costs you the price of a replacement motor, which often exceeds half the cost of a new unit.
Frequently asked questions
How long does the battery last on a full charge?
The battery typically lasts between 90 and 110 minutes on a single charge, depending on floor type and suction intensity. High-pile carpet increases motor strain, which drains power faster than hardwood. If the unit dies in under 30 minutes, the battery likely needs replacement.
Why does my robot beep three times and stop?
A three-beep sequence indicates that the drive wheels are stuck or lifted off the floor. Check the wheel wells for trapped debris like clothing or toys. If the wheels lack spring tension and remain in a fixed position, the unit requires professional repair.
Is it safe to use this on wet floors?
This model is designed for dry vacuuming only and isn’t safe for use on wet surfaces. Introducing liquid into the intake will damage the filter, clog the motor, and cause a short circuit. If a spill occurs, turn the unit off immediately and let it air dry.
How often should I replace the filter?
You should replace the high-efficiency filter based on your specific usage patterns, as outlined in the owner’s manual. A clogged filter restricts airflow, which makes the motor overheat and reduces cleaning power. Always consult the manual to determine the appropriate maintenance schedule for your environment.
Why is the robot spinning in circles?
The robot spins in circles when it can’t detect its surroundings, usually because the front bumper is jammed or the cliff sensors are dirty. Check if the front bumper moves freely when pressed; if it feels stuck on one side, debris may be lodged behind it. If the bumper is fine, wipe the sensors on the bottom of the unit with a clean cloth to remove any dust blocking the infrared beam.
Can I use the remote to fix navigation issues?
You can use the remote to manually steer the robot away from problematic areas or reset its position. Use the arrow buttons to back the robot into an open area, then press the “Home” button to let it recalculate its path. This helps the robot recover without manual lifting.
Conclusion
Regular maintenance is the most reliable way to ensure your device stays in working order for years. By keeping the brush roll free of hair and ensuring the charging contacts remain clean, you avoid the most common failure points that keep these machines from performing their job. If you maintain these simple habits, you’ll rarely need to worry about complex troubleshooting or expensive repair services.