Cleaning the water reservoir and checking the ambient temperature will solve most issues found during deco chef ice maker troubleshooting. If your machine isn’t producing ice, the most common cause is a dirty internal filter or a room temperature that’s too high for the cooling system to function. You must ensure the unit sits on a flat surface with at least 6 inches of clearance on all sides to allow proper airflow for the condenser.
Troubleshooting your Deco Chef ice maker
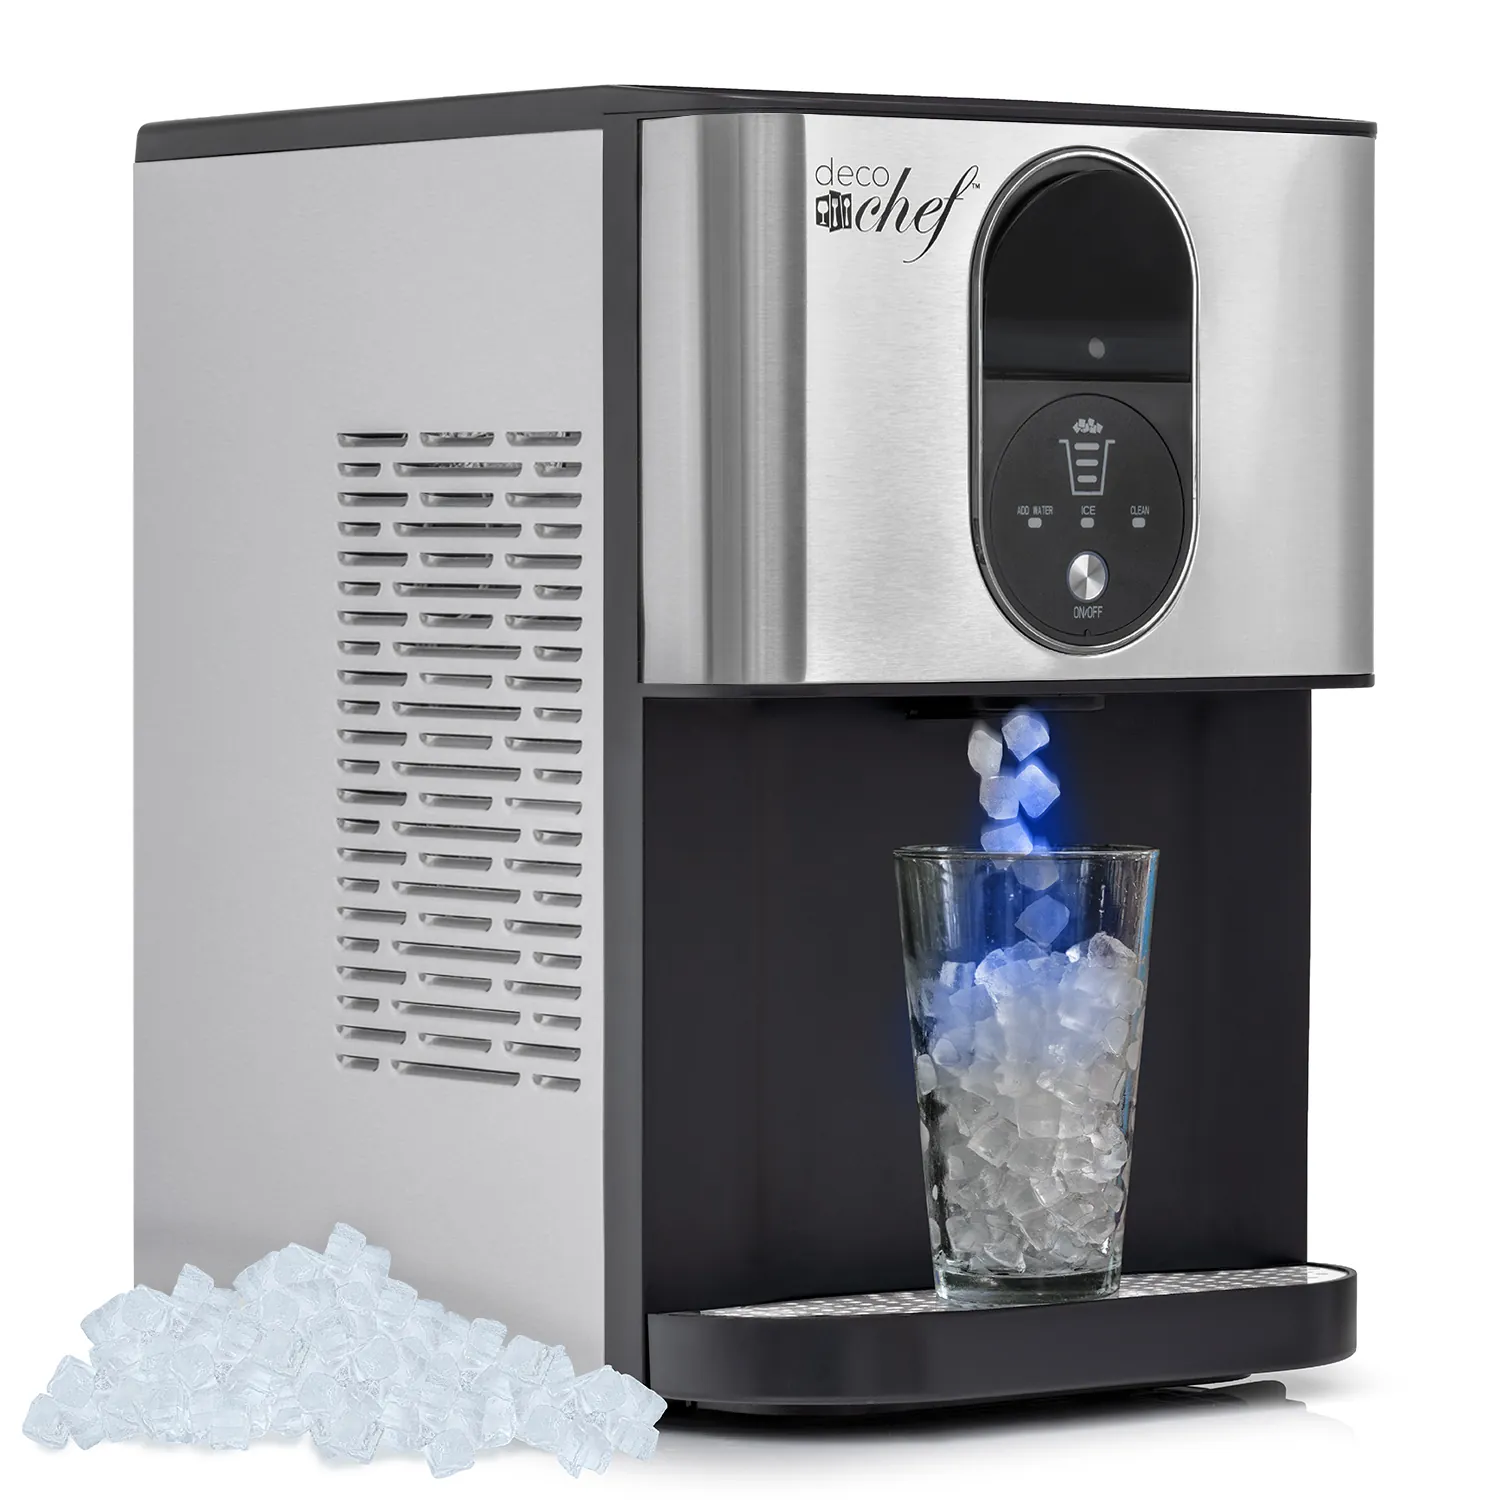
The primary reason these portable units fail is a buildup of mineral deposits from tap water. Over time, these minerals create scale on the internal pump and the freezing fingers, which prevents the water from circulating or the ice from releasing properly.
If you use hard water, you’ll see this issue much faster than if you use filtered or distilled water. A telltale sign of this buildup is a grinding noise during the harvest cycle or ice cubes that come out cloudy and brittle.
Another common cause is the environment. These machines rely on heat exchange to turn water into ice. If the room temperature exceeds 90 degrees Fahrenheit, the compressor can’t shed heat fast enough to reach the freezing point. This is a physical limit of the refrigerant cycle.
You can check your owner’s manual for the specific temperature range for your model, as operating outside these bounds will cause the unit to shut down or produce only slushy, thin ice. If your unit runs constantly but never drops a full batch, move it to a cooler, shaded area away from direct sunlight or heat vents.
Finally, a blocked intake sensor will stop the cycle. Most units have an infrared sensor that detects when the ice basket is full. If a piece of ice is stuck to the sensor or if dust has accumulated on the lens, the machine will think the bucket is full even when it’s empty.
This prevents the machine from starting a new batch. Wipe the sensor lens with a soft, dry cloth every time you empty the basket to avoid this unnecessary shutdown.
Safety: Inside a mains-powered machine, the parts behind the outer cover can hold a dangerous electrical charge even after it has been unplugged — that’s why they sit behind a cover. Opening the housing, or testing or replacing anything behind it, is a job for a qualified technician, never a home repair.
Clean the water system and sensor
If you notice the machine is running but no ice forms, start by performing a deep clean. Mix a solution of one part white vinegar to ten parts water and pour it into the reservoir. Run the ice-making cycle for 30 minutes, then drain the solution and run two cycles with fresh, cold water to remove any vinegar taste.
If the machine still doesn’t produce ice, check the infrared sensors located inside the ice bin. These are usually two small plastic pieces facing each other on the sides. Wipe them gently with a soft, dry cloth to remove any water spots or debris. If the machine begins to cycle after this cleaning, the sensor was simply blocked.
A common mistake is using harsh chemicals like bleach or ammonia to clear mineral buildup. These agents degrade the internal seals and can leave toxic residues in your ice. If you see white, chalky flakes in the bin, you have hard water deposits. In this case, increase the vinegar ratio to one part vinegar for every five parts water to dissolve the scale effectively.
Never use abrasive scrubbers on the internal freezing fingers. Scratches create surface area for ice to bond, which will cause the machine to jam during every harvest cycle. If you find the internal pump is rattling or completely silent, this is a mechanical failure. A rattling sound indicates a blocked impeller, while total silence suggests a burnt-out motor. Both scenarios require a professional repair service, as the unit must be disassembled to access the internal electrical components safely.
Check airflow and ambient conditions
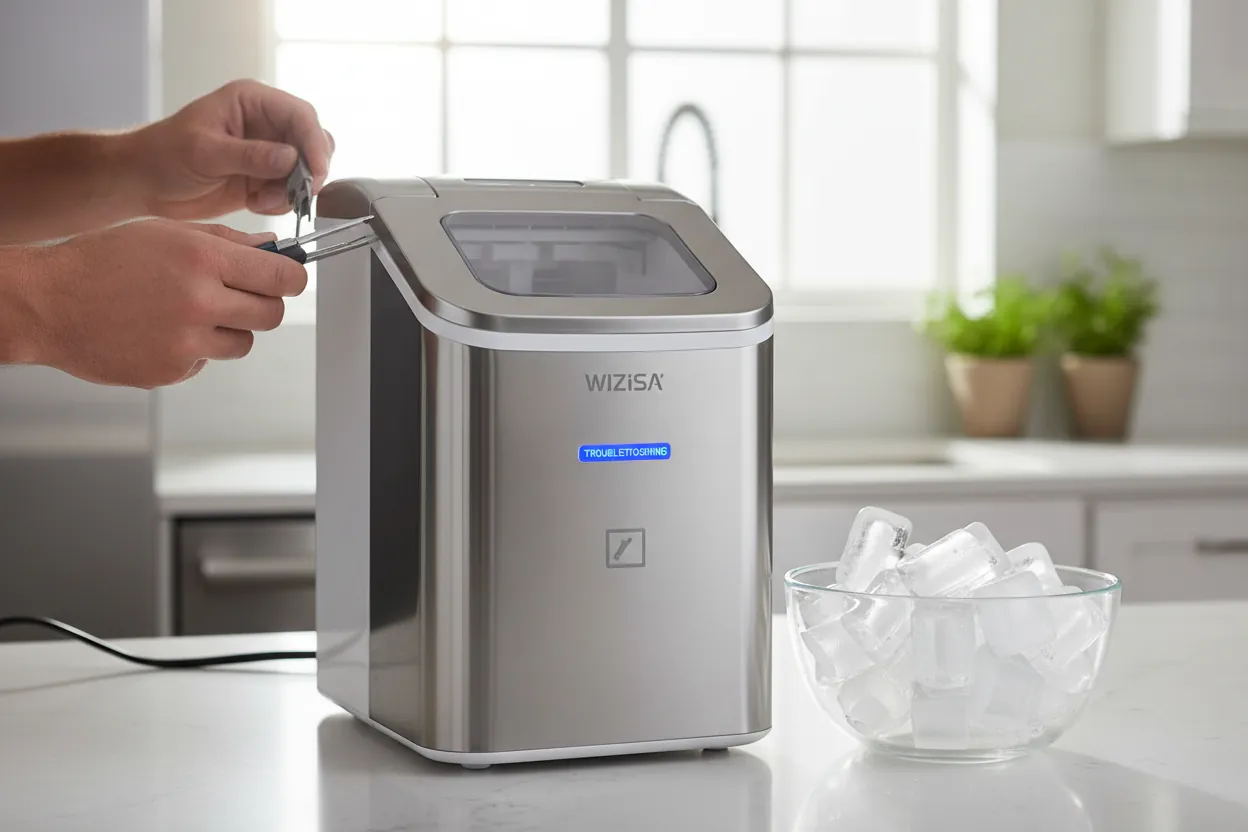
Proper ventilation is vital for the cooling process to work as intended. If you have the unit tucked into a corner or pushed against a wall, the hot air coming out of the vents will circulate right back into the intake. This forces the compressor to work harder and eventually causes it to overheat and stop the ice production cycle. Leave at least six inches of clearance on all sides to ensure the exhaust heat dissipates effectively.
Move the machine to a spot with better airflow. If the unit is sitting on a warm surface, such as a granite countertop in direct sunlight, the heat transfer will also slow down your production. Ensure the unit is placed on a hard, level surface to allow for proper airflow and heat dissipation.
If the ice is coming out thin or as a solid block of slush, the water temperature is likely too high. Aim for an ambient room temperature below 80 degrees Fahrenheit for optimal performance. Use chilled water to fill the reservoir at the start of your session to jumpstart the cooling cycle.
If the machine continues to produce slushy ice even after you have improved the airflow and used cold water, the compressor may be losing its charge. This is a permanent mechanical limit where the system can no longer maintain the required pressure. If you hear the fan running constantly but the internal coils remain warm to the touch, the refrigerant has leaked. In this specific case, no amount of troubleshooting will restore function, and it’s time to replace the unit.
Verify the water supply and drainage
Sometimes the issue isn’t the cooling, but the water delivery. If the pump is running but you hear a loud grinding noise, it’s likely sucking air because the water level is too low. Always ensure the water line is at least one inch above the intake filter. If you see water leaking under the unit, check the drain plug at the bottom front or side of the machine.
Ensure the plug is pushed in firmly. If the plug is loose, water will leak out before it can reach the freezing tray. If you have verified the plug is tight but water is still pooling, check the hose connections inside the rear panel. If the leak is internal, don’t attempt to open the housing yourself, as this can void your warranty and pose a risk of electrical shock.
If the machine isn’t drawing water from the reservoir, the filter might be clogged with mineral deposits or debris. You can try to gently flush the filter area with a turkey baster filled with warm water. If this doesn’t clear the line, the internal pump may have failed. This is a common issue for units that have been used for several years, as the pump motor is a wear item.
To distinguish between a blockage and a dead pump, listen for the motor hum. If the motor is silent when the cycle starts, the electrical connection or the pump motor itself has failed. If the motor hums but no water moves, the blockage is physical. In that case, use a soft brush to clear the intake screen before calling for professional service.
Avoid common mistakes
Using hot water: Never fill the reservoir with hot water, as it significantly increases the time required for the cooling system to reach the freezing point.
Leaving the lid open: Keep the lid closed during the cycle to maintain internal temperatures. If you open it to check progress, the ambient air causes ice to form cloudy or brittle, often resulting in a “Low Water” sensor error.
Overfilling the reservoir: Only fill to the “Max” line. Extra water splashes into the electronics during the harvest cycle, causing permanent sensor shorts that render the machine unresponsive.
Using salt or chemicals: Never add salt or additives to the water. Salt lowers the freezing point, preventing the evaporator fingers from reaching the temperature required to form solid cubes. This mistake forces the pump to cycle indefinitely, eventually burning out the motor. If your water is hard, use a filtered pitcher instead of chemical softeners.
Improve your daily usage habits
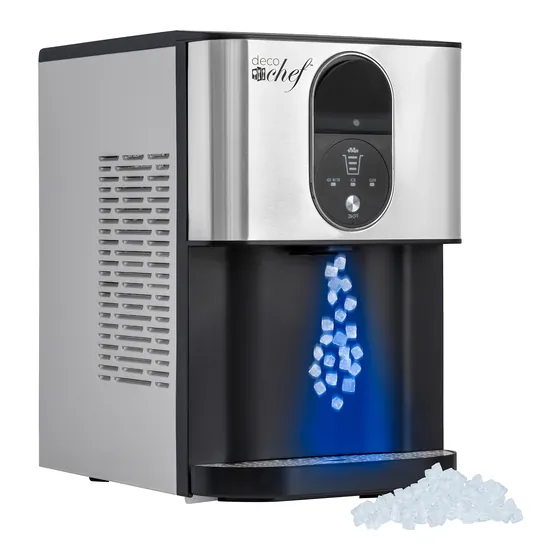
The way you manage your machine determines how long it will last and how much ice you get per hour. Follow these steps to keep the system running efficiently.
| If you’re doing this | Do this instead | Why |
|---|---|---|
| Leaving water in the unit | Drain it after every use | Prevents mineral buildup and mold |
| Using tap water | Use filtered or distilled water | Reduces scale on the freezing fingers |
| Running it 24/7 | Turn it off when not needed | Prevents premature wear on the pump |
| Ignoring cleaning alerts | Clean with vinegar monthly | Keeps the water sensors responsive |
Frequently Asked Questions
How do I know if my ice maker is broken?
You know the unit is broken if the cooling fan is running and the pump is active, but no ice forms on the metal fingers after 60 minutes of operation. If the unit is silent, check the power outlet first with a different appliance. If the power is fine but the machine remains dead, the internal control board has likely failed.
How often should I clean my ice maker?
You should clean your machine regularly based on your frequency of use to prevent mineral deposits from hardening, referring to your owner’s manual for specific guidance. If you notice the ice cubes are smaller than usual or have a strange taste, clean the unit immediately. Using filtered water will allow you to extend the time between cleanings, but never go too long without a flush.
Can I use my ice maker in a garage?
Yes, but only if the garage temperature stays between 50 and 90 degrees Fahrenheit. If your garage gets hotter than this in the summer, the unit will struggle to make ice and may eventually shut down to protect the compressor from overheating. Never leave it in a freezing garage during winter, as residual water can expand and crack the internal plastic hoses.
Why does my ice maker make a loud noise?
A loud noise usually indicates that the water pump is struggling to draw water or that the fan is obstructed by dust. If the noise is a constant buzzing, check the water level; if it’s a rattling sound, turn the machine off and check the fan intake for debris. If the noise continues while the unit is empty, the motor bearings are likely worn out.
Is it safe to leave my ice maker plugged in?
Yes, it’s safe to leave it plugged in, but it will consume electricity even in standby mode. If you’re going on vacation or won’t use the machine for more than a few days, it’s better to unplug it and drain the reservoir completely. This prevents water stagnation and potential growth of bacteria inside the internal lines.
What happens if I use the wrong water?
Using water with high mineral content, such as hard well water, will cause calcium deposits to build up on the freezing fingers and the pump. This creates an insulating layer that prevents the heat from moving away from the water, resulting in thin, soft, or cloudy ice. Over time, these minerals can clog the pump intake, causing the machine to stop working entirely.
Conclusion
If your machine still won’t cooperate after these checks, don’t worry. It’s likely time to reach out to the manufacturer’s support team for a professional assessment. They’ll help you determine if a specific part needs replacing so you can get back to enjoying cold, refreshing drinks in no time.