To restore power to your jump starter, the most reliable diehard portable power 1150 troubleshooting step is to verify the connection between the unit and your wall outlet. If the device doesn’t show a charging light, the most common cause is a loose connection or a tripped internal circuit breaker. You should first ensure the extension cord is firmly seated in the unit’s charging port and the wall socket.
Troubleshooting your DieHard portable power unit
The primary reason these devices fail to hold a charge is deep discharge. If you leave the unit in a completely drained state for several weeks, the internal lead-acid battery may lose its ability to accept a charge. This happens because chemical crystals form on the battery plates, which blocks the flow of electricity. You must keep the battery topped off even when it isn’t in use.
A second common cause involves the charging cable. Many users assume that because the cable fits, it’s working, but internal wire breaks are frequent in portable equipment. If you frequently coil the cord tightly or pull it by the wire rather than the plug, you likely have a hidden break. Always inspect the cord for kinks or exposed metal before you plug it in.
Finally, the charging port itself can become corroded. If you store your unit in a damp garage or basement, moisture causes oxidation on the metal contacts. This creates a barrier that prevents electricity from entering the unit. If you see white or green powder around the port, it’s likely that corrosion is the culprit for your power issues.
Check the charging cable connection
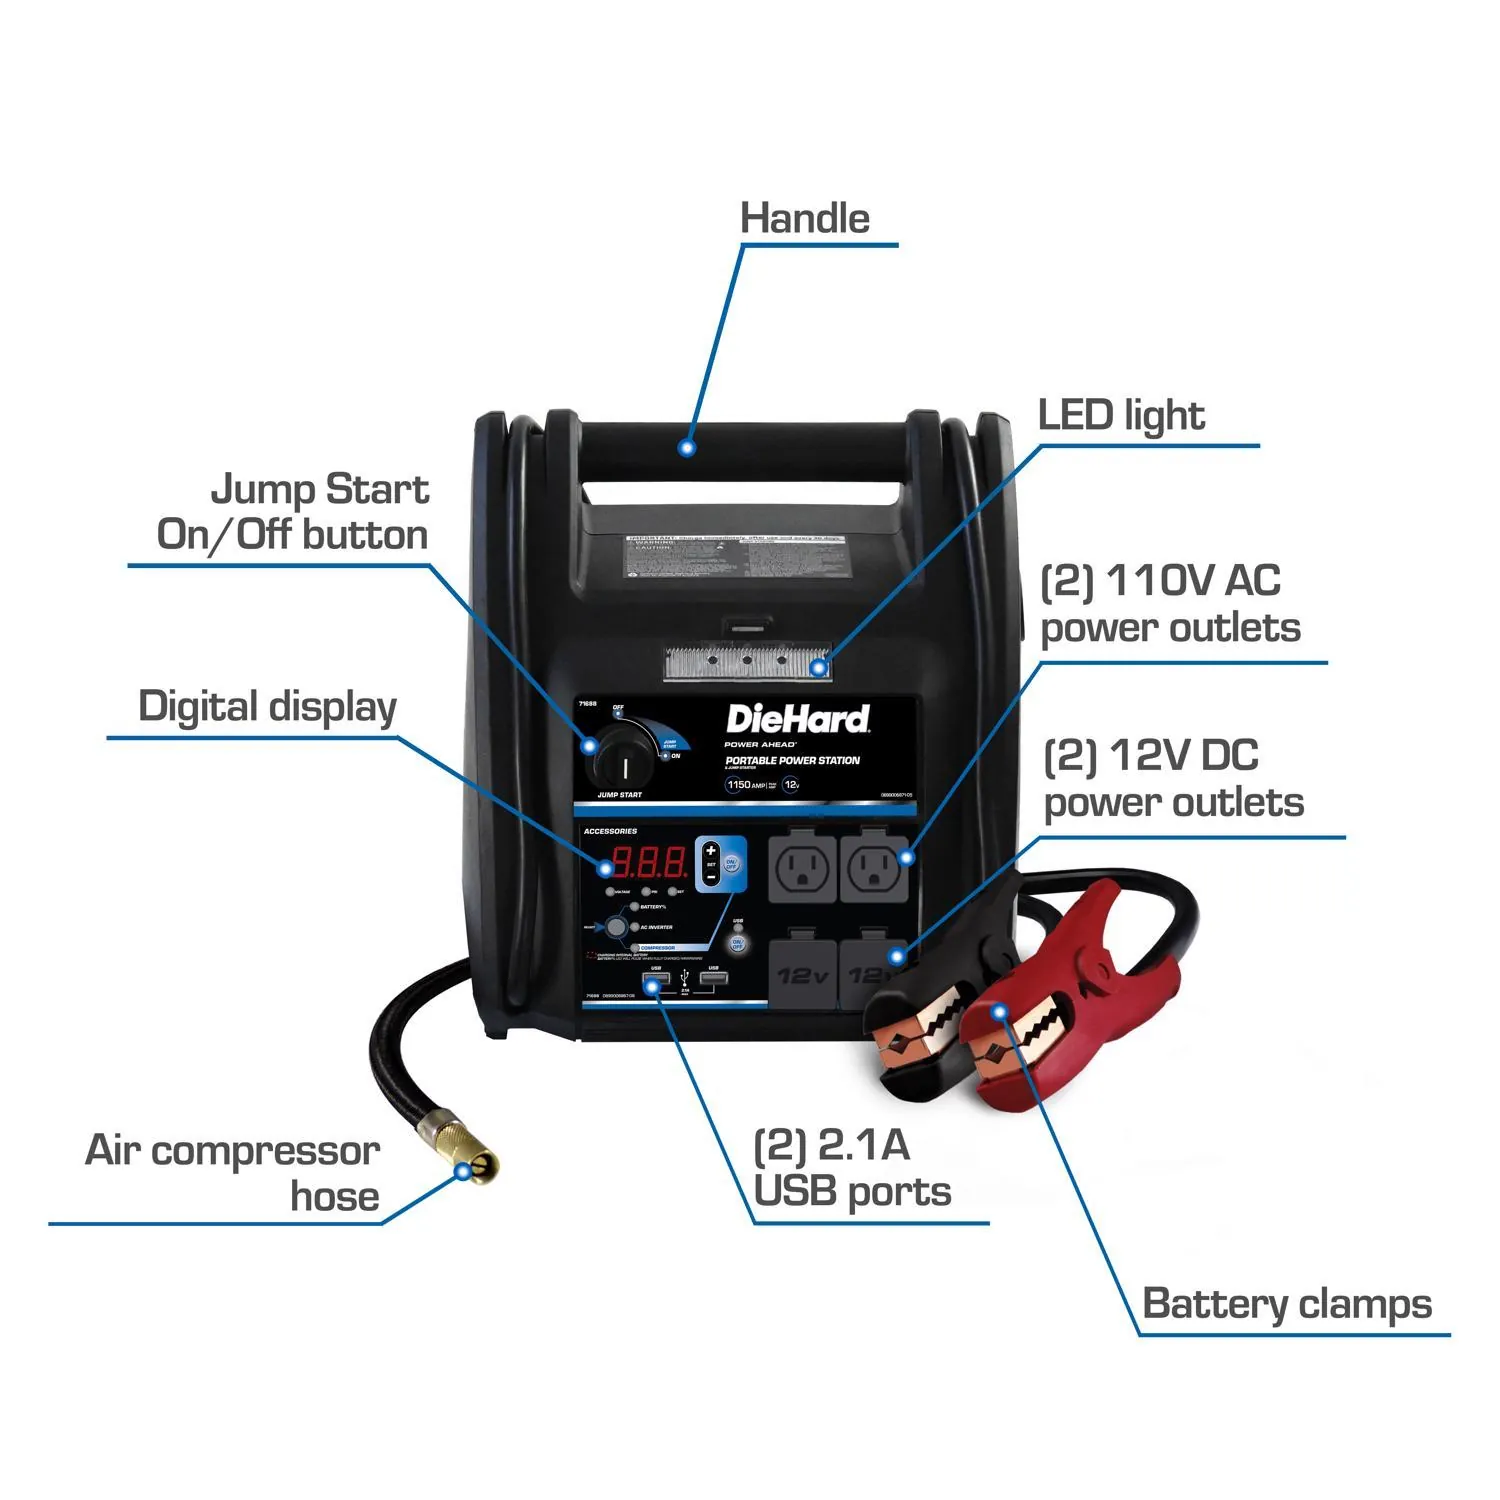
This fix is for users who see no lights on the display panel when the unit is plugged in. Start by unplugging the unit from the wall and inspecting the charging port on the back. Use a dry, clean cloth to wipe away any dust or debris.
If the pins look dull or discolored, you can gently clean them with a cotton swab dipped in a small amount of isopropyl alcohol. Wait at least 15 minutes for the port to dry completely before you attempt to plug it in again.
If the port is clean, examine the extension cord for damage. Don’t use a cord that has cuts in the insulation or bent prongs. Plug the cord directly into a wall outlet, avoiding power strips or surge protectors, as these can interfere with the charging voltage. When you connect the cord to the unit, push it in firmly until you feel a positive click.
Watch the front display for a charging indicator light. If the light remains off, try a different wall outlet that you know works with other appliances. If you still see no lights, the internal charging circuit may have failed. This is a technical issue that requires a qualified technician to open the housing; never attempt to replace internal components yourself.
Test the battery voltage
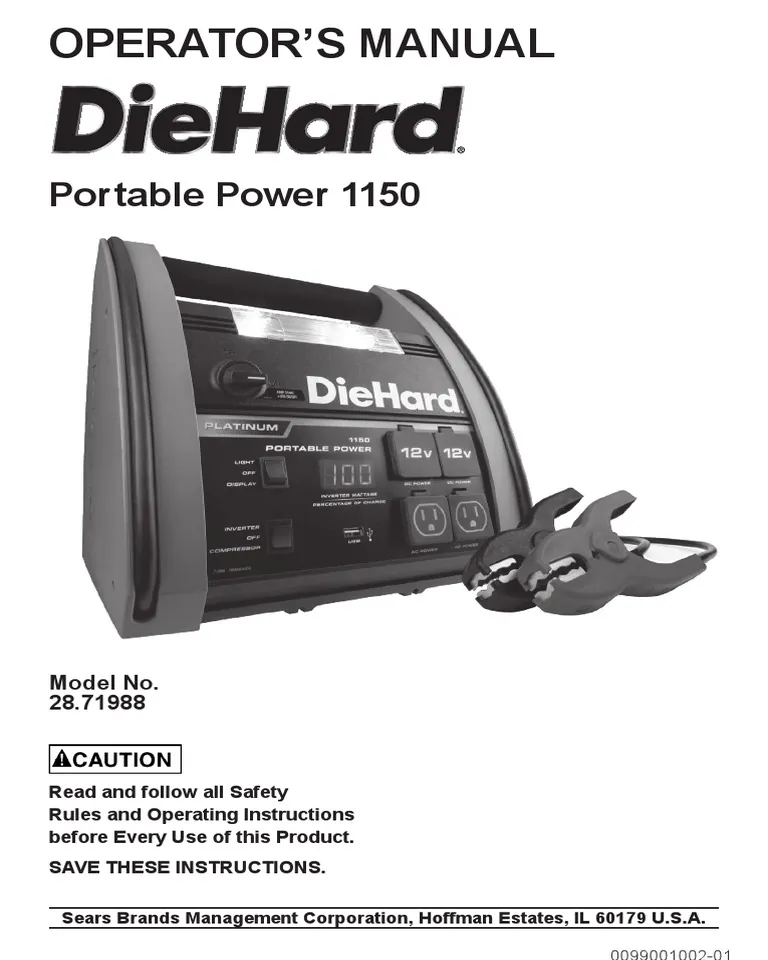
This fix is for users who see lights on the display but can’t get the unit to jump-start a car. You first need to confirm the battery is holding a charge under load. Plug the unit into a wall outlet for 24 hours to ensure a full charge. Once the charging light indicates the process is complete, unplug the unit and wait one hour before testing.
Check the unit’s display to monitor the battery level. If the reading drops significantly when you engage the work light or clamps, the battery may be failing. Have a qualified technician test the battery to determine if it needs replacement.
This is the point where you must decide if the unit is worth keeping. If the battery is older than two years, it’s usually more cost-effective to purchase a new unit. Replacing the battery requires specialized tools and handling acid-filled components. If you aren’t comfortable working with lead-acid batteries, don’t attempt this. Take the unit to a local battery specialty store for a professional diagnostic test.
Inspect the clamps and cables
This method is for when the unit shows a full charge, but the vehicle doesn’t crank. The problem often lies in the connection between the jump starter clamps and the car battery terminals. Over time, the copper teeth on the clamps can become coated in a layer of grease or oxidation. This prevents the high current needed to start an engine from flowing from the unit into your car.
Clean the inside of the clamp teeth with a stiff wire brush to expose the bare metal. Ensure you’re attaching the red clamp to the positive terminal and the black clamp to the negative terminal. Wiggle the clamps slightly once they’re on the battery posts to ensure they’re biting into the lead. If you see sparks when you connect them, that’s normal, but they should be tight.
If the engine still doesn’t turn over, check the heavy-duty cables for heat. If the cables become hot to the touch during your attempt to start the car, there’s too much resistance in the wire. This means the cables are failing internally. Stop immediately, as this creates a fire risk. You must discontinue use of the unit if the cables show signs of overheating.
Common mistakes in power maintenance
Leaving the unit empty: Storing the jump starter in a discharged state causes permanent battery damage that’s impossible to reverse. Aim to keep the charge above 50% at all times, as deep discharge cycles often kill the battery cells entirely.
Using thin extension cords: Using a light-duty household extension cord creates a voltage drop that prevents the unit from charging fully. Always use a 12-gauge or thicker cord to ensure the unit receives the full amperage required for a complete cycle.
Ignoring the charging light: Assuming the unit is charging just because it’s plugged in leads to surprises when you actually need the power. Verify the indicator light is solid, not blinking, before walking away.
Leaving it in extreme heat: High temperatures accelerate the chemical breakdown of the battery, significantly shortening its lifespan. If your trunk reaches 100°F, remove the unit to prevent swelling.
Over-cranking the engine: Trying to start a car for more than 5 seconds at a time puts extreme stress on the unit’s internal battery. If the engine doesn’t turn over, wait 60 seconds to let the internal cells recover.
Prevent future power loss
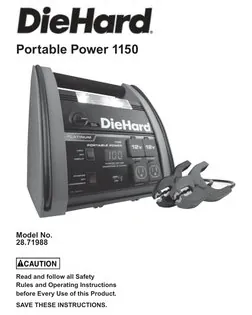
You can keep your jump starter ready for emergencies by following a strict maintenance schedule. The way you manage the unit today determines if it works when your car battery dies.
| If you’re doing this | Do this instead | Why |
|---|---|---|
| Storing in the trunk | Keep it inside the house | Extreme heat ruins batteries |
| Charging once a year | Charge every 3 months | Prevents deep discharge damage |
| Using thin cords | Use a heavy-duty cord | Ensures proper current flow |
| Leaving it plugged in | Unplug after 24 hours | Prevents battery overheating |
Most users mistake a full charge indicator for a healthy battery. If the unit sits for more than six months without a top-off, the internal battery may lose its ability to hold a charge entirely.
Check the voltage status monthly. Never store the device in a vehicle during summer months. Temperatures exceeding 90 degrees Fahrenheit accelerate chemical degradation, effectively cutting the unit’s lifespan in half. If your device feels hot to the touch after charging, stop using it and inspect the cables for fraying.
Frequently asked questions
How long does it take to charge?
The unit takes 24 to 48 hours to fully charge from a near-empty state. You can monitor progress using the charging indicator light on the front panel. Avoid leaving the unit plugged in for more than 48 hours to prevent battery damage.
Can I use this to jump-start a truck?
Yes, provided your specific model is rated for your truck’s engine displacement. Check the front label for the maximum engine size supported in liters. If the unit fails to start the engine after two attempts, stop to avoid damaging the device.
Why is my battery light blinking?
A blinking battery light indicates that the unit isn’t detecting a solid connection to the vehicle battery. Ensure the clamps have a firm bite on clean, corrosion-free metal terminals. If the light persists, the internal sensor may require professional repair.
Is it safe to leave the unit in the car?
No, you shouldn’t store the unit in your vehicle during extreme weather. Temperature extremes can cause the battery to swell, leak, or lose its ability to deliver cranking power. Store the jump starter in a climate-controlled area to ensure longevity and performance.
What happens if I connect the clamps wrong?
Connecting the clamps in reverse polarity will trigger the unit’s safety alarm or internal protection circuit. If you hear the buzzer, disconnect the clamps immediately and wait for the unit to reset. Failure to do so may cause permanent damage to the control board.
Conclusion
The longevity of your jump starter depends entirely on your commitment to regular charging cycles. If you follow the maintenance schedule and store the unit in a cool, dry place, it will remain a reliable tool for years. If you notice a decline in performance despite regular care, it’s time to look for a replacement rather than attempting internal repairs.