
To fix your kitchen air quality issues, you should start your downdraft vent troubleshooting by checking for common obstructions like grease buildup or a blocked external wall cap. If your fan motor hums but moves no air, the most likely cause is a clogged filter or a vent duct that has become disconnected inside the cabinet.
Troubleshooting weak downdraft vent suction
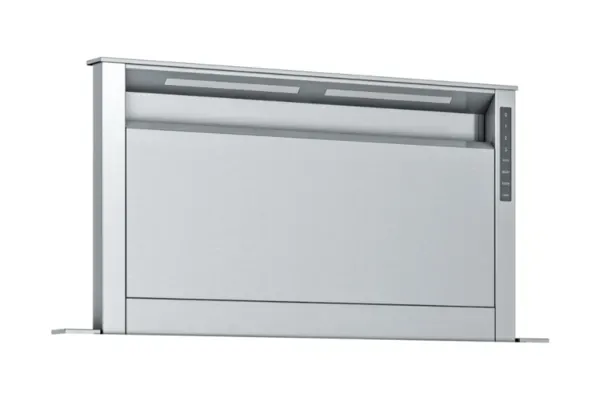
A downdraft system works by pulling smoke and steam downward into a duct hidden beneath your cooktop. When this process fails, it’s usually because the path for the air is physically blocked or the blower motor has stopped receiving power. The most common cause is a thick layer of grease and dust on the metal mesh filters, which acts like a wall against airflow.
Another frequent issue is debris trapped in the exterior vent cap. If the flap on the outside of your home is stuck shut by paint, rust, or debris, the air has nowhere to go. This creates backpressure that forces the motor to work harder, often leading to a loud, vibrating noise instead of smooth suction.
Finally, you must consider the internal ductwork. These systems often use flexible aluminum tubes that can tear, kink, or disconnect if someone stores heavy pots and pans too close to them. If the vent is pulling air from inside your cabinet rather than the outside, you’ll notice poor performance even if the fan sounds like it’s running perfectly.
Clean or replace the metal filters
This fix is for anyone noticing that the air suction feels weak even when the fan is running at high speed. You should remove the metal mesh filters from the intake slot on your cooktop. Most models allow you to lift these out directly. Check if the mesh is coated in a sticky, yellow or brown residue.
If you see buildup, soak the filters in a sink filled with hot water and a heavy-duty degreasing dish soap for 20 minutes. Use a soft nylon brush to scrub the mesh gently without bending the metal wires. Once the water runs clear and the mesh looks clean, let the filters dry completely before putting them back.
If the metal mesh is frayed or the frame is bent, cleaning won’t help; you must buy a new set from the manufacturer. A common mistake is using a metal scouring pad, which creates micro-tears that trap grease faster in the future. Always stick to nylon.
If you find that the suction is still poor after cleaning, the problem is likely deeper in the ductwork. Check the external vent cap outside your home for debris like bird nests or lint buildup. If the vent flap doesn’t open when the fan is on, the blockage is external.
If you’re uncomfortable moving heavy appliances or reaching into dark cabinet spaces, call a professional appliance repair technician to avoid damaging the internal components. If the motor makes a grinding noise during this process, stop immediately to prevent a costly burnout.
Clear the exterior vent cap
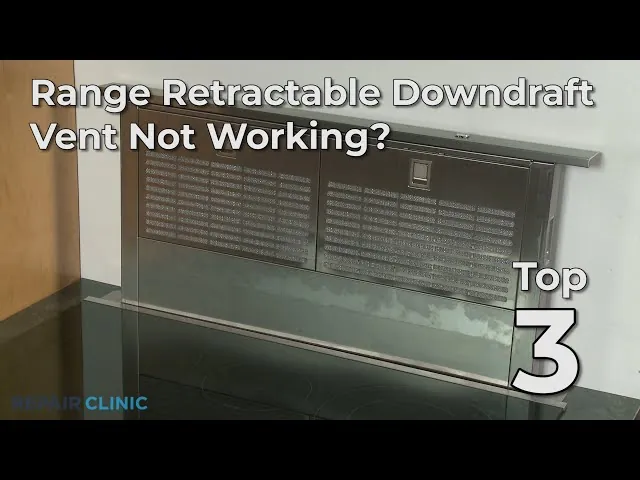
This method is for when the fan sounds normal but you feel no air coming out of the house. You need to go outside to the spot where your range hood duct exits the wall. Look for a plastic or metal hood with a flap or louvers. If the flap doesn’t open when the fan is turned on, it’s stuck.
Use a long-handled tool or a sturdy stick to gently push the flap to see if it moves freely. If it’s stuck because of paint or rust, use a putty knife to scrape away the debris. If the flap is damaged or missing, you must replace the entire wall cap assembly to prevent rain and pests from entering your duct.
A common mistake is assuming the vent is clear just because you see light through the louvers. Check for a bird’s nest or a buildup of grease-laden lint, which can act like glue and hold the flap shut. If you see nesting material, use a gloved hand to pull it out. Never push debris back into the duct, as this creates a fire hazard.
If the flap stays closed even after cleaning, the internal spring or hinge is likely corroded. In this case, replace the cap with a stainless steel version to prevent future rust.
Be careful when working on ladders or reaching into tight exterior spaces. If the vent exit is located on a high second-story wall or a roof, stop immediately and hire a professional. Falling from a ladder is a serious risk, and working on roof-mounted vent systems requires specific safety gear and experience that an average homeowner shouldn’t attempt alone.
Inspect the internal duct connections
This fix is for cases where you hear the fan running, but the suction is completely absent or you smell smoke escaping into the cabinet. Open the cabinet doors directly beneath your cooktop and look for the flexible vent hose. It should be firmly attached to the blower outlet and the wall duct.
If you see a gap, a tear, or a hole in the silver tubing, you have found the air leak. You can use aluminum foil tape to seal small tears or to reattach a loose hose to the blower housing. Never use standard duct tape, as the heat from the cooktop can cause it to lose its grip and release toxic fumes or melt onto the components.
If the hose is severely kinked or crushed, you must replace it with a new length of vent pipe of the same diameter. If you find that the blower motor housing itself is cracked or the electrical wires are frayed, don’t attempt a repair. These parts carry high voltage and require a certified technician to ensure the repair meets local fire codes.
What not to do during repairs
Never use flammable solvents or harsh chemicals to clean grease from the filters. These substances can ignite instantly if they contact the heating elements of your cooktop. If you smell chemical fumes while the unit is running, shut it off immediately and wipe the housing with a damp cloth instead.
Avoid sticking metal objects into the blower intake while the power is on, as this can damage the blower wheel or contact live electrical components. Always flip the circuit breaker at the panel before touching internal components.
Don’t try to force a stuck blower motor to turn by hand if it’s humming. This sound indicates a failed motor or a seized bearing that requires a full replacement. Forcing it may damage the mounting bracket.
Never block the exterior vent with screens or wire mesh. These quickly clog with lint and grease, creating a significant fire hazard inside your wall. If you must keep pests out, use a louvered hood instead.
Prevent future ventilation problems
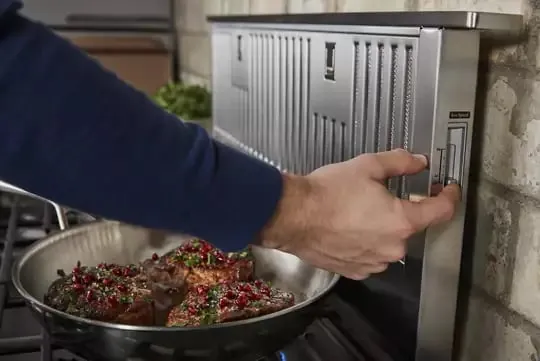
You can keep your system running smoothly by matching your cooking habits to your maintenance schedule. If you fry foods often, your filters will need cleaning much more frequently than if you only boil water.
| If you’re doing this | Do this instead | Why |
|---|---|---|
| Deep frying daily | Clean filters monthly | Grease builds up faster in high-heat cooking. |
| Storing heavy items | Use a protective shelf | Prevents crushing the flexible vent hoses. |
| Ignoring weak suction | Inspect the exterior cap | Prevents motor burnout from high backpressure. |
| Using standard tape | Use aluminum foil tape | Foil tape resists heat and prevents air leaks. |
Many homeowners make the mistake of waiting for visible grease drips before cleaning. This delay forces the motor to work against heavy resistance, which significantly shortens its operational life.
Use this decision rule to gauge your needs: if you can see a fine mist of oil on your backsplash or cabinets, your filter is already saturated. Clean it immediately. If you notice a rattling sound when the fan is on high, check the exterior vent cap for debris or bird nests. These obstructions create backpressure that causes the motor to overheat and eventually fail.
Frequently asked questions
Can I run my stove without the vent filters?
No, you should never operate your stove without the filters in place. These filters trap grease before it enters the blower and ductwork. Running the system without them allows grease to coat internal components, creating a significant fire hazard.
How often should I clean the vent filters?
You should clean your filters every 30 to 60 days depending on your cooking frequency. If you notice oil on your cabinets or reduced suction, it’s time for a cleaning. A simple test is to see if a piece of tissue paper sticks to the intake while the fan is running.
Is it safe to fix the vent myself?
It’s safe to perform basic maintenance like cleaning filters, inspecting external caps, and tightening loose duct tapes. However, you should stop and call a professional if you need to open the motor housing, handle electrical wiring, or work on high ladders. Attempting to repair electrical components without proper training can result in a fire, a voided appliance warranty, or a dangerous electrical shock.
Why is my downdraft vent making a loud rattling noise?
A loud rattling noise usually means there’s a loose object or a piece of debris inside the blower housing. It could also mean the blower wheel is slightly off-balance due to a heavy buildup of dried grease. First, ensure no small items like crumbs or plastic bits have fallen into the intake. If the noise persists after cleaning, the motor bearings may be worn out and require a professional repair.
How long does a downdraft blower motor last?
A blower motor typically lasts for a long period, assuming the system is kept clean and the filters are changed regularly. The lifespan varies based on the volume of cooking and the quality of the installation. If your fan is old and shows signs of failure, it’s often more cost-effective to replace the unit.
Conclusion
Regular maintenance is the most effective way to protect your investment and keep your kitchen air clean. By checking your filters and keeping the exterior exit clear, you avoid the most common causes of system failure. If these simple steps don’t solve the issue, contact an authorized service technician to inspect the motor and internal wiring.