
You can solve most issues with your machine by performing basic dreamiracle ice maker troubleshooting, which usually starts with checking your water supply and ambient temperature. If the unit fails to produce ice, the most frequent cause is a lack of proper airflow around the unit or an empty water reservoir. By ensuring the machine sits on a flat, level surface with several inches of clearance on all sides, you often restore normal function without needing professional help.
Troubleshooting your Dreamiracle ice maker issues
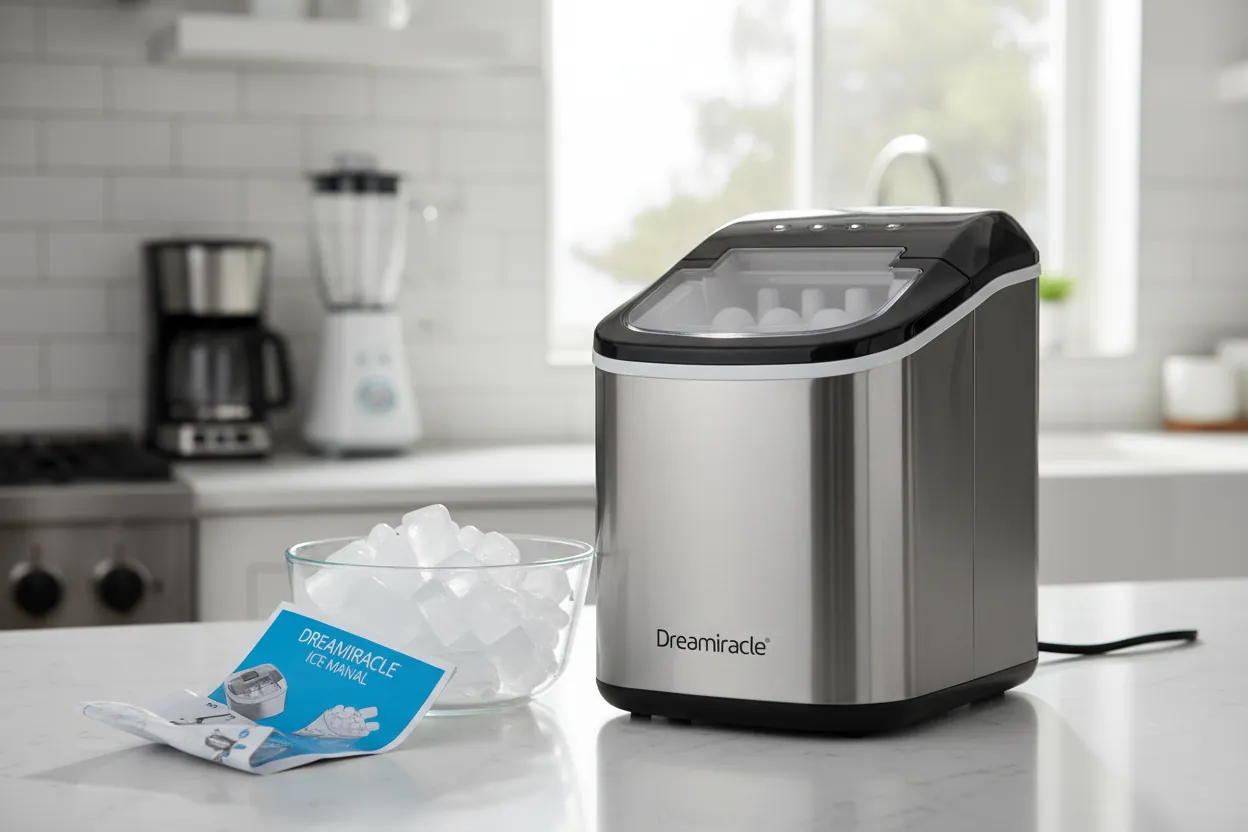
The main reasons for production failure relate to heat management and water circulation. These machines rely on a cooling cycle that generates heat as a byproduct. If the unit is placed inside a small, enclosed cabinet or pushed against a hot wall, the cooling system can’t dissipate heat effectively. This forces the sensors to shut down the compressor to prevent overheating, which stops the ice-making process entirely.
Water quality also plays a significant role. If you use water with high mineral content, calcium deposits can build up inside the internal tubes and the pump. This restricts water flow, meaning the ice tray doesn’t fill correctly. If the water level is too low or the sensor is blocked by ice buildup from a previous batch, the machine won’t trigger a new cycle.
Finally, the ambient temperature of the room matters. If the room is too hot, the machine works harder to freeze the water, which leads to slow production or slushy ice. If the room is too cold, the machine may not be able to detect the water level accurately. Always check that your room temperature stays within the range specified in your user manual, as extreme conditions prevent the sensors from reading the internal status correctly.
Safety: Inside a mains-powered machine, the parts behind the outer cover can hold a dangerous electrical charge even after it has been unplugged — that’s why they sit behind a cover. Opening the housing, or testing or replacing anything behind it, is a job for a qualified technician, never a home repair.
Clean the water reservoir and filter
If you notice the ice quality is poor or production is very slow, cleaning the system is the first step. Unplug the machine and drain the reservoir completely by opening the drain plug at the bottom. Wipe the inside with a soft cloth and a mixture of water and mild dish soap. Don’t use harsh chemicals or abrasive scrubs, as these can damage the plastic finish and the internal sensors.
Once clean, rinse the reservoir thoroughly with fresh water. If the machine has a removable filter, inspect it for sediment or debris. If the filter looks discolored or clogged, it needs to be replaced to allow proper water flow. A common mistake is scrubbing the filter mesh; this often tears the fine screen, allowing mineral deposits to enter the pump.
After cleaning, fill the reservoir to the “max” line with fresh, room-temperature water. If your local water is hard, use distilled water to prevent scale buildup. If you see white flakes in your ice, you must descale the system using a vinegar solution immediately.
Reset the cooling cycle
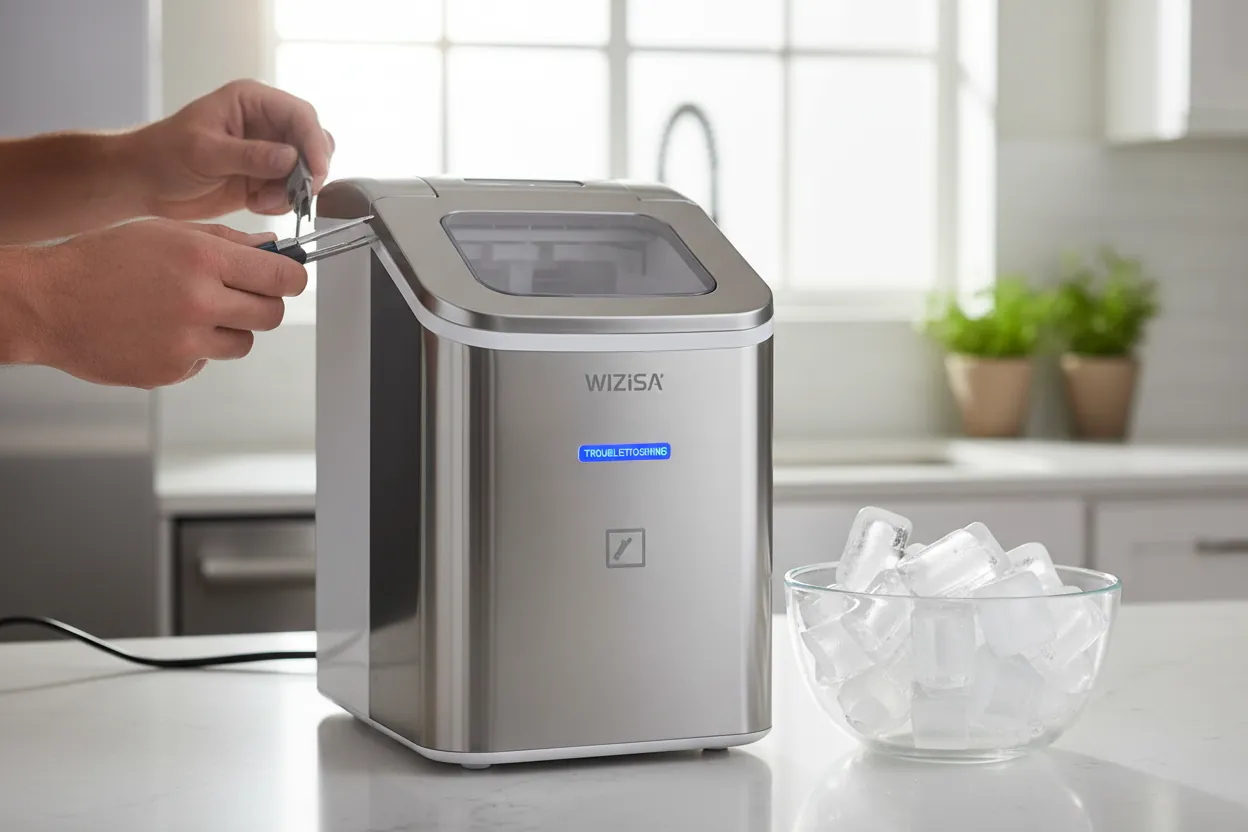
A simple power cycle often clears temporary errors in the control board. Unplug the power cord from the wall outlet and leave it disconnected for at least 15 minutes. Unplug the power cord from the wall outlet for a few minutes to allow the electronic control unit to reset. While the machine is unplugged, check the ice basket to ensure no large chunks are blocking the sensor eyes.
Many users make the mistake of plugging the unit back in after only a few seconds. This shortcut costs you time, as you’ll likely have to repeat the entire process from the beginning.
After 15 minutes, plug the machine back in. Don’t press any buttons immediately. Let the unit sit for a few minutes to stabilize its internal temperature sensors. If the machine begins to cycle, you’ll hear the pump start and water will begin to flow into the tray. If it doesn’t start, ensure the basket is pushed fully into place, as a misaligned basket keeps the door switch open and stops production.
Improve the unit’s ventilation
If the machine runs but produces ice very slowly, the issue is likely heat buildup. These units require at least 6 inches of space on every side to vent heat properly. If you keep the machine in a corner or near a stove, move it to an open, well-ventilated area away from direct sunlight. High ambient heat makes the compressor work longer, which increases the time needed to freeze each batch.
Check the surface temperature of the unit after one hour of operation. If the exterior casing is hot to the touch, you have insufficient airflow. If the casing remains cool but production stays slow, the problem is likely internal rather than environmental.
If the air vents on the side or back of the unit are dusty, use a vacuum with a soft brush attachment to clear them. Dust acts as insulation and traps heat inside the casing. Never use a high-pressure air hose or water to clean these vents, as you could force dust into the electronic components or cause a short circuit.
If the machine still runs hot after cleaning the vents and moving it to a cooler spot, the cooling fan may be failing. Listen closely for the fan’s hum; if you hear only the compressor clicking without the steady drone of a fan, the motor has likely seized and requires a professional technician to replace.
Common mistakes to avoid
Adding ice to the reservoir: Never put pre-made ice into the water tank to “speed up” the process. Ice confuses the water level sensor, often triggering an overflow that leaks onto your internal electronics.
Running with empty water: Always keep the reservoir filled to the indicated line. Running the pump dry for even thirty seconds can cause the motor to burn out, a repair that often exceeds the cost of a new unit.
Using distilled water: If your machine reports an empty tank despite being full, switch to filtered tap water immediately.
Forcing the lid: Never pull or force the lid open while the machine is in a cycle. This action breaks the hinge sensor, which forces an emergency stop and can permanently disable the latch mechanism.
Maintain your ice maker properly
To stop these issues from returning, follow a consistent maintenance schedule. You should clean the interior and the reservoir every 2 to 4 weeks, depending on how often you use the machine. Hard water requires more frequent cleaning to prevent the buildup of scale.
If your local water supply has high mineral content, clean the unit regularly based on your specific usage patterns. Neglecting this leads to calcium deposits that seize the pump, so always consult your owner’s manual for the manufacturer’s recommended maintenance schedule.
| If you’re doing this | Do this instead | Why |
|---|---|---|
| Leaving it in a cabinet | Place on an open counter | Allows proper airflow for cooling |
| Using very hard water | Use filtered or bottled water | Prevents mineral buildup in the pump |
| Forcing the lid shut | Close gently until it clicks | Protects the fragile lid sensor |
| Ignoring dust on vents | Vacuum vents once a month | Keeps the compressor from overheating |
Use this simple decision rule: if the ice cubes appear cloudy or taste metallic, increase your cleaning frequency by one week. If the cubes remain clear but the machine runs louder than usual, prioritize vacuuming the external intake vents immediately.
Frequently asked questions
Can I use vinegar to clean my ice maker?
You can remove scale using a diluted mixture of white vinegar and water, provided you rinse the unit thoroughly afterward. Mix one part vinegar with ten parts water and run a cleaning cycle, followed by two plain water cycles. Avoid using pure vinegar, as the acid can damage internal seals.
How long does it take for a new batch of ice?
Most machines produce a batch of ice every 7 to 15 minutes, depending on the ambient room temperature and water temperature. If the room is hotter than 80 degrees Fahrenheit, the cycle will take longer as the machine struggles to freeze the water. Always use room-temperature water to ensure the fastest cycle times; using ice-cold water tricks the sensors and often leads to incomplete ice cubes or errors.
Why is my ice maker making loud noises?
Loud noises usually indicate that the unit isn’t level or that the cooling fan is obstructed. Check that all four feet are firmly on the counter so the unit doesn’t wobble. If the noise sounds like grinding or clicking, unplug the unit and contact the manufacturer for support.
Is it safe to leave the ice maker on all the time?
No, it isn’t recommended to leave the machine running 24/7 unless it’s an industrial model designed for constant use. These portable machines are intended for intermittent use, and running the compressor continuously shortens the lifespan of the cooling system. Turn the unit off when you aren’t using it for long periods to save energy and protect the mechanical parts from unnecessary wear and tear.
What happens if the water level sensor fails?
A failed water level sensor prevents the machine from detecting water, causing it to run dry or stop working. You can often resolve this by cleaning the sensor area with a damp cloth to remove mineral film. If the machine still indicates it’s empty when full, contact the manufacturer for repair.
Conclusion
If your machine has stopped producing ice and the steps above don’t help, you should reach out to the manufacturer’s customer service team or a qualified appliance repair person. Don’t attempt to take the outer casing off, as this voids your warranty and exposes you to live electrical components. If the unit is still under the manufacturer’s warranty, contact them directly to start a claim before trying any third-party repairs.