
The most effective way to address your drew barrymore coffee maker troubleshooting is to perform a deep clean of the internal components and check for mineral buildup. Most issues, such as slow brewing or inconsistent temperatures, occur because of clogged water lines or a dirty spray head. If your machine isn’t turning on, check the power outlet first before considering a repair. You can find official guidance on maintaining your appliance by visiting the Beautiful by Drew Barrymore support page.
Fixing your Drew Barrymore coffee maker brewing issues

When your coffee maker stops working, the primary cause is often a buildup of calcium deposits from tap water. These minerals collect in the narrow tubes inside the machine. Over time, this scale blocks the flow of water, which makes the pump work harder and causes the brewing cycle to slow down or stop entirely.
Another common issue is an airlock in the internal tubing. This happens if the machine runs while the water reservoir is empty or if the tank wasn’t seated correctly. When air gets trapped in the line, the pump can’t push water through the heater. You’ll notice this if the machine sounds loud but no water comes out.
Finally, faulty sensors or a loose power connection can prevent the machine from starting. If the lid isn’t closed firmly, the safety switch won’t engage. This is a design feature meant to prevent hot water from spraying while the unit is open. If you have verified the plug and the lid, the problem may be an electrical failure. In this case, don’t attempt to open the casing yourself, as this can void your warranty and cause injury.
Clear the internal water lines
If your coffee maker brews slowly or stops midway, you must descale the system to remove mineral buildup. This process uses a mixture of white vinegar and water to dissolve the hard deposits that block internal paths.
To start, fill the reservoir with a mixture of half white vinegar and half water. Place a large mug under the brew head and run a full cycle without a coffee pod or grounds. Once the cycle finishes, let the solution sit in the internal lines for 30 minutes. This gives the acid time to break down stubborn scale.
After waiting, run two full cycles using only fresh, cold water. This flushes out any remaining vinegar taste. If the water still flows slowly after these steps, the blockage may be too severe for a home descale. If you aren’t comfortable performing this maintenance or if the machine remains unresponsive, contact the manufacturer’s customer service team for professional repair options. This fix is for users who notice a drop in brewing speed or who live in areas with hard water.
Reset the power and safety sensors

A machine that refuses to power on often has a simple connection issue rather than a broken part. Start by unplugging the unit from the wall for a few minutes to allow the electronic control board to reset.
While the machine is unplugged, inspect the power cord for any visible damage or fraying. If the cord is damaged, don’t use the machine, as this presents a fire and shock hazard. Check that the outlet itself is working by plugging in a small lamp or another device to verify there’s power.
Next, examine the water reservoir and the lid. Ensure the reservoir is pushed firmly into its base and that the lid clicks into the locked position. Many models feature a magnetic or physical sensor that prevents operation if these parts are loose.
If the machine still doesn’t show lights or respond to buttons after a hard reset, the internal control board may be faulty. This is a non-user-serviceable issue that requires professional assessment by a qualified repair technician. Don’t attempt to bypass safety switches, as this is dangerous.
Inspect the needle and spray head
If your coffee maker leaves grounds in your cup or produces a weak brew, the exit needle or spray head is likely blocked. This is a common problem caused by coffee oils and fine grounds building up over time.
To clean these parts, use a small, soft-bristled brush or a toothpick to gently clear any debris from the needle holes. Be extremely careful, as the needle is sharp and can easily cause a cut. Wipe the area around the spray head with a damp cloth to remove any sticky residue.
If you find that clearing the holes doesn’t improve the flow, the blockage may be internal. In this case, run a cycle with a vinegar-and-water solution to dissolve hardened oils. If the water still drips slowly, the needle itself may be bent or misaligned. A bent needle often punctures the pod unevenly, leading to grounds in the mug.
If you notice water leaking from the bottom of the machine, check if the reservoir seal is intact and free of debris. If the leak persists, the internal gasket has likely failed. This requires a replacement part from the manufacturer.
If you aren’t confident in your ability to clean the needle without damaging it, stop and contact the support team. This task isn’t for those with limited dexterity, as the needle is very sharp and requires steady hands to clean safely.
Common maintenance mistakes to avoid
Many people accidentally damage their coffee makers by using harsh chemicals or ignoring the descaling process. These habits shorten the life of your appliance and affect the taste of your coffee.
- Using abrasive cleaners: Never use steel wool or harsh chemicals on the exterior or interior. These scratch plastic surfaces and leave toxic residues that linger in your cup.
- Forcing the lid closed: If the latch resists, stop. Forcing it breaks the plastic locking mechanism that triggers the internal sensor. Without that sensor, the machine won’t recognize the lid is closed and will refuse to brew.
- Ignoring the descaling schedule: If you wait until the machine stops brewing completely, the calcium buildup is often too thick for a standard solution to dissolve. Once the internal pipes are fully calcified, you’ll likely need a professional repair.
- Submerging the base in water: Never place the base unit in a sink or dishwasher. This destroys the electrical components and creates a major fire risk. If you spill liquid on the base, unplug the unit immediately and ensure it’s thoroughly dry before plugging it back in.
Keeping your machine in top shape
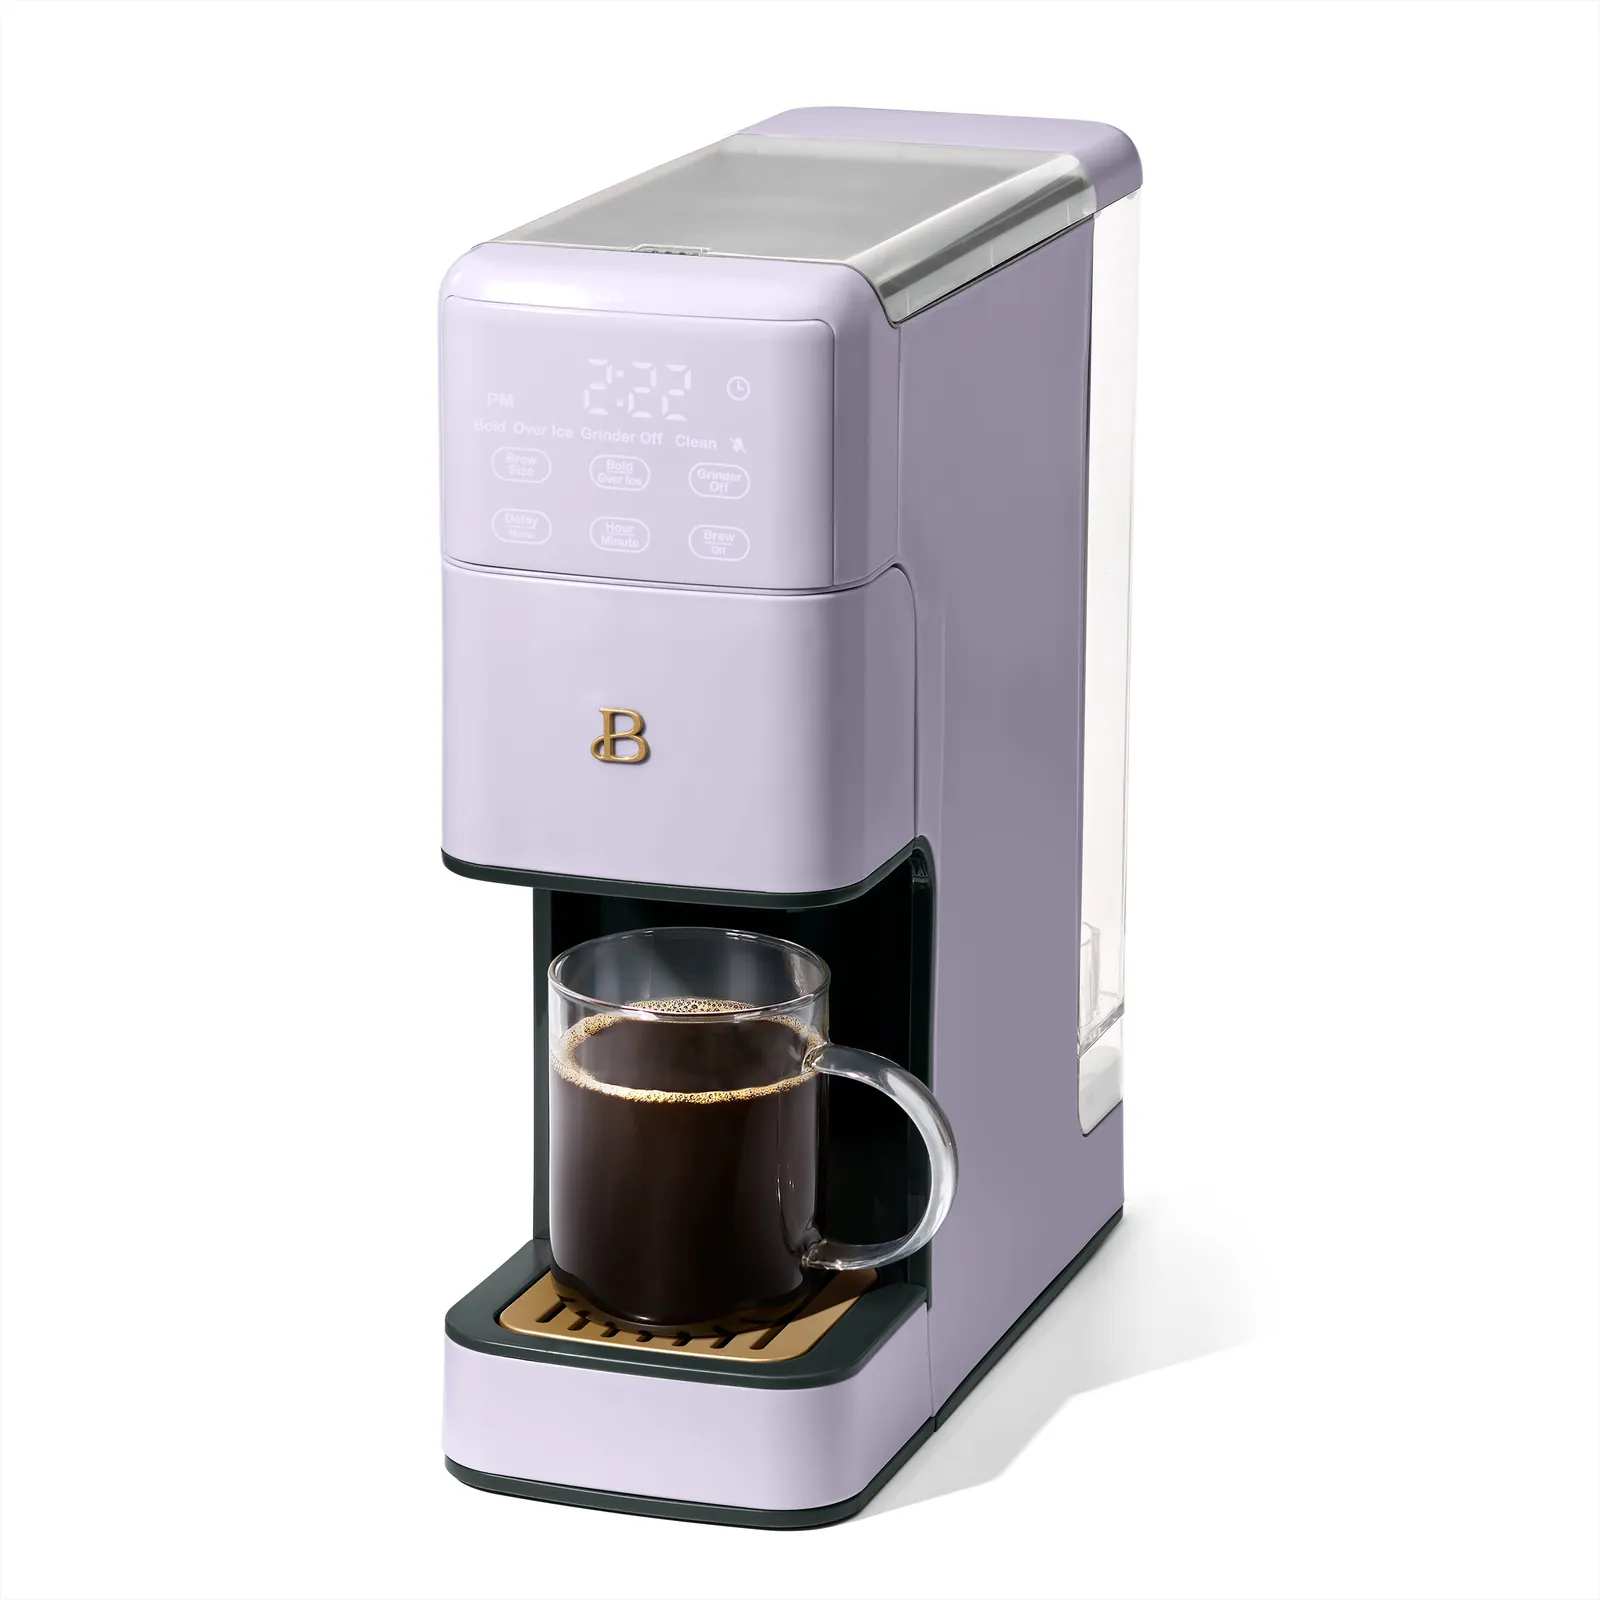
To keep your coffee maker running for years, focus on consistent cleaning habits. A little maintenance every month prevents the internal buildup that leads to the most common repair requests.
| If you’re doing this | Do this instead | Why |
|---|---|---|
| Leaving old water in the tank | Empty the tank every night | Prevents bacteria and mold growth |
| Using tap water | Use filtered or bottled water | Reduces mineral buildup in lines |
| Scrubbing with soap | Wipe with a damp cloth | Prevents chemical residue in coffee |
| Brewing back-to-back | Wait 2 minutes between cups | Allows the heater to recover heat |
Most owners ignore the descaling process until the machine slows to a crawl. If your brew cycle takes significantly longer than when the unit was new, scale has likely clogged the heating element. Run a mixture of equal parts white vinegar and water through the machine as often as usage requires, following the schedule provided in your owner’s manual.
The biggest mistake is using harsh abrasive sponges on the warming plate. This scratches the non-stick coating, causing coffee oils to bake directly onto the metal. If you see brown, crusty spots, stop scrubbing. Use a warm, damp microfiber cloth to gently lift the residue instead.
Frequently asked questions
How often should I descale my coffee maker?
Descale your machine regularly to maintain performance and prevent mineral buildup. Frequency depends on your local water hardness and how often you brew. Always follow the manufacturer’s recommended ratio of vinegar to water.
Why is my coffee maker leaking from the bottom?
A leak from the bottom usually indicates a worn internal reservoir seal or loose tubing. First, ensure the reservoir is seated correctly and not overflowing. If the leak persists from the base, contact the manufacturer for professional service.
Is it safe to leave the coffee maker plugged in?
It’s safe to leave your coffee maker plugged in when not in use. Modern machines automatically enter a low-power standby mode when idle. Unplug the unit if you’re away for an extended period to protect it from power surges.
How do I clear an airlock in my coffee maker?
To clear an airlock, tilt the machine side to side to release trapped bubbles, then run a brew cycle without a pod. Never use high-pressure air that could damage the pump.
What should I do if the machine doesn’t heat the water?
Lukewarm coffee usually indicates a failed heating element, which requires professional repair. Perform a hard reset by unplugging the unit for 60 seconds to rule out a sensor glitch. Don’t attempt to open the housing, as this is dangerous.
How long does a typical coffee maker last?
A well-maintained coffee maker typically lasts several years with daily use. Lifespan depends heavily on regular descaling and cleaning the needle and spray head. If the machine develops multiple simultaneous issues, it’s often more cost-effective to replace the unit.
Conclusion
If you’re still having trouble after these checks, don’t hesitate to reach out to the customer service team for extra help. They’ve got a dedicated support staff that’s ready to assist you. You’ll be back to enjoying your favorite morning brew in no time once you get things sorted out.
Related guides