
You can fix most flow or pressure issues with basic drinking fountain troubleshooting by checking the water shut-off valve and the stream height adjustment screw. The most common cause for a fountain failing to run is a partially closed supply valve or a clogged strainer screen. If the water doesn’t flow after these simple checks, the internal regulator might be stuck or the filter may be completely blocked. You should verify your specific model’s manual before attempting any adjustments to avoid damaging the internal components.
Why the water flow stops
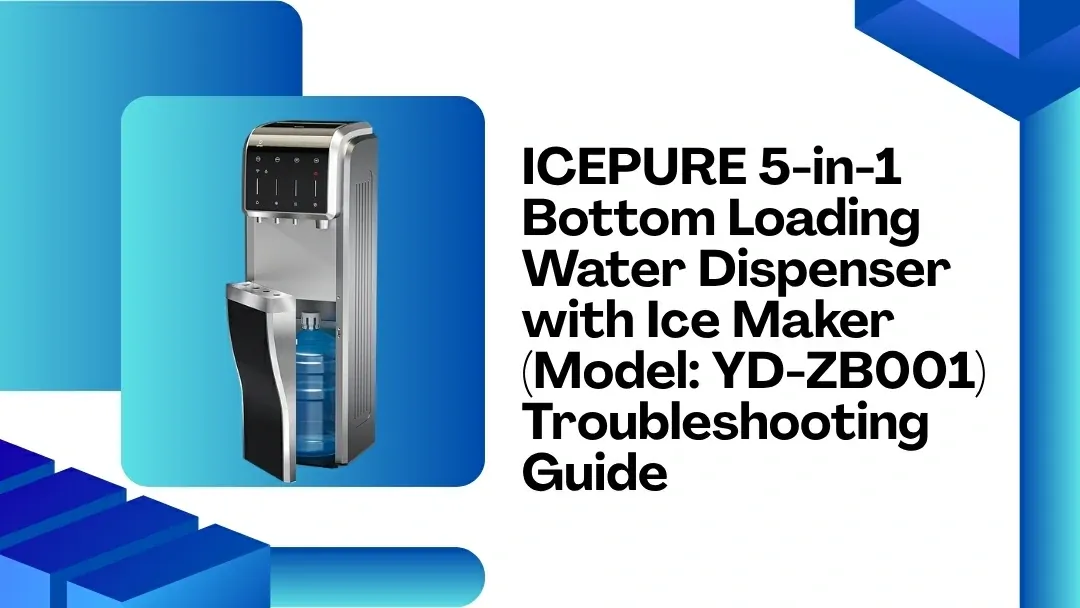
The most frequent reason a unit stops working is a simple restriction in the water line. If the building’s main water pressure is normal but the fountain is slow, the screen inside the inlet strainer is likely capturing sediment or mineral deposits.
These particles build up over time, especially in areas with hard water, effectively choking the flow before it reaches the cooling tank. You can check your local water quality reports or the manufacturer’s maintenance guide to see if your area requires more frequent screen cleanings.
Another common cause involves the stream height adjustment. If someone accidentally turns the adjustment screw, the water pressure might be set too low to reach the bubbler nozzle. This screw is often hidden behind a small access panel or located directly under the push-button assembly.
Internal components also suffer from wear. If the solenoid valve fails to open when you press the button, the water won’t move regardless of the pressure settings. This usually happens after years of constant use. If the unit makes a humming sound but no water comes out, the valve is likely stuck closed. If it makes no sound at all, the issue might be electrical, which requires a professional to diagnose safely.
Safety: Inside a mains-powered machine, the parts behind the outer cover can hold a dangerous electrical charge even after it has been unplugged — that’s why they sit behind a cover. Opening the housing, or testing or replacing anything behind it, is a job for a qualified technician, never a home repair.
Adjust the water pressure screw
This fix is for users who have a fountain that produces a very weak stream or one that doesn’t reach the nozzle properly. You’ll need a flat-head screwdriver that fits the adjustment screw on your unit. Locate the small hole on the underside or the side of the fountain cabinet. Gently insert the screwdriver and turn it clockwise about a quarter-turn to increase the pressure.
If you turn it too far, the water will spray too high and create a mess. If you don’t feel any resistance when turning, stop immediately to avoid stripping the screw threads. This adjustment is meant for minor flow corrections. If you have to force the screw to get any results, the internal regulator is likely damaged and needs a professional repair.
You can tell this fix worked if the stream reaches the center of the basin without splashing outside the bowl. If the water flow remains weak after this adjustment, the problem isn’t the pressure setting. It’s likely a blockage in the line or a failing solenoid valve. Don’t attempt to bypass the regulator, as this can lead to leaks or burst pipes within the cabinet.
Clean the inlet strainer screen

This method is for units where the water flow has gradually slowed down over several months or years. You must first turn off the water supply to the fountain using the shut-off valve located under the sink or behind the access panel. Once the water is off, press the button to release any remaining pressure in the lines. This ensures you don’t get sprayed when you disconnect the fitting.
Locate the inlet strainer where the water line connects to the fountain. Carefully unscrew the housing and remove the small mesh screen inside. Use a soft brush and clean water to remove any sand, rust, or mineral buildup from the mesh. If the screen is damaged or looks clogged beyond cleaning, you should replace it with the exact part specified by the manufacturer.
Reinstall the screen and tighten the housing firmly, but don’t overtighten it. Turn the water supply back on slowly and check for any leaks around the connection. If the water flow returns to its normal height, the cleaning was successful. If the flow is still restricted, the blockage is likely further up in the internal tubing, which requires a technician to disassemble the unit safely.
Inspect the filter cartridge
This fix is for units equipped with a dedicated water filtration system. If you notice a sudden drop in pressure, the filter is likely saturated with contaminants and needs a replacement. Most manufacturers recommend changing these filters every 6 to 12 months, depending on the volume of use and the mineral content of your local water supply.
Check the date on your current filter to see if it’s past the recommended lifespan. If the filter is old, twist it out of the head assembly and install a new, compatible cartridge. Some filters have a locking mechanism that requires a firm twist to seat properly. If you hear a click, the filter is likely in the correct position.
If the water flow remains low after replacing the filter, the filter head itself may be faulty or clogged. This is a common point of failure that prevents water from passing through to the bubbler. If you’re unsure about the compatibility of a new filter, check the model number on the existing cartridge. Using an incorrect filter can damage the flow regulator and cause leaks that may ruin the cabinet floor.
Mistakes to avoid during maintenance
- Don’t use tools on the plastic bubbler nozzle. Using pliers here will scratch the surface or crack the plastic, which creates a sharp edge that can cut a user’s lip.
- Don’t ignore a constant leak. A small drip inside the cabinet will eventually lead to mold growth or floor damage, so turn off the supply if you can’t fix it immediately.
- Don’t adjust the cooling thermostat. Changing the temperature settings doesn’t fix flow issues and can cause the internal tank to freeze and burst if set too low.
- Don’t force a stuck solenoid. If the valve doesn’t click when you press the button, it’s likely an electrical issue that requires a qualified plumber or electrician to fix.
Managing your drinking fountain

| If you’re doing this | Do this instead | Why |
|---|---|---|
| Using pliers on the nozzle | Use your fingers only | Pliers damage the finish and plastic |
| Tightening fittings until they stop | Tighten until snug | Overtightening cracks plastic housings |
| Ignoring a low stream | Clean the strainer screen | Debris causes permanent pressure drops |
| Leaving the water on while cleaning | Shut off the supply | Prevents accidental flooding during service |
When adjusting the nozzle, never use metal tools. Even a small scratch on the chrome finish creates a surface where mineral deposits can accumulate more easily. If the nozzle is too tight to turn by hand, soak a cloth in white vinegar for ten minutes to dissolve the scale before trying again.
For the strainer screen, perform a check every six months. If the stream height drops below two inches, the screen is likely occluded by sediment. A persistent low stream after cleaning indicates a failing regulator valve, which is inexpensive to replace compared to a new unit.
Always locate the internal shut-off valve before starting maintenance. If you can’t find a dedicated valve under the basin, you must close the building’s main supply. Failing to do this often leads to a localized flood if a plastic fitting snaps under the pressure of your wrench.
Frequently asked questions
Can I fix a leaking fountain myself?
You can fix minor leaks at the external connections or supply line by tightening them carefully. Don’t attempt to repair leaks inside the sealed tank or internal solenoid. These pressurized components require a professional plumber to prevent water damage.
How often should I clean the fountain?
Clean the exterior and bubbler nozzle weekly to maintain hygiene. Check the internal strainer and filter every six months for most office environments. If your building has hard water, you may need to inspect these components more frequently.
Why is the water warm?
Warm water is usually caused by an unplugged cord or an incorrectly set thermostat. Verify the unit is plugged into a working outlet and the circuit breaker is active. If the compressor fails to engage after adjusting the thermostat, contact a professional technician.
Is it safe to drink if the water is slow?
Avoid drinking from a fountain with a slow or inconsistent stream. A weak flow often indicates a clogged filter or stagnant water in the lines. If the water appears cloudy or smells unusual, stop using the unit and post an “Out of Order” sign.
What happens if I use the wrong filter?
Using the wrong filter can cause water flow blockages or internal leaks. Every fountain requires a specific cartridge to create a proper seal. Always match the model number on your existing filter to ensure you purchase the correct replacement for your machine.
How long do these fountains last?
Most commercial drinking fountains last between 10 and 15 years with proper maintenance. The lifespan depends on water quality and regular filter replacements. If you experience persistent rust or loud compressor noise, it may be more cost-effective to replace the unit.
Conclusion
Regular maintenance keeps your unit running smoothly and ensures the water remains clean for everyone to enjoy. If you follow these simple steps, you can keep your fountain in good working order for many years. When in doubt, always contact the manufacturer or a local plumber to avoid any major accidents.
Related guides