To fix a connection issue, you should perform dzees security camera troubleshooting by checking your Wi-Fi signal strength and verifying that your smartphone app is updated to the latest version. Most connectivity problems occur because the camera is too far from the router or the network frequency is set to 5GHz instead of the required 2.4GHz. If the camera light is blinking red, it usually means it can’t find your home network. You can often resolve this by resetting the device through the app or by power-cycling your router to clear temporary IP address conflicts.
Fix Dzees camera connection issues
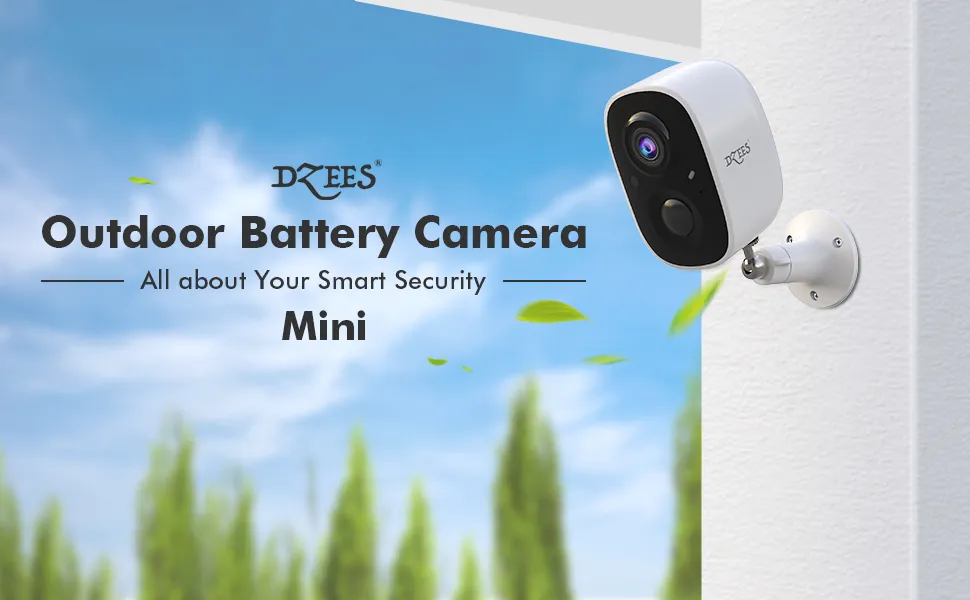
Connectivity drops usually happen because of physical interference or signal congestion. Most cameras operate exclusively on the 2.4GHz Wi-Fi band, which offers a longer range but lower data speeds than the 5GHz band. If you have many devices connected to your router, such as gaming consoles or smart TVs, the 2.4GHz channel can become crowded, causing the camera to time out.
Walls, large metal objects, and even mirrors can block the signal between your router and the camera. A simple test is to move the camera within ten feet of the router for one hour. If the connection stabilizes, the issue is signal range or physical obstruction, not the camera itself.
Another common cause is an outdated firmware version. Manufacturers frequently release updates to patch software bugs or improve network stability. When the camera software becomes too old, it may struggle to authenticate with modern WPA2 or WPA3 security protocols.
A common mistake is assuming a router reboot fixes every issue. If your camera was working fine yesterday but stopped today, a power surge might have left the device “hanging.” If the status light is flashing red, perform a hard reset by holding the sync button for ten seconds.
If the light remains solid but the app shows offline, the problem is likely an IP address conflict. In this case, assign a static IP to your camera within your router’s settings to prevent the network from dropping the device during periodic lease renewals.
Reset the device settings
If the camera refuses to connect after a router reboot, a full reset is often the most effective solution. This process clears the old network credentials and returns the device to its factory-ready state. First, locate the reset button on the camera body, which is often hidden under a rubber flap or near the SD card slot. Press and hold this button for about 10 seconds until you hear a tone or see the status light begin to flash.
This fix is intended for users who have lost access to the live feed but still have physical access to the camera. If your status light remains solid or dark after holding the button, the reset failed; try again while the device is powered on. Once the light flashes, open your smartphone application and select the option to add a new device.
You’ll need to re-enter your Wi-Fi password carefully, as a single typo here is the most common reason the setup fails. This mistake costs you time, as you must often restart the entire pairing sequence from the beginning. If you’re using a mobile device, ensure your phone is connected to your home’s 2.4GHz Wi-Fi network before you start the pairing process.
Most modern routers use band steering to combine 2.4GHz and 5GHz signals. If your camera fails to handshake, temporarily disable the 5GHz band in your router settings to force the device onto the 2.4GHz frequency. If the camera still doesn’t connect, move it within 5 feet of the router to complete the initial handshake. Once the connection stabilizes, you can safely return the camera to its permanent mounting location.
Verify the power supply
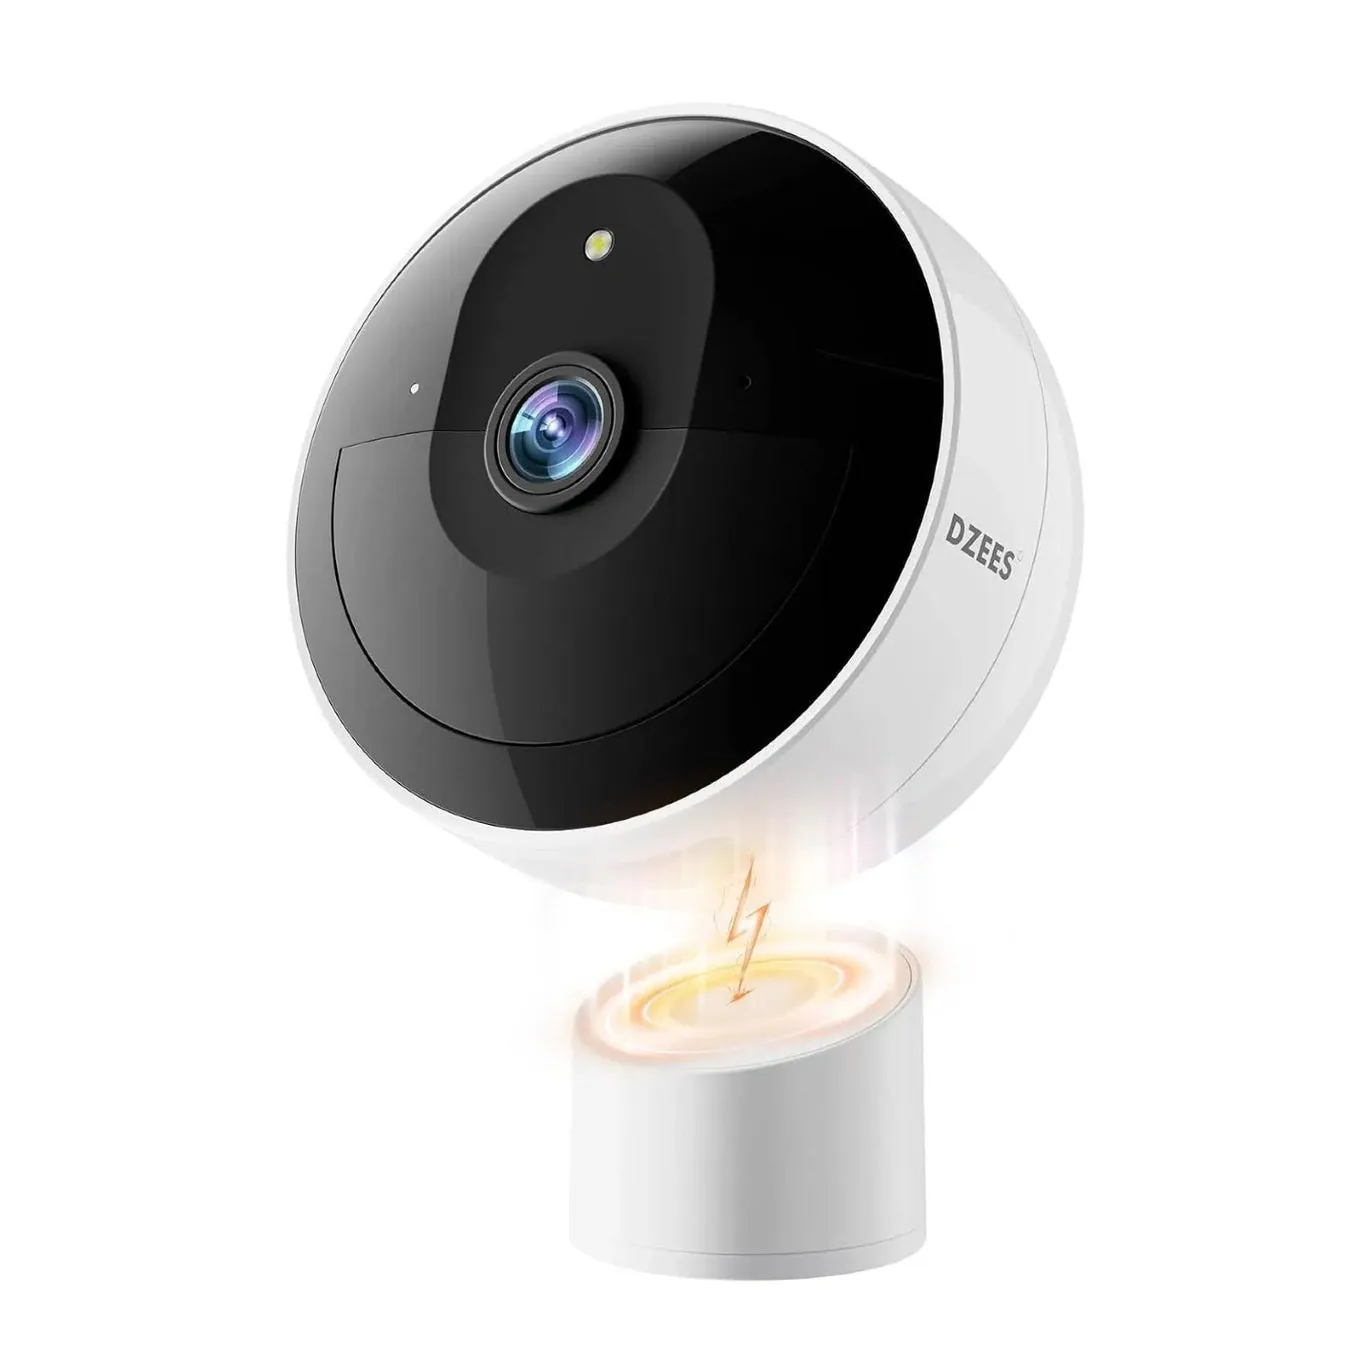
A camera that keeps turning off or losing its feed might not be getting enough electricity to maintain its Wi-Fi radio. If you use a solar panel, the internal battery may be depleted due to consecutive cloudy days, which forces the camera to disable non-essential features like Wi-Fi to preserve the remaining charge. Check the battery percentage in your app; if it’s below 15%, the device may struggle to maintain a stable connection.
For cameras powered by a wall adapter, ensure the cable is pushed firmly into the port. A loose connection can cause the camera to reboot whenever it tries to record or activate its infrared night vision, which draws more power. If the camera cycles power specifically when the night vision clicks on, the power supply is failing to provide sufficient current to handle the increased load.
If you’re using a third-party USB cable, swap it for the original one that came in the box. Many aftermarket cables use thinner gauge wire that creates voltage drop over distances longer than three feet. These cameras often require a specific voltage output to function correctly, and standard phone chargers may not provide the steady current required for the camera’s internal hardware.
Check your power brick for the output rating. If it’s insufficient, it will likely cause intermittent drops during high-bandwidth tasks. If the device remains unresponsive despite a full charge and a firm connection, the internal battery or the power port may be damaged. In this case, you should contact a professional technician for assistance. Don’t attempt to force a cable into a port that feels loose, as this often indicates a broken solder joint on the motherboard.
Improve the signal strength
Sometimes the hardware is fine, but the location of the camera is simply too far from your Wi-Fi source. If the video feed is choppy or constantly buffers, the signal-to-noise ratio is likely poor. Try moving the camera to a spot with fewer walls between it and the router. If the camera must stay outside, you might need a Wi-Fi range extender to boost the signal in that specific area of your home.
This fix is for users who have a working connection that’s unreliable or slow. If you buy a range extender, place it halfway between the router and the camera, not right next to the camera. A common mistake is placing the extender where the signal is already dead, which only extends the “dead” or weak connection.
To test your placement, use a smartphone app like Wi-Fi Analyzer. You need a signal strength of at least -65 dBm for stable 1080p streaming. If your reading is -75 dBm or lower, the connection will drop frequently.
Once installed, check the signal strength indicator in your app; a strong connection will show at least two or three bars consistently. If you have a large home, consider using a mesh Wi-Fi system instead of a single range extender. Mesh systems provide a more stable handover as you move devices around.
While extenders create a separate network name, mesh nodes share one network, preventing your camera from clinging to a weak, distant signal when a closer node is available. If your router is outdated, replacing it with a modern mesh kit is often more effective than adding extenders.
Avoid common setup mistakes
Several popular “hacks” can actually cause more harm than good or void your warranty entirely. Don’t attempt to open the camera housing to fix internal components, as this can break the weatherproofing seals and lead to permanent water damage.
- Avoid glass: Don’t place the camera behind a window. The infrared reflection will wash out your night vision and cause the motion sensor to trigger constant false alerts. If you must monitor through glass, turn off the camera’s IR lights and use an external illuminator.
- Stick to 2.4GHz: Most security cameras cannot “see” 5GHz networks. Forcing your router to use only that band makes the camera invisible to the app. If your router uses “band steering,” temporarily disable it until the pairing process finishes.
- Grant permissions: The app needs location and local network permissions to discover the device. Denying these will block the setup process entirely.
- Avoid guest networks: Public or guest Wi-Fi often has “client isolation” enabled. This security feature prevents devices from talking to each other, making it impossible for the camera to pair with your phone.
- Check signal strength: Before mounting, test the connection at the final location. If your phone shows fewer than two bars of Wi-Fi strength, the camera will likely suffer from frequent disconnects or corrupted video feeds. In this case, you must install a Wi-Fi extender or move the router closer.
Optimize camera connectivity

You can improve your overall experience by shifting from common troubleshooting habits to more reliable methods. Use the table below to identify your current issue and apply the recommended fix.
| If you’re doing this | Do this instead | Why |
|---|---|---|
| Using 5GHz Wi-Fi | Switch to 2.4GHz | Cameras require the 2.4GHz range |
| Mounting behind glass | Mount in open air | Glass blocks motion sensors |
| Using a long cable | Use original cable | Correct voltage is essential |
| Leaving it unupdated | Update the firmware | Patches fix connection bugs |
Related guides
- Aosu Security Camera Troubleshooting: Quick Fixes Guide
- Cobra Security Camera Troubleshooting: Quick Fixes and Tips
Frequently Asked Questions
Can I use my camera without Wi-Fi?
No, these devices require a consistent internet connection to send alerts and stream video to your phone. If your Wi-Fi is down, the camera may record to an SD card if one is inserted, but you won’t be able to view the footage remotely.
How long does a full reset take?
A full reset usually takes about 2 to 5 minutes to complete. After holding the button, the camera needs time to reboot and enter its discovery mode, during which the status light will typically blink to show it’s ready for pairing.
Is it safe to leave the camera outdoors?
Yes, provided you have a model that’s rated for outdoor use and you have properly secured the rubber covers over the ports. Always ensure the mounting hardware is tight so that high winds don’t shift the camera’s field of view.
Why does my camera keep going offline at night?
It’s likely drawing too much power when the infrared night vision turns on, causing the system to crash. Check your battery level or ensure your power adapter is providing the correct wattage for the device.
What happens if I forget my password?
You’ll need to perform a factory reset to regain control of the device. Once you reset it, you can set up a new account or sign in with your existing credentials to re-pair the camera as if it were brand new.
How many cameras can my router handle?
Most home routers can handle 5 to 10 cameras, but this depends on your upload speed. If your internet upload speed is below 5 Mbps, you’ll likely experience buffering when trying to view multiple cameras at the same time.
Conclusion
If these fixes don’t get your feed back online, don’t worry. You shouldn’t hesitate to reach out to the support team through the app’s help section. They’ll be happy to look into your specific setup and help you get everything running smoothly again so you can feel secure at home.