If your device is failing to cycle properly, you should perform defiant timer troubleshooting by first checking that the manual override switch is set to the “auto” position. Most issues with these units stem from a simple loss of power or a misaligned mechanical dial that prevents the internal contacts from closing. If the unit remains unresponsive after ensuring it has a steady power supply, the internal motor or the contact points may have reached the end of their functional lifespan.
Why your defiant timer stopped working
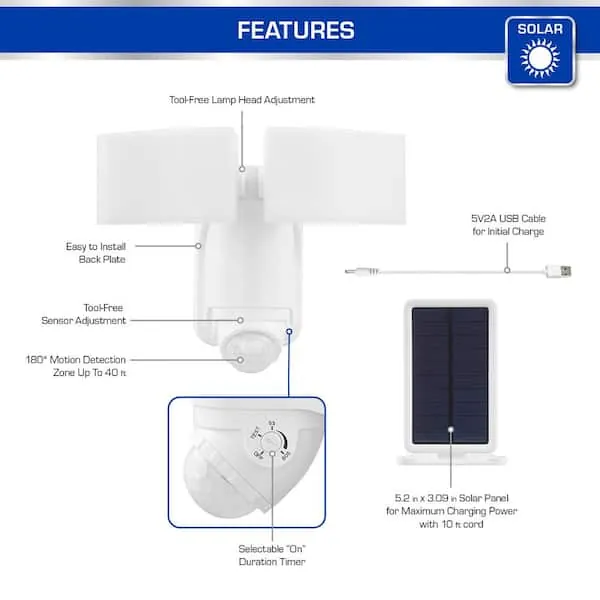
The primary reason for a unit to stop working is often an interrupted power supply, which can be caused by a tripped circuit breaker or a loose connection at the terminal block. Even if the dial appears to be moving, the electrical contacts inside the device might be worn or stuck, preventing the circuit from completing. You should inspect your home electrical panel to confirm that the circuit controlling the timer hasn’t tripped.
Another common cause involves the physical condition of the clock motor. These motors are designed for continuous operation, but they can fail if they’re exposed to extreme temperatures or moisture that exceeds the manufacturer’s rated specifications. If the dial has stopped moving entirely, it’s a clear sign that the internal motor has burned out or seized.
Finally, consider the age of your equipment. Many household timers are rated for a specific number of cycles, and once they pass this point, the mechanical gears may simply wear down. If you notice any signs of melting or charred plastic on the casing, you must stop using the device immediately, as this indicates an internal short circuit that poses a fire hazard.
Safety: Inside a mains-powered machine, the parts behind the outer cover can hold a dangerous electrical charge even after it has been unplugged — that’s why they sit behind a cover. Opening the housing, or testing or replacing anything behind it, is a job for a qualified technician, never a home repair.
Verify the power connection
If you’re comfortable working with basic home appliances, start by ensuring the unit is firmly plugged into a functional outlet. If the timer is hardwired, verify that the wire nuts are tight and that no wires have vibrated loose over time. A loose neutral wire is a frequent culprit that prevents the timer from receiving the consistent voltage it needs to keep time accurately.
Check the voltage at the outlet using a non-contact voltage tester to confirm that power is reaching the device. If the outlet is dead, reset your breaker or check for a tripped GFCI outlet in the vicinity. If the outlet works but the timer remains silent, the internal motor is likely the point of failure.
This fix is intended for users who have basic experience with home electrical hardware. If you don’t have experience with electrical wiring, or if you feel any hesitation when checking connections, you should contact a licensed electrician. Attempting to repair internal components without proper training can result in serious electrical shock or damage to your home’s electrical system. If you see signs of physical damage to the plug or cord, replace the unit rather than attempting a repair.
Adjust the mechanical settings
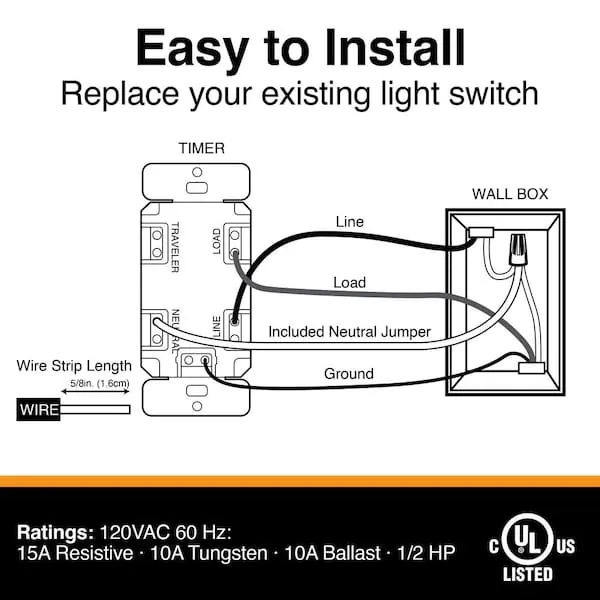
Many people mistake a programmed “off” time for a broken unit. Inspect the trippers or the pins on the face of the dial to ensure they’re set to the correct position for your desired schedule. If the trippers are loose, they may not trigger the internal switch mechanism as the dial rotates. Tighten any screws holding the pins in place; a loose pin often fails to depress the lever, causing the unit to skip your scheduled window entirely.
Ensure the override switch isn’t locked in the “off” position. Some models feature a manual bypass that overrides the timer schedule entirely. Toggle this switch several times to ensure it hasn’t become stuck in an intermediate position. If the switch feels spongy or lacks a tactile “click,” it’s likely worn out. If the dial rotates but the connected light or appliance doesn’t turn on, the internal contact bridge is likely not engaging.
This fix is suitable for anyone who can read a manual or follow visual indicators on the device face. If the dial doesn’t rotate even when the unit is receiving power, the internal gear train is likely stripped. A stripped gear is a permanent mechanical failure that can’t be repaired by a home user.
In such cases, you should replace the entire unit to ensure safe and reliable operation. Attempting to force the gears often leads to short circuits or fire hazards, so don’t try to manually rotate the dial if it feels jammed.
Reset the internal clock motor
If your timer is a digital model, a simple power reset can often clear a frozen software state. Unplug the device from the wall outlet and leave it disconnected for at least 60 seconds to allow the internal capacitor to discharge completely. Plug it back in and attempt to reprogram the time and schedule from scratch.
For mechanical models, listen closely to the unit. A faint humming or clicking sound indicates that the motor is trying to turn the gears. If you hear nothing, the motor has failed. If you hear a grinding noise, there’s likely an obstruction in the gear path. Don’t force the dial manually, as this will break the small plastic teeth on the gears.
This approach is best for digital timers that have become unresponsive or show a blank display. If you have a digital model and the display remains blank after a reset, the internal battery or the screen itself has failed. These components are usually sealed inside the housing and aren’t serviceable by the user. If the device still doesn’t function after a full reset, it’s time to purchase a replacement.
Avoid common troubleshooting mistakes
Opening the sealed plastic housing voids your warranty and exposes you to live electrical components. Touching these parts can cause severe injury or fire. If you suspect an internal fault, stop immediately; the device isn’t user-serviceable.
Using a metal tool to move the dial often snaps the delicate plastic gears. Metal also risks a short circuit if it brushes against internal wiring. Always use a non-conductive plastic stylus or your finger to adjust settings.
Applying lubricants to the dial is a common error. Most timers use dry-lubricated gears. Adding oil attracts dust, creating a sticky paste that eventually halts the movement. If the dial feels stiff, the internal mechanism is likely already failing.
Ignoring the maximum load rating is the most dangerous mistake. Connecting an appliance that draws more amperage than the timer’s rating will weld the internal contacts shut. If your device stays stuck in the “on” position, you have likely exceeded this threshold.
Prevent future timer issues
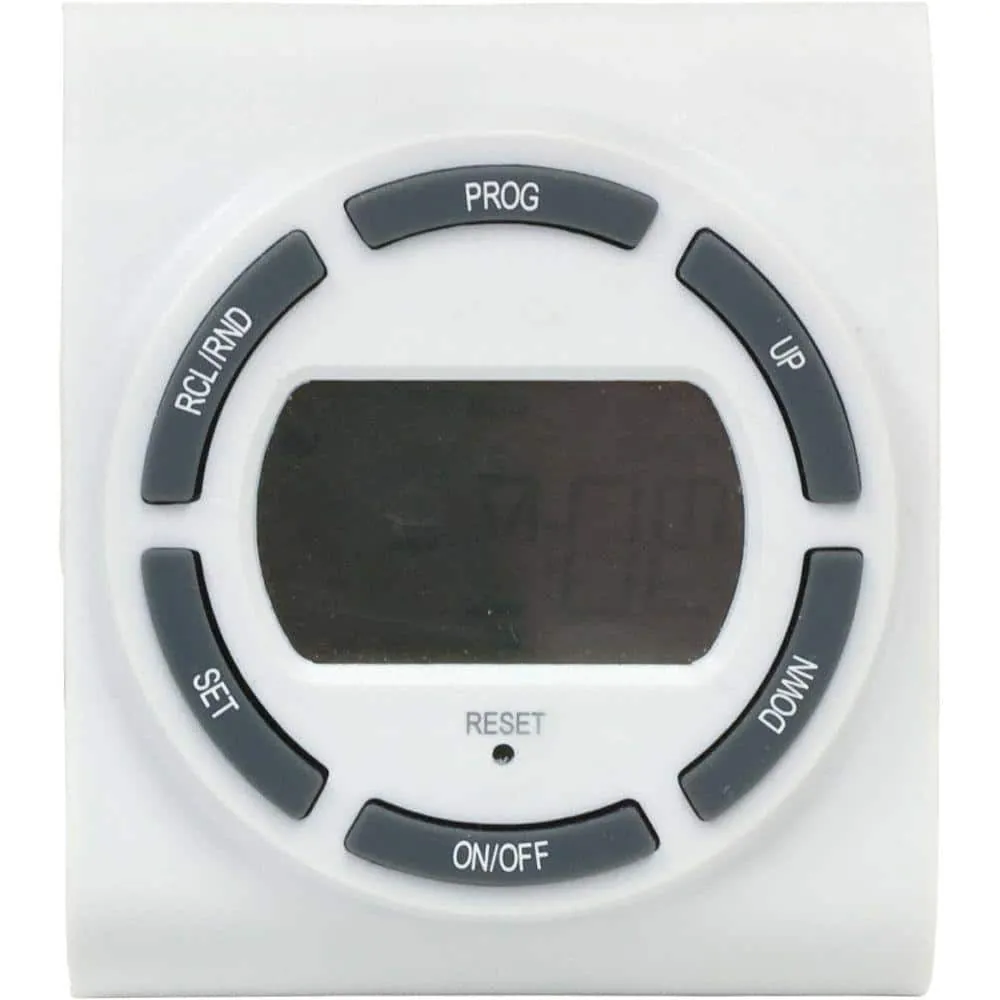
The most effective way to avoid problems is to match the timer’s load capacity to the appliance you’re controlling. If you’re using a timer for heavy items like heaters or high-wattage pumps, ensure the device is rated for that specific use.
Most household timers handle standard loads, but inductive loads like motors or compressors create power surges that can exceed the timer’s capacity during startup. If your appliance has a motor, contact a qualified technician to verify that your timer is properly rated for the specific surge requirements.
| If you’re doing this | Do this instead | Why |
|---|---|---|
| Overloading the timer | Check the wattage rating | Prevents internal contact welding |
| Placing in humid areas | Use a weatherproof enclosure | Stops motor corrosion and shorts |
| Forcing the dial | Rotate only in the direction of the arrow | Protects delicate plastic gears |
| Leaving it in a hot garage | Move to a climate-controlled area | Extends the life of internal components |
A common mistake is daisy-chaining power strips into a timer. This creates a single point of failure that often exceeds the timer’s thermal limit, leading to melted casing. If you need multiple outlets, use a dedicated power distribution block rated for the total combined load.
Frequently asked questions
Can I replace the fuse inside my timer?
No, most consumer-grade timers are sealed units that don’t contain user-replaceable fuses. If the internal circuit protection has tripped, it’s usually because the electronics have suffered a catastrophic failure. You should replace the device entirely rather than attempting an unauthorized repair.
How long should a mechanical timer last?
A standard mechanical timer typically lasts between 3 to 5 years when used within its rated load limits. This lifespan varies based on the environment, as high heat and dust can degrade the internal motor and gears. Expect a shorter lifespan if used in an unconditioned space.
Is it safe to use a timer for a space heater?
No, it’s generally not safe to use a standard household timer with a space heater. Most space heaters draw a high current that can quickly exceed the capacity of a standard timer, creating a fire hazard. Ensure any timer used is explicitly rated for high-wattage appliances.
Why does my timer make a clicking sound?
The clicking sound is usually the internal motor driving the gear train, which is a normal part of operation. If the clicking becomes loud or sounds like grinding, it indicates that the internal gears are slipping or obstructed. Monitor the unit closely, as it will likely fail soon.
What happens if the timer gets wet?
Water inside the housing creates an immediate risk of a short circuit, which can trip your breaker or cause a fire. If your timer has been exposed to water, disconnect it from the power source immediately and allow it to dry completely. Discard the unit if you see corrosion.
How do I know if the timer is overloaded?
You know the timer is overloaded if the casing feels hot or if you smell burning plastic. Check the label on the back of the timer to find the maximum wattage rating and compare it to your appliance. Overloading causes the internal contacts to weld together, preventing the timer from turning off.
Conclusion
If these quick checks don’t get things running again, it’s likely time for a replacement. You shouldn’t try to open the sealed housing, as it isn’t designed for repairs. Check your local hardware store for a newer model, and you’ll have your schedule back on track in no time.
Related guides