The most effective way to address delonghi dinamica troubleshooting is to perform a full system reset by unplugging the machine for at least 30 minutes before restarting the brew cycle. Most common issues stem from a buildup of coffee oils or a misaligned brewing unit, which triggers an error light on the control panel. If your machine shows a warning light, check the internal waste bin and the water tank connection first. These simple steps often clear temporary electronic errors without needing professional repair.
Fixing common Delonghi Dinamica errors
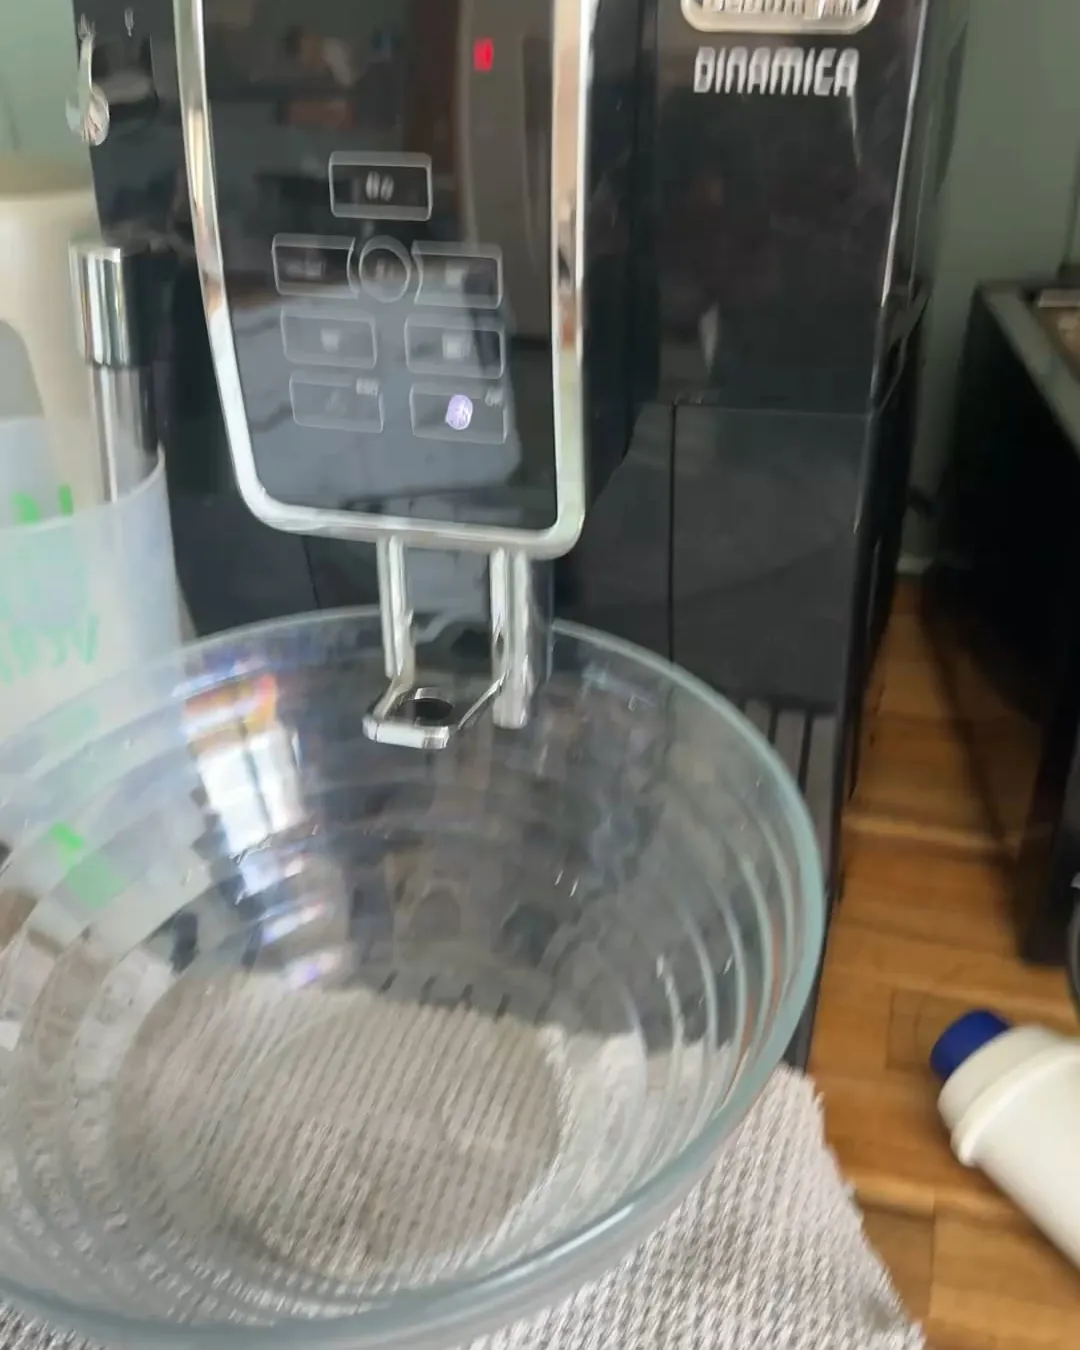
Most operational issues occur because the internal sensors detect a blockage or an incomplete cycle. When the brewing unit isn’t perfectly aligned, the machine can’t lock it into place, which results in a persistent error light. This happens if the unit was removed for cleaning and not pushed back until you hear a distinct click.
Another common cause involves the water circuit. Air bubbles can get trapped inside the internal tubes if the machine runs out of water during a cycle. If the pump sounds louder than usual or produces no liquid, it’s likely trying to push air rather than water. You can often resolve this by running the hot water function until a steady stream flows from the nozzle.
Scale buildup is the final major cause of performance drops. Even with a water filter, minerals in your local supply will eventually coat the heating element. When the machine takes longer to heat up or the coffee temperature is lower than expected, it’s time to run the dedicated descaling program. You can find the official De’Longhi support guides for specific error codes if the standard reset doesn’t work.
Clean the infuser unit
If your coffee flow is weak or the machine stops mid-cycle, the infuser unit is likely clogged with old coffee grounds. This fix is for users who notice a “General Alarm” light or a machine that grinds but produces no coffee. You must pull the infuser out to inspect it for dried debris.
To clean it, open the service door on the right side and press the two release buttons to slide the unit out. Rinse it under warm running water to remove all trapped grounds, but don’t use soap or put it in the dishwasher, as this removes the necessary food-safe lubricant.
Let it air dry completely before sliding it back into the machine. If the unit doesn’t slide in smoothly, don’t force it. Instead, close the service door, turn the machine off, and turn it back on to reset the mechanical arms to the home position.
If you find that the plastic parts are cracked or the mesh screen is permanently blocked, you’ll need to purchase a replacement infuser. This is a common maintenance item that varies in cost based on your specific model number, which you can locate on the rating plate inside the service door.
Descale the water system
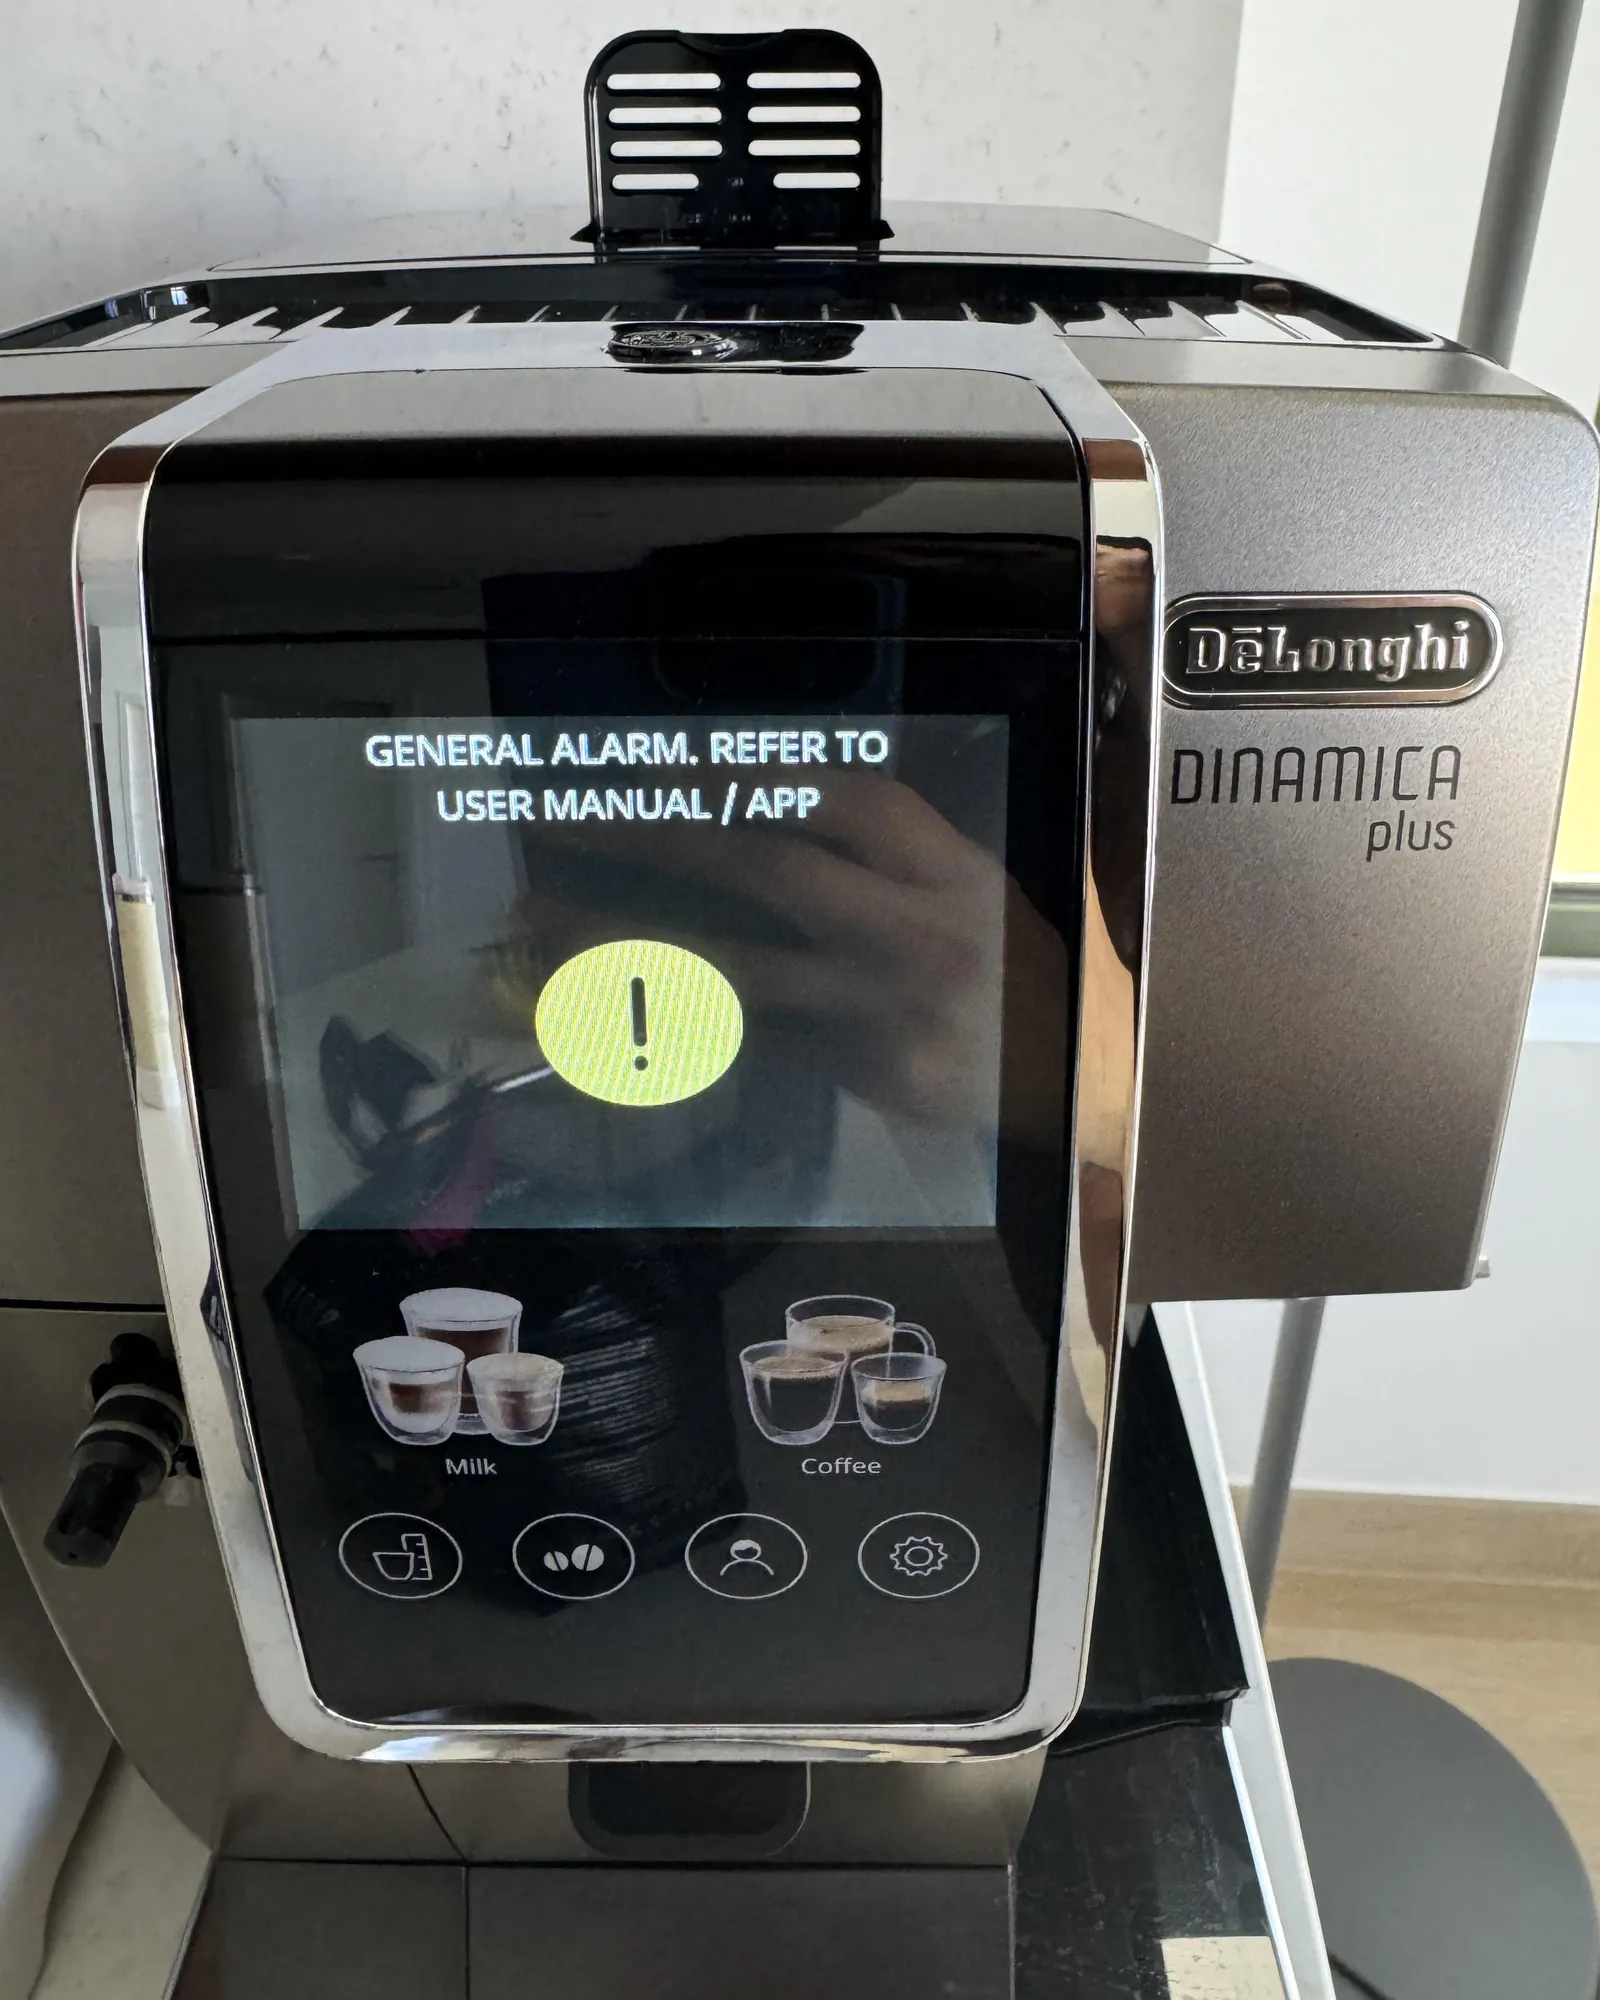
When the machine displays a notification or the coffee flow slows to a drip, you must perform a full descaling cycle. This process removes calcium deposits that prevent water from passing through the internal pipes at the correct pressure. If you skip this, the heating element may eventually fail due to overheating.
Use only an approved liquid descaler to avoid damaging the internal seals. Fill the water tank to the designated “A” level with the solution and the rest with fresh water. Place a container that holds at least 2 liters under the coffee spouts and the steam wand. Start the descaling mode via the menu and follow the screen prompts exactly.
The process takes about 30 to 45 minutes depending on your water hardness settings. If you stop the process early, the machine will remain in an error state and you’ll have to restart the entire cycle. Once the tank is empty, rinse it thoroughly and fill it with fresh, cold water to perform the mandatory rinse cycles. This ensures no descaling chemicals remain in the pipes for your next cup.
Adjust the grind settings
If your coffee is watery or the machine struggles to push water through the puck, the grind setting might be too fine. You should only adjust the dial inside the bean hopper while the grinder is actively running. If you try to change the setting while the grinder is idle, the burrs can jam, which may require professional service to clear.
Start by moving the dial one notch toward the coarser setting. Brew a few cups to see if the flow rate improves. If the coffee is still too weak, move the dial one notch toward the finer setting, but never move it more than one notch at a time. This allows the machine to adjust to the new grind size without blocking the brewing chamber.
This fix isn’t for machines that refuse to turn on or show electrical sensor errors. If your machine makes a loud grinding noise but produces nothing, the issue is likely a mechanical blockage rather than the grind size. In that case, stop using the machine immediately to prevent motor strain and contact the manufacturer’s service center for an inspection.
Common mistakes to avoid
Forcing the brewing unit: Never push the infuser with excessive force. If it resists, the internal drive gears are likely misaligned. Forcing it can bend these components, resulting in a permanent mechanical failure that requires a professional technician to disassemble the entire chassis.
Using vinegar for descaling: Vinegar contains acetic acids that erode internal rubber gaskets and seals. This degradation causes slow, invisible leaks that eventually short-circuit the control board. Always use the manufacturer-recommended citric acid solution instead.
Adding pre-ground coffee while off: Only add pre-ground coffee when the machine is powered on and specifically requests it. If the unit is off, the bypass chute remains open to the internal housing. Grounds will spill into the delicate brewing chamber, causing a total blockage.
Ignoring the waste container: Empty the grounds bin immediately when prompted. Overflowing grounds jam the internal gears and trigger a “General Alarm.” If the sensor stays blocked, the machine will refuse to cycle until you manually reset the internal carriage.
Optimize your machine performance
| If you’re doing this | Do this instead | Why |
|---|---|---|
| Using tap water | Use filtered water | Reduces the frequency of descaling |
| Cleaning with soap | Use warm water only | Protects internal food-safe lubricants |
| Forcing the door shut | Check unit alignment | Prevents damage to the sensor pins |
| Leaving old grounds | Empty daily | Prevents mold and mechanical jams |
If your machine makes a loud rattling noise during brewing, you have already crossed the threshold where descaling is mandatory. Use a citric acid solution rather than vinegar to avoid lingering odors.
Many owners mistakenly use dish soap to clean the brew group. This strips away the factory-applied silicone grease, causing the internal gears to grind and eventually seize. If the motor sounds strained or sluggish, stop immediately and re-lubricate the tracks with food-grade grease.
Finally, never force the door. If it resists, the alignment pins are likely misaligned. Forcing it will snap the plastic housing, which is expensive to replace. If the door feels tight, pull the unit forward and gently reseat the tray before trying again.
Frequently asked questions
How long does the descaling process take?
The descaling process typically takes 30 to 45 minutes to complete. You must allow the machine to finish all rinse cycles, or the warning light will remain active. Ensure you use a container large enough to hold the water flushed during the process.
Why is my coffee temperature low?
Low coffee temperature is usually caused by a cold brewing unit or heavy scale buildup. Try pre-heating your cup and running a hot water cycle to warm the internal pipes. If the temperature remains low after descaling, the thermostat may require professional testing.
Is it safe to open the machine housing?
No, it isn’t safe to open the external housing or remove any screws. Doing so voids your manufacturer warranty and exposes you to dangerous high-voltage electrical components. If you suspect an internal failure, take the machine to an authorized repair center.
What happens if I use the wrong descaler?
Using the wrong descaler, such as vinegar or lemon juice, can corrode the aluminum or plastic components inside the hydraulic circuit. These substances are often too acidic or contain debris that can clog the sensitive flow meter and narrow valves. Always use the manufacturer-recommended liquid descaler to ensure the chemical balance is safe for the specific seals and heating elements used in your machine, protecting both the machine’s lifespan and your health.
How often should I clean the infuser?
You should remove and rinse the infuser unit under warm water every two weeks. This prevents the buildup of rancid oils that affect coffee flavor and ensures mechanical parts move freely. Check the infuser immediately if you notice a change in flow.
Can I change the grind setting anytime?
No, you must only adjust the grind setting while the grinder is actively running. Turning the dial while beans are stationary can lock or damage the burrs. Adjust the setting by one notch at a time and brew a few cups before further changes.
Conclusion
The performance of your machine depends on consistent maintenance and using the correct cleaning supplies. If you follow these steps, you’ll keep the internal sensors and mechanical parts in good condition for years. If the machine continues to show errors after you have cleaned the infuser and descaled the system, it’s time to contact the official support team for a professional evaluation.