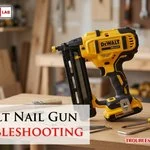
To clear a jam or fix a firing issue, the first step of dewalt nail gun troubleshooting is to remove the battery and check the magazine for debris or bent fasteners. Most issues happen because the nail strip isn’t seated correctly or the driver blade is stuck in the forward position. If the tool is electric, a low battery is often the culprit for inconsistent firing. You can find detailed safety guidance and maintenance steps on the official DeWalt support page.
Fixing Dewalt nail gun firing issues
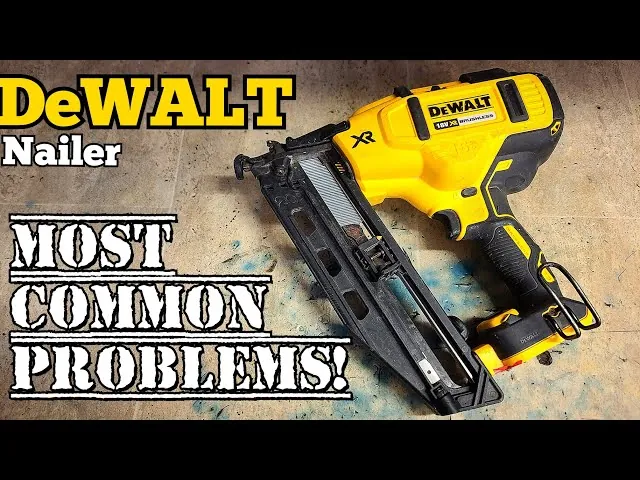
Tools often stop working because of simple physical blockages or power delivery problems. The most common cause is a jammed nail or a piece of wire from a collation strip caught in the nosepiece. This prevents the driver blade from completing its full stroke. When the blade can’t move, the tool’s internal safety sensor stops the motor to prevent damage to the firing mechanism.
Another frequent cause is poor battery contact. If the battery pins are dirty or if the battery isn’t clicked firmly into place, the tool won’t get the voltage it needs to drive a nail into hard wood. You should inspect the battery terminals for corrosion or buildup. If you notice a clicking sound when you pull the trigger but nothing happens, the tool is likely in a safety lockout state.
Finally, the magazine spring tension can cause feeding errors. If the spring is weak, the nails don’t push into the firing chamber fast enough. This happens most often in cold weather, where lubricants inside the tool become thick and sluggish. If your tool fails to fire despite a full battery and a clear nose, the problem may be internal. At this point, you shouldn’t attempt to open the motor housing, as this can void your warranty and cause injury.
Clear a jammed nosepiece
The first thing to do is disconnect the battery. This ensures the tool can’t fire while your hands are near the firing mechanism. Open the nose latch on the front of the tool to expose the driver blade. If the blade is stuck in the down position, use a screwdriver to gently push it back up into the retracted position. Remove any broken nail fragments or bent wire with needle-nose pliers.
Once the path is clear, close the latch and lock it securely. If the latch doesn’t snap shut, don’t force it. Check the nosepiece again for small pieces of metal. After clearing the blockage, reinsert the battery and fire the tool into a scrap piece of wood to test the cycle.
If the tool still refuses to fire, check the depth adjustment dial. Sometimes, setting the depth too deep causes the nose to push away from the wood, which engages the safety block.
This fix is for users who have a clear, visible jam. If you can’t see the obstruction or if the driver blade appears bent or broken, stop immediately. You should take the tool to an authorized service center. Attempting to force a jammed blade or using improper tools to clear the internal chamber can cause permanent damage to the firing pin and cylinder.
Check battery and magazine settings
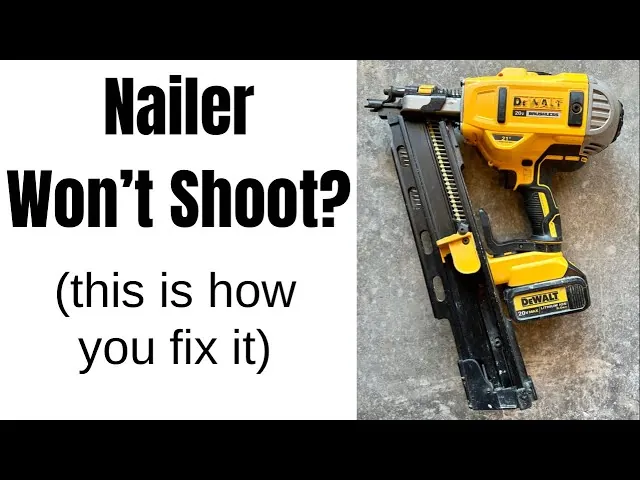
If the tool is powered but feels weak, the issue is likely the battery or the nail size. Start by checking that your nail length matches the magazine capacity for your specific model. Using nails that are too long or too short for the magazine can lead to misfeeds. Ensure you’re using the correct collation angle for your tool, as mismatched nails will bind in the track immediately.
Inspect the magazine track for dirt or sap from wood. A sticky track prevents the pusher from moving the nail strip forward with enough force. Clean the track with a dry, lint-free cloth. Don’t use oil or spray cleaners, as these attract dust and create a thick sludge that makes the problem worse. If the pusher feels loose or doesn’t snap back when you release it, the spring may be worn out.
Battery health is the other side of this. If the tool fires once then stops, the battery may be reaching its low-voltage limit. Check the battery charge level using the built-in indicator if your pack has one. If the battery is old, it might hold a charge for a few seconds but fail under the high-current demand of firing a nail. Try a known-good battery to see if the performance improves.
Seek professional repair
When the tool makes a grinding noise or fails to fire after you have cleared all jams, internal mechanical failure is likely. This is the time to stop your own efforts. Professional repair is necessary when the issue involves the internal motor, the firing solenoid, or the electronic control board. These components are sealed for safety and require specialized tools to calibrate.
It’s worth the effort to take the tool to a pro if the unit is still under warranty or if it’s a high-end model. You should avoid local repair shops that aren’t authorized by the manufacturer, as they may use non-standard parts. A professional technician will have the equipment to test the internal sensors and the driver blade alignment.
If the cost of repair is more than half the price of a new tool, it’s usually better to replace the unit. You can find the nearest service location through the manufacturer’s website. They will provide a quote for the repair based on the specific model and the parts required. Don’t attempt to bypass safety sensors, as this creates a significant risk of accidental firing.
Avoid common mistakes
Don’t use oil in the firing chamber. Unlike pneumatic tools, electric nailers rely on dry internal components. Oil acts as a magnet for fine sawdust, creating a thick, abrasive sludge. This grit grinds down the internal seals, causing the tool to lose the mechanical force needed to drive nails flush.
Don’t force a stuck latch. If the nosepiece jams, prying it with a screwdriver often deforms the delicate metal housing. Once the alignment is off by even a millimeter, the tool fails to create a proper seal, resulting in misfires. Always use a needle-nose plier to pull the obstruction out instead.
Don’t ignore the safety contact. Taping the nose contact down to increase firing speed is a common, high-risk mistake. It disables the mechanical lockout, meaning the gun can discharge if dropped or bumped. This modification often voids your warranty immediately.
This causes constant jams and ruins the blade’s edge. Always match the fastener specifications (collation angle, length, and diameter) to the tool’s requirements.
Prevent future firing errors
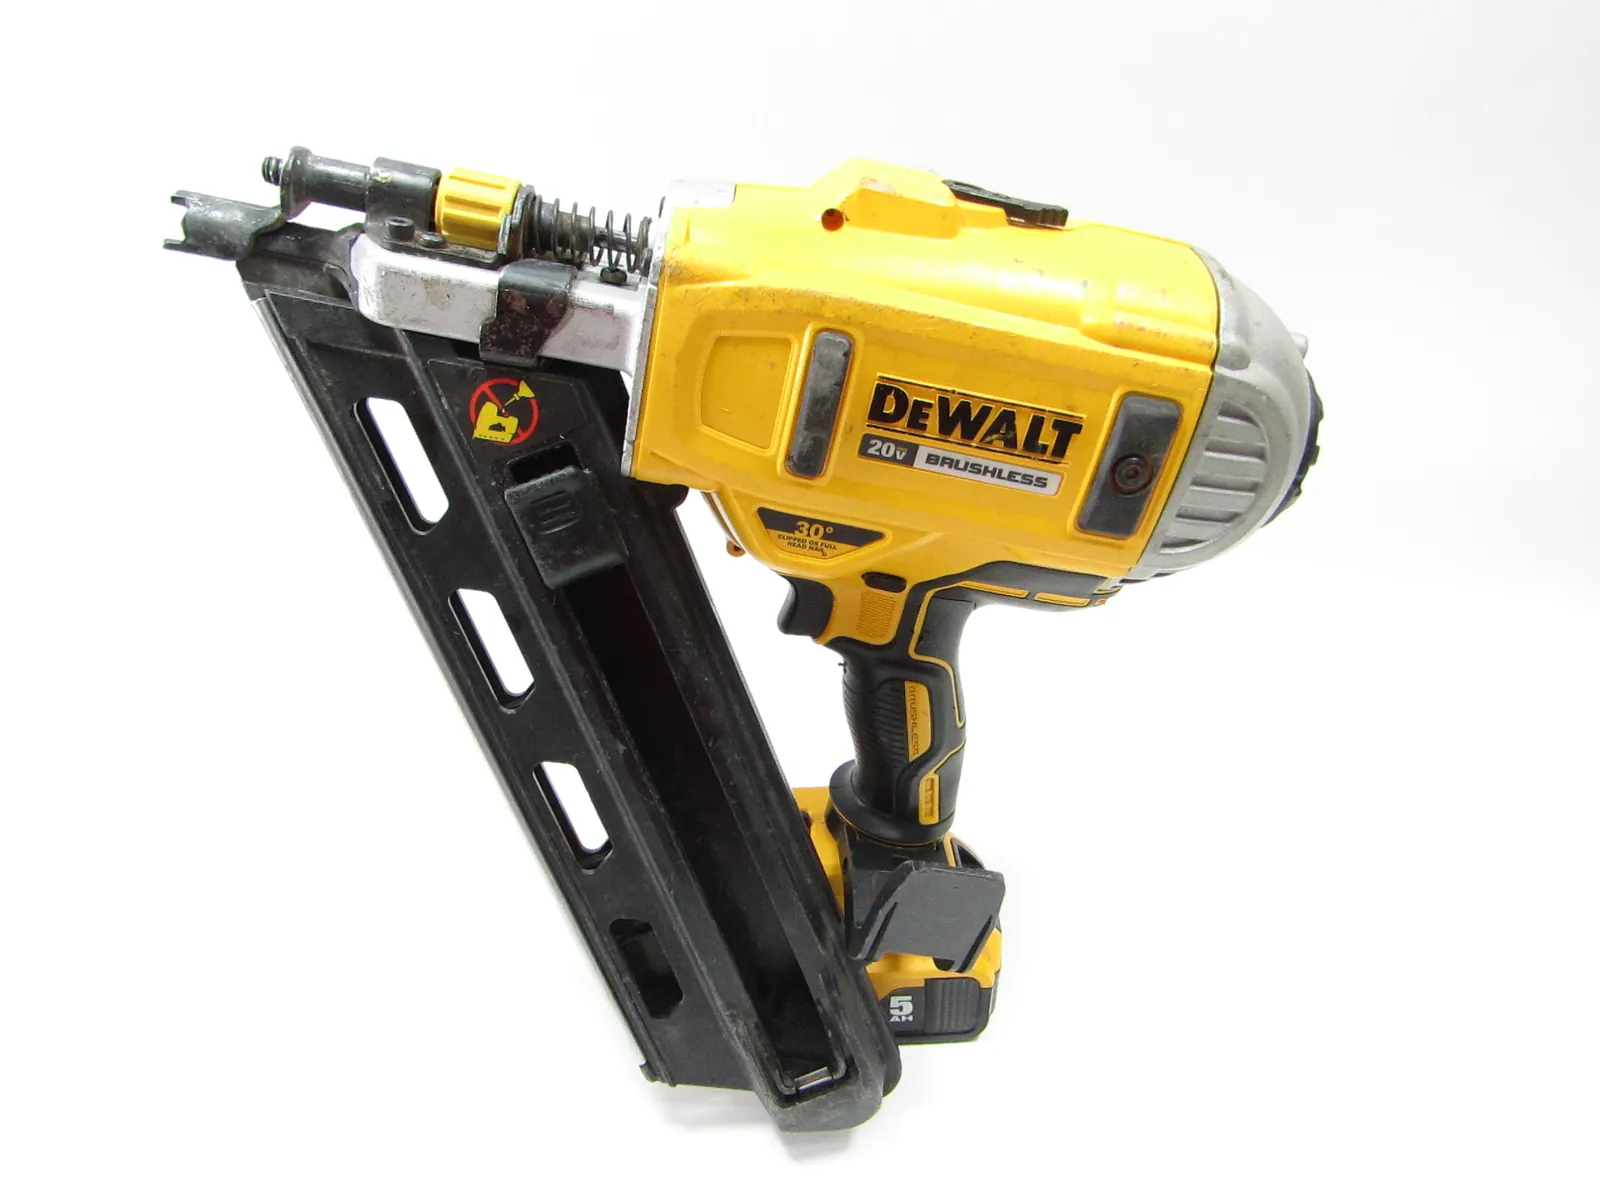
To keep your tool running, you must match the maintenance steps to your usage frequency. If you use the tool daily, you need to clean the magazine track once a week to prevent debris buildup that causes misfires. If you only use it for occasional home projects, a quick check before every use is enough to ensure the driver blade is clear.
| If you’re doing this | Do this instead | Why |
|---|---|---|
| Leaving batteries in the tool | Remove the battery after use | Prevents accidental firing and saves battery life |
| Forcing the tool into wood | Use the depth dial properly | Prevents damage to the nose and the wood surface |
| Storing in a damp garage | Store in a dry, room-temp case | Keeps the internal electronics free from corrosion |
| Using bent or rusted nails | Use fresh, clean fasteners | Prevents jams and protects the internal firing pin |
Most users fail by ignoring the depth dial when switching between soft pine and hardwoods. If you sink nails too deep, you risk splitting the material and damaging the firing pin. If your nails sit proud, adjust the dial in quarter-turn increments until they sit flush.
Always test on scrap wood first to avoid marring your final project. If the tool sounds sluggish, stop immediately. A delay in the firing cycle usually indicates a low battery or a dry internal piston.
Frequently asked questions
Can I fix a jammed nail gun myself?
You can safely clear most jams by removing the battery and using pliers to pull out the stuck nail. Most modern nail guns feature a quick-release nosepiece for this purpose. If the driver blade is stuck deep inside the housing, don’t attempt to reach it; contact a professional technician.
How often should I clean the magazine?
Clean the magazine track whenever you notice nail strips failing to advance smoothly. In dusty conditions, check the track after every box of nails. Use only a dry, soft cloth, as lubricants attract grit and create a sticky surface that prevents the spring from pushing nails forward.
Is it safe to use nails from a different brand?
No, it isn’t safe or recommended, because nail guns are calibrated for specific wire diameters and collation angles. Using fasteners that aren’t designed for your specific model will cause frequent jams and can damage the internal firing channel. Always check the tool’s manual for the exact fastener specifications. Using the wrong nails can also cause the tool to misfire, which is a major safety risk for you and others nearby.
What happens if the tool makes a grinding noise?
A grinding noise usually indicates that the driver blade is hitting an obstruction or the internal motor gears are damaged. Stop using the tool immediately to prevent further damage. Because this involves internal components requiring professional calibration, the tool isn’t user-serviceable.
How long should a battery last in a nail gun?
A typical battery lasts for several hundred shots per charge, depending on the amp-hour rating and wood hardness. You’ll get fewer shots when driving long nails into dense hardwoods like oak. If the shot count drops significantly over time, the battery may be nearing the end of its life.
Why does the tool fire but not set the nail?
The tool is likely not pressed firmly against the wood, or the depth adjustment dial is set too shallow. Ensure the nose contact is fully depressed against the surface before pulling the trigger. If the nail still sits proud, the driver blade may be worn and unable to deliver full force.
Conclusion
If your tool still won’t fire properly after these checks, it’s time to reach out to a professional service center. Don’t try to force it, as you don’t want to cause further damage. A quick inspection by an expert will ensure your gear is safe and ready for the next project.
Related guides