To fix a unit that won’t start or hold a charge, you must check the status of the internal battery and the connection to the external power source, as dewalt dxaej14 troubleshooting usually centers on a depleted battery or a poor cable contact. The most common cause is a battery that has fallen below the minimum voltage required to engage the internal relay. If the unit doesn’t respond to a standard wall charge, the battery may be permanently damaged from deep discharge.
Troubleshooting your DeWalt DXAEJ14 power issues
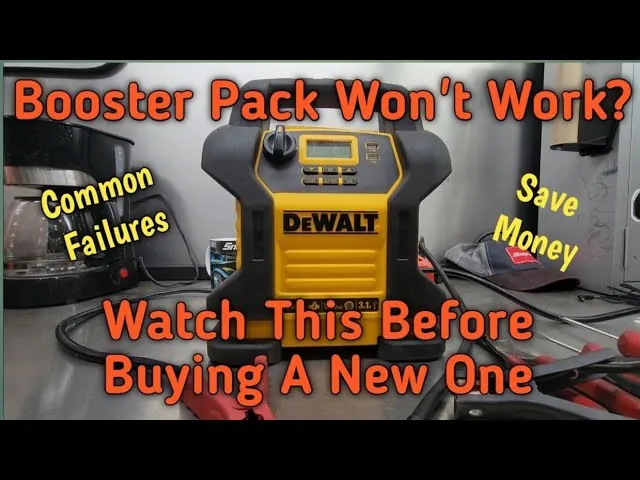
The primary reason for failure in this jump starter is a lack of sufficient voltage within the sealed lead-acid battery. These batteries require a specific chemical state to function; if they sit for months without a maintenance charge, they suffer from sulfation. This process prevents the battery from accepting or holding a charge, effectively rendering the unit unable to deliver the high-current burst needed to turn over an engine.
Another frequent cause involves the clamps and the internal safety sensors. The device uses a reverse polarity protection system that prevents the unit from activating if it doesn’t detect a proper connection. If your battery terminals are heavily corroded, the unit will fail to “see” the car battery. Because the internal logic requires a closed circuit to engage, even a small amount of oxidation on your vehicle’s terminals can block the signal and stop the jump starter from turning on.
Finally, the charging circuit itself can fail if the ambient temperature is outside the recommended range. Charging a lead-acid battery in extreme cold significantly slows the chemical reaction, and the unit may show a “full” light while the actual capacity remains low. Always check the official DeWalt product manual for the specific temperature operating limits for your model, as charging outside these ranges can permanently degrade the battery cells.
Inspect the clamps and terminals
If the unit is charged but won’t jump start a vehicle, your first step is to clean the connection points. Poor contact between the copper clamps and the metal posts of your car battery is a common mistake that costs time and prevents the necessary flow of electricity. You should wipe both the jump starter clamps and the car battery terminals with a stiff wire brush to remove any white or blue-green powder.
Corrosion acts as an insulator, blocking the high-amperage surge required to turn over a cold engine. If you see a thick, crusty buildup, use a mixture of baking soda and water to neutralize the acid before brushing.
Once the surfaces are clean, attach the red clamp to the positive terminal first, then the black clamp to a solid metal ground point on the engine block. If the unit has a “clamped” indicator light, it should illuminate. If it does not, wiggle the clamps slightly to ensure they’re biting into the metal. If the device still remains dark, the internal safety sensor isn’t detecting the circuit.
This fix is for users who have basic access to the engine bay. If you see frayed cables or melted plastic near the clamps, stop immediately and contact a qualified auto technician. Using a damaged clamp can cause a short circuit, potentially damaging your vehicle’s sensitive electronic control unit or causing the jump starter battery to vent dangerously.
Perform a deep cycle charge
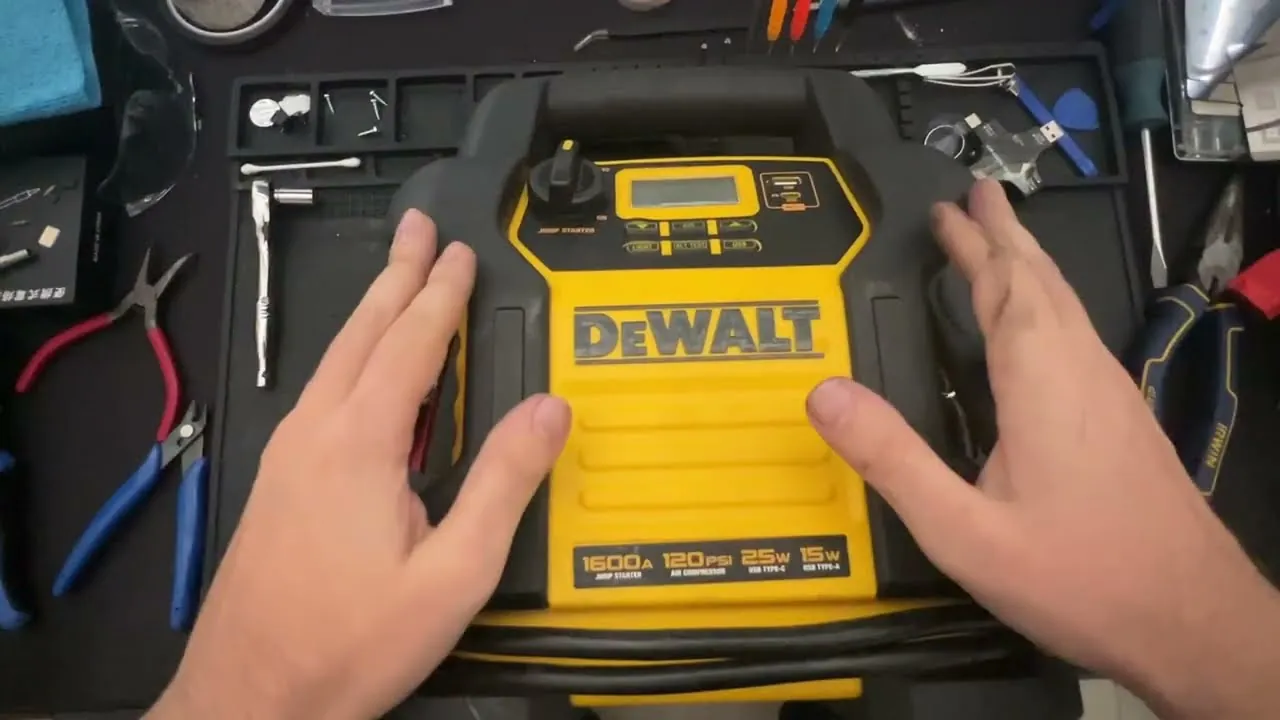
If the unit isn’t holding a charge, the battery may simply be at the end of its life cycle. You can attempt to restore it by performing a full, uninterrupted charge. Plug the unit into a standard wall outlet using the provided extension cord and leave it for at least 48 hours.
Don’t use a power strip or an undersized extension cord, as these can cause voltage drops that prevent the internal charger from completing its cycle.
This process is intended for units that have been stored for a long time. If the battery voltage remains low after 48 hours of constant charging, the lead-acid cells have likely failed. This is a hard limit for lead-acid technology; once the internal plates are coated with sulfate, no amount of charging will restore capacity.
If you notice the casing of the unit is bulging or warm to the touch during this process, disconnect the power immediately. These are signs of thermal runaway or internal shorting. In such cases, stop all attempts to charge the unit and dispose of it at a local battery recycling center to prevent a potential fire hazard.
Reset the internal power relay
Sometimes the logic board inside the device gets stuck in a protection mode. To reset the system, ensure the unit is unplugged from all power sources and the clamps are closed. Leave the unit in this “off” state for at least 24 hours. This allows the capacitors on the internal circuit board to drain completely, which can force the software to clear any temporary errors.
This method is useful if the display screen is showing strange symbols or if the unit refuses to switch between modes. If the device doesn’t turn on after this reset period, the internal motherboard may be faulty.
If you’re unsure if the charge has dissipated, contact a technician to verify the output terminals.
This fix isn’t for users who have limited experience with electrical tools. If you hear a clicking sound coming from inside the plastic housing, don’t attempt to open it. Internal components like the battery and the circuit board aren’t user-serviceable and should be handled by a professional repair shop.
Common mistakes to avoid
Charging on a power strip: The internal charger requires a dedicated wall outlet to pull its full current. Using a power strip creates a voltage drop that throttles the input, often preventing the unit from ever reaching a full state of charge.
Leaving it in a hot car: High temperatures accelerate internal battery self-discharge. Storing the unit in a vehicle during summer months causes permanent capacity loss in as little as three weeks. If the casing feels hot to the touch, move it to a climate-controlled area immediately.
Ignoring the charging light: Users often assume the unit is ready after one hour. However, lead-acid batteries require a slow, steady soak to reach 100% capacity. Always wait for the solid green indicator light, which can take up to twelve hours.
Connecting to painted surfaces: Clamps must contact bare metal to complete the circuit. If you attach them to paint or plastic, the unit will fail to detect the battery. Always scrape away debris or corrosion to ensure a clean, conductive connection.
Maintaining your power station
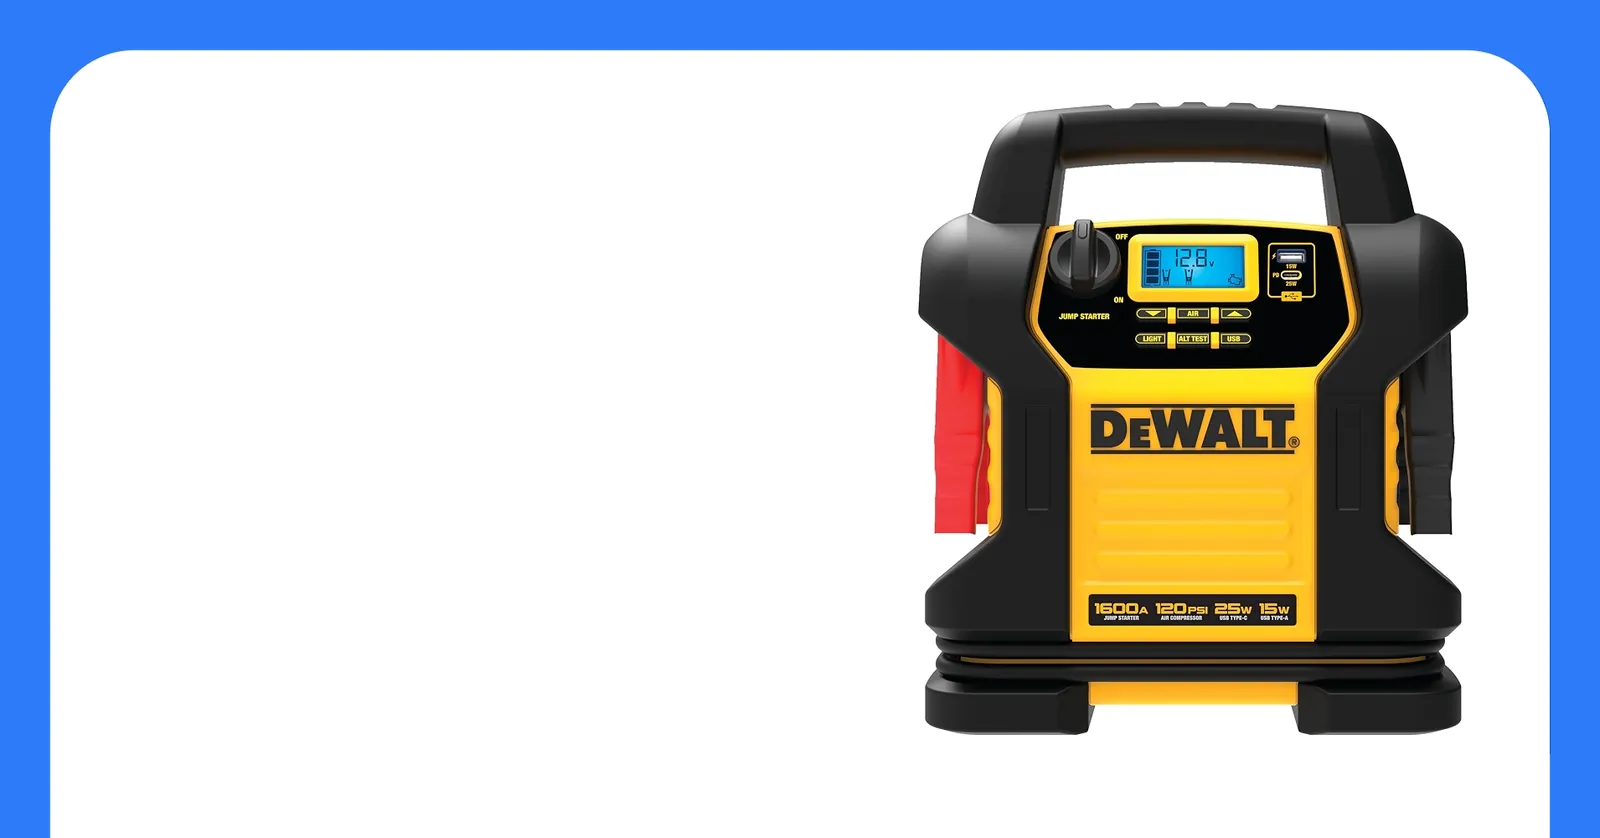
You can extend the life of your jump starter by changing how you store and charge the unit. The following table highlights the difference between common habits and the recommended practice for long-term reliability.
| If you’re doing this | Do this instead | Why |
|---|---|---|
| Leaving it uncharged for months | Charge it every 30 days | Lead-acid batteries self-discharge and fail if left empty. |
| Storing it in the trunk | Store in a climate-controlled area | Heat accelerates chemical degradation inside the battery. |
| Using it until it’s dead | Recharge at 50% capacity | Deep discharging causes permanent plate damage. |
| Using thin extension cords | Use a heavy-duty 12-gauge cord | Thin cords restrict current and prevent a full charge. |
Most owners mistake a “full charge” indicator for a sign of battery health, but voltage can be deceptive. If you’re unsure about the state of the cells, have a technician perform a professional diagnostic test.
If your unit features a lithium-ion battery, avoid the 30-day rule. These units hold a charge for six months. However, they’re sensitive to extreme cold. If the temperature drops below 32°F, bring the unit indoors to prevent internal resistance from spiking. A cold lithium battery will refuse to accept a charge, which can trigger a false “fault” light on your charger.
Frequently asked questions
Can I replace the internal battery myself?
No, the internal battery is sealed within the housing and isn’t designed for user replacement. Opening the plastic casing voids your warranty and exposes you to the risk of short-circuiting the battery, which can cause fire or injury. If the battery no longer holds a charge, the entire unit must be replaced or taken to a professional service center for a battery swap.
How long does the battery last in storage?
A fully charged battery will typically hold its power for about 3 to 6 months when stored in a cool, dry place. However, the exact duration depends on the ambient temperature; for every 10 degrees Celsius increase in storage temperature, the self-discharge rate effectively doubles. You should check the battery level every month and top it off to ensure it’s ready for an emergency.
Is it safe to leave it plugged in all the time?
No, you shouldn’t leave the unit plugged into the wall charger indefinitely unless the manual specifically says it has a “float” or “trickle” charging mode. Constant overcharging can cause the electrolyte to boil, which damages the battery plates and shortens the overall lifespan. Once the indicator light shows the unit is full, disconnect it from the wall outlet.
Why does my unit click when I turn it on?
The clicking sound is the internal relay attempting to engage the jump-start circuit. This usually happens when the battery is too weak to provide the necessary power to pull the relay closed. If you hear this sound, stop trying to jump the car, as the unit doesn’t have enough energy to turn the engine over and you risk damaging the internal electronics.
How long should I charge it after every use?
You should charge the unit until the indicator light shows it’s full after any use. This ensures the battery returns to a full state of charge and prevents sulfation from starting on the lead plates. If the unit was used for an extended period, you may need up to 48 hours of charging to reach full capacity.
What happens if the unit gets wet?
If the unit is exposed to water, you must stop using it immediately, as moisture can cause short circuits on the control board. Wipe the exterior with a dry cloth and place the unit in a well-ventilated area for at least 48 hours to dry out. If you see signs of corrosion on the ports or if the unit fails to turn on after drying, it’s no longer safe to use.
Conclusion
If these quick checks don’t bring your device back to life, it’s likely time to contact a professional service center for a battery replacement. Don’t let a faulty unit sit in your garage gathering dust; getting it repaired now will ensure you aren’t left stranded when you really need a jump.