You can fix common performance issues with a dewalt orbital sander troubleshooting approach by checking the sanding pad, dust collection system, and power connection first. Most problems stem from a clogged filter, a worn hook-and-loop pad, or a loose power cord. If the tool vibrates too much, stops spinning, or fails to remove material, start by inspecting these three areas before assuming the motor has failed.
Fixing power loss in your Dewalt orbital sander
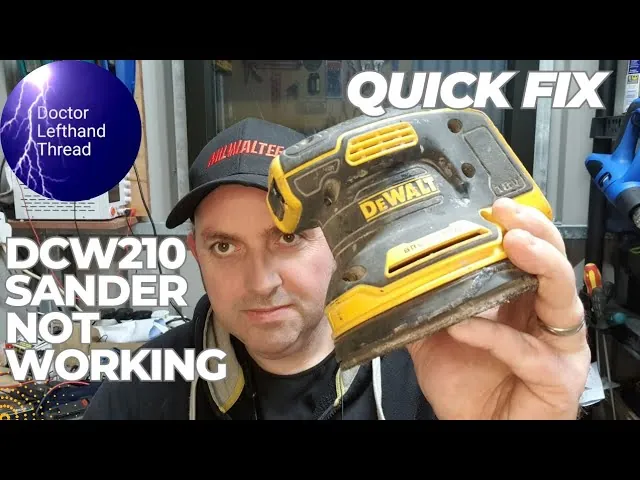
The most frequent cause for a sander losing efficiency is a buildup of fine dust inside the internal components. Orbital sanders rely on a vacuum-like effect to pull dust away from the sanding surface and through the base. If the dust port or the filter bag becomes blocked, the back pressure can cause the motor to labor or overheat. You should empty the bag frequently to maintain airflow.
Another common issue involves the sanding pad itself. Over time, the hook-and-loop material loses its grip, which prevents the sandpaper from staying flat against the pad. If the paper slips or vibrates independently of the pad, you’ll notice poor material removal and uneven swirl marks on your project. This is a simple wear-and-tear issue that happens to all high-use power tools.
Finally, vibration levels often spike when the internal counterweight or the pad mounting screws become loose. A sander should feel smooth in your hand; if it feels unusually shaky, stop immediately. Running a tool with loose internal fasteners can cause permanent damage to the motor bearings or the housing.
You can check for loose screws on the bottom pad assembly using a standard screwdriver. Always ensure the tool is unplugged from the power source before you touch any internal or external parts to avoid accidental activation.
Replace the sanding pad
If your sandpaper doesn’t stick or the sander creates deep, uneven scratches, you likely need a new pad. This is a common maintenance task for any orbital sander that sees regular use. To replace it, first unplug the tool from the wall outlet. Use a screwdriver to remove the screws holding the pad to the base of the sander.
When you remove the old pad, check the plastic housing for any cracks or melted areas. If the housing is damaged, a new pad won’t solve the vibration issue. Most DeWalt models use a specific mounting pattern, so ensure you buy the correct replacement part designed for your specific model number. You can verify the exact part requirements by visiting the DeWalt official product support page.
Once the new pad is aligned with the screw holes, tighten the fasteners by hand until they’re snug. Don’t overtighten them, as this can strip the plastic threads in the housing. After installation, attach a new sheet of sandpaper and test the unit on a piece of scrap wood to ensure it spins freely without excessive shaking.
Clear the dust collection system
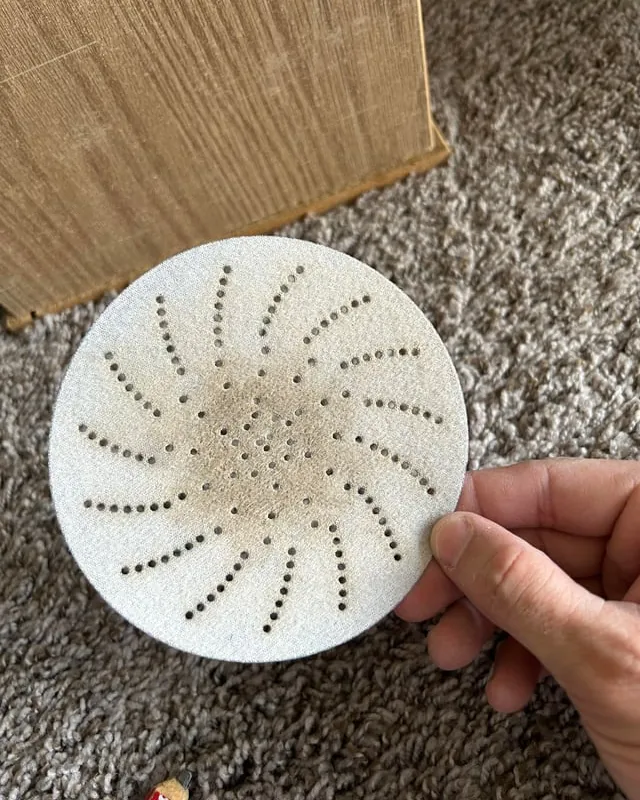
A sander that leaves a heavy layer of dust on your workpiece is failing to clear the debris from the sanding zone. This happens when the internal channels become packed with fine wood particles. To clear this, disconnect the dust bag or the vacuum hose adapter. Use a shop vacuum to suck out any debris from the exhaust port while the sander is turned off.
If you use a cloth dust bag, turn it inside out and shake it thoroughly to remove the fine dust trapped in the fibers. For better results, use compressed air at a low pressure to blow out the vents on the side of the motor housing. Be careful not to blow air directly into the bearings, as this can force dust into the grease.
If the motor sounds high-pitched or struggles to reach full speed, the dust buildup may be affecting the internal cooling fan. Once the vents are clear, the motor should run cooler and maintain a consistent speed under a light load. If you notice a burning smell after cleaning, stop using the tool and consult a professional repair center, as this indicates an electrical fault rather than a simple blockage.
Address motor and electrical faults
If the sander doesn’t turn on or shuts off intermittently, the issue is likely the power cord or the internal switch. Check the cord for any visible nicks, kinks, or exposed wires. If the cord is damaged, it poses a significant shock hazard and must be replaced by a qualified service center. Never attempt to splice or tape a damaged power cord.
If the cord looks fine, the internal carbon brushes may be worn down. These brushes transfer electricity to the spinning part of the motor and naturally wear out over time. When they become too short, they lose contact, causing the tool to cut out or spark. If you’re comfortable with basic tool maintenance, you can inspect the brush caps on the side of the housing.
If the brushes are shorter than the manufacturer’s minimum length, they need to be replaced. If you have never replaced motor brushes before, take the tool to an authorized service center. They have the specialized tools to test the armature and ensure the motor isn’t shorting out. Don’t attempt to bypass the switch or modify the internal wiring, as this voids your warranty and creates a fire risk.
Mistakes that damage your sander
Applying too much downward pressure: This forces the motor to work harder than necessary and causes the sanding pad to stop spinning, which leads to overheating. Let the tool’s weight do the work; if you feel the need to lean into it, your sandpaper is likely dull and needs replacing.
Using damaged or torn sandpaper: A torn sheet creates an imbalance that destroys the hook-and-loop backing and damages the pad surface over time. Once the backing is compromised, the pad will no longer grip discs securely, causing them to fly off during operation.
Blocking the air vents with your hands: This prevents the cooling fan from pulling air through the motor, which often leads to internal heat damage. Keep your grip away from the intake slots to ensure constant airflow.
Sanding metal or masonry with a wood sander: The fine dust from these materials is abrasive and conductive, which can ruin the motor and electrical components quickly. If you must sand these materials, use a dedicated tool or a high-efficiency vacuum attachment.
Ignoring unusual noises or smells: Continuing to use a tool that’s clicking or smoking will turn a simple part replacement into a total motor failure. Stop immediately if you detect the acrid scent of burning ozone or insulation.
Preventing future performance issues
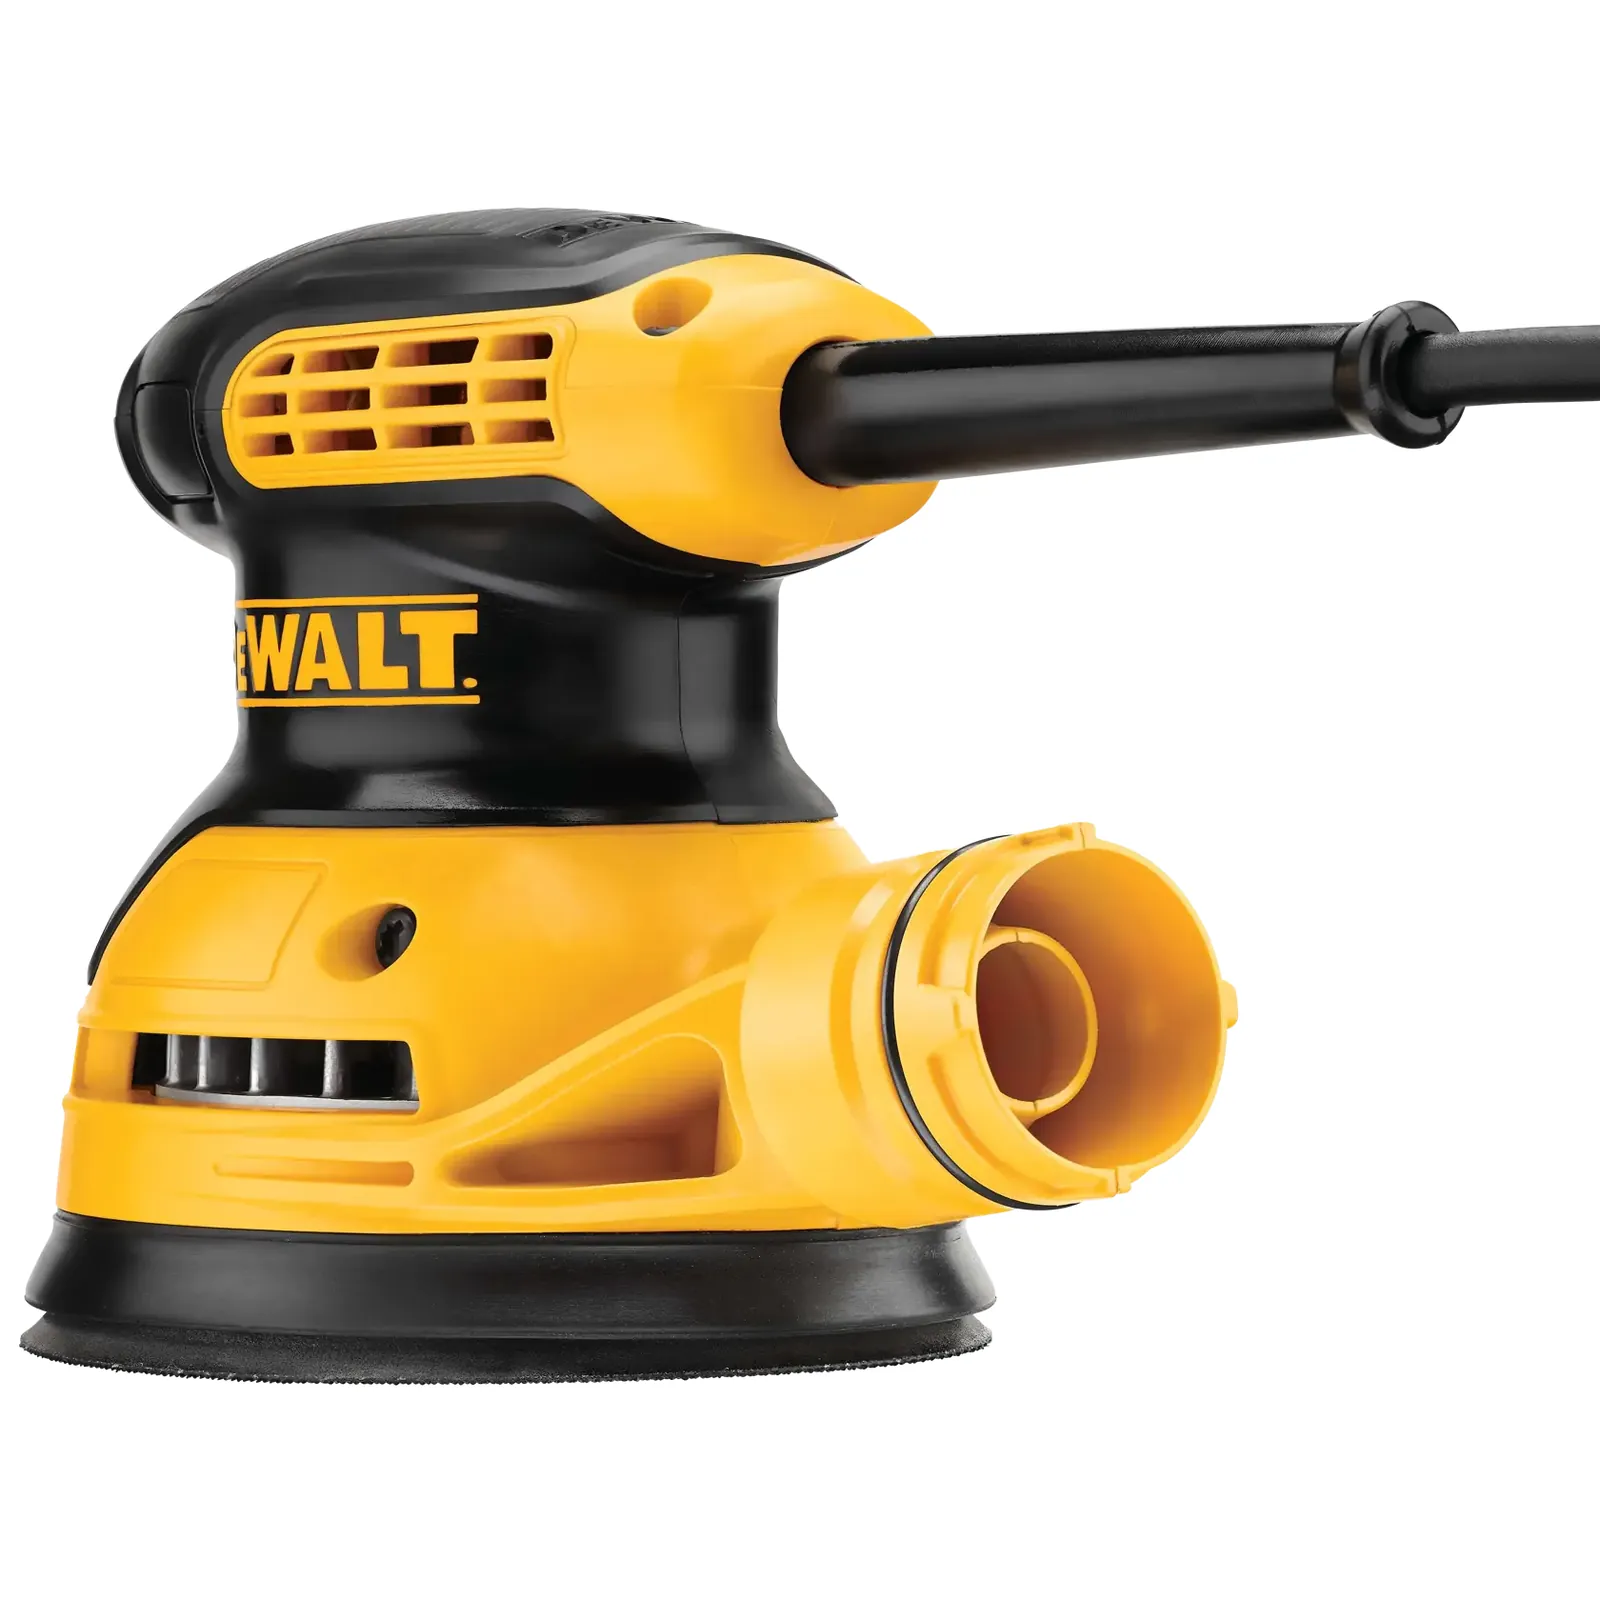
To keep your sander running well, you must match your sanding technique to the material you’re working on. Use a light touch and let the speed of the sander do the work. If the sander feels like it’s jumping across the surface, you’re likely pushing too hard or using a grit that’s too coarse for the job.
Most users make the mistake of waiting until the abrasive surface is visibly smooth before swapping paper. This is a costly error. Once the grit is clogged with wood fibers, the friction increases significantly, causing the motor to work harder than intended. If you notice the tool getting hot to the touch, stop immediately. A hot housing is the primary indicator of imminent bearing failure.
| If you’re doing this | Do this instead | Why |
|---|---|---|
| Pressing down hard | Use light, even pressure | Prevents motor strain and overheating |
| Using the same pad for all grits | Change pads for different grits | Prevents cross-contamination and uneven wear |
| Sanding until the paper is bald | Change paper when dust builds up | Maintains cutting efficiency and prevents heat |
| Storing in a damp garage | Store in a dry, sealed case | Protects internal parts from rust and moisture |
| Leaving dust in the bag | Empty the bag when half full | Keeps airflow high and motor running cool |
Resin clogs the pores of the paper faster than standard hardwoods, which creates a heat-trap that can melt the plastic backing of your sanding pads.
Frequently asked questions
How long should the sanding pad last?
Longevity depends on applied pressure and material hardness, as coarse grits and hardwoods accelerate wear. Replace the pad once sandpaper no longer adheres or the plastic base becomes visible.
Why does my sander jump around the board?
The sander jumps because excessive downward pressure prevents the eccentric mechanism from rotating freely. Let the tool’s weight provide contact instead of forcing it against the surface. If bouncing continues, ensure the sanding pad is securely attached and free of heat-induced warping.
Can I use my sander without a dust bag?
You can technically run the sander without a bag, but it isn’t recommended because dust will quickly clog the motor vents and internal bearings. Fine wood dust acts like an abrasive inside the tool, which significantly shortens the lifespan of the motor and the electrical switch. If you can’t use the bag, connect a shop vacuum to the exhaust port to ensure the dust is pulled away from the motor housing.
Is it safe to repair the power cord myself?
No, it isn’t safe for an untrained person to repair or splice a damaged power cord on a power tool. A faulty cord repair can lead to electrical shorts, fire, or severe electric shock when you hold the tool in your hand. If the cord is cut or frayed, take the tool to an authorized service center where a technician can install a new cord assembly that meets safety standards.
Why does my sander smell like burning plastic?
A burning smell usually indicates the motor is overheating due to dust blockages or extreme overloading. Restricted airflow prevents the internal fan from cooling the motor, causing insulation to melt. Stop the tool immediately, unplug it, and clear all dust clogs.
How often should I clean the air vents?
You should blow out the air vents with compressed air every time you finish a project or whenever you notice a significant decrease in power. Dust accumulation happens quickly, and keeping the vents clear is the single most important step for long-term tool health. If you work in a dusty environment, check the vents every hour to ensure the motor isn’t struggling to breathe.
Conclusion
If your sander still doesn’t run smoothly after these checks, it’s time to reach out to a professional service center for a deeper inspection. Don’t let a minor internal fault turn into a permanent breakdown. You’ll be back to your woodworking projects in no time once the tool’s working perfectly again.