If your saw isn’t cutting straight, the most effective way to perform dewalt miter saw troubleshooting is to check the fence alignment and the blade squareness against the table. Most issues with accuracy or power stem from sawdust buildup in the pivot points or a dull blade that’s forcing the motor to work harder than it should. If you notice smoke or burning wood, stop immediately and inspect the blade for resin or damage.
Troubleshooting DeWalt miter saw performance issues
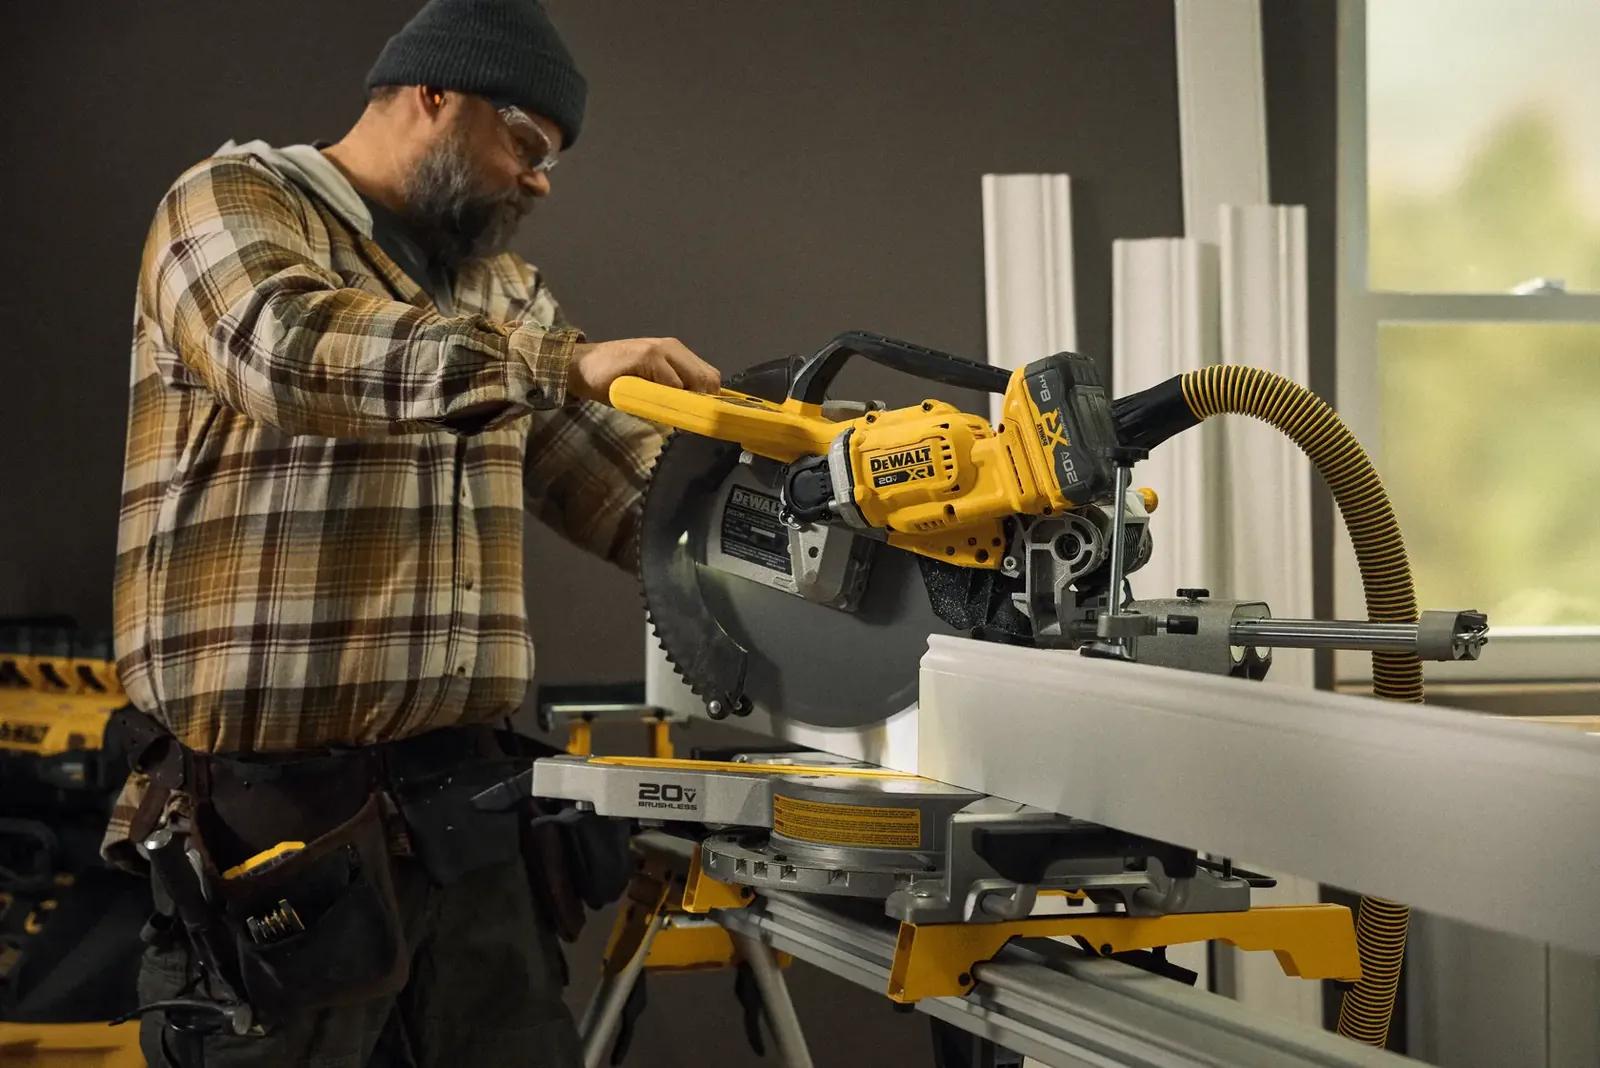
The primary cause of poor performance is often the accumulation of fine wood dust inside the sliding rail assembly or the bevel lock mechanism. When dust enters these small gaps, it prevents the saw from locking into its true position, leading to cuts that are off by a few degrees. You can usually clear this by using compressed air to blow out the debris while wearing safety glasses.
Another frequent problem is a blade that has lost its sharpness or has become coated in sap from resinous woods like pine. A dull blade requires more force to push through the material, which causes the motor to heat up and can trip the internal thermal overload protection. If the motor stops mid-cut, it’s likely due to a mechanical stall or the circuit breaker in your home’s electrical panel tripping.
Finally, vibration can cause the factory-set stops to shift over time. If your miter angles are consistently off, the detent plate or the adjustment screws may have loosened from the constant movement. This is common if the saw is moved frequently between job sites or transported in a truck without being secured properly. You can verify these settings by using a precision square against the blade and fence.
Safety: Inside a mains-powered machine, the parts behind the outer cover can hold a dangerous electrical charge even after it has been unplugged — that’s why they sit behind a cover. Opening the housing, or testing or replacing anything behind it, is a job for a qualified technician, never a home repair.
Align the blade to the fence
This process is for users who notice that 90-degree cuts aren’t truly square. First, unplug the saw and place a framing square against the fence and the side of the blade, ensuring the blade is at the 0-degree miter position. If you see a gap, loosen the miter scale pointer or the adjustment screws located under the table.
Adjust the table until the blade is perfectly flush with the square, then tighten the locking handle to hold the position.
The most common mistake is failing to account for blade deflection. If your blade has even a slight wobble, you’ll get a false reading. Always place your square against the solid steel plate of the blade, never the carbide teeth, which are often offset.
If your specific model requires a more detailed calibration, consult the official product manual for your serial number. This ensures you’re adjusting the correct locking nuts rather than forcing a part not meant to move.
If you lack precision squares or the mechanism remains stuck, stop the work. Forcing a seized adjustment screw can strip the threads, turning a simple alignment into an expensive repair. Take the tool to an authorized service center instead.
Reset the thermal overload breaker
This fix is necessary when the saw suddenly loses power during a heavy cut or fails to turn on after being used for a long period. Many models feature a thermal reset button, usually located on or near the motor housing, which pops out when the motor draws too much current. If the saw stops, wait at least 15 minutes for the motor to cool down completely before attempting to press the reset button.
If you press the button and it clicks back into place, the saw should function normally again. If it continues to trip, you’re likely pushing the saw too fast through dense hardwood or using a blade that isn’t rated for the material. A common mistake is forcing the blade into the wood before the motor reaches its peak RPM. This creates an immediate current spike that triggers the breaker instantly.
Always let the blade reach full speed before touching the wood, and use a steady, consistent feed rate. This indicates a failed internal electrical component or a short circuit. In this case, stop immediately to avoid a fire hazard and seek professional service.
Clear debris from the sliding rails
This approach is for saws that feel “gritty” or stiff when you pull the saw head forward or push it back. Over time, sawdust mixes with the factory lubricant on the rails, creating a thick paste that creates friction. To fix this, use a dry cloth to wipe the rails clean, then apply a small amount of dry lubricant if the manufacturer recommends it.
Don’t use heavy grease or oil-based sprays, as they will only attract more dust and make the problem worse within a few days. If the rails remain stiff after cleaning, there may be a mechanical misalignment in the bearings.
To test for this, gently wiggle the saw head side-to-side. If you feel more than a millimeter of play, the internal bushings are likely worn. Don’t attempt to take the bearing housing apart, as this requires specialized tools to realign.
If the movement is still not smooth after a thorough cleaning, a professional technician needs to inspect the internal tracks for wear. Ignoring this resistance often leads to motor strain, as the saw must work harder to overcome the friction during every cut.
Avoiding common mistakes with your saw
When diagnosing issues, avoid these common habits that often lead to more serious mechanical failures:
Never force the saw head down if you feel resistance. This pressure bends the precision rails or snaps the internal pivot casting, a repair that often costs more than the tool itself. If the head sticks, check for debris behind the fence before pushing harder.
Don’t spray liquid cleaners or oils directly into motor vents. These fluids seep into the electrical windings, causing short circuits that permanently destroy the motor. Use compressed air to clear dust instead.
Avoid using standard wood glue or wax on the table surface. This creates a gummy buildup that prevents your workpiece from sitting perfectly flat. If you need a slick surface, apply a thin coat of paste wax, but buff it until it’s dry to the touch.
Never bypass safety guards or the thermal reset switch. These components protect you from injury and the motor from fire. If the thermal switch trips repeatedly, your motor is likely drawing too much current due to a dull blade or a failing capacitor.
Don’t attempt to sharpen carbide-tipped blades with hand files. Files are too soft and will ruin the tooth geometry, creating dangerous kickback potential during your next cut. Always send these blades to a professional shop for diamond-wheel grinding.
Maintaining accurate cuts every time
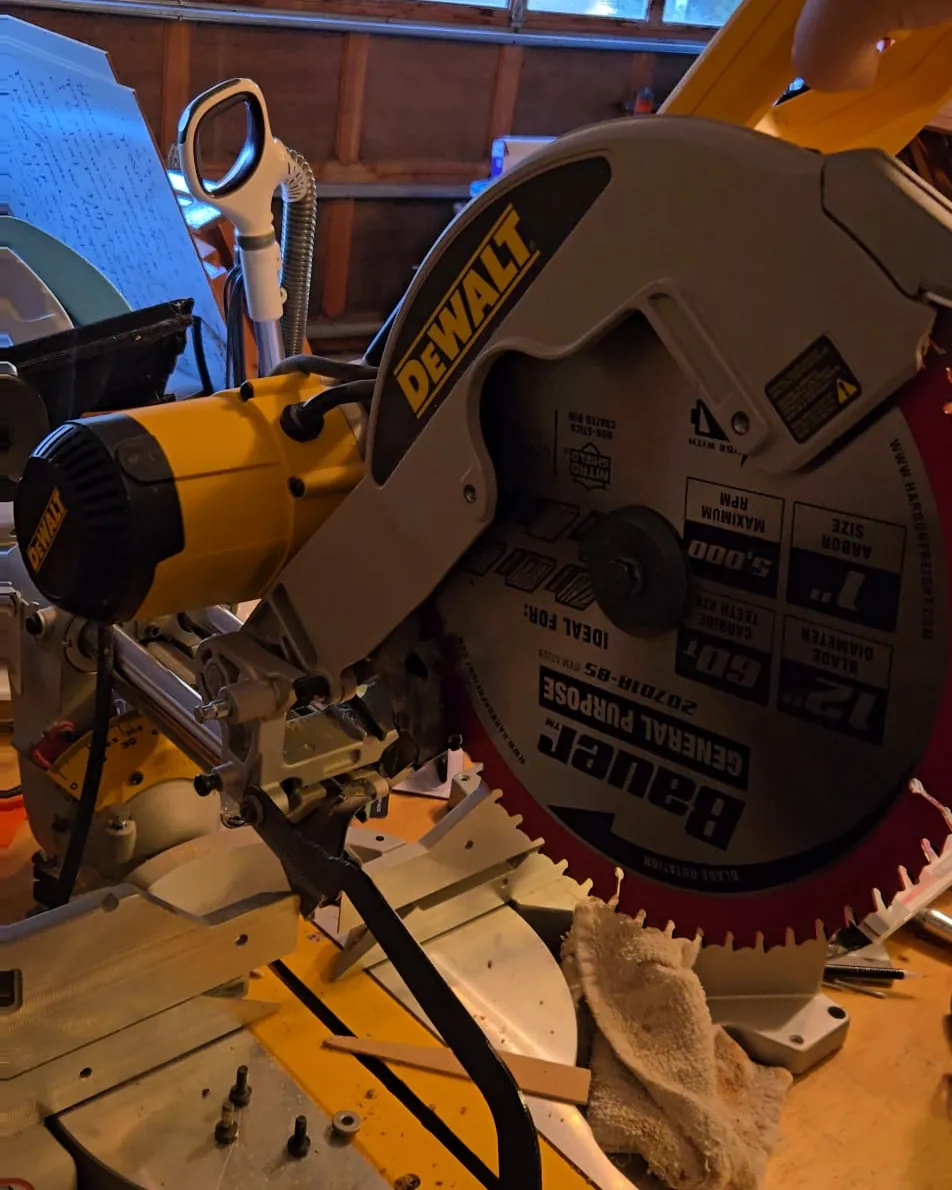
The key to long-term performance is setting up a regular maintenance schedule based on your actual usage. If you’re a daily pro, your cleaning interval must be weekly. Weekend hobbyists can safely stretch this to monthly intervals.
| If you’re doing this | Do this instead | Why |
|---|---|---|
| Using a dull blade | Install a fresh blade | Dull teeth cause motor strain |
| Cleaning with water | Use compressed air | Moisture causes internal rust |
| Forcing the cut | Let the motor reach speed | Prevents thermal breaker trips |
| Ignoring loose fences | Re-square the fence | Ensures accurate miter angles |
| Using thick lubricants | Use dry silicone spray | Grease traps dust and debris |
Most users make the mistake of waiting for a visible drop in performance before cleaning. By then, fine sawdust has already packed into the bearings, increasing friction and heat.
Use this simple decision rule: if your cut shows burn marks on the wood, the blade is dull. If the motor sounds bogged down during entry, check that the cooling vents aren’t obstructed by debris. Check these two indicators every time you change your blade to ensure your saw stays calibrated for years.
Frequently asked questions
Why is my saw making a burning smell?
A burning smell usually indicates a dull blade or high friction. Stop cutting immediately to check the blade for resin buildup or missing teeth. If the blade is clean and sharp, the motor may be overheating due to blocked air vents.
How long should the motor last?
A professional-grade motor can last for thousands of hours with regular maintenance like clearing dust and replacing carbon brushes. If you notice a loss of power or excessive sparking, it’s time to have the motor serviced. Always check your owner’s manual for specific brush replacement intervals.
Is it safe to replace the carbon brushes myself?
You can safely replace brushes if your model features external caps for easy access. Always unplug the tool and use the exact replacement part specified for your model. If you must remove the main motor housing to reach the brushes, take the tool to a professional instead.
How do I stop the blade from wobbling?
A wobbling blade is usually caused by a loose arbor nut or debris between the blade and the inner washer. Unplug the saw, remove the blade, and clean the washer and arbor surface thoroughly. If the blade itself is bent, replace it immediately to ensure safety and accuracy.
Why does the saw trip the circuit breaker?
The saw trips the breaker because it’s drawing too much power or has an internal electrical fault. Ensure you aren’t sharing the outlet with other high-draw tools like vacuums or heaters. If the saw still trips the breaker alone, consult a technician for a professional repair.
Conclusion
Regularly checking your tool’s alignment and keeping the rails free of debris will keep your saw running smoothly for years. Always prioritize safety by unplugging the unit before performing any inspections or cleaning. If you ever feel that a repair is beyond your comfort level, professional help is the safest path to protecting your investment.