The Dometic 8700 series MasterFlush toilet is a cornerstone of marine and RV sanitation, prized for its reliable macerator system and efficient water usage. When your unit stops performing as expected, performing dometic 8700 toilet troubleshooting is the most effective way to restore functionality without needing an immediate replacement. Common issues often stem from electrical faults, blockages in the macerator blades, or water supply irregularities. Addressing these problems early prevents minor inconveniences from escalating into significant plumbing failures, ensuring that your onboard waste system remains hygienic and operational throughout your travels.
Key Takeaways
- Check the electrical fuse and circuit breaker before disassembling any mechanical components.
- Ensure the water supply pressure is within the manufacturer’s recommended range to prevent valve failure.
- Use only RV-approved, rapid-dissolving toilet paper to avoid clogging the macerator blades.
- The control panel status lights provide specific error codes that identify the exact source of a fault.
- Always shut off the water supply and disconnect power before performing internal maintenance or repairs.
Safety: Inside a mains-powered machine, the parts behind the outer cover can hold a dangerous electrical charge even after it has been unplugged — that’s why they sit behind a cover. Opening the housing, or testing or replacing anything behind it, is a job for a qualified technician, never a home repair.
Troubleshooting Dometic 8700 toilet power issues
Understanding status light codes
The Dometic 8700 series is equipped with a Flush Switch Panel that communicates system health through LED indicators. When the toilet experiences a fault, these lights blink in specific patterns to guide your troubleshooting process. If the lights are flashing red, it generally indicates a blockage or a stalled motor.
A solid green light signifies that the system is ready, while alternating colors usually point to a communication error between the keypad and the toilet’s control module. Consult the manual to match your specific blinking sequence to the corresponding fault code. Keeping a copy of this code chart near your bathroom vanity is a smart way to simplify future maintenance.
| Status Light Pattern | Potential Issue | Recommended Action |
|---|---|---|
| Solid Green | System Ready | No action required |
| Blinking Red | Motor Stalled | Check for macerator blockage |
| Blinking Amber | Water Valve Error | Verify water supply pressure |
| Rapid Flash | Voltage Out of Range | Check battery or converter |
Why is my toilet clogging?
Clogging is the most common grievance for owners of macerating toilets. The 8700 series utilizes a high-speed blade system designed to liquefy waste and thin paper. However, introducing non-biodegradable materials will cause an immediate mechanical blockage. Items such as wet wipes, feminine hygiene products, or heavy-duty paper towels can’t be processed by the macerator.
If the toilet flushes slowly or emits a grinding noise, the blades are likely struggling to clear an obstruction. To clear a minor clog, you can sometimes use a specialized enzyme-based treatment, but a physical blockage often requires you to remove the toilet from the floor to access the macerator intake directly. Always wear protective gloves and eye gear when handling the macerator assembly.
Is the macerator motor damaged?
The macerator motor is the heart of your toilet. If you hear a high-pitched whine followed by a complete stop, the motor may be suffering from an internal failure or severe debris accumulation. Over time, calcium deposits from hard water can also build up inside the pump housing, creating enough drag to trigger the thermal overload protection.
If the motor feels excessively hot to the touch, allow it to cool for at least thirty minutes before attempting another flush. If the motor hums but doesn’t rotate the blades, the drive shaft coupling may be stripped or disconnected. Replacing the macerator pump cartridge is a standard procedure, but ensure you have the correct model number, as the 8700 series has specific voltage and mounting requirements for its replacement parts.
Troubleshooting water valve malfunctions
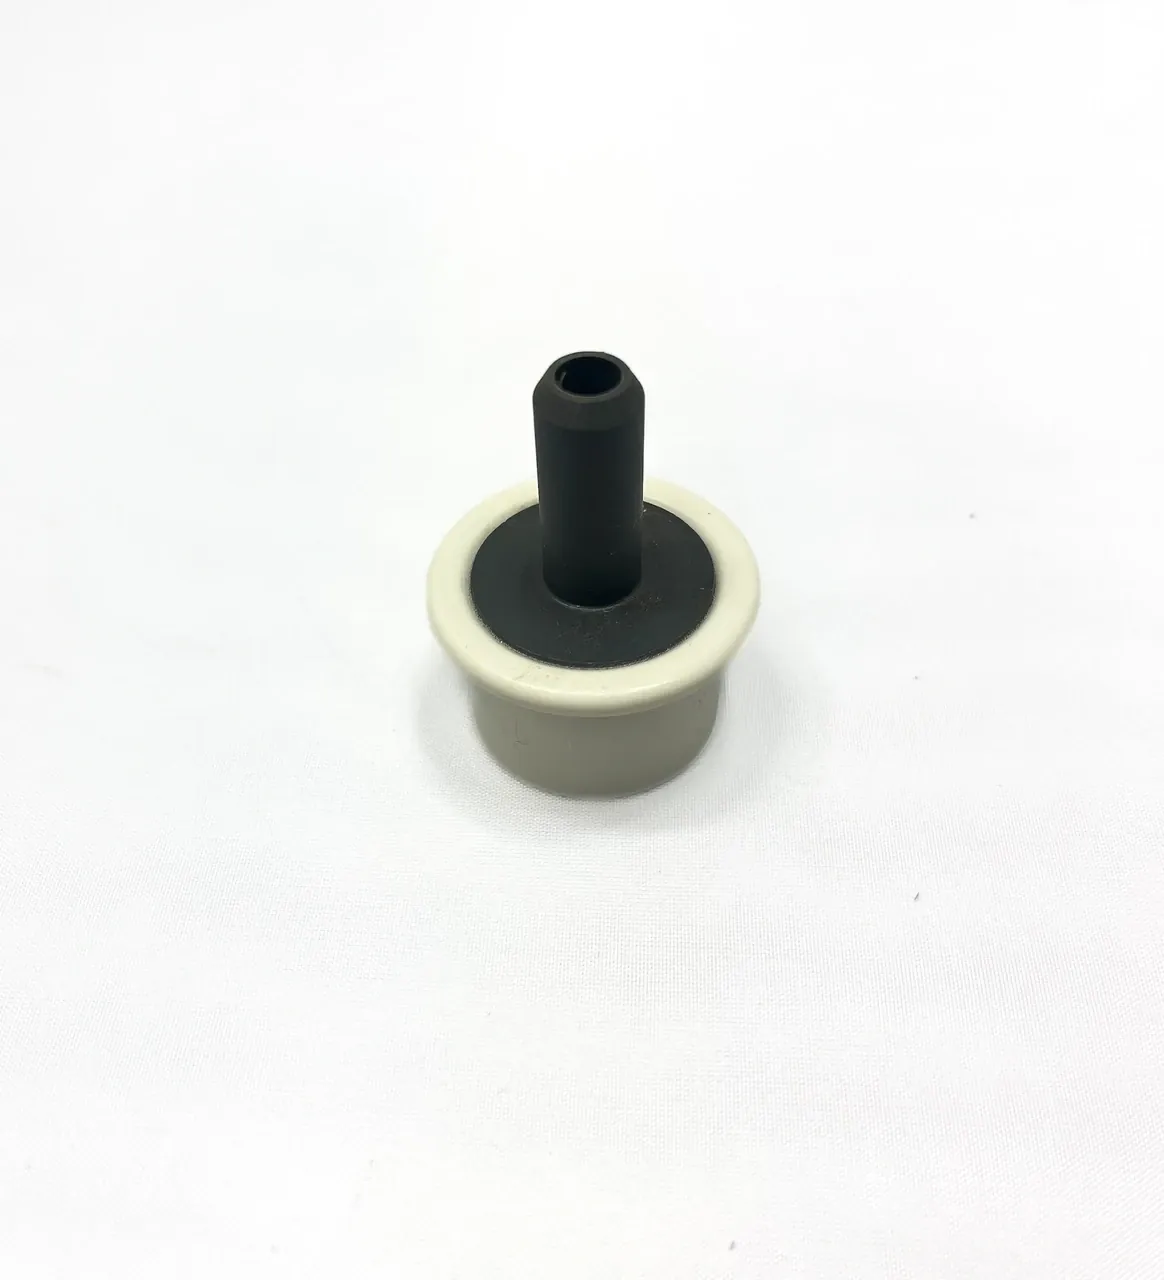
If your toilet fails to fill with water or continues to run after the flush cycle, the water solenoid valve is likely the source of the problem. This valve is a precision component that relies on a rubber diaphragm to open and close. Debris in the water lines can prevent the diaphragm from seating correctly, leading to a constant drip or a complete lack of water flow.
Before replacing the valve, inspect the water inlet screen for sediment. Many marine and RV water systems lack fine filtration, allowing sand or mineral flakes to enter the toilet’s plumbing. If the valve is clear of debris but still fails to operate, the solenoid coil may have burned out. You can test this by checking for continuity across the solenoid terminals using an ohmmeter.
Checking the flush switch panel
The wall-mounted flush switch is the user interface for your sanitation system. Because it’s exposed to moisture, the internal contacts can oxidize, leading to intermittent flushing or a complete lack of response. If the toilet flushes sporadically, try cleaning the back of the switch with an electrical contact cleaner. If the switch remains unresponsive, it may have suffered an internal electronic failure.
The 8700 series uses a low-voltage signal wire to communicate with the control box. A break in this wire—often caused by pinching during installation or cabinet vibration—will result in a dead panel. Inspect the wiring runs behind the wall to ensure no insulation has been rubbed away, exposing bare copper to the chassis.
Addressing common toilet leaks
Leaks around the base of the toilet or the connection points aren’t only frustrating but can lead to structural damage in your RV or boat floor. A leak at the base usually indicates a failed floor seal or a loose mounting bolt. The 8700 series requires a specific flange gasket to ensure a watertight connection to the holding tank.
If you notice water pooling at the back of the unit, inspect the water supply line connection and the vacuum breaker. The vacuum breaker is a safety device designed to prevent backflow; if it leaks, it typically needs to be replaced as a single unit. Always verify that your water pressure is within the manufacturer’s specified range, as excessive pressure can cause these plastic components to crack or weep over time.
Recommended maintenance schedule
Preventative maintenance is the best way to avoid the need for emergency repairs. By following a consistent schedule, you can keep your macerator blades sharp and your seals supple. Every month, perform a “dry run” flush with a cup of vegetable oil to lubricate the macerator blades and help prevent scale buildup.
Every six months, inspect all hose clamps for signs of fatigue or rusting, and test the water inlet filter for debris. If you operate in an area with hard water, use a vinegar-based descaling solution annually to clean the interior of the bowl and the valve housing. Following these Dometic MasterFlush toilet instructions ensures that your sanitation system remains compliant and efficient for the life of the vehicle.
| Maintenance Task | Frequency | Purpose |
|---|---|---|
| Lubricate Blades | Monthly | Prevents motor strain |
| Inspect Water Filter | Quarterly | Prevents valve blockages |
| Tighten Connections | Biannually | Prevents water leaks |
| Full Descaling | Annually | Removes mineral buildup |
Dealing with persistent odors
Odors are often misattributed to the toilet itself when the actual culprit is the holding tank or the ventilation system. If you smell sewage after a flush, check the vent pipe on the roof of your RV or boat. A blocked vent will prevent the tank from equalizing pressure, forcing odors back through the toilet bowl during the flush cycle.
Ensure the vent is free of mud dauber nests or debris. Additionally, check the bowl seal. If the rubber gasket at the bottom of the bowl has dried out or become brittle, it will no longer create an airtight barrier, allowing tank gases to enter the bathroom. Replacing the bowl seal is a simple task that can immediately eliminate lingering smells.
When to replace components
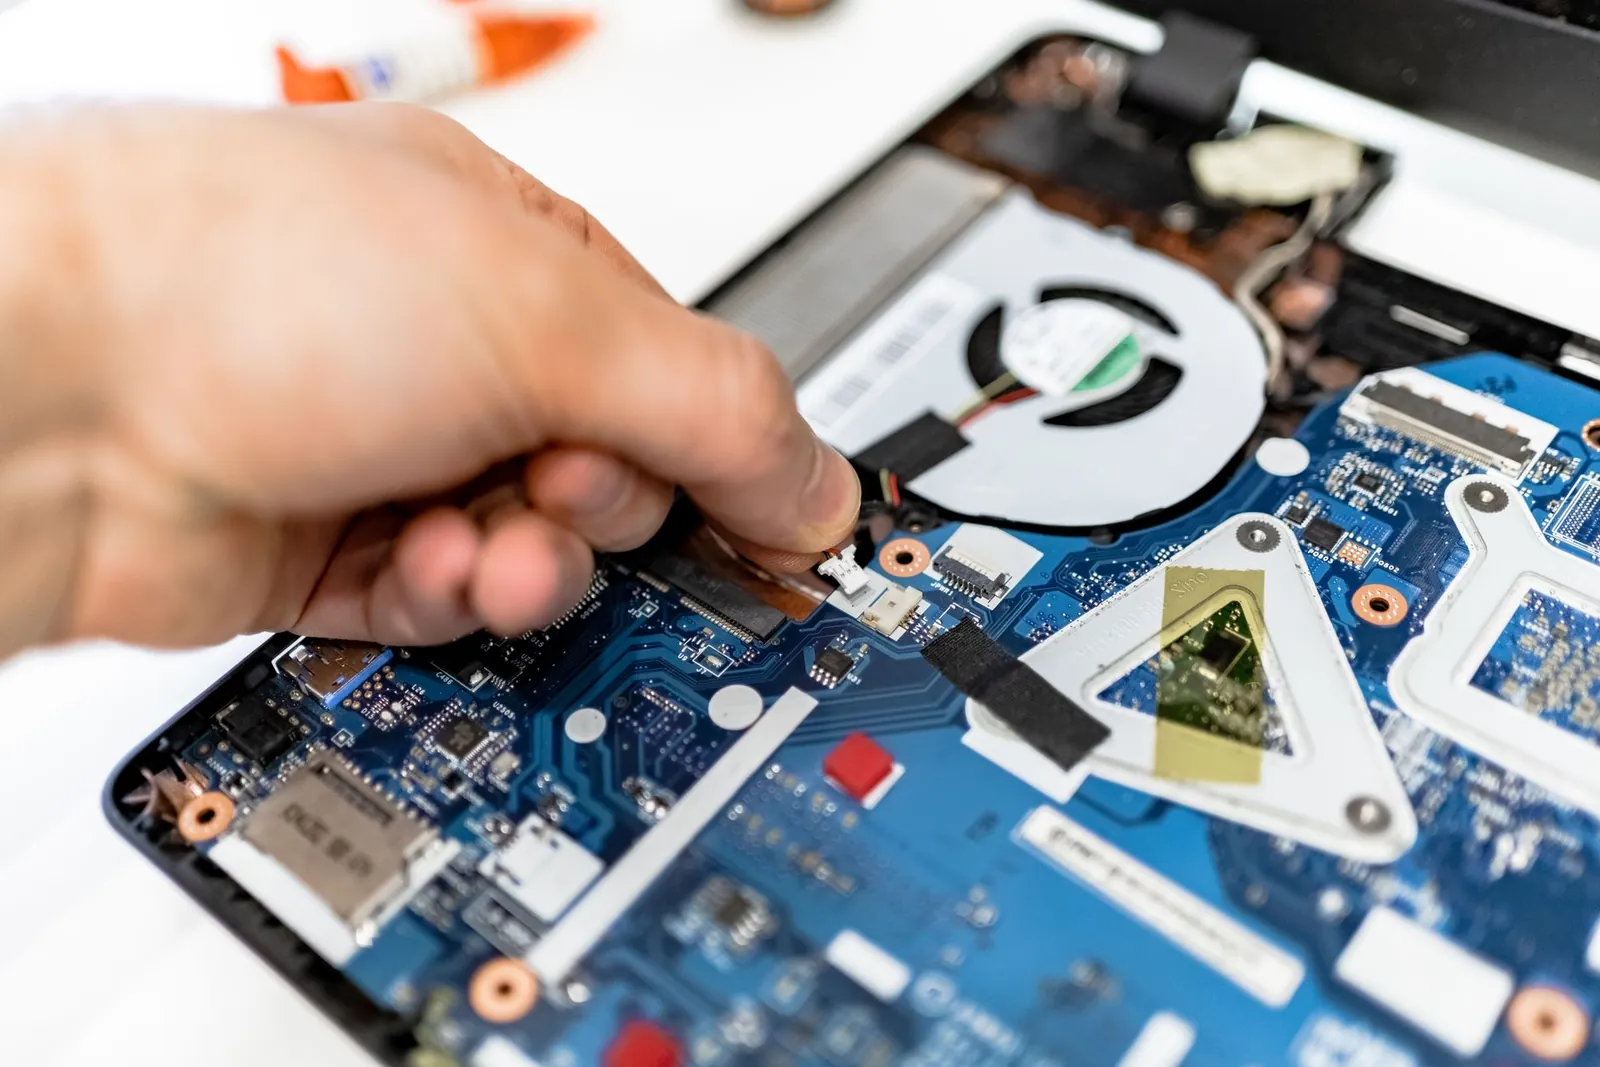
Knowing when to repair versus when to replace is a vital skill for the DIY owner. Minor issues like a blown fuse, a clogged screen, or a loose wire are easily solved with basic tools. However, if the motor housing shows signs of cracking, or if the main control board has been exposed to significant water ingress, replacement is often the more reliable path.
Attempting to repair a damaged circuit board is rarely successful and can pose a fire hazard. When sourcing parts, always use genuine components from authorized distributors to ensure compatibility with your 8700 series model. Using generic parts can lead to improper fitment and may void any remaining warranty coverage you might have on your system.
Frequently Asked Questions
Why does my toilet flush by itself?
An unprompted flush is usually caused by a faulty flush switch or a short circuit in the wiring harness. Moisture entering the switch can create a bridge across the contacts, triggering the macerator. Inspect the switch for signs of water damage and check the wiring behind the wall for any exposed or frayed sections that might be touching a metal surface.
How do I reset the system?
To reset the Dometic 8700 series, simply disconnect the power supply at the main circuit breaker for at least one minute. This allows the capacitors in the control module to discharge completely. After restoring the power, the system will perform a self-diagnostic check. If the fault light persists, the issue is likely a persistent mechanical or electrical failure that requires further investigation.
What causes the macerator to hum?
A humming macerator that doesn’t rotate is typically caused by a mechanical obstruction or a seized motor. Try using a screwdriver to manually turn the macerator blades through the intake port after ensuring the power is off. If the blades rotate freely, the issue is likely an electrical fault in the motor itself, such as a failed start capacitor or a burnt-out winding.
Can I use bleach in my toilet?
You should avoid using harsh chemicals like bleach or strong caustic drain cleaners in your Dometic toilet. These substances can damage the rubber seals, diaphragms, and plastic components of the macerator system, leading to premature leaks and mechanical failure. Instead, use cleaners specifically labeled as safe for RV and marine sanitation systems to maintain the integrity of the internal components.
How do I check for a blockage?
To check for a blockage, turn off the water supply and disconnect the power. Remove the toilet from the floor to gain access to the macerator inlet. Use a flashlight to inspect the blades for obstructions like paper or foreign objects. If you see debris, remove it carefully with long-nose pliers. Never reach into the macerator with your bare fingers, even if the power is disconnected.
Conclusion
Maintaining your sanitation system doesn’t have to be an intimidating task if you break the process down into logical steps. Start by confirming the basics—power and water flow—before moving toward internal components like the macerator or the solenoid valve. By keeping your system clean and avoiding prohibited materials, you’ll ensure a reliable performance for many trips to come. Your next step is to locate your specific model’s manual and perform a visual inspection of the wiring connections today.