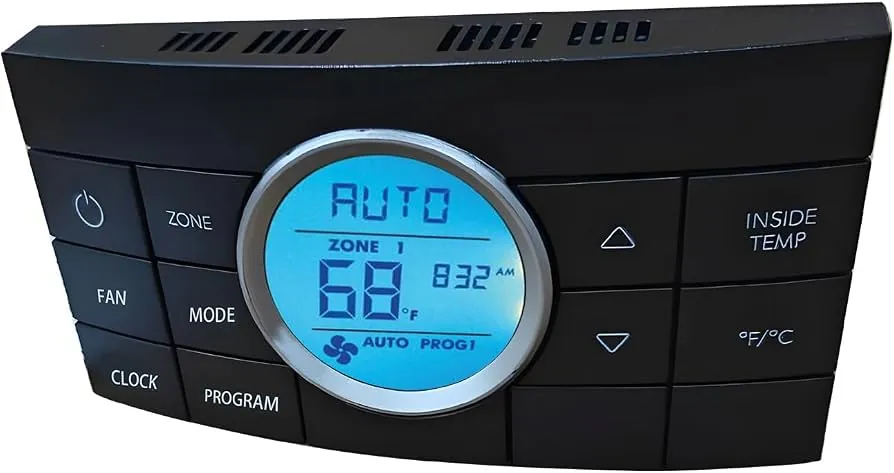
When your RV climate control system stops responding, performing dometic ccc2 thermostat troubleshooting is often the fastest way to restore comfort without a costly service call. This digital wall control is standard in many motorized and towable recreational vehicles, known for its ability to manage multiple zones, heat pumps, and furnace operations from a single interface. While these units are generally reliable, they’re sensitive to power fluctuations and loose connections that can cause the display to go blank or stop communicating with the control modules.
Key Takeaways
- Always perform a system reset before replacing any hardware components.
- Check the RJ11 communication cables for corrosion or loose seating at the control board.
- Verify zone settings on the thermostat match the physical equipment installed in your RV.
- Inspect the remote temperature sensors if the unit is failing to cycle properly.
Understanding the CCC2 Communication System
The Dometic Comfort Control Center 2 (CCC2) is a sophisticated controller that uses a networked communication bus to talk to your rooftop air conditioner units, furnaces, and heat strips. Unlike a residential thermostat that uses simple 24V switching wires, this system utilizes a digital handshake protocol. If that handshake is interrupted, the control system error codes will appear on your LCD screen, or the display may simply refuse to illuminate.
Common Display Symbols
| Symbol | Meaning | Action Required |
|---|---|---|
| E1 | Loss of communication | Check RJ11 cables |
| E2 | Open sensor | Check indoor sensor wiring |
| E3 | Shorted sensor | Replace thermistor |
| E4 | Heat pump lockout | Check high-pressure switch |
| E5 | Open freeze sensor | Verify coil temperature |
How to Reset Your Thermostat
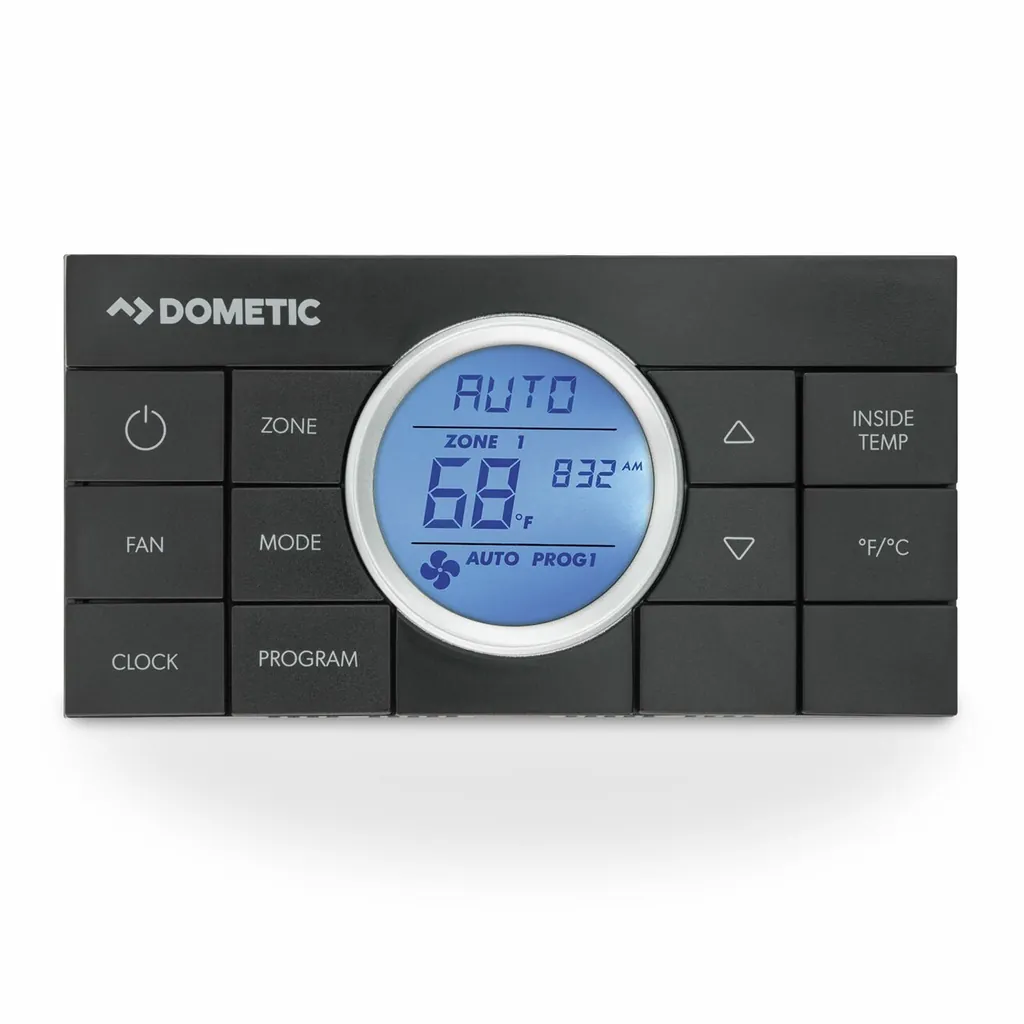
The most frequent fix for a frozen or unresponsive screen is a forced system reset. This clears the memory of the internal microprocessor and forces the unit to re-scan for connected appliances. To do this, ensure the thermostat is in the “Off” mode. Press and hold the “Mode” and “Zone” buttons simultaneously until the display shows “Init.”
Once you release the buttons, the system will restart and attempt to recognize all connected modules. If the unit doesn’t show “Init,” you may need to disconnect the 12V power supply at the main fuse panel for at least 60 seconds to force a hard power cycle.
Identifying Wiring and Cable Issues
Because the CCC2 relies on standard telephone-style cables to transmit data, these cables are often the weak link in the chain. Over time, vibrations from travel can cause the small plastic clips on the RJ11 jacks to lose tension. If you’re seeing an “E1” code, the thermostat has lost contact with the control board inside the air conditioner shroud.
Warning: Always disconnect the 12V power supply at your RV breaker panel before removing the thermostat from the wall or opening the air conditioner cover to avoid shorting out the control board circuitry.
Troubleshooting Dometic CCC2 Cable Connections
- Unplug the communication cable from the back of the thermostat and inspect the gold pins for corrosion.
- Use a small amount of electrical contact cleaner if you notice debris or oxidation.
- Check the other end of the cable at the A/C unit’s control board to ensure it’s firmly seated in the “Comm” port.
- Try swapping a known-good cable from a different zone to see if the error moves with the cable.
Is My Thermostat Broken?
Checking the Remote Sensors
Why Is the Furnace Not Working?
When the furnace fails to ignite via the thermostat, the problem is rarely the thermostat itself. The CCC2 system requires the air conditioner control board to “hand off” the signal to the furnace. If the air conditioner’s control board detects an issue—such as a failed fan motor or a bad relay—it will refuse to send the “on” signal to the furnace.
Check your furnace’s self-diagnostic light, which is usually visible by removing the exterior furnace access door. A blinking code on the furnace board often points to a combustion air issue or a sail switch malfunction that the thermostat can’t troubleshoot.
Can I Replace the Thermostat?
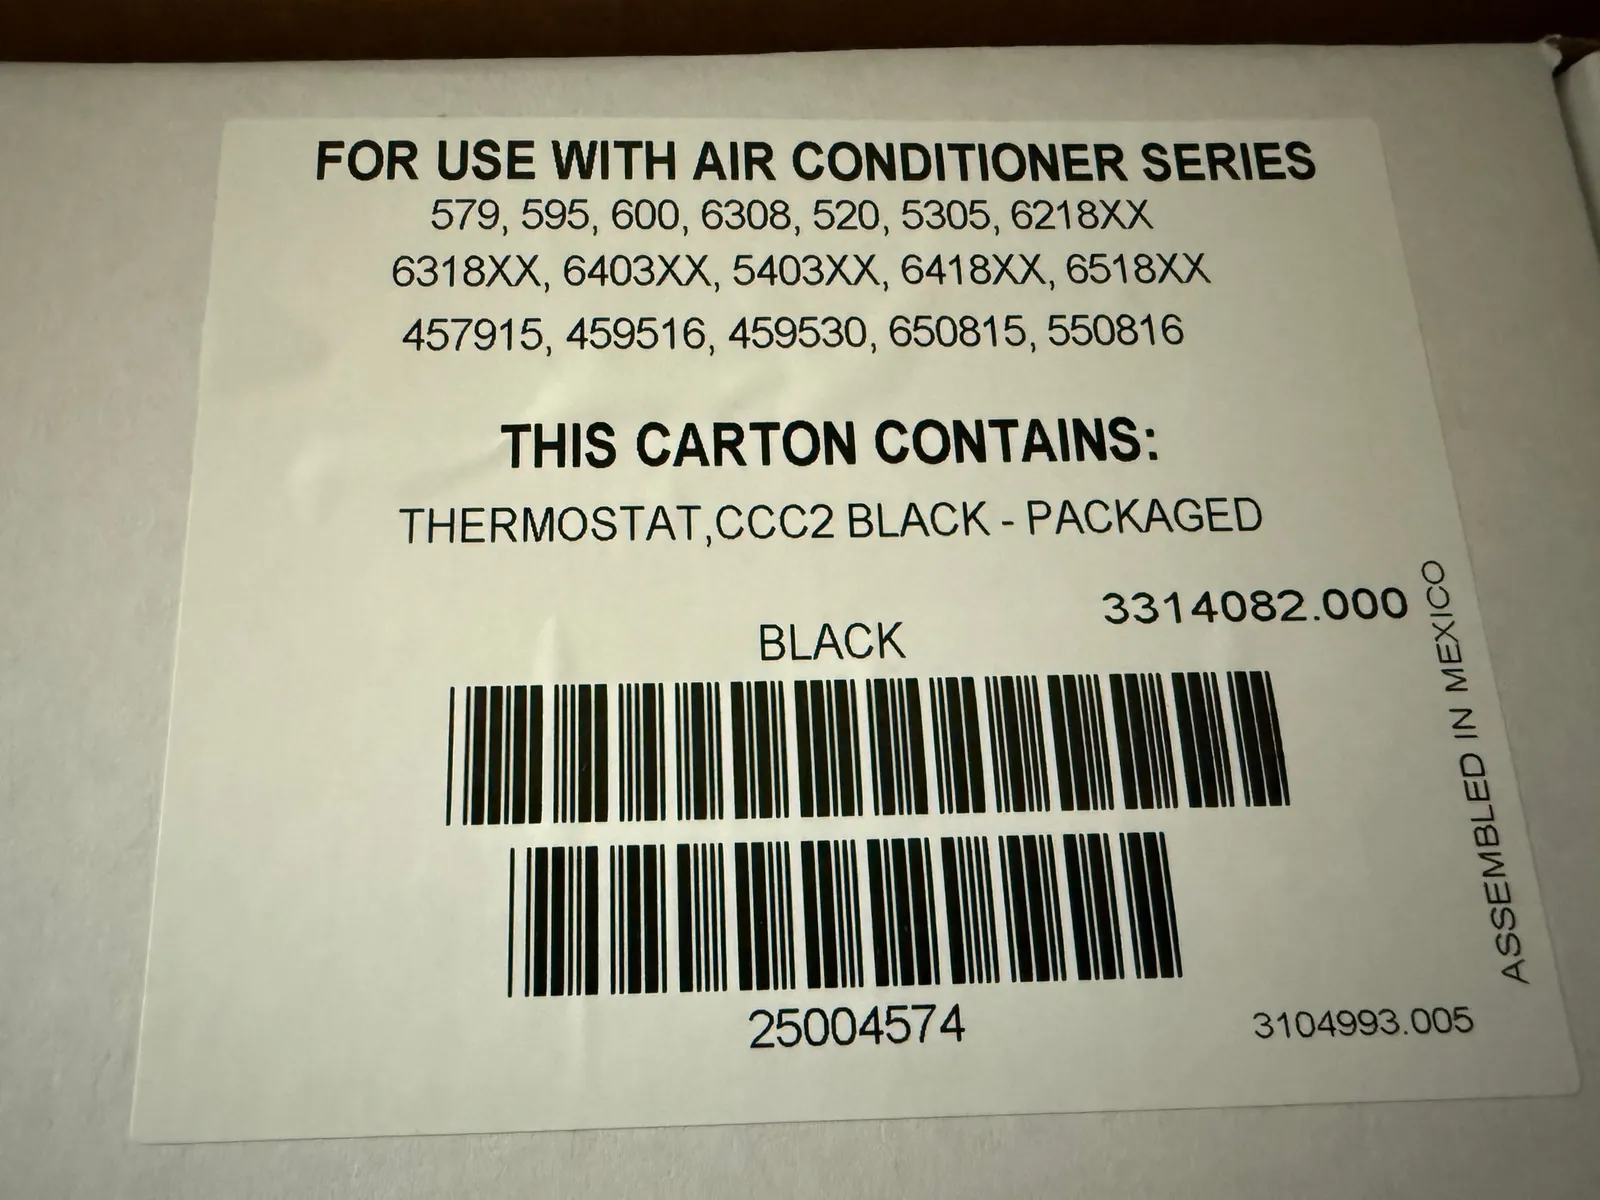
If you have performed a reset, checked all cabling, and verified that the control board has 12V power, the thermostat might be faulty. Replacement units are generally available for purchase through authorized dealers. When shopping, ensure you’re buying a direct replacement for the CCC2, as older Dometic analog thermostats aren’t compatible with the digital communication bus.
The price for a replacement unit typically falls in the range of $120 to $250. Be sure to document your dip switch settings on the old board before installation, as these settings tell the thermostat which zones and accessories are enabled in your specific RV floor plan.
Managing Multiple Zones
The CCC2 is designed to manage up to four distinct zones. Each zone must have its own control board in the corresponding air conditioner unit. If you recently added a new air conditioner or replaced a control board, you must perform the reset procedure mentioned earlier to allow the thermostat to “discover” the new hardware.
If the thermostat fails to show multiple zones, check the DIP switch configuration on the control boards. Each board must have a unique address set via the small switches to prevent signal collisions on the data bus.
Dealing With Constant Airflow
If your air conditioner fan runs constantly regardless of the temperature settings, you likely have the fan mode set to “On” rather than “Auto.” This is a common point of confusion for new owners. Press the “Mode” button until the fan icon appears, then toggle the setting until “Auto” is displayed.
If the fan continues to run even in “Auto” mode, it’s possible that the fan relay on the control board has become stuck in the closed position, a common symptom of high-amperage draw or voltage spikes during shore power connection.
Avoiding Future System Failures
To keep your system running smoothly, maintain a clean environment for your electronics. Dust accumulation on the control boards can lead to overheating or short circuits. Once a year, remove the rooftop shroud and use a soft brush or compressed air to clean the control board compartment.
Additionally, always use a high-quality surge protector when connecting your RV to shore power. Voltage fluctuations are the primary cause of digital processor failure in these units. By keeping the power supply stable and the connections clean, you can significantly extend the lifespan of your climate control components.
Frequently Asked Questions
Why does my thermostat show E1?
An E1 error code indicates a loss of communication between the thermostat and the control board in your air conditioner. This is almost always caused by a loose, corroded, or damaged RJ11 cable. First, try unplugging and replugging the cable at both ends. If the error persists, the cable itself may need to be replaced.
How do I reset the system?
To reset your CCC2 thermostat, turn the system to “Off.” Press and hold both the “Mode” and “Zone” buttons at the same time. While holding them, turn the system to “On.” The screen should display “Init.” Release the buttons, and the system will perform a self-diagnostic, scanning for all connected zones and accessories.
Can I use a home thermostat?
Why is the screen blank?
How do I change the temperature scale?
To switch the temperature display between Fahrenheit and Celsius, ensure the thermostat is in the “Off” mode. Press and hold the “Mode” button and the “Up” arrow button simultaneously for several seconds. The display will toggle the unit of measurement. Release the buttons once the desired scale is visible on the screen.
Conclusion
Proper maintenance of your climate control system ensures that your RV remains a comfortable sanctuary regardless of the weather outside. By following these systematic diagnostic steps, you can isolate whether the problem is a simple communication glitch or a hardware failure. If you have verified all cables and power sources and the system still fails to function, contact a certified technician to inspect the main control modules.