When your RV awning fails to respond to the switch, it can quickly turn a relaxing weekend into a stressful mechanical puzzle. Many owners find themselves searching for dometic 9100 power awning troubleshooting steps when the motor remains silent or the fabric refuses to retract. Addressing these issues early prevents minor electrical glitches from escalating into expensive motor replacements or structural damage to your RV sidewall.
Key Takeaways
- Check your RV house battery levels first, as low voltage is the most common cause of awning failure.
- Inspect the wall switch and internal fuse panel to ensure power is actually reaching the motor assembly.
- Perform a manual override if the awning is stuck open to prevent road damage during travel.
- Clean the motor connection points to remove corrosion that frequently disrupts electrical signals.
- Consult the Dometic Awning Support Documentation to identify specific wiring diagrams for your model year.
Is My Power Source The Problem?
The vast majority of power awning failures stem from a simple lack of electricity. Before dismantling components, verify that your 12-volt DC system is fully operational. If your interior lights are dim or your water pump sounds sluggish, your house battery is likely the culprit.
Warning: Always disconnect the shore power and turn off the battery disconnect switch before performing any electrical testing to avoid accidental short circuits.
How To Check The Wall Switch
The wall switch is a high-traffic component prone to mechanical fatigue. Since it sits in an environment subject to vibrations and humidity, the internal contacts can oxidize, leading to an intermittent connection.
| Switch Issue | Likely Symptom | Recommended Action |
|---|---|---|
| Corroded Contact | Switch feels “mushy” | Replace with identical Dometic switch |
| Loose Wire | Clicking sound, no movement | Tighten spade terminals behind switch |
| Blown Internal Fuse | Dead silence | Inspect inline fuse behind switch panel |
If the switch feels loose or requires multiple presses to engage, it’s likely failing internally. Use a small flat-head screwdriver to gently pry the switch plate from the wall. Inspect the spade connectors for signs of green or white corrosion. Cleaning these with contact cleaner often restores functionality. If cleaning fails, a replacement switch is a cost-effective fix, typically ranging from $15.00 to $45.00 depending on the specific rocker style.
Troubleshooting Dometic 9100 Power Awning Wiring
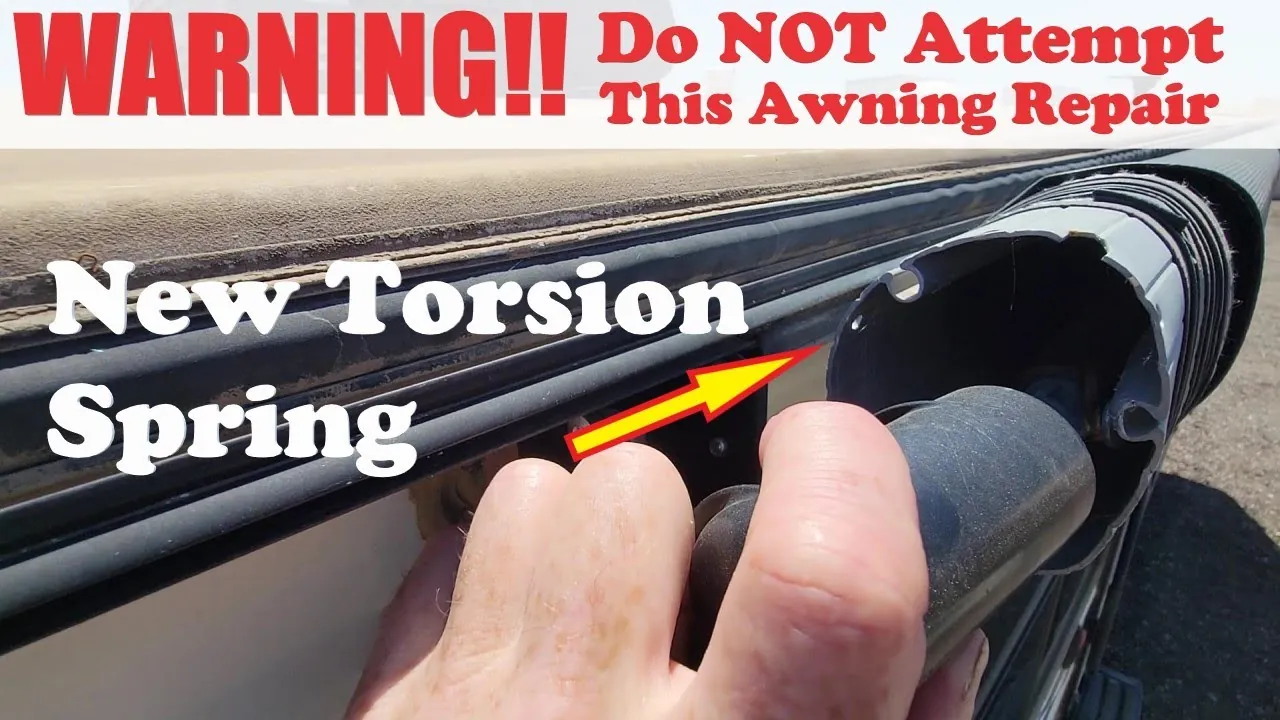
If you have verified that power reaches the motor leads but the unit remains silent, you’re likely dealing with a failed motor or a compromised ground connection. The motor assembly is located inside the roller tube on the end opposite the idler head.
Pro Tip: Use a jumper wire directly from a known good 12-volt source to the motor leads. If the motor runs when bypassed, your problem is definitively in the wiring or the switch.
Check for corroded wire connections at the point where the RV wall wiring meets the awning arm wiring. This junction is exposed to the elements and is a prime location for moisture intrusion. If you find frayed or broken wires, use heat-shrink butt connectors to create a weatherproof seal that will last for years.
Can I Manually Retract The Awning?
If the awning is stuck in the extended position, you must retract it manually to safely move your RV. Most Dometic 9100 models feature a manual override mechanism located on the motor head. You’ll need a cordless drill with a socket adapter or a manual crank tool.
- Locate the access hole on the motor head assembly.
- Insert the manual override tool into the drive shaft.
- Rotate the tool in the direction required to retract the fabric.
- Ensure the awning arms are fully seated against the RV wall before moving.
Warning: Never attempt to drive with the awning extended. If the mechanism is completely seized and won’t retract manually, use zip ties to secure the arms tightly to the mounting brackets to prevent the unit from deploying while on the highway.
Cleaning And Lubricating Moving Parts
Sometimes the awning isn’t experiencing an electrical failure but is instead suffering from excessive friction. If the motor struggles to move the fabric or stops halfway, check the pivot points on the arms.
- Pivoting Joints: Apply a silicone-based lubricant to all hinge points.
- Fabric Tracks: Ensure the fabric isn’t bunching or catching on the mounting bracket.
- Arm Alignment: Check that the arms aren’t bent from wind damage.
Avoid using heavy grease, as it attracts dust and dirt, which can create a grinding paste that wears down the bushings prematurely. A dry lubricant is the best choice for the aluminum arm components.
Common Causes Of Motor Failure
When a motor reaches the end of its life, it often provides warning signs before failing completely. If you notice these symptoms, start budgeting for a replacement motor, which typically costs between $180.00 and $350.00.
| Failure Sign | Meaning | Expected Lifespan |
|---|---|---|
| Burning Smell | Internal windings overheating | Immediate replacement needed |
| Slow Retraction | Motor torque is declining | Inspect voltage/lubrication first |
| Loud Grinding | Stripped internal gears | Replace motor assembly |
If you detect a burning smell, cease operation immediately. This indicates an internal short circuit that could potentially lead to a fire hazard. Disconnect the power leads at the motor head until you can source a replacement.
Inspecting The Idler Head Assembly
While the motor handles the movement, the idler head on the opposite side provides the tension necessary for smooth operation. If the awning is uneven or “crows” (sags in the middle), the idler head spring may be weak or damaged.
Check the idler head for cracks in the plastic housing. Over time, UV exposure can cause the plastic to become brittle. If the idler head is damaged, it can cause the roller tube to bind, putting unnecessary strain on the motor. Replacing an idler head is a manageable task, though it requires securing the awning fabric to prevent it from unrolling while the head is removed.
Understanding Voltage Drop Issues
Voltage drop is the hidden enemy of 12-volt systems. Even if your battery shows 12.6 volts at the source, you may only be seeing 10 volts at the motor due to undersized wiring or poor connections.
- Wire Gauge: Ensure the wiring used is at least 14 AWG.
- Ground Path: Ensure the ground wire is attached to a clean, unpainted metal chassis point.
- Connection Quality: Use crimp-on connectors rather than wire nuts, which vibrate loose in an RV environment.
If you have added long runs of wire or connected multiple accessories to the same circuit, you may be experiencing a significant voltage drop. This causes the motor to draw higher current to compensate, which eventually triggers the thermal overload protection inside the motor, causing it to shut down during operation.
How To Test The Motor Directly
If you suspect the motor is faulty, a direct test is the most reliable way to confirm. Locate the two wires coming out of the motor head. Disconnect them from the RV wiring harness.
Use a fully charged 12-volt battery and a set of jumper cables. Connect one motor wire to the positive terminal and the other to the negative terminal. The awning should move in one direction. Reverse the polarity (swap the connections) to make the awning move in the opposite direction. If the motor doesn’t respond to a direct 12-volt connection, the motor is internally defective and must be replaced.
Weather Damage And Structural Integrity
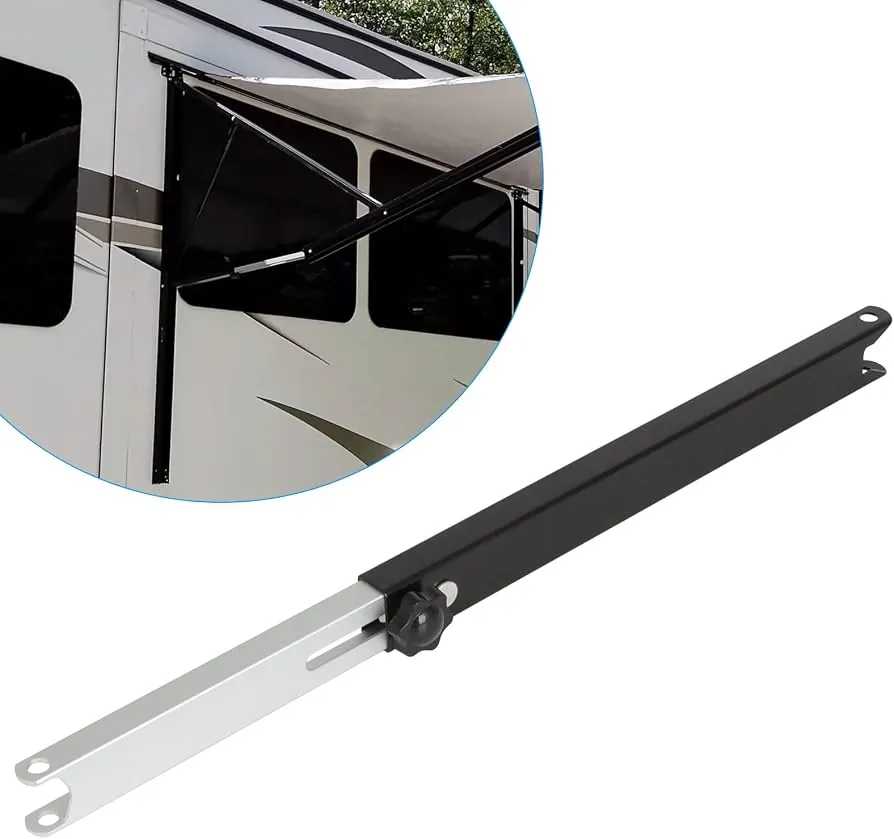
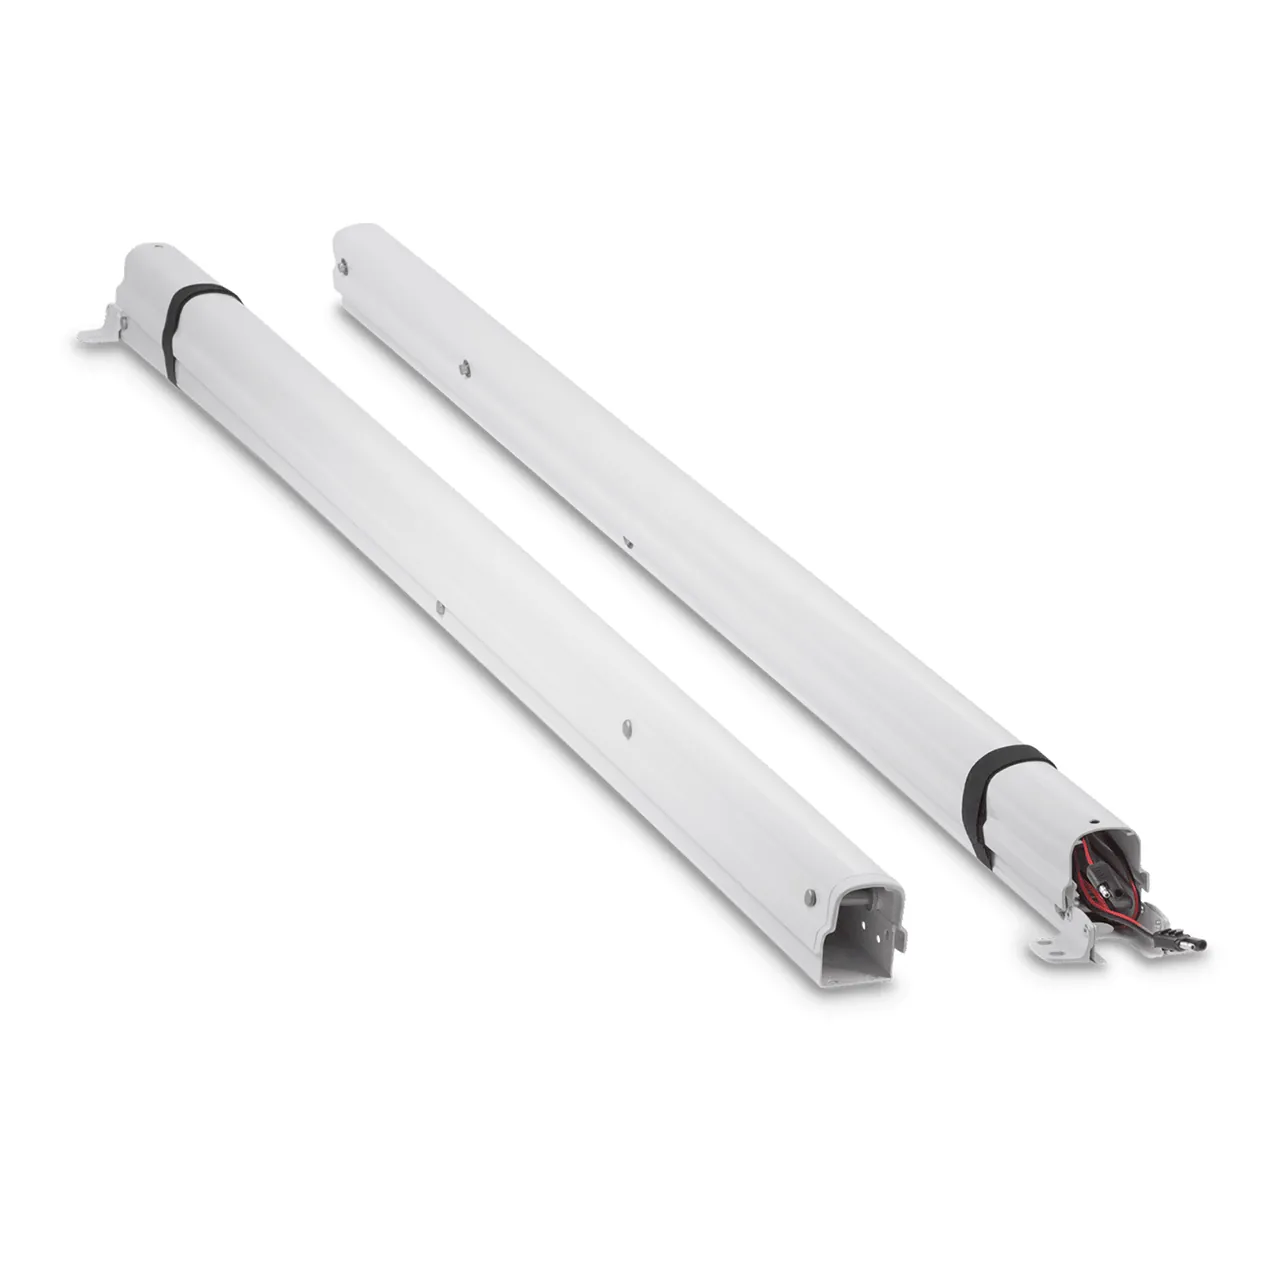
High winds are the primary cause of structural failure for the Dometic 9100. Even a moderate gust can bend the aluminum arms, causing the awning to misalign. Once the arms are bent, the motor will struggle to pull the awning into the housing properly.
Inspect the mounting brackets on the RV wall. If the screws are pulling out or the sealant is cracked, water can enter the sidewall, leading to rot. Use high-quality exterior-grade sealant to maintain a watertight seal around all mounting points. If the arms are significantly bent, they often can’t be straightened and require a full arm assembly replacement, which can range from $250.00 to $500.00 per side.
Preventing Future Awning Issues
Maintaining your awning is the best way to avoid future troubleshooting sessions. A consistent schedule prevents the accumulation of debris and ensures that mechanical components remain free-moving.
- Monthly: Wipe down the fabric with a soft cloth and mild soap.
- Quarterly: Inspect all fasteners and tighten any loose bolts.
- Bi-annually: Lubricate all hinge points with silicone spray.
- Annually: Check the electrical connections at the motor head for corrosion.
By keeping the fabric clean, you prevent mold and mildew from weakening the material. Furthermore, keeping the arms lubricated reduces the load on the motor, significantly extending the life of the internal gears.
Frequently Asked Questions
Why does my awning stop halfway?
An awning that stops halfway usually indicates that the thermal overload protector has tripped or the motor is encountering too much resistance. Check for obstructions, ensure the arms are well-lubricated, and verify that your house battery has sufficient voltage. If the motor feels hot to the touch, allow it to cool for thirty minutes before attempting to operate it again.
Can I replace just the motor?
Yes, you can replace the motor assembly without replacing the entire awning or roller tube. The motor is housed inside the end cap of the roller tube. You’ll need to remove the end cap, disconnect the wiring, and slide the old motor out. It’s a straightforward repair, but ensure you order the exact part number corresponding to your specific awning model.
Is the awning switch polarity sensitive?
The awning switch is essentially a double-pole, double-throw (DPDT) momentary switch that reverses the polarity of the power sent to the motor. If you replace the switch and the awning moves in the opposite direction of the labels, simply swap the two output wires connected to the back of the switch to correct the movement.
How do I know if the awning fuse is blown?
If your awning is completely unresponsive and the interior lights or other 12-volt appliances are working, a blown fuse is the most likely cause. Locate your RV’s fuse panel and look for a fuse labeled “Awning.” If the metal strip inside the fuse is broken or the plastic is blackened, replace it with a new fuse of the exact same amperage rating.
What causes the awning to make a grinding noise?
A grinding noise usually indicates stripped gears within the motor housing or a misaligned drive shaft. This often occurs if the awning was forced or if the motor was over-tightened. If you hear grinding, stop immediately to prevent further damage. You’ll likely need to replace the motor assembly or the internal gear pack if it’s available for your specific unit.
Conclusion
Following these steps will help you resolve the vast majority of performance issues with your power awning. If you have verified the electrical supply, cleaned the connections, and lubricated the mechanical arms, yet the unit remains inoperable, you have narrowed the problem down to the motor itself. For further assistance, contact a certified RV technician or visit your local dealership to order the correct replacement components for your specific Dometic model.