You can resolve most dyna 2000 ignition troubleshooting issues by checking your battery and verifying that all ground connections are tight. If your bike does not start, have a technician check these electrical points before assuming the ignition unit has failed.
Common causes for ignition system failure
The primary reason for failure in these systems is poor voltage regulation or damaged wiring. If the voltage drops below the minimum threshold during engine cranking, the module can’t process the signal from the pick-up sensor, which leads to a no-spark condition. This often happens if the battery is old or if the charging system isn’t outputting a steady charge to the battery.
Another frequent cause involves the grounding points. These modules rely on a clean, solid connection to the frame to complete the electrical circuit. If the frame ground is corroded, painted over, or loose, the system will behave erratically.
You might experience intermittent misfiring or a total loss of spark as the engine vibrates and the connection fluctuates. Heat is a final factor, as these units are sensitive to extreme temperatures. If the module is mounted in a spot with poor airflow, internal components can fail over time.
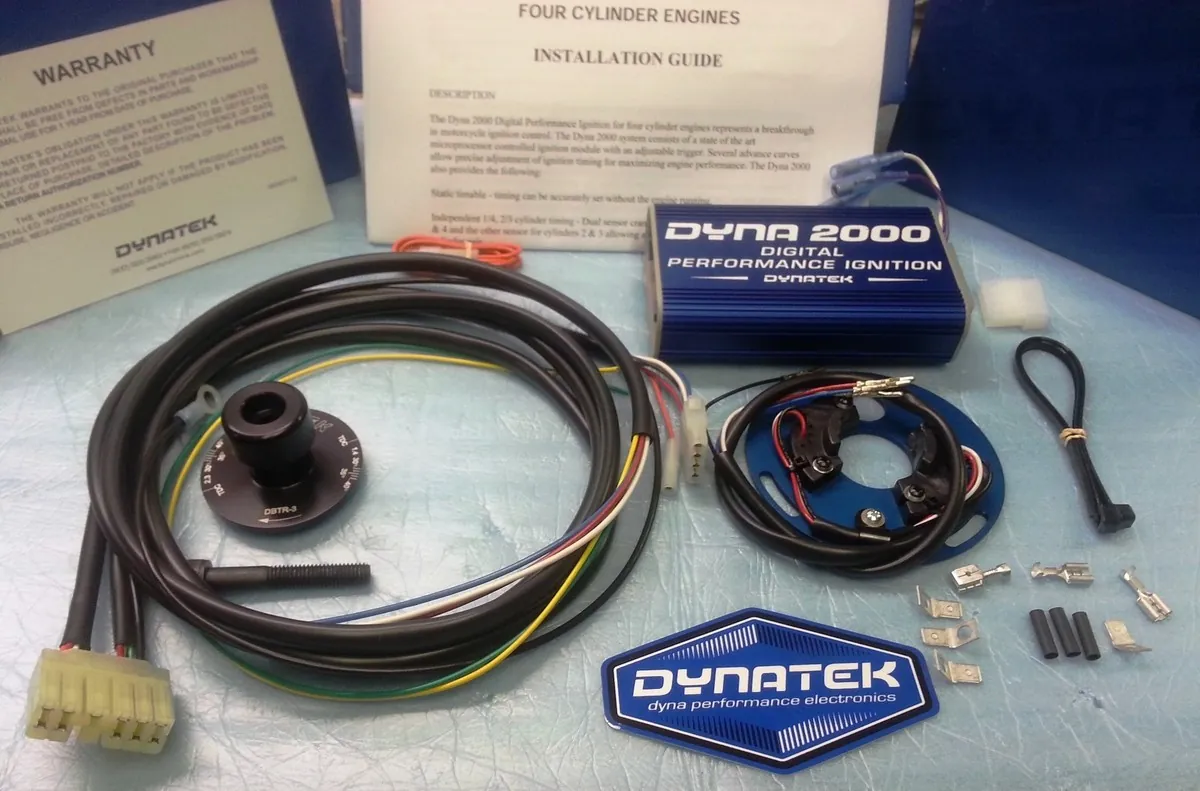
You can find the official installation and wiring requirements for these units in the Dynatek ignition system technical guide. Always compare your current setup against these factory standards to ensure your wiring harness isn’t causing a short. If your wiring looks melted or brittle, don’t attempt to repair it with simple tape, as this is a fire hazard.
Inspecting your battery and connections
This fix is for riders who want to rule out simple electrical faults before seeking professional help. Start by having a technician verify the battery charge and system health.
Next, inspect every wire leading to the ignition module for signs of fraying or heat damage. Ensure the main ground cable is bolted directly to a clean, unpainted spot on the engine block or frame.
If the cable is loose, tighten the bolt until it’s firm, but be careful not to strip the threads. Many riders make the mistake of assuming a wire is fine just because it looks connected, but a hidden break inside the insulation can stop the signal.
If the engine runs but misfires, check the spark plug wires for cracks. Ensure they’re pushed firmly onto the coils and the plugs. If you have to replace the wires, use only the type recommended by the manufacturer to avoid electrical interference. If these steps don’t restore a consistent spark, the issue likely resides within the module or the pick-up sensor, which requires advanced diagnostic equipment.
Testing the pick-up sensor signal
If your battery and grounds are perfect but you still lack spark, the pick-up sensor might be the culprit. This sensor sits behind the ignition cover and reads the position of the crankshaft. If it’s dirty, covered in metal shavings, or physically damaged, it can’t send the correct timing signals to the module.
Gently remove the ignition cover to inspect the sensor area. Look for any debris or excessive oil buildup that might block the magnetic pickup. If the sensor looks damaged or the wiring leading into it’s frayed, it will likely need replacement. Don’t attempt to solder the thin wires inside the sensor housing yourself, as this requires precision equipment that most home shops don’t have.
If the sensor looks clean, check the gap between the sensor and the timing rotor. The gap must be consistent according to the specs provided in your bike’s service manual. If the gap is too wide, the module will never receive a strong enough signal to trigger a spark. If you don’t have the proper feeler gauges or the correct measurements for your specific bike model, have a certified technician perform this check to avoid damaging the rotor.
Troubleshooting the ignition timing
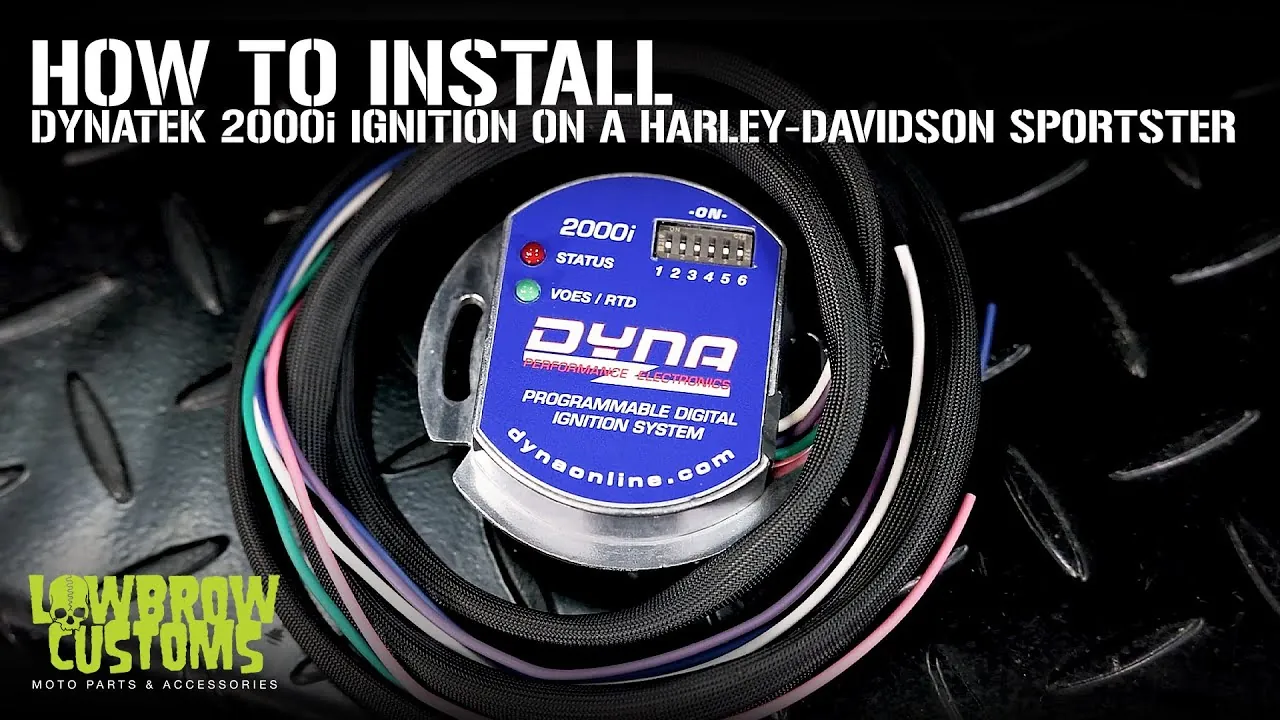
Correct timing is essential for the engine to run smoothly, and an incorrectly set advance curve will cause poor performance or engine knock. If your bike starts but runs poorly, you might need to adjust the timing switches on the module itself. These switches control the advance curve and the rev limit, and they’re easily bumped during maintenance.
Verify the switch positions against the chart provided in your unit’s manual. If a switch is set to an aggressive curve that your engine can’t handle, you’ll hear pinging or experience hesitation under load. Simply moving the switches to the factory default setting often clears up these performance issues.
A common mistake is assuming the switches are set correctly from the previous owner. Always reset them to the manufacturer’s baseline before troubleshooting other fuel or spark components. If the engine pings under heavy load but runs fine at idle, move the curve one step toward the conservative setting. If the engine feels sluggish or lacks throttle response, try a slightly more aggressive curve.
This isn’t the right fix for someone who doesn’t have access to a timing light or the specific manual for their engine type. If you’re unsure about the timing marks on your flywheel, stop immediately.
Adjusting timing by ear or by feel is dangerous and can lead to severe engine damage or a kickback that could injure your leg. Always use a professional timing light to verify the results of your adjustments before you attempt to ride the bike on the road.
Common mistakes to avoid
Connecting the ground wire to a painted surface blocks the electrical path entirely. You must scrape the paint away until you reach bare, shiny metal to ensure a solid connection. If you skip this, the module will fail within minutes of operation.
Never use any testing tools on the module output. A technician must confirm whether the part has failed.
Ignoring a weak battery is the most common error during troubleshooting. Have a technician load-test your battery before replacing other components.
Finally, avoid over-tightening the mounting bolts. Excessive torque cracks the plastic housing, letting moisture seep into the electronics. Tighten them just until snug; if you feel the plastic flex, stop immediately.
Preventing future ignition problems
If you’re currently relying on old, brittle wiring or an aging battery, replace these items to ensure system reliability. Aging insulation often cracks under engine heat, creating invisible shorts that drain power before it reaches the spark plugs.
| If you’re doing this | Do this instead | Why |
|---|---|---|
| Using old electrical tape | Use heat-shrink tubing | Tape fails in heat |
| Ignoring battery age | Test battery load annually | Weak batteries cause misfires |
| Leaving wires loose | Use zip ties for support | Vibration breaks connections |
| Cleaning with water | Use electrical contact cleaner | Water causes terminal corrosion |
The most common mistake is assuming a battery is healthy because the engine starts. Have a technician verify the battery health, as a weak unit forces the ignition coil to work harder, eventually burning out the internal windings.
When routing new wires, maintain at least two inches of clearance from exhaust manifolds. If you see signs of melting, use high-temperature silicone sleeves to prevent future failures. Use this rule: if a wire feels stiff or shows visible copper, replace the entire run rather than splicing it.
Frequently asked questions
Can I test the module with a multimeter?
No, you can’t safely test the ignition module yourself. These modules use complex solid-state electronics that require specialized diagnostic tools to verify. Testing the pins yourself can cause a short circuit and destroy the module.
How long should the ignition module last?
The module is designed to last for the life of the bike. However, its actual lifespan varies based on the heat of the mounting location and the condition of the electrical system.
Why is my bike misfiring at high speeds?
Misfiring at high speeds is often caused by a weak electrical connection or an incorrect rev limit setting. Verify your rev limit switch settings first, then inspect all power and ground wires for corrosion.
Is it safe to ride with an intermittent spark?
No, it isn’t safe to ride with an intermittent spark because your engine could lose power at a dangerous moment. A bike that misfires is also prone to backfiring, which can damage your intake or exhaust system.
What happens if the timing is set wrong?
Incorrect timing causes the spark to occur at the wrong point, leading to poor power, overheating, or engine knock. Always have a professional confirm the ignition timing matches factory specifications.
How do I check if the sensor is dirty?
You can check if the sensor is dirty by inspecting the magnetic pickup face for metal filings or grime. Any debris stuck to the face will interfere with the signal sent to the module.
Conclusion
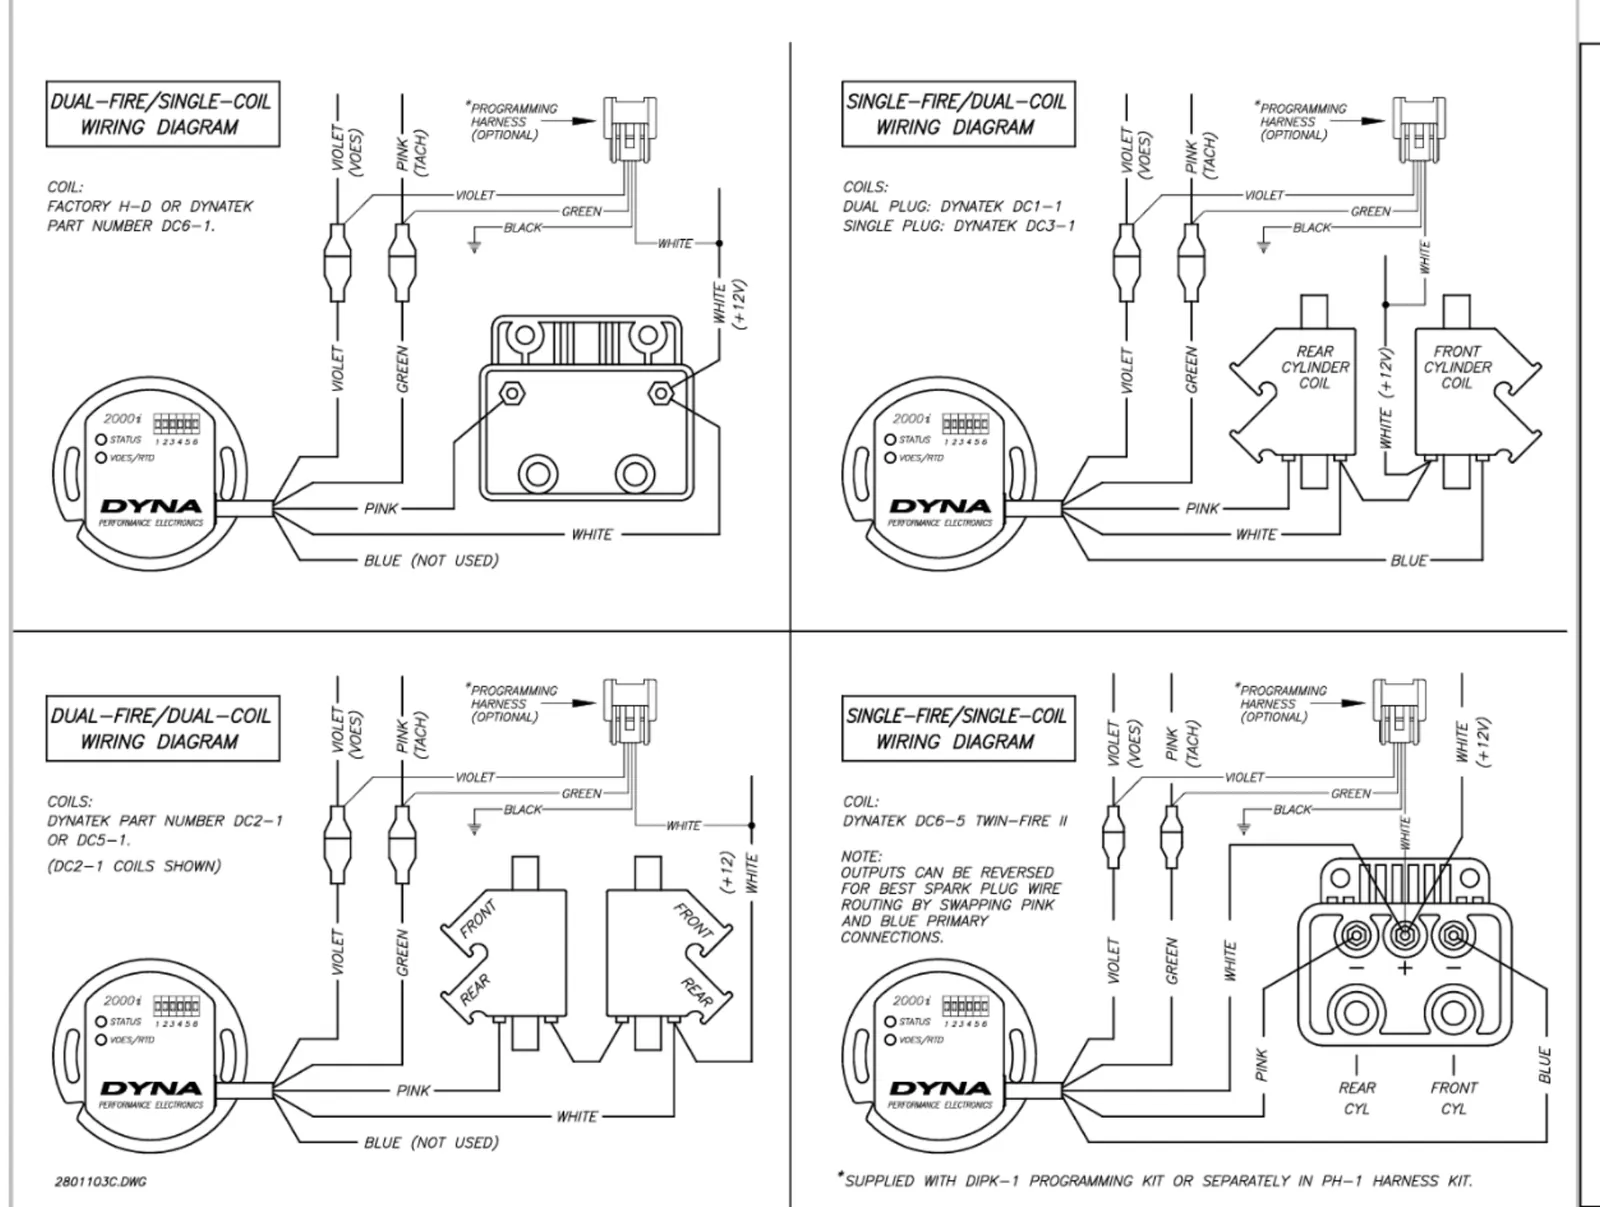
If your engine still won’t fire up after these checks, don’t get discouraged. Sometimes a hidden wire break or a faulty sensor is the real culprit. It’s a good idea to consult your service manual’s wiring diagram next, as you’ll likely find the specific solution you’ve been searching for there.