To fix connection or printing errors, you should perform dymo labelwriter 550 troubleshooting by power-cycling your printer and checking your network or USB cable. Most issues arise because the printer’s internal sensor can’t read the label type, or the software has lost communication with the device. If the status light is blinking red, it usually means the printer is out of labels or the roll isn’t seated correctly.
Troubleshoot Dymo LabelWriter connection and sensor errors
When your printer stops responding, the most common cause is a software communication error. You should first ensure your printer is connected directly to your computer using the provided USB cable, rather than a USB hub or docking station. Hubs often fail to provide the constant voltage required for stable data transmission, leading to intermittent signal drops.
If you’re using the networked version, verify that both the printer and your computer are on the same local network, as a signal mismatch often prevents the software from seeing the hardware. Check your router’s IP assignment list to confirm both devices share the same subnet mask. If your printer has a static IP address, ensure it doesn’t conflict with another device on the network.
Another frequent cause involves the label recognition system. These printers use a sensor to detect the specific size and type of the label roll. If you recently changed the roll, the printer might not have finished its auto-calibration sequence. If the status light flashes red, the sensor is likely obstructed by dust or adhesive residue. Clean the sensor path with a dry, lint-free cloth to restore detection accuracy.
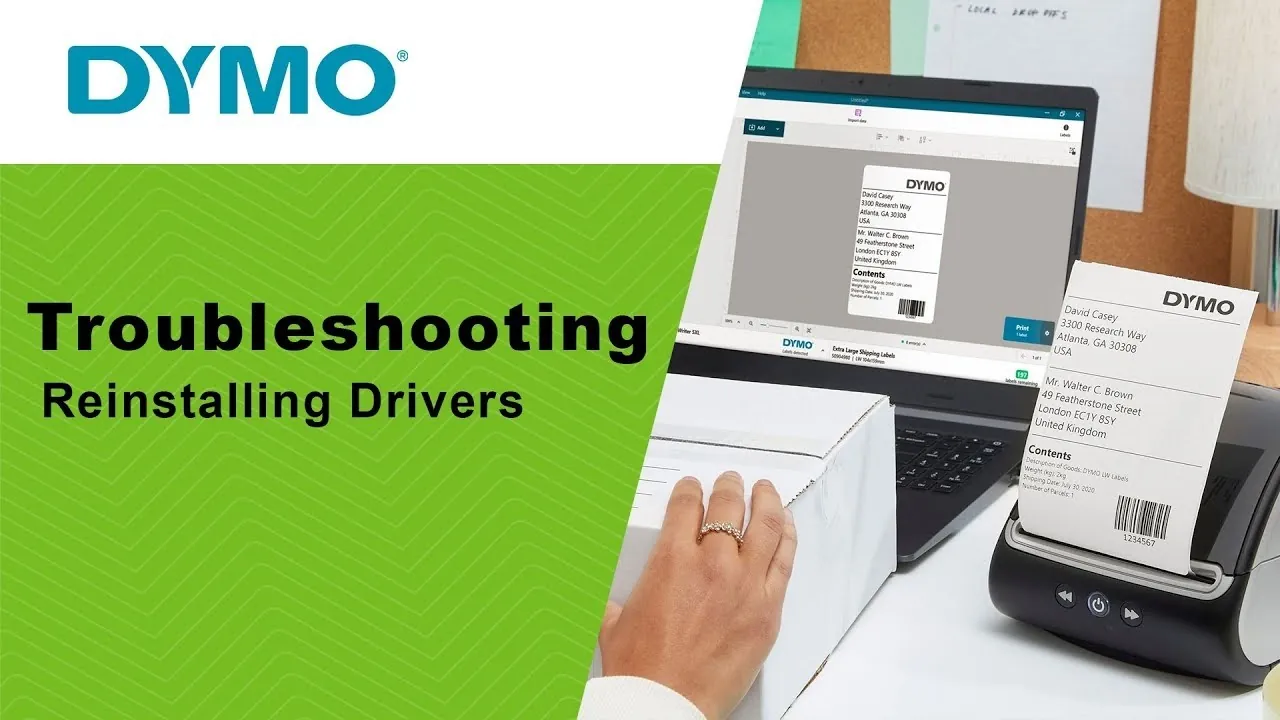
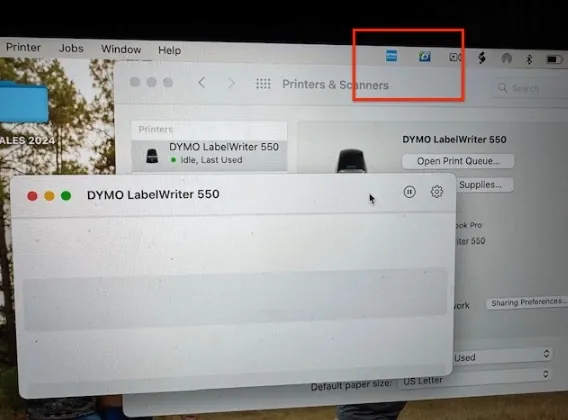
If the software shows the printer as “offline” even when it’s turned on, the driver might need a refresh. Navigate to your computer’s device manager and uninstall the printer before restarting your system. Reinstalling the driver from scratch forces the operating system to re-establish the handshake protocol. You can check the status of your printer and find official support guides through the DYMO technical support resource center.
Reset the connection to your computer
If your printer isn’t printing, start by disconnecting the power cable from the back of the device while it’s still turned on. Wait for at least 30 seconds before plugging the power cable back into the wall outlet. This pause allows the internal memory to clear and resets the communication handshake between the device and your computer.
If the printer remains unresponsive, check the physical connection. If you use a USB cable, swap it to a different port on your computer. A faulty port often mimics a software failure, leading users to waste hours reinstalling drivers when the hardware interface is the true culprit.
After the light stops blinking and turns solid, try to send a test print from your software. If it still fails, uninstall the printer from your computer’s “Devices and Printers” menu and restart your machine.
Reinstalling the driver ensures that any corrupted communication files are replaced with fresh ones. This is the best step for users who have recently updated their operating system, as old drivers often conflict with newer software versions.
If you see an “Offline” status error after these steps, navigate to your printer settings and ensure “Use Printer Offline” is unchecked. Many users forget this toggle, which forces the device to ignore incoming print jobs even when the connection is perfectly healthy. Always verify this setting before attempting a full factory reset of the printer hardware.
Calibrate the label roll sensor
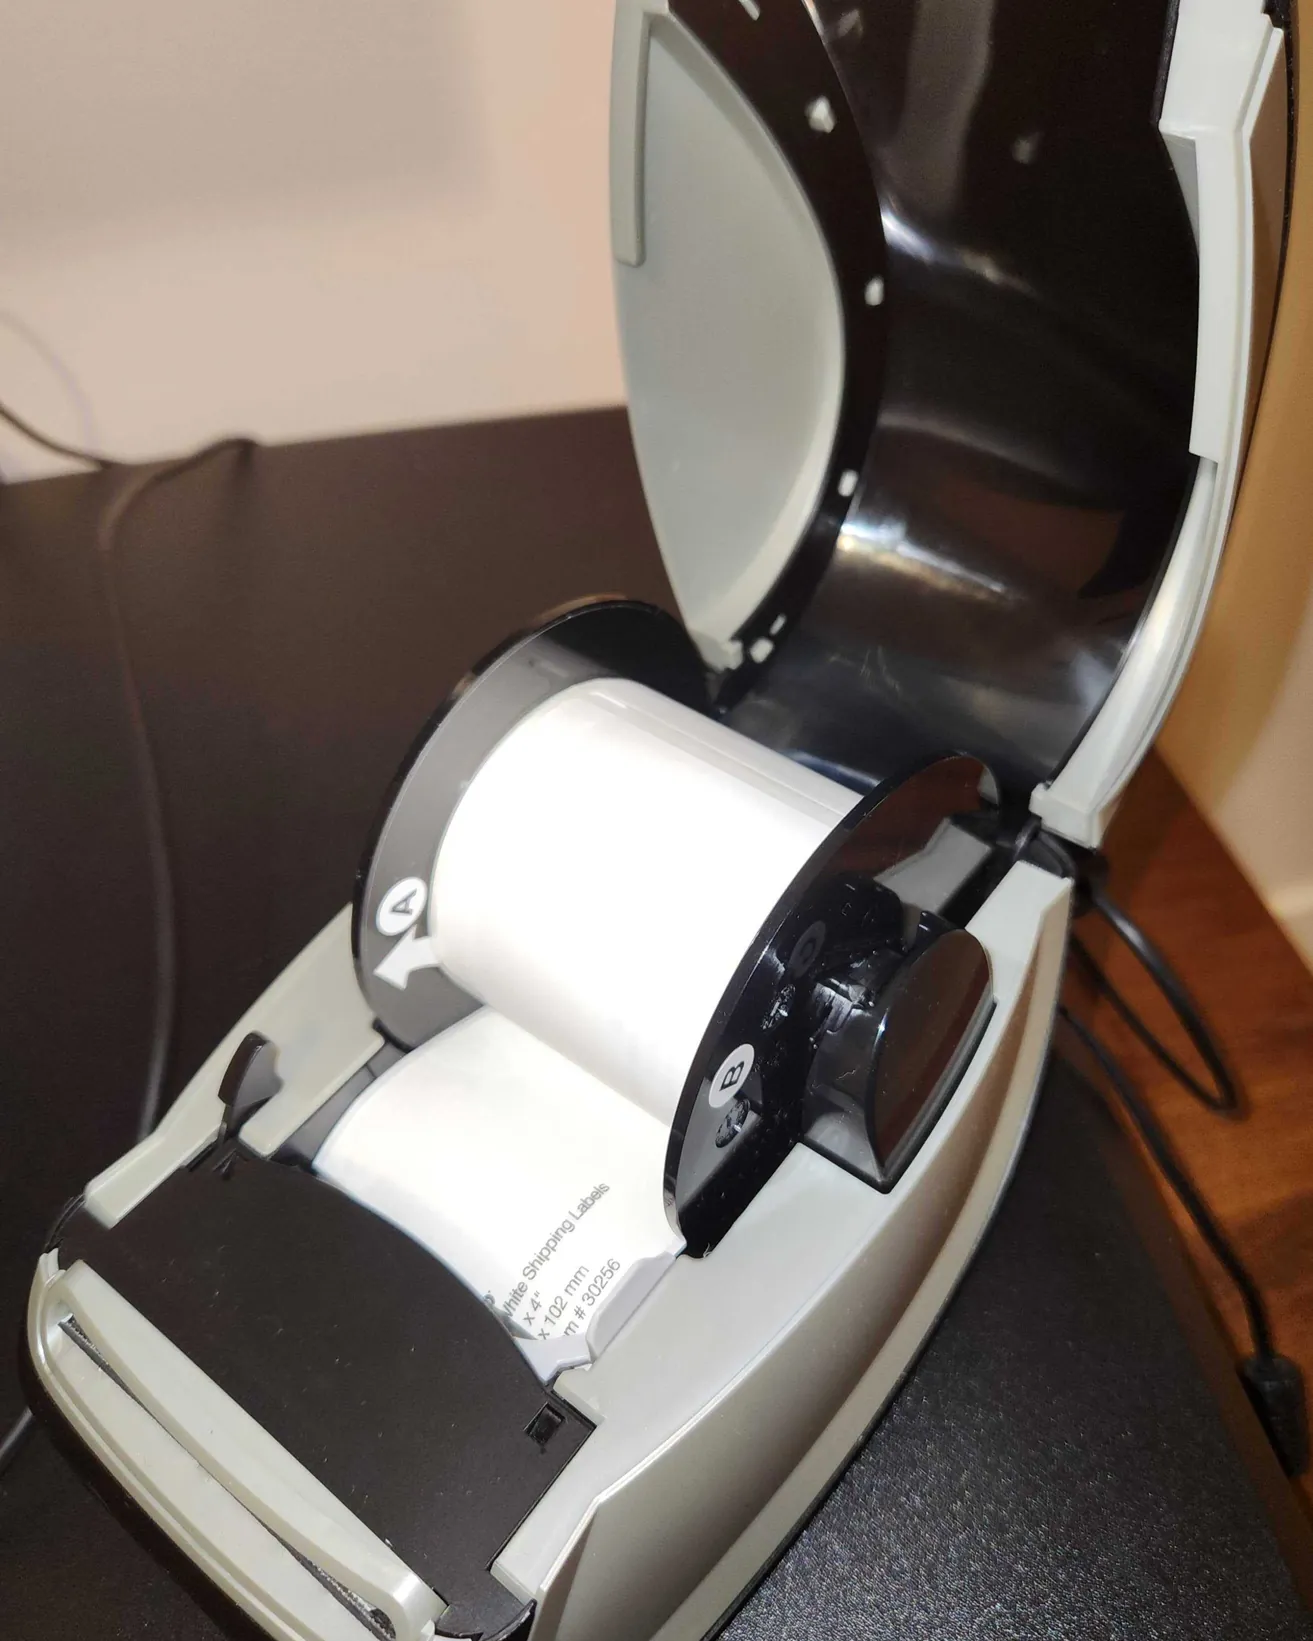
If the printer feeds labels but doesn’t print, or if it flashes red immediately after loading a roll, the sensor is likely struggling to read the label’s gap or black mark. Open the top cover and remove the label roll entirely. Check the interior path for any stuck adhesive or small scraps of paper that might be blocking the optical sensor.
Once the path is clear, place the roll back into the cradle and ensure the edge of the labels is flush against the left-hand guide. The printer should automatically pull the first label through to calibrate its position.
If it does not, press the forward feed button once to initiate the process manually. This fix is for users who see a “label mismatch” error in their software. If the light remains red after cleaning the path, the sensor may have reached the end of its useful life, which typically occurs after heavy, long-term usage.
Update the printer firmware and software
Sometimes the issue isn’t the hardware, but the software version that communicates with the printer. Check the official website to see if there’s a newer version of the management software available for your specific operating system. Newer software versions often contain patches that resolve communication bugs with recent updates to macOS or Windows.
This fix is intended for users who have tried basic resets and still experience intermittent “offline” status messages. If you’re in a corporate environment, you may need your IT department to push the update. Restricted user accounts often prevent the installation of new drivers, which can lead to silent failures during the update process.
Always back up your saved label templates before performing a full software reinstallation. This prevents the loss of custom designs that are often wiped during a clean install. Check your file directory for a folder labeled “Saved Templates” and copy those files to a secure cloud drive or external storage.
The decision rule here is simple: if the software update fails to detect the printer, the issue is likely a faulty USB cable rather than the software itself. Test the connection with a known-working cable before attempting a full driver wipe.
A common mistake is assuming the software is corrupted when the physical data path is actually blocked. This oversight costs users hours of unnecessary troubleshooting and potential data loss. If the printer remains invisible after a cable swap, the internal network card or USB port has likely failed.
Common printer mistakes to avoid
Using non-genuine labels often bypasses the internal chip verification required for proper calibration. While third-party rolls are cheaper, they frequently lack the precise thickness or adhesive quality needed to prevent jams. If your printer begins to skip labels or feed them crookedly, stop immediately. Using these labels can void your warranty, leaving you responsible for the full cost of a replacement print head.
Never pull a label while the motor is active. The drive gears are calibrated to move at a specific tension; forcing the paper creates resistance that strips the plastic teeth. This results in permanent alignment errors where the printer can no longer detect the gap between labels.
Avoid spraying cleaning solutions directly into the housing. Liquid can easily seep into the motherboard, causing a short circuit that renders the machine a total loss. Instead, use a lint-free cloth lightly dampened with isopropyl alcohol to wipe the rubber platen roller only.
A blinking red light isn’t a suggestion; it’s a hard stop. It indicates a physical obstruction or a sensor error. If you force a print job while this light is active, the printer will attempt to engage the print head, which can cause unnecessary wear or damage to the mechanism.
This inevitably leads to a burned-out heating element, which is the most expensive component to repair. If the light persists after a power cycle, clear the path of any debris before attempting another job.
Preventing future printing issues
You can keep your printer running smoothly by following a consistent maintenance routine. The following table helps you compare common habits with recommended practices.
| If you’re doing this | Do this instead | Why |
|---|---|---|
| Leaving the printer on | Power it down nightly | Protects internal electronics |
| Forcing a jammed label | Use the release lever | Prevents gear damage |
| Storing rolls in the sun | Keep rolls in the box | Prevents adhesive degradation |
| Using a USB hub | Connect directly to PC | Ensures stable power supply |
Most users fail by ignoring the print head until a streak appears. Clean the print head with a 90% isopropyl alcohol swab when you notice print quality degradation or residue buildup. If you notice white lines appearing vertically on your labels, stop printing immediately. Running a dirty head against the platen roller creates permanent grooves that require expensive hardware replacement.
Watch your environment closely. If your workspace humidity drops below 30%, static buildup will cause labels to feed incorrectly or stick to the exit path. In these dry conditions, use a static mat under the unit.
Finally, distinguish between a software crash and a hardware jam. If the status light flashes red, check the PC spooler first. If the spooler shows no errors, only then should you open the chassis. Opening the unit while the software is still attempting to process data often forces a hard reset, which can corrupt the printer’s internal firmware.
Frequently asked questions
Why is my printer light blinking red?
A blinking red light usually indicates that the printer is out of labels or the roll isn’t detected. Ensure your roll is properly seated against the left guide and that the printer has finished its initial calibration sequence. If the light persists, open the cover and verify there are no paper jams obstructing the sensor.
How long does the print head last?
The print head typically lasts for many years under normal office conditions, though it depends on your total print volume. If your labels have faded lines or blank spots despite a clean path, the print head may be wearing out. You can check the print quality by printing a test page from the settings menu.
Is it safe to use a third-party USB cable?
It’s safe to use a different USB cable, provided it’s high-quality and the same length as the original. Long or unshielded cables often cause data transmission errors that result in incomplete print jobs. Always use the shortest cable possible to maintain a stable connection between your computer and the printer.
What happens if I use the wrong label size?
The printer will likely display a mismatch error because the internal sensor can’t recognize the dimensions of the roll. The software must be updated to match the specific label size loaded in the printer. Always select the correct label type in the software settings before sending your print job to the device.
How do I know if the printer is broken?
If you have tried a different USB cable, updated the drivers, and successfully calibrated the sensors, but the printer still doesn’t respond, it may be a hardware failure. At this point, the issue is beyond a simple home repair. You should contact the manufacturer or a professional repair technician to evaluate the internal components of the machine.
Conclusion
If you still can’t get your labels to print properly, don’t hesitate to reach out to the manufacturer’s support team. They’re often able to resolve stubborn software glitches that you can’t fix on your own. You’ll be back to organizing your workspace in no time once the connection is stable again.