Is your RV inverter acting up when you need it the most? You rely on it to keep your lights on, charge your devices, and power essential appliances during your travels.
When it stops working properly, it can throw a wrench in your plans and leave you feeling stranded. But don’t worry—understanding how to troubleshoot your RV inverter can save you time, money, and frustration. You’ll discover simple, effective steps to identify and fix common inverter problems.
Stick with me, and you’ll regain control over your RV’s power system quickly and confidently.
Common Rv Inverter Problems
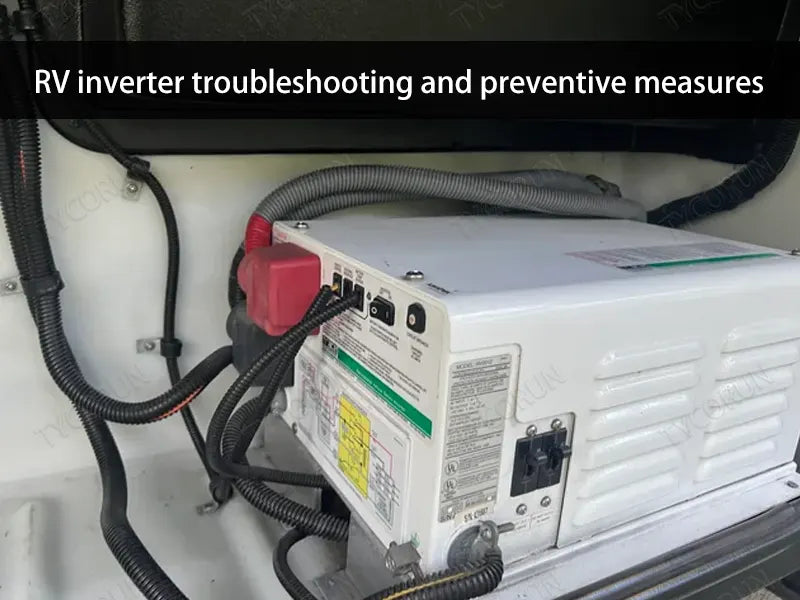
RV inverters are essential for powering your devices while on the road. They convert DC battery power to usable AC power. Problems can disrupt your travel plans and comfort. Knowing common issues helps you fix them fast. This guide covers frequent inverter problems and simple checks.
No Power Output
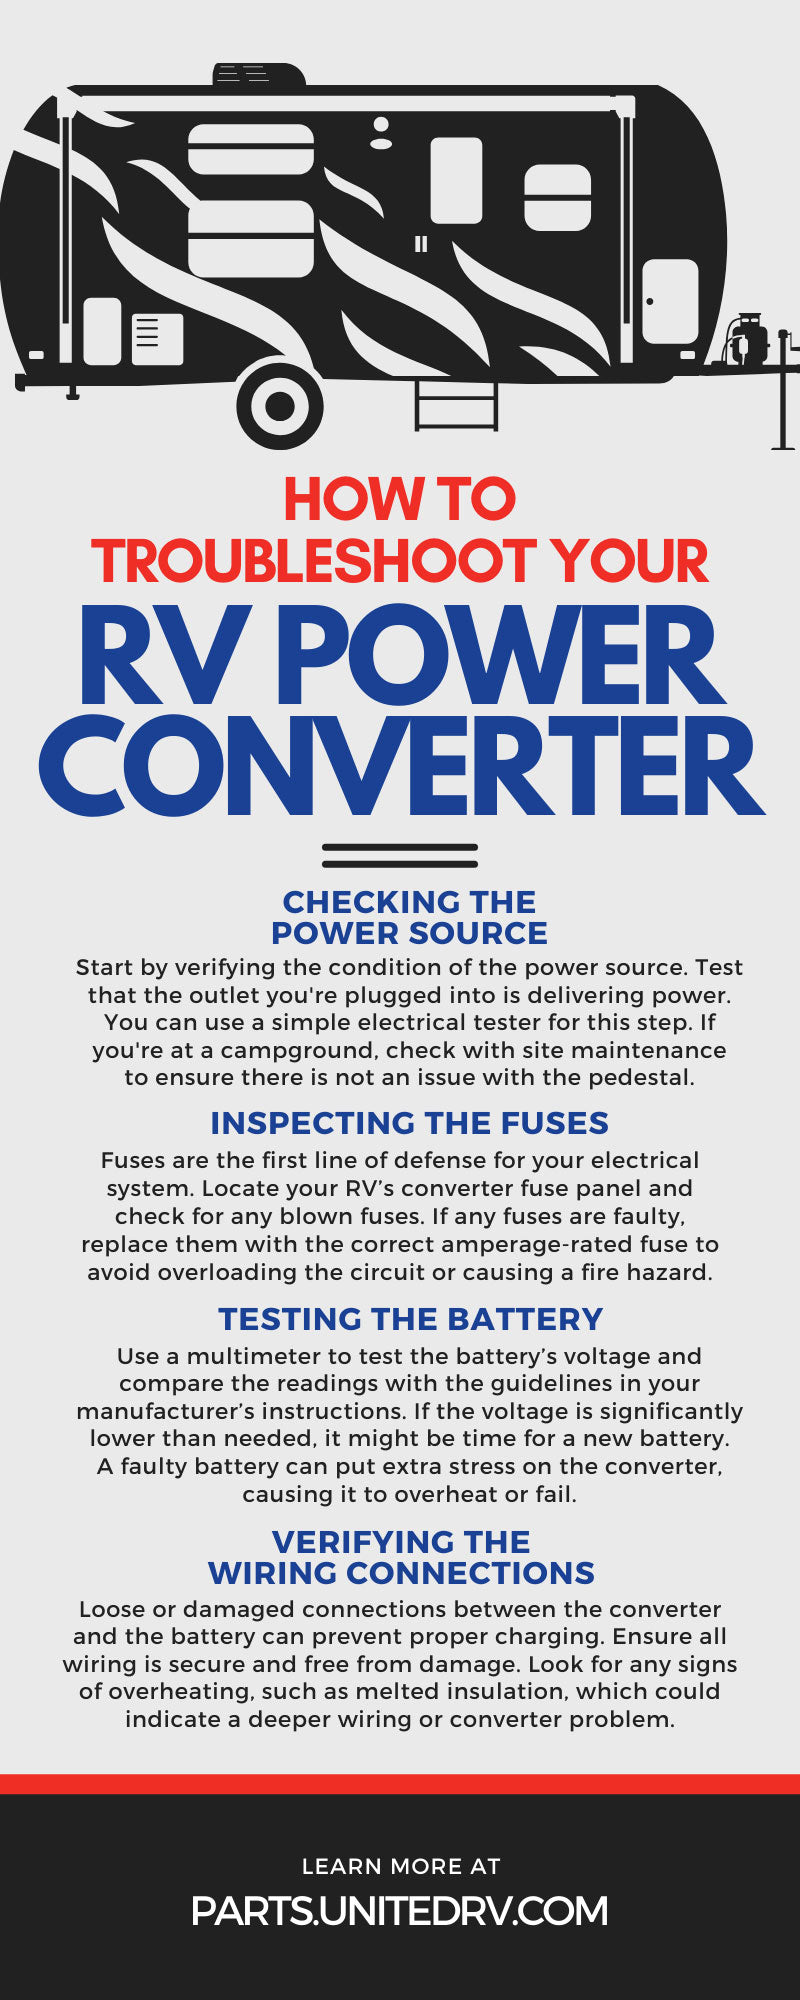
No power output means the inverter does not supply electricity. Check battery connections first. Loose or corroded cables cause power loss. Inspect the inverter fuse or circuit breaker next. A blown fuse stops power flow. Also, confirm the inverter is switched on.
Frequent Overheating
Overheating can damage the inverter quickly. Blocked vents reduce airflow and cause heat buildup. Clean dust and debris from vents regularly. Avoid placing the inverter near heat sources. Ensure the inverter runs within its power limits to prevent overheating.
Unusual Noise
Strange sounds from the inverter indicate trouble. Buzzing or humming may signal loose parts or electrical issues. Rattling can mean a fan problem. Turn off the inverter and inspect for loose screws. Replace faulty fans to stop noise and protect the unit.
Battery Drain
Inverters can drain batteries if faulty or left on. Check for power draw with a meter. Turn off the inverter when not in use. Consider upgrading to a more efficient model if drain continues. Proper battery care extends inverter and battery life.
Error Codes
Error codes show specific inverter problems. Consult your inverter’s manual for code meanings. Codes may indicate overload, low battery, or temperature issues. Follow the recommended steps to fix the error. Reset the inverter after resolving the problem.
Basic Troubleshooting Steps
Troubleshooting an RV inverter may seem hard at first. Start with basic steps to find the problem fast. These easy checks help fix common issues. Follow each step carefully to keep your inverter working well.
Check Power Connections
Look at all wires linked to the inverter. Tighten loose connections and clean dirty terminals. Broken or corroded wires can stop power flow. Make sure cables are not damaged or frayed. Good connections keep electricity moving smoothly.
Inspect Battery Health
Test the battery voltage using a multimeter. Low battery power can cause inverter issues. Charge or replace weak batteries. Check battery terminals for corrosion or dirt. Healthy batteries provide steady power to the inverter.
Reset The Inverter
Turn off the inverter and unplug it. Wait a few minutes before switching it back on. This simple reset can clear minor faults. Some models have a reset button; press it gently. Resetting often restores normal inverter function.
Test With Different Loads
Connect different appliances to the inverter. See if it powers small devices well. If large devices cause problems, the inverter might be overloaded. Testing various loads helps find the exact issue. Use this step to avoid damage from excess power draw.
Fixing Power Issues
Fixing power issues in an RV inverter is essential for smooth trips. Power problems can stop your devices from working. Finding the problem quickly saves time and avoids bigger troubles. This guide helps you check and fix common power faults step by step.
Tighten Loose Wires
Loose wires cause power drops or no power at all. Check all wire connections on the inverter and battery. Use a screwdriver to tighten any loose screws. Make sure wires fit snugly in their terminals. Avoid touching bare wires with your hands. Loose wires often cause flickering or shutdowns.
Replace Blown Fuses
Fuses protect your inverter from electrical damage. A blown fuse stops power flow completely. Open the fuse box and look for broken wires inside fuses. Use a multimeter to test if fuses are good or bad. Replace any blown fuse with one of the same rating. Always switch off the inverter before changing fuses.
Upgrade Battery Capacity
Low battery capacity limits inverter power output. Check your battery’s amp-hour rating. Higher capacity batteries last longer and support more devices. Consider adding extra batteries for longer trips. Proper battery maintenance improves performance. Use deep-cycle batteries designed for RV use.
Resolving Overheating
Overheating is a common issue with RV inverters. It can cause the inverter to stop working or even get damaged. Fixing overheating quickly helps protect your inverter and keeps your power running smoothly.
Several simple steps can help cool down your inverter and prevent future heat problems. These focus on cleaning, airflow, and managing the power load.
Clean Cooling Fans
Cooling fans remove heat from the inverter. Dust and dirt block fan blades and vents. This slows airflow and raises temperature. Use a soft brush or compressed air to clean fans. Do this regularly to keep fans spinning well.
Improve Ventilation
Good airflow around the inverter helps cool it. Avoid placing the inverter in tight spaces. Leave space around it for air to move. Open vents or add small fans near the inverter. Cooler air lowers temperature and keeps parts safe.
Reduce Load On Inverter
High power use makes the inverter work harder and heat up. Turn off devices you do not need. Spread out power use over time. Use energy-efficient appliances to lower load. This reduces stress and keeps the inverter cooler.
Addressing Noise Problems
Noise from an RV inverter can be annoying and may signal a problem. Fixing noise issues helps protect your equipment. It also ensures a peaceful environment inside your RV. This section covers easy steps to reduce or stop noise from your inverter.
Identify Source Of Noise
First, listen closely to the inverter. Is the noise a hum, buzz, or rattling? Check the inverter’s location for anything touching it. Look for loose wires or parts. Pinpoint where the sound is loudest. This helps find the exact cause of the noise.
Secure Loose Components
Loose parts often cause noise in inverters. Tighten screws and bolts on the inverter and nearby parts. Make sure cables and wires are firmly attached. Use clips or ties to hold wires in place. A secure setup reduces vibrations and noise.
Replace Faulty Fans
Fans cool the inverter but can wear out over time. A faulty fan may make buzzing or grinding sounds. Turn off the inverter and check the fan blades. Replace the fan if it is broken or noisy. A working fan keeps the inverter cool and quiet.
Dealing With Battery Drain
Battery drain is a common problem with RV inverters. It can stop your power supply unexpectedly. Understanding how to deal with battery drain helps keep your RV running smoothly. Small steps make a big difference.
Check For Parasitic Loads
Parasitic loads are devices that use power even when off. Examples include lights, chargers, or small electronics. These can slowly drain your battery without notice. Use a multimeter to find these hidden drains. Unplug or switch off devices not in use.
Use Energy-efficient Appliances
Energy-efficient appliances consume less power. They reduce battery drain and extend battery life. Choose LED lights over traditional bulbs. Pick small, efficient fans or refrigerators. This lowers the load on your inverter and battery.
Schedule Regular Battery Maintenance
Regular maintenance keeps batteries healthy and strong. Check battery terminals for corrosion and clean them. Ensure water levels are sufficient in lead-acid batteries. Test battery voltage and charge regularly. Well-maintained batteries hold power longer and work better.
When To Seek Professional Help
Knowing when to seek professional help for your RV inverter saves time and money. Some problems need expert skills and tools. Trying to fix complex issues alone can cause more damage. Understanding the signs of serious problems helps you decide when to call a technician.
Persistent Error Codes
Error codes that keep appearing show a deeper problem. Resetting the inverter may stop the code temporarily. If the code returns, it means the issue is not fixed. Professionals can read and interpret these codes correctly. They know the exact cause behind the error.
Internal Component Failure
Internal parts like capacitors or transformers can fail inside the inverter. These failures are hard to spot without special tools. Attempting to open or repair internal parts risks electric shock or more damage. A professional has the right equipment to test and replace these parts safely.
Complex Electrical Issues
Some electrical problems involve wiring or connections beyond simple fixes. Faulty wiring can cause power loss or safety hazards. Troubleshooting complex electrical faults requires technical knowledge. Professionals can trace wiring problems and repair them properly. This ensures your RV inverter works safely and reliably.
Frequently Asked Questions
What Are Common Signs Of An Rv Inverter Problem?
Common signs include no power output, unusual noises, and frequent shutdowns. Flickering lights or error codes also indicate inverter issues.
How Can I Test If My Rv Inverter Is Working?
Use a multimeter to check voltage output at the inverter terminals. Also, listen for normal fan operation and watch for error lights.
Why Is My Rv Inverter Not Charging The Battery?
This may happen due to loose connections or a blown fuse. Check wiring and fuses first to ensure proper battery charging.
How Often Should I Maintain My Rv Inverter?
Inspect your inverter every 6 months for dirt, dust, or loose wires. Regular checks help avoid unexpected failures during your trips.
Can A Weak Battery Cause Rv Inverter Failure?
Yes, a weak or dead battery can cause the inverter to stop working. Always keep batteries fully charged for best inverter performance.
Conclusion
Troubleshooting your RV inverter can save time and money. Start by checking simple issues like fuses and connections. Keep your inverter clean and dry to avoid problems. Use a multimeter to test voltage and current. Remember safety first—always turn off power before working.
Small fixes often solve most problems quickly. Regular maintenance helps your inverter last longer. Stay calm and follow steps carefully for best results. Your RV trips will run smoother with a working inverter. Keep this guide handy for easy reference anytime you face issues.
")


