Managing a marine sanitation system can be daunting, but understanding the mechanics behind your unit makes dometic vacuflush troubleshooting a manageable task for most boat owners. These systems rely on a vacuum-based mechanism to move waste, which requires a perfectly sealed environment to function correctly. If your system is failing to cycle, losing vacuum pressure, or emitting persistent odors, you’re likely facing a compromise in the seal integrity, a blockage in the lines, or a failure of the mechanical pump components. When assessing the financial commitment for repairs, expect to spend between $150 and $950 depending on whether you’re replacing simple rubber seals, a bellows assembly, or an entire vacuum pump motor.
Key Takeaways
- Always isolate the electrical power before touching pump components to prevent accidental activation.
- A vacuum leak is the most common cause of a pump that runs continuously without cycling off.
- Inspect the duckbill valves every twelve months to ensure they haven’t hardened or become deformed.
- Use only marine-grade, biodegradable toilet paper to prevent clogs in the vacuum generator.
- Keep a spare parts kit on board, including O-rings, bellows, and duckbill valves, for emergency repairs.
How the Vacuum System Functions
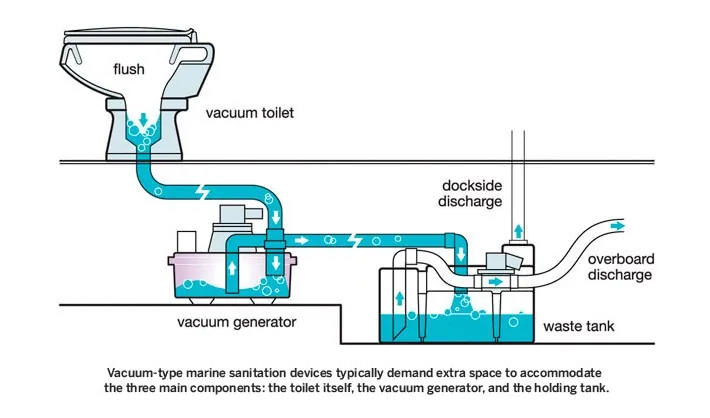
The heart of your sanitation system is the vacuum generator, which maintains a specific level of negative pressure in the lines between the toilet bowl and the holding tank. When you press the flush pedal, the water seal at the bottom of the toilet bowl opens, allowing the vacuum to pull waste into the line and eventually into the vacuum tank. Once the waste enters the tank, the pump pushes it toward the holding tank.
The system relies on a vacuum switch to monitor pressure levels. When the pressure drops below a set threshold, the switch triggers the pump to run until the vacuum is restored. If the pump runs for more than a few minutes without stopping, the system is unable to achieve the necessary pressure, signaling a leak or a mechanical obstruction.
Troubleshooting Common Dometic VacuFlush Failures
Troubleshooting usually begins by listening to the pump. If the pump doesn’t start at all, the issue is likely electrical. If it runs constantly, the issue is physical.
| Symptom | Primary Suspect | Secondary Suspect |
|---|---|---|
| Pump runs constantly | Vacuum leak at seal | Worn duckbill valves |
| Pump fails to start | Blown fuse | Faulty vacuum switch |
| Bowl loses water | Toilet base gasket | Flush ball seal |
| Odors in cabin | Tank vent filter | Leaking hose connection |
Does the Pump Run Constantly?
If your pump runs for an extended period, it’s almost certainly struggling to maintain a vacuum. A vacuum leak is the culprit in the vast majority of cases. First, ensure the toilet bowl water level is holding. If the water drains from the bowl, the flush ball seal is likely dirty or damaged. Clean the seal with a soft cloth and a mild soap to remove mineral deposits.
If the toilet bowl holds water but the pump still runs, check the vacuum tank. The tank has a series of duckbill valves that act as one-way check valves.
If these valves become clogged with debris or lose their shape, air will be sucked back into the system, preventing the vacuum from building. You can find detailed maintenance protocols for these components via the Dometic marine sanitation technical library. Replacing these valves is a standard procedure that restores suction power almost immediately.
Why Is the Toilet Clogged?
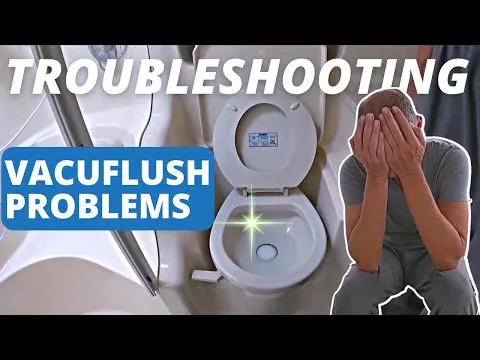
Clogs typically occur in the vacuum lines or the hose connections leading to the holding tank. Using non-marine toilet paper is the leading cause of blockages. If you suspect a clog, first turn off the power to the pump to avoid over-pressurizing the lines. You may need to disconnect the hose at the vacuum generator to clear the obstruction manually.
Warning: Always wear protective gloves and eye protection when clearing lines, as the system may contain raw sewage under pressure.
Avoid using harsh chemical drain cleaners, as these can damage the rubber bellows and the internal seals of the vacuum pump. Instead, use a plumbing snake or a high-pressure water flush to clear the line. If the blockage persists, inspect the check valves for debris that may be preventing the flow of waste.
Inspecting the Vacuum Pump Bellows
The bellows is a rubber component that expands and contracts to create the vacuum. Over time, these parts become brittle and develop small cracks. If you hear a thumping or clicking sound from the pump, the bellows may be failing or the mounting bolts may have vibrated loose.
- Check for visible cracks in the rubber.
- Ensure the pump mounting bolts are tight.
- Verify the bellows is properly seated in the pump housing.
If the bellows is damaged, it can’t create the displacement necessary to build pressure. Replacing the bellows assembly is a mid-level repair that requires basic hand tools. It’s recommended to perform this task while the system is dry to minimize the risk of spills.
Checking the Vacuum Switch
The vacuum switch is the “brain” of the system, telling the pump when to turn on and off. If the pump is running even when the system is fully pressurized, the switch may be stuck in the “on” position. Conversely, if the pump never turns on, the switch may have failed or the electrical contacts may be corroded.
Addressing Odors in the Cabin
If you notice foul smells, the issue may not be the pump itself, but the ventilation system. The holding tank requires a vent to allow gases to escape. If this vent becomes blocked, pressure builds up and pushes odors back through the toilet seal.
- Inspect the tank vent filter and replace it if it’s older than one year.
- Check the vent hose for kinks or blockages caused by insects.
- Ensure the toilet base flange is properly sealed to the floor.
Pro Tip: If you frequently have odor issues, consider upgrading to a high-capacity carbon vent filter, which is specifically designed to neutralize sulfur-based gases before they exit the hull vent.
Managing Flush Ball Seal Issues
The flush ball seal is the rubber ring that keeps water in the bowl. If this seal is dry or covered in scale, the vacuum will leak out through the bowl, causing the pump to cycle repeatedly. To maintain this, apply a light coat of silicone grease to the seal periodically.
If the seal is cracked, it must be replaced. This is a straightforward task: remove the toilet bowl, clean the mounting surface, and seat the new seal firmly. Ensure the mounting hardware is tightened evenly to prevent the bowl from rocking, which would otherwise compromise the seal.
Maintaining the Holding Tank
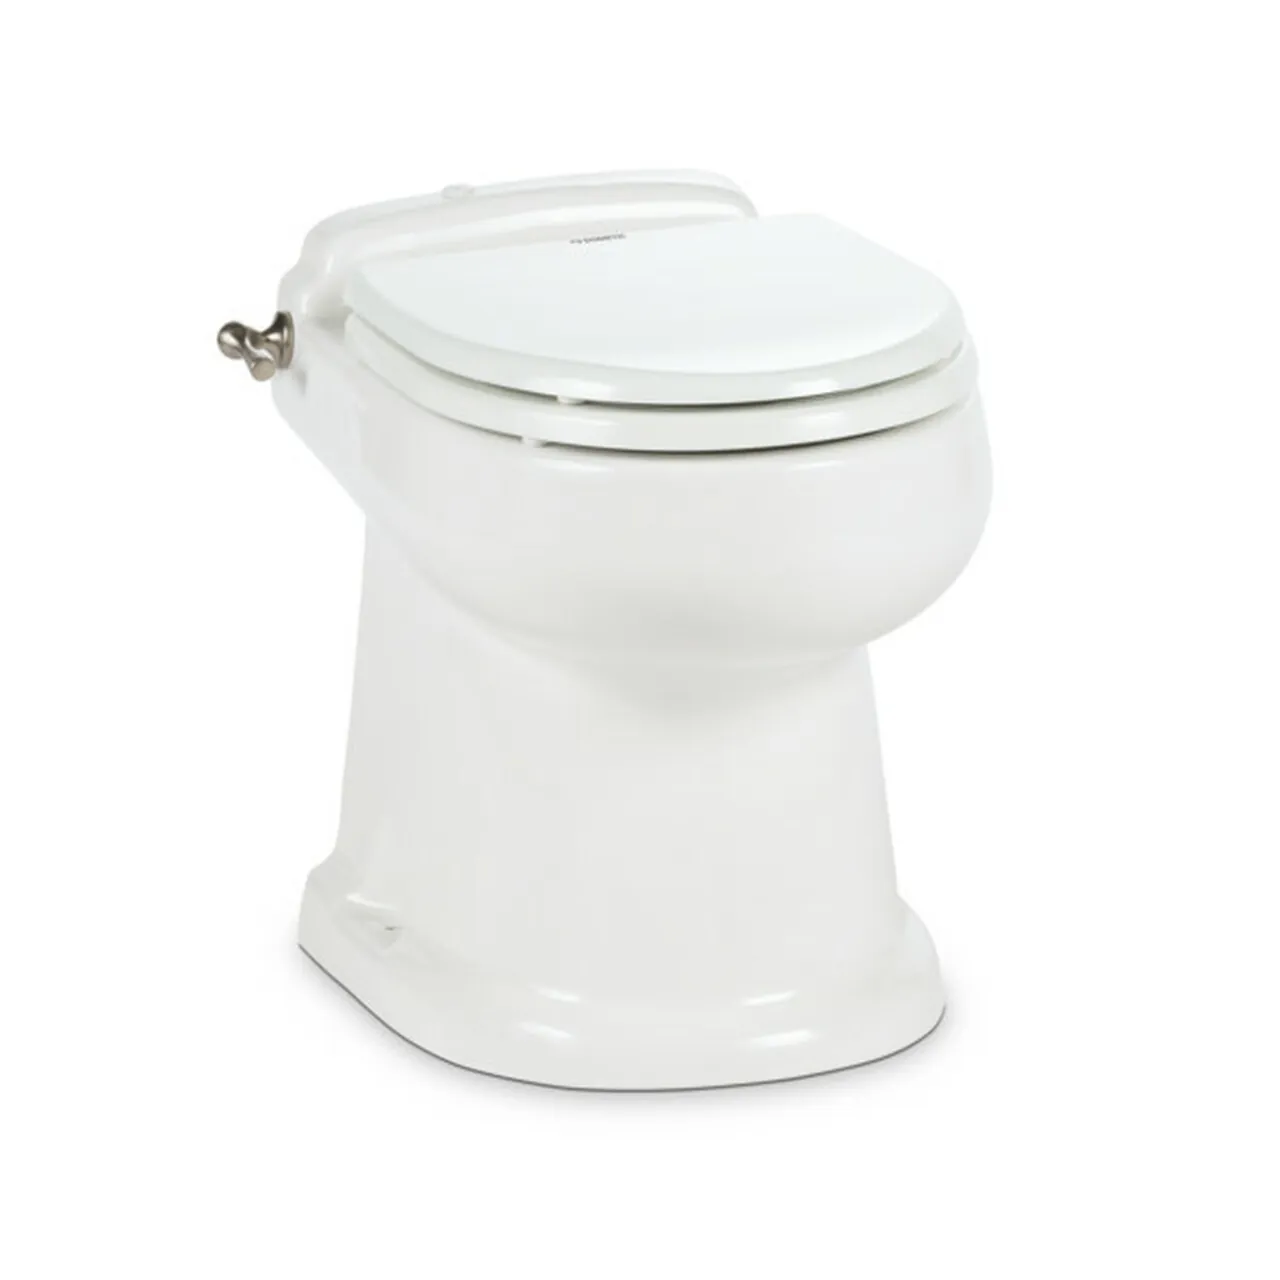
The holding tank system must be kept clean to prevent the buildup of sludge that can interfere with the vacuum generator. Use a quality holding tank treatment to break down waste and minimize odors. If the system is left unused for long periods, flush it with plenty of fresh water to prevent sediment from hardening in the lines.
Regularly monitor the level sensors on your holding tank. If the sensors are fouled, they may provide false readings, potentially leading to an overfilled tank that forces waste back into the vacuum generator. Cleaning the tank probes or sensors with mild detergent can restore accurate operation.
Frequently Asked Questions
Why does my pump run every few minutes?
The pump cycles because the system is losing vacuum pressure. This is almost always caused by a small leak in the toilet flush ball seal, a degraded duckbill valve, or a loose hose clamp. Because the vacuum can’t be maintained, the vacuum switch triggers the pump to keep the system ready for use. Check these three areas first to stop the ghost-cycling.
Can I fix a clogged system myself?
Yes, most clogs are manageable for a boat owner. You’ll need to isolate the system, remove the hoses from the vacuum generator, and clear the obstruction. Always work with the system powered off and be prepared for potential spills. If the clog is deep within the hull lines or the holding tank, you might need a professional plumber with a specialized marine pump-out machine.
How often should I replace duckbill valves?
You should inspect the duckbill valves annually and replace them every two to three years as a preventative measure. Even if they appear to be working, the rubber can lose its memory and elasticity over time, leading to a slow loss of vacuum. Keeping a spare set on board is essential for long-distance cruising where professional help is unavailable.
What causes the pump to stop working entirely?
Is it normal to have water in the bilge?
No, water in the bilge near the sanitation system indicates a leak in the pump housing, a loose hose connection, or a cracked vacuum tank. Because this water is likely contaminated, you should address it immediately. Dry the area thoroughly, identify the source of the drip, and tighten or replace the offending connection or gasket to prevent further sanitation system failure.
Conclusion
If you find that your system continues to lose pressure after cleaning the seals and replacing the duckbill valves, the next logical step is to perform a pressure test on the vacuum lines.
Use a soap and water solution on all hose connections while the pump is running to identify bubbling air leaks. Once you have identified the source of the vacuum loss, you can proceed with replacing the specific hose section or fitting to restore your system to full working order.