You can fix most issues with your device by checking the power supply, as the most common cause for a failed unit is a tripped circuit breaker or a blown fuse. When you need to perform dual lite emergency light troubleshooting, start by verifying that the AC power is reaching the unit’s junction box. If the indicator light is off, the battery may be completely drained or the building power might be disconnected.
Why your dual lite emergency light fails
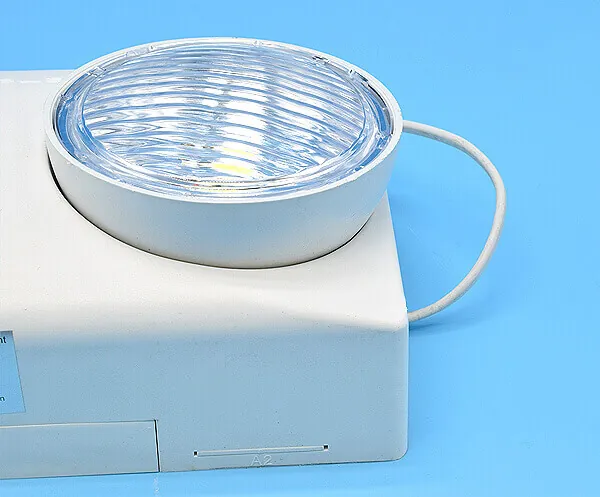
Most units stop working because the internal battery has reached the end of its life or the connection to the constant power source has been interrupted. Emergency lights are designed to stay on when utility power fails, but they require a steady stream of electricity to keep the battery charged. If the building power is off, the light will remain dark regardless of the battery’s health.
Another frequent cause is a loose or disconnected wire inside the housing. Over time, vibrations in a building can cause wire nuts to come loose or connectors to slip out of their terminals.
If you notice the unit flickering or failing to turn on during a test, check that all connections are secure. If the light remains off despite having power, the National Fire Protection Association provides guidance on the required testing intervals for these life-safety systems to ensure they remain functional.
If the battery is older than three to five years, it likely won’t hold a charge. Even if the unit is plugged in, a dead battery can’t provide the necessary current to power the lamps during an outage. If you replace the battery and the light still fails, the internal circuit board may have a fault, which usually requires a full unit replacement.
Safety: Inside a mains-powered machine, the parts behind the outer cover can hold a dangerous electrical charge even after it has been unplugged — that’s why they sit behind a cover. Opening the housing, or testing or replacing anything behind it, is a job for a qualified technician, never a home repair.
Verify the power source
The first step is to ensure the branch circuit feeding the light is active and providing the correct voltage. Use a non-contact voltage tester to confirm that electricity is present at the junction box where the light connects to the building wiring. If the tester doesn’t light up, check your building’s electrical panel for a tripped breaker.
If you find a tripped breaker, reset it and observe the unit. If it trips again immediately, don’t force it to stay on, as this indicates a short circuit in the wiring or the unit itself. You should contact a licensed electrician if the breaker keeps tripping, as this is a fire hazard that requires professional diagnostic tools.
If the power is live but the unit doesn’t respond, look for a remote test switch or a wall-mounted control that might be disabling the light. Sometimes, these systems are wired to a central control panel that overrides local operation. If the unit is connected to a dedicated emergency circuit, ensure that the emergency power supply system is also functioning correctly.
Check the battery connection
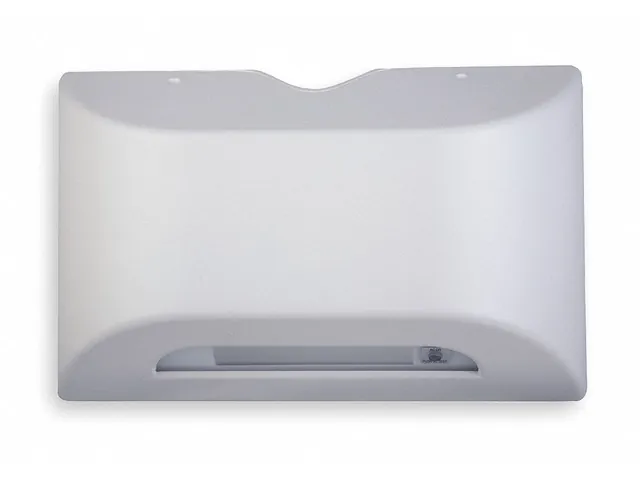
The battery is the heartbeat of your emergency lighting system. If the unit is getting power but the lamps don’t turn on when you press the test button, the battery connection is the most likely culprit. Ensure that the red and black wires are firmly attached to the battery terminals. If you see signs of corrosion, such as white powder or green crust on the metal tabs, the connection is poor.
If you’re comfortable, you can gently wiggle the battery wires to see if the indicator light flickers. If it does, you have found a loose connection. However, if the battery case itself is swollen, cracked, or leaking, you must replace it immediately. Never attempt to repair a damaged battery, as the chemicals inside are hazardous.
Who this isn’t for: If you aren’t familiar with basic electrical safety or if the unit is mounted in a high or hard-to-reach location, don’t attempt these checks yourself. In these cases, you should hire a professional facility maintenance technician.
A mistake people often make is assuming that a new battery will fix an old unit, but if the charging circuit on the board is fried, a new battery will also fail to charge, costing you the price of the battery for no gain.
Inspect the lamp heads
Sometimes the issue is simply a burnt-out bulb or a misaligned lamp head. Check the lamps for any visible signs of damage, such as a darkened glass or a broken filament. If you have an LED-based unit, the individual diodes might have failed, which means the lamp head must be replaced as a single component.
To test this, try adjusting the angle of the lamp head. If the light flickers when you move it, there’s a loose connection inside the lamp socket. If the unit has multiple heads and only one is out, it confirms that the power system is working, but the specific lamp head has reached the end of its life.
If the lamps are intact, check for debris or dust that might be covering the lens. A heavy layer of dust can make the light appear dim, even if the unit is functioning at full strength. Use a dry, clean cloth to wipe the lens, but avoid using liquid cleaners that could drip into the housing and cause a short circuit.
When inspecting the socket, look for signs of heat discoloration or melted plastic. If the contact point looks charred, the socket is likely faulty and requires a complete replacement. Don’t attempt to bend the metal tabs to force a connection; this often leads to arcing and poses a significant fire hazard.
If the light remains dark despite a clean lens and tight connection, swap the bulb with one from a known working head. If the bulb works in the new position, the failure is in the fixture’s wiring. If it stays dark, the bulb is the culprit.
Avoid these common mistakes
Always disconnect the unit from AC power before replacing the battery to ensure safety while working with internal components. Always disconnect the unit from AC power before opening the casing.
Avoid using generic batteries that don’t match the exact voltage and capacity ratings specified by the manufacturer. Using a battery with a lower amp-hour rating than the original will result in shorter emergency run times during a power outage.
Don’t ignore a buzzing or humming sound coming from the unit. This often signifies a failing transformer or a leaking capacitor. If you hear this noise, disconnect the device immediately to prevent a total electrical failure.
Never attempt to solder or modify the internal circuit board. Doing so voids your safety certification and creates a fire hazard. If the board is damaged, the only safe path is a full replacement of the unit.
Prevent future lighting failures
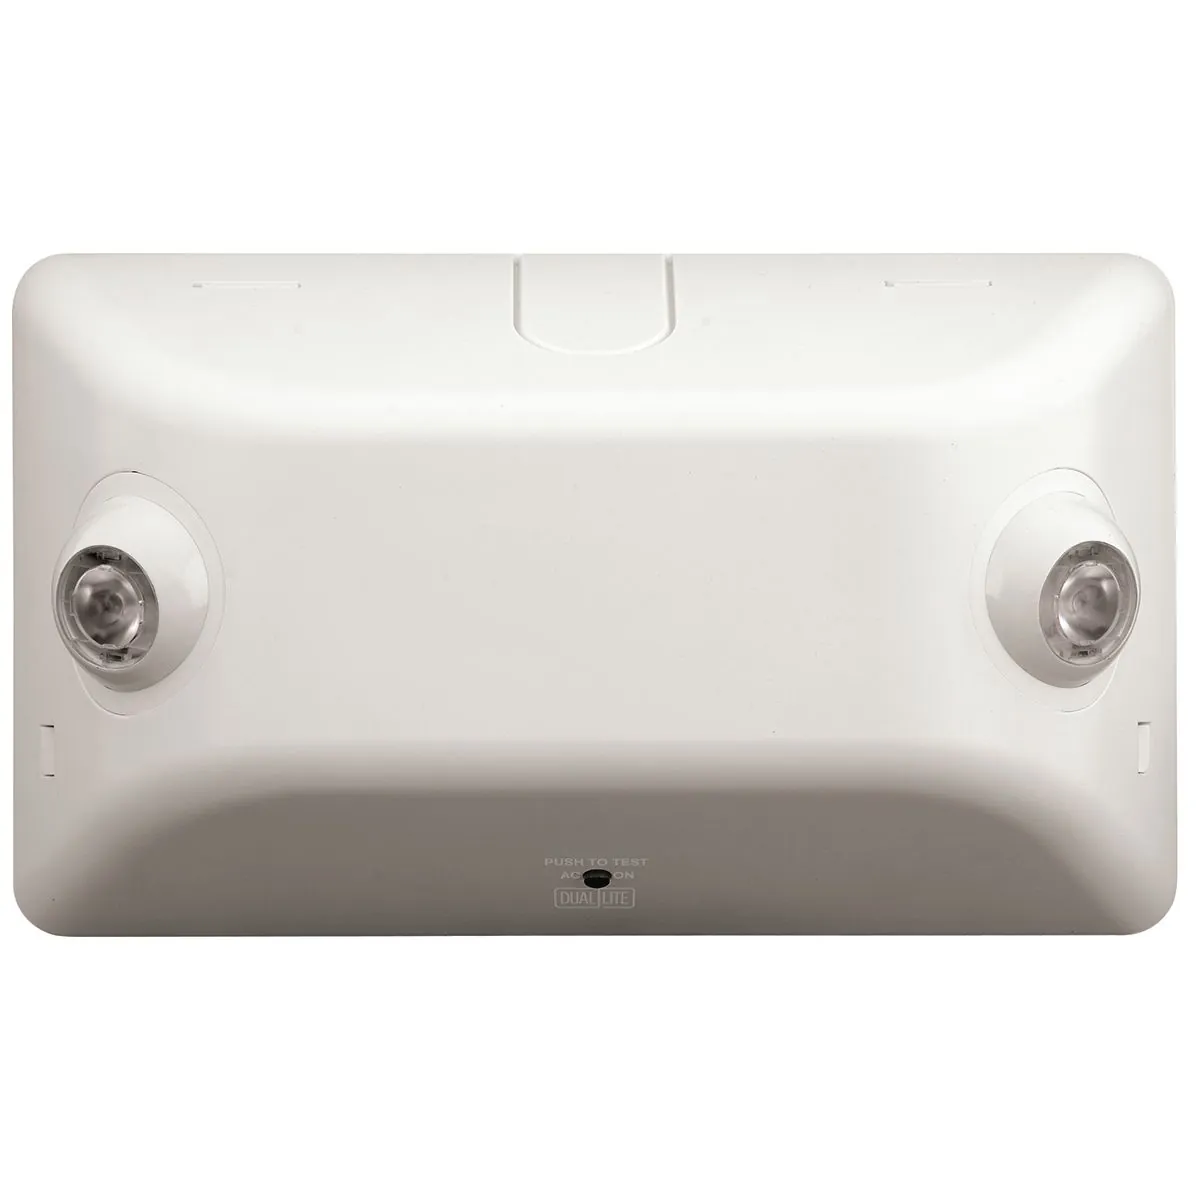
The status of your system depends on regular maintenance and proper installation. If you’re doing this, you can catch problems before they result in a safety violation.
| If you’re doing this | Do this instead | Why |
|---|---|---|
| Ignoring the test button | Run a monthly 30-second test | Confirms battery health |
| Letting dust build up | Clean lenses every 6 months | Ensures maximum light output |
| Buying the cheapest battery | Use the manufacturer’s spec | Prevents charging circuit damage |
| Ignoring a dim light | Replace the bulb or battery | Safety requires full brightness |
Most failures occur because technicians treat emergency lighting as “install and forget” hardware. This is a costly mistake. If a unit fails to illuminate during a power loss, you face significant liability and code non-compliance fines.
Use this decision rule to manage your inventory: if a battery fails a load test, replace the entire unit if it’s older than five years. If the unit is younger, replace only the battery. Always check the stamped date on the battery casing. If the date is missing, assume the battery is expired and replace it immediately to avoid a failed inspection.
Frequently asked questions
Can I replace the battery myself?
Yes, you can replace the battery yourself if you can safely access the unit and the battery is a plug-and-play type. Ensure the unit is disconnected from AC power before you begin. Always match the voltage and ampere-hour ratings of the old battery exactly. If the battery is soldered to the board or requires special tools, call a professional.
How long does a battery last?
A standard lead-acid or nickel-cadmium battery in an emergency light typically has a limited operational lifespan. This assumes the unit is kept in a climate-controlled environment between 60 and 80 degrees Fahrenheit. If your building is very hot or very cold, the battery will lose capacity much faster. You can check the date code on the battery label to see how old it is.
Why is the red light blinking?
A blinking red light usually indicates a fault, such as a failed battery or a non-functional lamp head. This is the unit’s way of telling you it needs attention. Check your owner’s manual to see if the blink pattern corresponds to a specific error code. If you can’t find the manual, a steady green light is usually the sign of a healthy, charging system.
Is it safe to leave a buzzing light on?
No, it isn’t safe to leave a buzzing light on, as the noise often indicates an internal electrical fault. The sound is usually caused by a failing transformer or a vibrating component that’s overheating. If you hear this sound, disconnect the power to the unit immediately and have it inspected by a qualified electrician to prevent a potential fire.
How often should I test my lights?
You should test your emergency lights at least once a month for 30 seconds to ensure the lamps turn on. This is a basic function test that verifies the battery can support the load. Additionally, most safety codes require a full-duration test once a year to ensure the battery can power the lights for the required 90 minutes.
What happens if the light fails an inspection?
If your light fails an inspection, you’re legally required to repair or replace the unit to stay compliant with local fire safety codes. Failure to maintain these systems can lead to fines or the closure of your building. If you’re unsure about the specific requirements in your area, contact your local fire marshal’s office for guidance on the standards you must meet.
How do I know if the charger is broken?
You know the charger is broken if you have installed a new, fully compatible battery and it fails to charge after 24 hours of being connected to power. If the unit works immediately after you install a charged battery but dies shortly after, the charger isn’t providing the necessary current. At this point, the circuit board is faulty and the entire unit must be replaced.
Conclusion
If your unit still won’t light up after these checks, it’s likely time to replace the internal battery or the lamp heads. Don’t hesitate to reach out to a professional electrician if you’re unsure about the wiring. It’s better to be safe than sorry when you’re dealing with essential safety equipment.
Related guides