You can fix most issues with your outdoor light by cleaning the sensor or checking the power supply, as basic dusk to dawn light troubleshooting often reveals a simple lack of light reaching the photocell. The most frequent cause is a physical obstruction or a dirty sensor window that tricks the light into thinking it’s still daytime. If your light remains off at night, check the breaker first to ensure the circuit is live.
Troubleshoot dusk to dawn light cycles
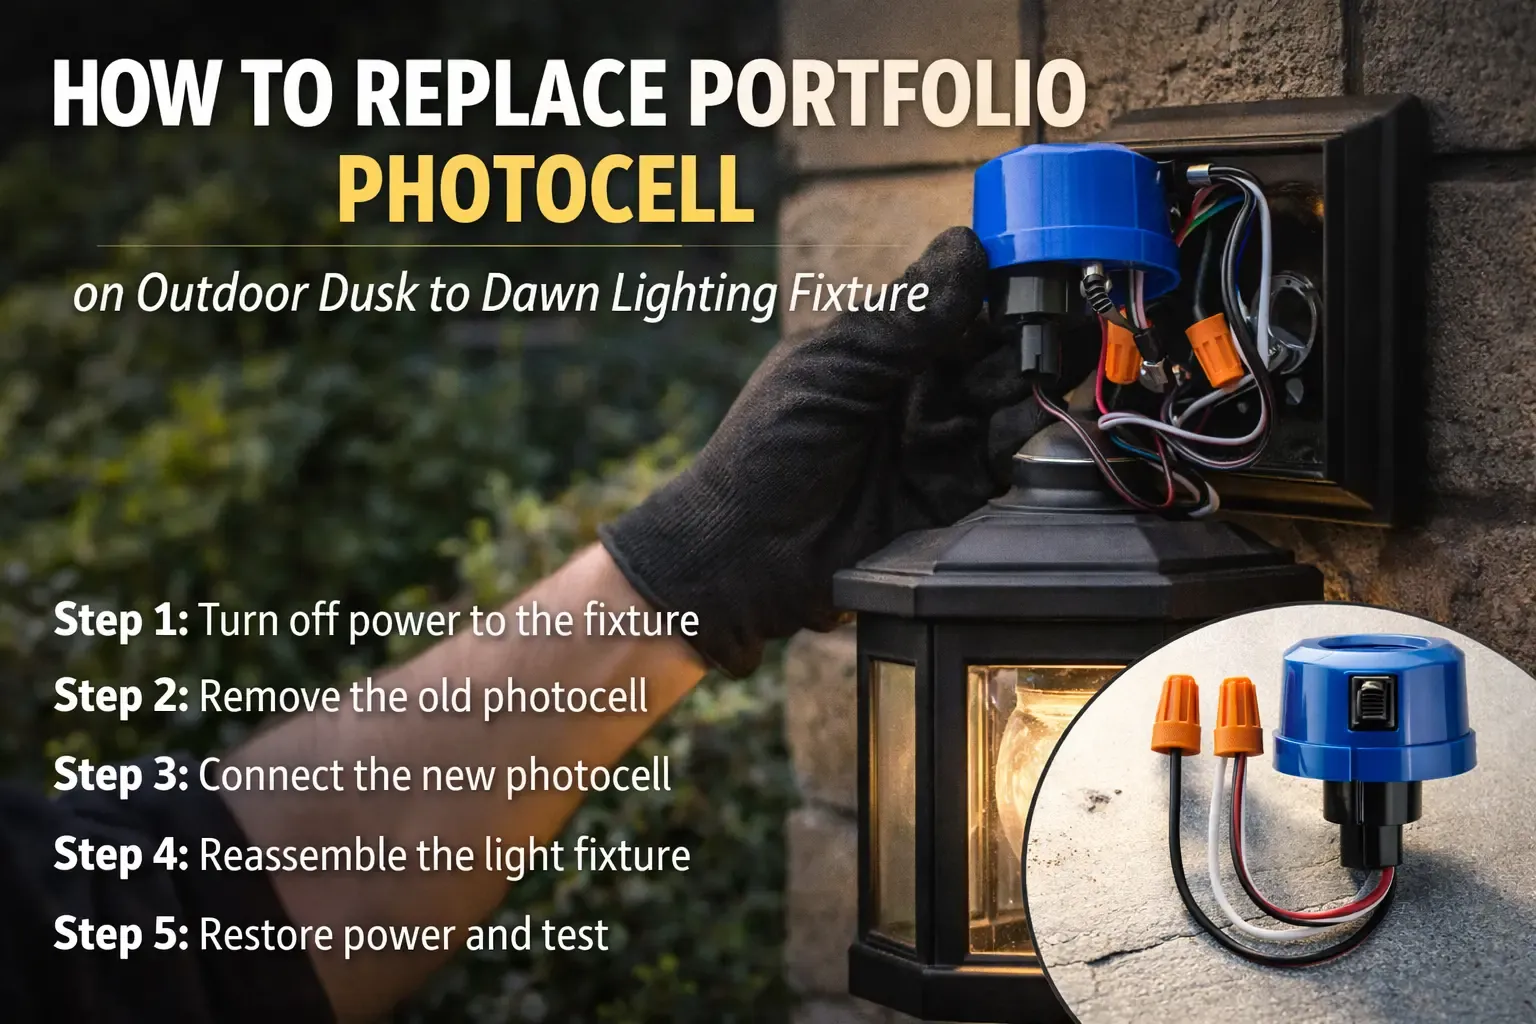
External lights rely on a small component called a photocell to detect ambient light levels. When the sensor detects darkness, it closes an electrical circuit to turn the bulb on. If the sensor is blocked by dirt, spider webs, or even heavy grime, it may stay in “daytime” mode indefinitely. This is the most common reason for a light that refuses to turn on when the sun goes down.
Another frequent cause is light pollution from other sources. If a porch light or a streetlamp shines directly onto your sensor, the photocell will never detect true darkness. The sensor interprets this stray light as daylight and keeps the lamp off to save energy. You can test this by covering the sensor with a piece of dark tape; if the light turns on after a few minutes, you have confirmed that external light interference is the culprit.
Finally, internal electronics can fail due to age or power surges. Like any outdoor electrical device, the components inside the fixture are exposed to temperature changes and moisture. If the sensor is clean and there’s no external light hitting it, the internal relay may simply have reached the end of its useful life. If the fixture is powered but the sensor remains unresponsive, the hardware is likely faulty.
Clean the light sensor lens
This fix is for homeowners who notice their light stays off during the night even when the area is dark. You’ll need a soft, dry cloth to gently wipe the surface of the small, usually circular, sensor window located on the top or side of the fixture. If you see a buildup of dust or oxidation, use a damp cloth with water only; never use harsh chemicals or abrasive soaps that could scratch the plastic lens.
If the sensor is covered in heavy spider webs or thick grime, you may need a soft-bristled brush to clear the debris. Take care not to press hard on the sensor, as the plastic can crack or scratch easily. Once the lens is clear, wait for the natural transition to dusk to see if the light activates. If you’re in a rush, you can simulate this by placing a small piece of black electrical tape over the sensor.
If the light doesn’t turn on after you cover the sensor for several minutes, the photocell might be permanently damaged. This isn’t a repairable part for most home users, as the sealed nature of these sensors prevents easy access. If cleaning doesn’t work and you aren’t comfortable working with electrical wiring, contact a licensed electrician to inspect the fixture or replace the unit entirely.
Shield the sensor from interference
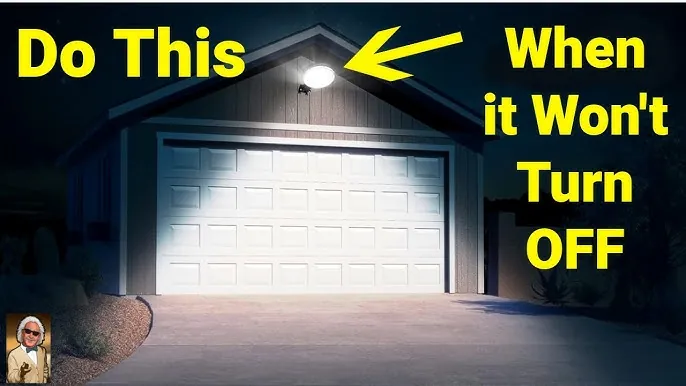
This method is for lights that stay off because they’re receiving too much light from nearby sources. If your sensor is positioned near a secondary light source, such as a garage light or a streetlamp, it will struggle to trigger the “on” cycle. You can solve this by creating a simple “hood” or shield around the sensor to block the light coming from the wrong direction.
Use a small piece of dark, weather-resistant plastic or metal to create a shade. Secure this shield near the sensor, ensuring it only blocks light from the offending source while still allowing the sensor to “see” the general darkness of the sky. This works best if the interference comes from a specific, fixed point. If the interference is coming from a diffuse source, such as a neighbor’s security light, you may need to adjust the angle of the entire fixture.
This is a trial-and-error process. After placing your shield, observe the light for one full evening cycle to see if it triggers at the correct time. If the light still flickers or stays off, the shield may be too large, blocking too much ambient light. If you find the light is constantly toggling on and off, the shield is likely correctly placed but needs slight adjustments to its angle to allow more natural light access.
Reset the power connection
This fix is intended for lights that are completely unresponsive. Sometimes, the internal logic of a dusk to dawn sensor gets “stuck” due to a minor power surge or a brief voltage drop. By performing a hard reset, you can often clear the memory of the sensor and force it to re-evaluate the ambient light levels in its surroundings.
To reset the system, locate the circuit breaker that controls the light fixture and switch it to the “off” position. Leave the power off for at least 30 seconds to allow any stored energy in the capacitors to dissipate. After this time, flip the breaker back to the “on” position. This process forces the sensor to perform a new calibration check as soon as it receives power again.
Resetting the power is a way to rule out a temporary failure of the internal relay or control circuit. If the light still doesn’t function after a reset, the internal electronic components have likely failed.
Avoid these common mistakes
Using high-wattage bulbs: Installing a bulb that exceeds the fixture’s maximum rating causes the sensor to overheat and fail prematurely. Check the label inside the socket; if it says 60W, never exceed that limit. Using an LED equivalent is safer because they draw significantly less power and generate minimal heat.
Applying paint or clear coat: Covering the sensor with any protective spray or paint permanently blocks light detection. This residue is nearly impossible to remove without damaging the optical lens. If you’re painting the exterior of your home, use painter’s tape to mask the sensor completely before you start.
Replacing the sensor alone: Many modern fixtures are sealed units. Trying to replace only the sensor often breaks the weatherproofing and voids your warranty. If the sensor fails, the entire fixture usually requires replacement to maintain a watertight seal.
Testing with a bright flashlight: Pointing a high-lumen beam directly at the sensor can confuse the internal logic. This leads to erratic flickering rather than a clean “off” state. Use ambient light or wait for natural dusk to verify functionality.
Ignoring the age of the unit: If your fixture is old, internal components have likely degraded. Cleaning the lens is useless once the light-sensitive photocell has reached its end-of-life cycle. Replace the unit if it fails to respond to natural light changes.
Prevent future lighting issues
You can ensure your outdoor lighting stays consistent by keeping the area around the sensor clear of obstructions and debris. Regular maintenance prevents the light from failing prematurely.
| If you’re doing this | Do this instead | Why |
|---|---|---|
| Leaving trees overgrown | Trim branches near the sensor | Removes shadows that trigger the sensor |
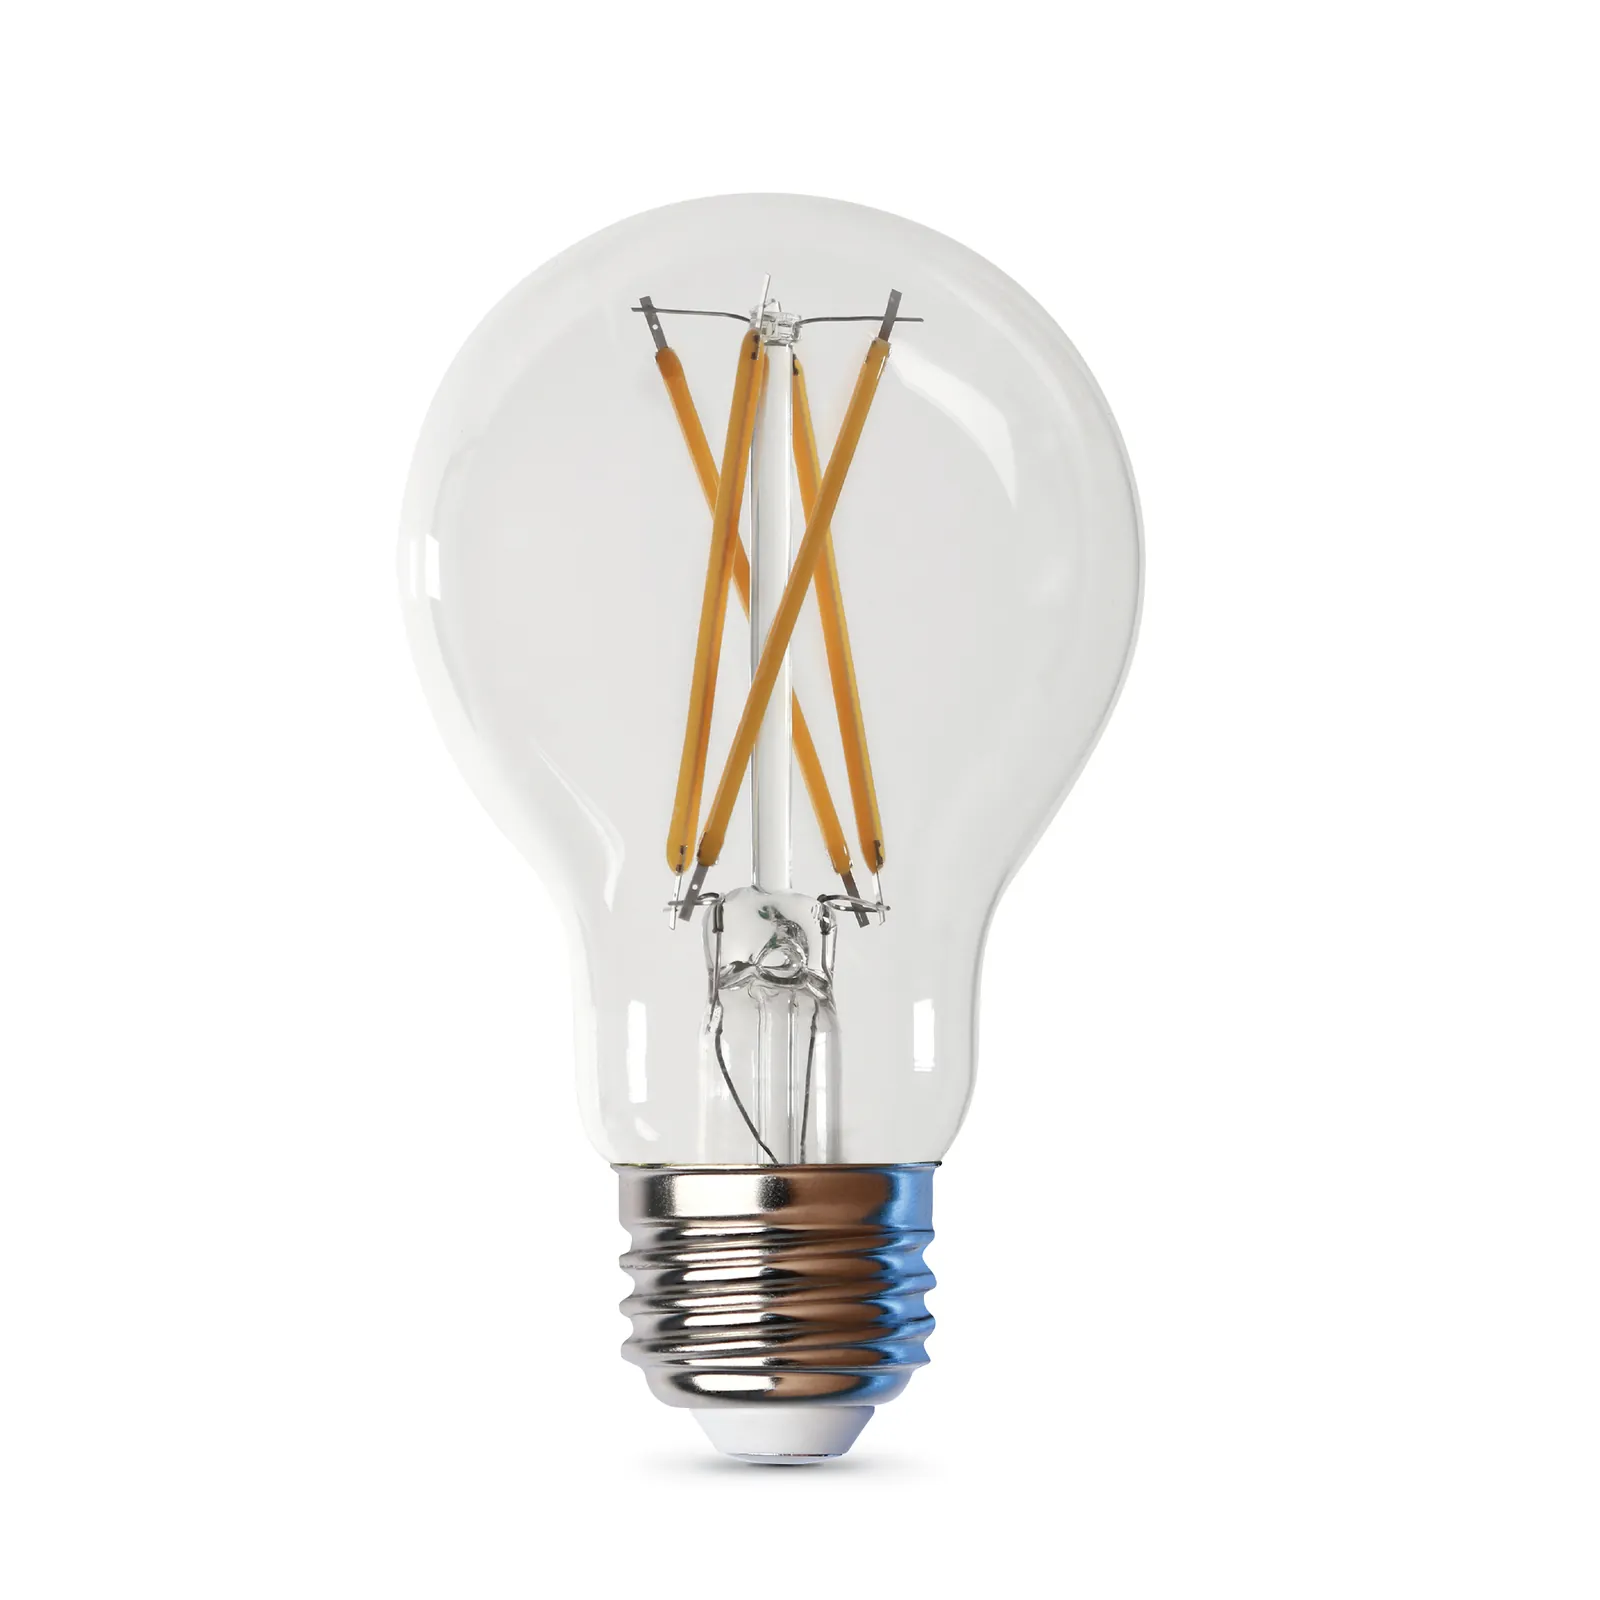
| Using standard glass bulbs | Use LED dusk to dawn bulbs | LEDs generate less heat near the sensor |
| Spraying the fixture with water | Wipe it with a soft cloth | Prevents water from entering the seal |
| Leaving the light on a timer | Use a dedicated photocell fixture | Sensors adjust to seasonal changes better |
Most failures occur because homeowners ignore the photocell’s sensitivity window. If your light flickers during the day, your sensor is likely picking up reflected glare from a nearby window or a white wall. To fix this, rotate the sensor head 45 degrees away from the reflective surface.
If your light stays on all night, check for spider webs or dust buildup. A thin layer of grime can trick the sensor into thinking it’s perpetually dark. Clean the lens with a dry microfiber cloth as needed based on your environment; consult your owner’s manual for specific maintenance guidance.
Frequently asked questions
Can I replace the photocell on my light?
Most modern dusk to dawn light fixtures are sealed units that don’t allow for individual component replacement. Attempting to open the housing destroys the weather-tight seal, leading to moisture damage and electrical failure. If the photocell is broken, you must replace the entire fixture assembly.
How long should a dusk to dawn sensor last?
A high-quality dusk to dawn sensor typically lasts for several years under normal outdoor conditions. The exact lifespan depends on the quality of the internal electronics and local weather intensity. If you live in an area with extreme humidity or heat, the sensor may fail sooner.
Is it safe to cover the sensor with tape?
Yes, covering the sensor with black electrical tape is a safe way to test if the fixture is receiving power. The tape simulates darkness, which should cause the light to turn on if the circuit is healthy. Remove the tape after testing to restore automatic operation.
Why does my light flicker at night?
Your light is likely flickering because it’s catching a glimpse of its own illumination or another nearby light source. This creates a feedback loop where the sensor turns the light on and off repeatedly. Adjust the fixture angle or install a shield to create a dark zone.
What happens if I use a non-compatible bulb?
Using a bulb not rated for dusk to dawn use can cause the light to flicker or fail. Some bulbs aren’t compatible with the rapid switching cycle required by the sensor. Always use an LED bulb specifically marked for dusk to dawn compatibility to handle the power requirements.
Conclusion
If the light still won’t turn on after you’ve tried these fixes, the internal sensor might be faulty. Don’t worry, as these parts are usually easy to replace. You’ll find that swapping out a worn-out photocell is a quick project that’ll keep your home bright and secure all night long.
Related guides