To fix a unit that isn’t heating, you should start with basic electrolux oven troubleshooting by verifying the power supply and checking the control settings. If the display is blank or the clock is flashing, the oven likely lacks power or has tripped a breaker. If the display works but the interior stays cold, the issue is often a thermal fuse or a broken heating element. Always verify that the “Demo” or “Showroom” mode is disabled, as this setting prevents the heating elements from engaging while the lights and display remain active.
Troubleshooting your Electrolux oven power issues
Most issues with modern cooking appliances stem from simple power interruptions or incorrect mode selections. If your appliance is a gas model, the most frequent cause of a failure to heat is a faulty igniter.
You can often hear a clicking sound when you turn the knob, but if the gas doesn’t light, the igniter has likely reached the end of its life. For electric units, the culprit is typically a failed bake or broil element, which you can often identify by a visible break or a blistered spot on the metal loop.
Another common cause is an interrupted circuit. Ovens require a steady flow of electricity to heat, and a loose wire or a tripped circuit breaker can stop the process entirely. If you have recently cleaned the unit, ensure the door interlock switch is fully engaged. If the door doesn’t close tightly or the latch mechanism is stuck, the control board prevents the oven from turning on to protect you from heat loss.
Finally, check the internal temperature sensor. This small metal rod inside the oven cavity tells the control board when the target temperature is reached. If it’s bent or touching the side wall, it sends an incorrect signal. This causes the oven to shut off too early or fail to heat up at all.
Check the power and display
You should first confirm the oven is receiving adequate electricity. Start by checking your home’s main breaker box to see if the switch for the kitchen is in the “off” or “tripped” position. If it’s tripped, flip it back to the “on” position and see if the oven display powers up.
If the display lights up but the oven still refuses to heat, check the clock and timer settings. Many models have a “Delayed Start” feature that, if accidentally activated, will prevent the heating elements from turning on until a later time.
If you’re using a wall outlet, ensure the plug is pushed in fully. For hardwired units, avoid touching any internal wiring or the terminal block. These components carry high voltage and require a qualified technician to service. If you smell burning, hear loud buzzing, or see sparks, turn off the breaker immediately and leave the unit off.
Never attempt to replace a heating element or thermal fuse yourself unless you’re comfortable with basic mechanical repairs, as a mistake can void your warranty or cause a fire hazard. You can find detailed safety guidelines for kitchen appliances at the U.S. Consumer Product Safety Commission.
Inspect the door and latch
The door latch acts as a safety gate for your oven. If the latch isn’t fully engaged, the oven assumes the door is open and won’t start the heating cycle. This is common after a self-cleaning cycle if the latch mechanism doesn’t return to its home position. Gently check if the door sits flush against the frame. If it bounces back or feels loose, the door hinges may be worn or obstructed by food debris.
Clean the area around the door seal and the latch catch with a damp cloth to remove any grease or crumbs. If the door still doesn’t latch properly, don’t force it. Forcing the handle can break the internal plastic components, which are expensive to replace.
If the oven displays a “Door” or “Lock” error code, consult your user manual to see if a manual reset is possible. If no reset works, the door switch or the control board may have failed. This isn’t a task for a DIY repair, as it involves taking apart the door or the front control panel, which risks damaging the glass or the electronic touch sensors.
Reset the control board
Sometimes the control board software simply needs a reboot to clear a minor error. To do this, turn off the circuit breaker that controls your oven for at least 60 seconds. This allows the capacitors on the control board to fully discharge and reset the system settings.
After one minute, flip the breaker back on and check the display. If the oven shows an error code such as “F” followed by a number, write it down, as this tells a repair technician exactly which part has failed.
If the oven still doesn’t heat after a reset, you must determine if the fault is internal. If you have an electric oven, look at the heating element while the oven is set to “Bake.” A working element will glow bright red within a few minutes. If it stays dark, the element is likely burned out.
If you have a gas oven, look for a glow from the igniter. If it doesn’t glow orange, the igniter is likely broken. These parts are often user-replaceable, but you must ensure you purchase the exact part number for your specific model. Always disconnect the power at the breaker before touching any electrical components inside the oven cavity.
Common repair myths to avoid
Many people believe that spraying the interior with water or heavy cleaners will fix a sensor issue, but this usually creates more problems. Moisture can enter the electrical connections and cause shorts, which are much harder to diagnose than a simple failed part. Never use a metal tool to scrape the heating element or the temperature probe, as this can damage the protective coating and cause the element to fail prematurely.
- Don’t ignore error codes: Many owners try to bypass or clear codes by repeatedly turning the power on and off, which can lock the control board permanently.
- Avoid DIY wiring repairs: Never attempt to bypass a thermal fuse or a door switch with a wire jumper, as these are safety devices designed to prevent overheating and fire.
- Don’t use oven cleaners on sensors: Chemical cleaners can coat the temperature probe, leading to inaccurate readings and uneven cooking.
- Avoid using high-pressure air: Blowing air into the control console to clear dust can push debris deeper into the delicate electronics.
Keeping your unit running smoothly
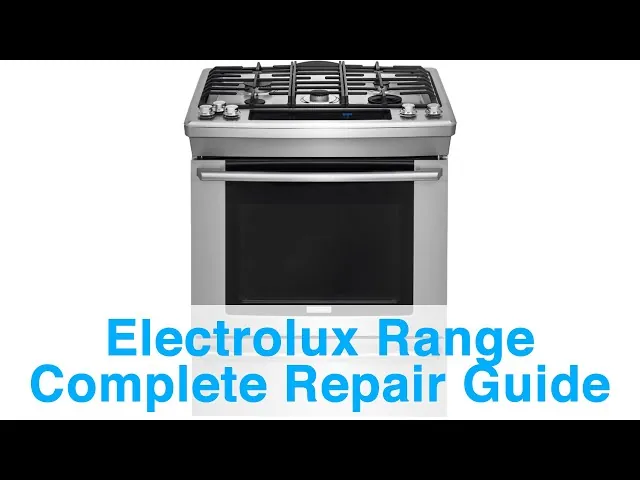
To prevent future failures, keep the oven interior clean and free of heavy grease buildup. Grease can act as an insulator for the temperature sensor and can cause smoke or fire during high-heat cycles. Follow the table below to identify when to troubleshoot and when to seek professional help.
| If you see this symptom | Try this first | Why it helps |
|---|---|---|
| Blank display | Check the circuit breaker | Restores power to the control panel |
| “Demo” mode active | Toggle in settings menu | Allows the elements to receive power |
| Door latch error | Clean the latch area | Ensures the safety switch engages |
| Uneven cooking | Recalibrate the temperature | Adjusts for minor sensor drift |
| Heating element dark | Replace the heating element | Restores the primary heat source |
Frequently asked questions
How long should an oven heating element last?
A standard heating element typically lasts 5 to 10 years. Frequent use of the “Broil” function or self-cleaning cycle can shorten this lifespan. If the element heats slowly, unevenly, or shows visible cracks, you should order a replacement part specific to your model number.
Is it safe to use an oven with a broken door seal?
No, you shouldn’t use an oven with a broken door seal because it allows heat to escape, forcing the oven to run longer. This extra strain can cause the control board and heating elements to fail early. Replace the seal immediately to ensure your oven operates safely and efficiently.
Why does my oven turn off by itself?
Your oven likely turns off because the thermal fuse has tripped to prevent overheating. This often occurs if the cooling fan is blocked or the oven has run at high temperatures for too long. If the vents are clear and the issue persists, the temperature sensor may be faulty.
How do I know if the temperature sensor is bad?
You can check if the sensor is bad by using a multimeter to measure its resistance. If the resistance doesn’t match the manufacturer’s specified range at room temperature, or fails to change when tested with a heat source, the sensor is failing. Alternatively, notice if the oven consistently burns food or fails to reach the set temperature on an independent thermometer.
Can I clean the temperature sensor?
Yes, you can gently clean the temperature sensor with a soft, damp cloth to remove grease. Avoid abrasive pads or harsh chemicals, as these can scratch the metal and ruin accuracy. Ensure the sensor doesn’t touch the oven wall, as this causes false readings.
Is it safe to replace a heating element myself?
Yes, replacing a heating element is safe if you turn off the power at the circuit breaker first. You simply remove the mounting screws, pull the element forward, and disconnect the wires. If the terminal block looks damaged or you’re unsure about the wiring, call a professional.
Conclusion
The longevity of your appliance depends on regular cleaning and proper usage of the self-clean cycle. By keeping the vents clear and addressing minor issues like loose door seals early, you can avoid more expensive repairs down the road. If the unit continues to fail after you have checked the power, settings, and physical components, it’s best to contact a certified technician to prevent further damage to the control board or internal wiring.