To prime your Everbilt shallow well jet pump, first inspect the suction line for air leaks, as this is the most common cause of pressure failure. If the pump runs without building pressure, ensure all connections are tight and the water level remains within the pump’s lift limit.
Why your Everbilt shallow well pump loses prime
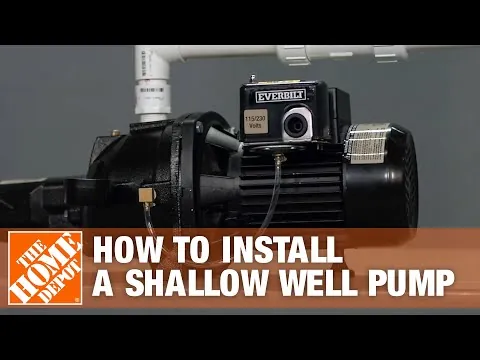
The most common reason a pump fails to prime is a small air leak in the pipe between the well and the pump. Even a pinhole leak prevents the system from creating the vacuum needed to pull water up from the ground. If air enters the line, the impeller spins in a pocket of air rather than pushing water, causing the motor to run continuously without building pressure.
Another frequent cause is a faulty foot valve at the bottom of the well pipe. This valve acts like a one-way gate, keeping water inside the pipe when the pump is off. If the valve is stuck open due to sand or debris, the water drains back into the well. When you turn the pump on, it must move a large volume of air before it can reach the water, which often exceeds the pump’s ability to create a vacuum.
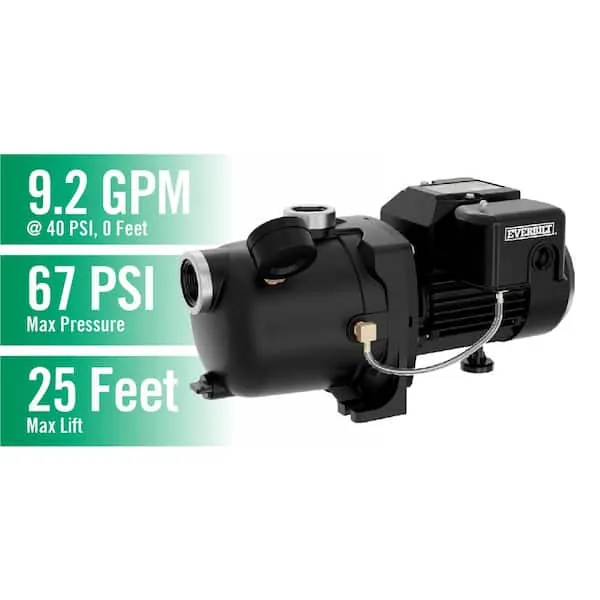
Finally, consider the depth of your water table. Every pump has a maximum vertical distance it can lift water, typically 25 feet for shallow well models. If your water level drops lower than this limit, the pump will struggle to maintain pressure regardless of how many repairs you attempt. If you suspect the water table has shifted, verify your local well depth records or consult a licensed professional to measure the distance to the water surface.
Tighten suction line fittings
This fix is for users who suspect an air leak in the exposed piping leading into the pump. To begin, turn off the power to the pump at the breaker to ensure safety. Check every joint, union, and connection on the suction side of the pump. If you see any tape or sealant that looks old or cracked, remove it and apply fresh thread-seal tape specifically designed for plumbing.
Tighten all fittings using a pipe wrench, but be careful not to overtighten, as this can crack plastic or PVC components. Once the connections are secure, you must refill the pump housing with water through the priming plug located on top of the casing. Replace the plug, turn the power back on, and observe if the pressure gauge begins to climb.
If the pump builds pressure and holds it, the leak was likely in a loose fitting. If the pump still runs without building pressure, the leak is likely deeper in the well pipe, which is an issue requiring a professional with the tools to pull the pipe from the well. Don’t attempt to pull the piping yourself if the well is deep or the casing is narrow, as you risk dropping the pipe or damaging the well seal.
Clear the intake and foot valve
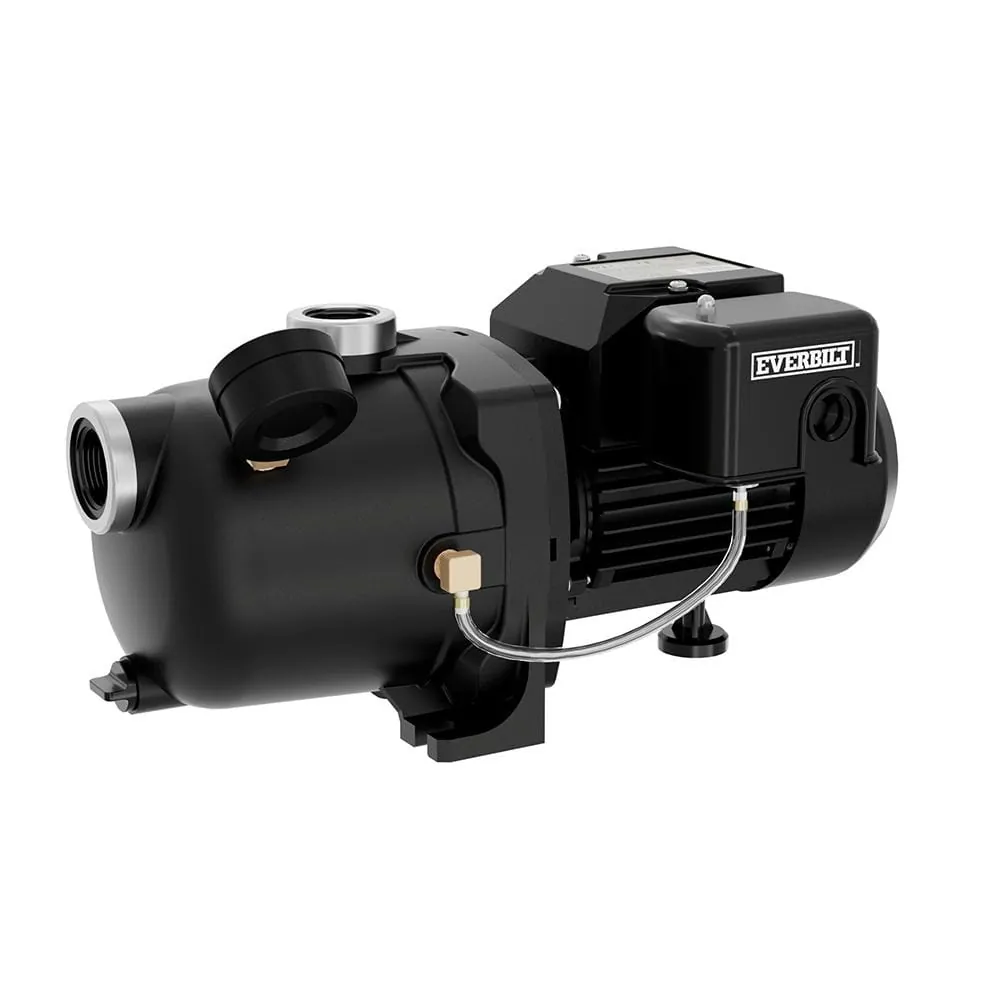
This repair is for cases where the pump is clean but water isn’t reaching the impeller. Debris such as sand, silt, or small stones can block the foot valve at the bottom of your suction pipe. To fix this, you must disconnect the suction pipe from the pump and verify if the pipe holds water. If the water level in the pipe drops immediately after filling it, the foot valve is failing to hold the seal.
If you can access the pipe, pull it from the well to inspect the foot valve at the bottom. Often, cleaning the screen around the valve with a soft brush and water is enough to remove the blockage. If the valve mechanism itself is damaged or clogged internally, replace it with a new valve of the same size and material as the original.
A common mistake is assuming the valve is the only culprit when the pipe threads are actually the source of the leak. If you see air bubbles rising while filling the pipe, you have a suction leak, not a valve issue. In this case, you must pull the pipe and reseal every threaded joint with fresh pipe dope or Teflon tape.
This process requires heavy lifting and specialized tools to safely extract and reinstall the suction pipe. If you don’t have the equipment to safely grip and pull the piping, contact a local pump technician. Improperly handling the suction line can cause the pipe to break off inside the well, which turns a simple valve repair into an expensive well recovery job.
Check electrical and motor function
This approach is for when the pump is completely silent or hums without turning. First, verify that the pump is receiving power by checking the circuit breaker in your electrical panel. If the breaker is tripped, reset it once. If it trips again immediately, don’t force it; this indicates a dead short circuit that requires a licensed electrician to diagnose.
If the pump has power but remains silent, the internal motor might be seized. Try manually rotating the shaft on the back of the motor if your model has an accessible fan or shaft end. Use a screwdriver to gently nudge the fan blades. If the shaft doesn’t turn easily by hand, the bearings are likely worn or internal debris has jammed the impeller.
A common mistake is assuming a humming sound means the motor is just struggling to start. If you hear a hum for more than five seconds, cut the power immediately to prevent the windings from burning out. If the motor is hot to the touch, it’s already damaged.
Don’t attempt to open the motor housing or touch the capacitor, as these parts store high-voltage electricity even when the power is off. If the motor is seized or the electrical system is failing, consult a professional or replace the unit. Trying to repair internal electrical components without proper training can result in severe shock or permanent damage to the motor.
What not to do during troubleshooting
Never run the pump dry for more than a few minutes. Doing so causes the internal mechanical seal to overheat and melt, which leads to permanent water leaks at the motor housing. If you hear a high-pitched whine, shut the power off immediately.
Don’t use excessive amounts of pipe dope or tape. Too much sealant can break off inside the pipe and clog the pump’s internal jets, making the blockage worse. Apply a thin, even coat only to the male threads.
Avoid using grease on suction fittings. Grease doesn’t seal air leaks; it only hides them and can damage the rubber gaskets inside the pump connections over time. If you suspect an air leak, use a dedicated thread sealant instead.
Don’t attempt to bypass the pressure switch. Bypassing the switch allows the pump to run indefinitely without stopping, which can cause the pump to overheat and fail if it loses prime. If the pump won’t stop, replace the switch entirely rather than attempting a temporary electrical bridge.
How to stop it happening again
Maintaining a clean and sealed system is the best way to ensure your pump runs consistently. If you’re currently struggling with air leaks or debris, follow the table below to adjust your maintenance habits.
| If you’re doing this | Do this instead | Why |
|---|---|---|
| Using old, brittle tape | Use fresh PTFE thread tape | Old tape loses its seal over time |
| Ignoring the well screen | Install a high-quality foot valve screen | Screens prevent debris from entering |
| Running the pump until it stops | Monitor pressure and water flow | Early detection prevents motor burnout |
| Tightening connections by hand | Use a wrench for a firm seal | Hand-tightening often leaves gaps for air |
Most operators fail by assuming a seal is airtight simply because it feels tight. If you hear a high-pitched whistling sound during operation, you have a suction-side leak. Stop the pump immediately. A leak here prevents the pump from building pressure, causing the motor to run continuously and overheat.
If your pressure gauge fluctuates wildly, check the intake pipe first. If the gauge remains steady but the pump still loses prime, the fault lies in the internal check valve. Replace the valve if it fails to hold pressure after shutdown. Always prioritize these mechanical checks over adjusting the pressure switch.
Frequently asked questions
How long should a shallow well pump last?
A well-maintained pump typically lasts between 8 and 15 years. Longevity depends heavily on water quality, as high levels of sand or minerals accelerate internal wear. Note that frequent cycling may indicate the need for a professional inspection.
Is it safe to repair the pump myself?
It’s safe to perform basic external checks like tightening fittings or cleaning the intake screen, but you should never open the motor housing. The motor contains a capacitor that stores a high electrical charge, which can cause severe injury if touched. If the problem is internal to the pump or motor, leave the work to a professional technician to avoid electrical hazards or voiding your product warranty.
Why does my pump run constantly?
A pump running constantly usually indicates a leak or a failing impeller preventing the system from reaching pressure. This is often caused by a loss of prime, a hole in the suction line, or a worn-out jet nozzle. Check for puddles or air bubbles, which signal a suction-side leak.
How much water should the pump move?
The pump should move a steady volume of water based on your specific model’s flow rate, typically measured in gallons per minute (GPM). If the flow rate is significantly lower than the manufacturer’s specifications, your intake screen or the jet nozzle is likely clogged with sediment. Refer to your owner’s manual to find the rated GPM for your model and compare it to your current output using a bucket and a stopwatch.
What happens if I ignore a small leak?
Ignoring a small air leak will eventually cause the pump to lose its prime completely and burn out the motor. When the pump runs in an air-locked state, it can’t move water to cool itself, which leads to the mechanical seal melting and water leaking into the motor windings. Fixing a small leak today is much cheaper than replacing the entire pump assembly once the motor windings are damaged by water.
Conclusion
If your pump still won’t hold pressure after these checks, it’s a good idea to test the foot valve for debris or damage. Don’t hesitate to reach out to a local plumber if you’re still having trouble. They’ll help you get your water flowing smoothly again so you can relax.
Related guides